If you’ve got an old bathtub that’s seen better days, don’t fret – you can restore it to its former glory with a little elbow grease and know-how.
In this step-by-step guide, we’ll show you how to:
- Assess the condition of your bathtub
- Clean and remove stains
- Repair any damages or chips
- Refinish and re-enamel the tub
With proper maintenance and care, your restored bathtub will shine like new for years to come.
So, let’s dive in and bring that old beauty back to life!
Key Takeaways
- Assess the condition of the bathtub for cracks, chips, and damage before starting the restoration process.
- Clean and remove stains using a mixture of baking soda and vinegar.
- Repair any damages or chips using a specialized bathtub repair kit.
- Refinish and re-enamel the bathtub with multiple coats of high-quality enamel paint.

GIOTOHUN Cat Water Fountain Filter: 12 Cat Fountain Filter Replacement - 12 Pet Fountains Filters Replacement - 6 Filters & 6 Sponges - Suitable for ATMZIQXR GIOTOHUN KOOGMOON UMOCUOY IHOUONE HOOISE
- Compatible with GIOTOHUN Stainless Steel Fountain: Fits GIOTOHUN 2.2L cat water dispenser
- Set of 12 Filters: Includes 6 carbon and 6 sponge filters
- Long-lasting Filters: Suitable for 3-6 months of use
As an affiliate, we earn on qualifying purchases.
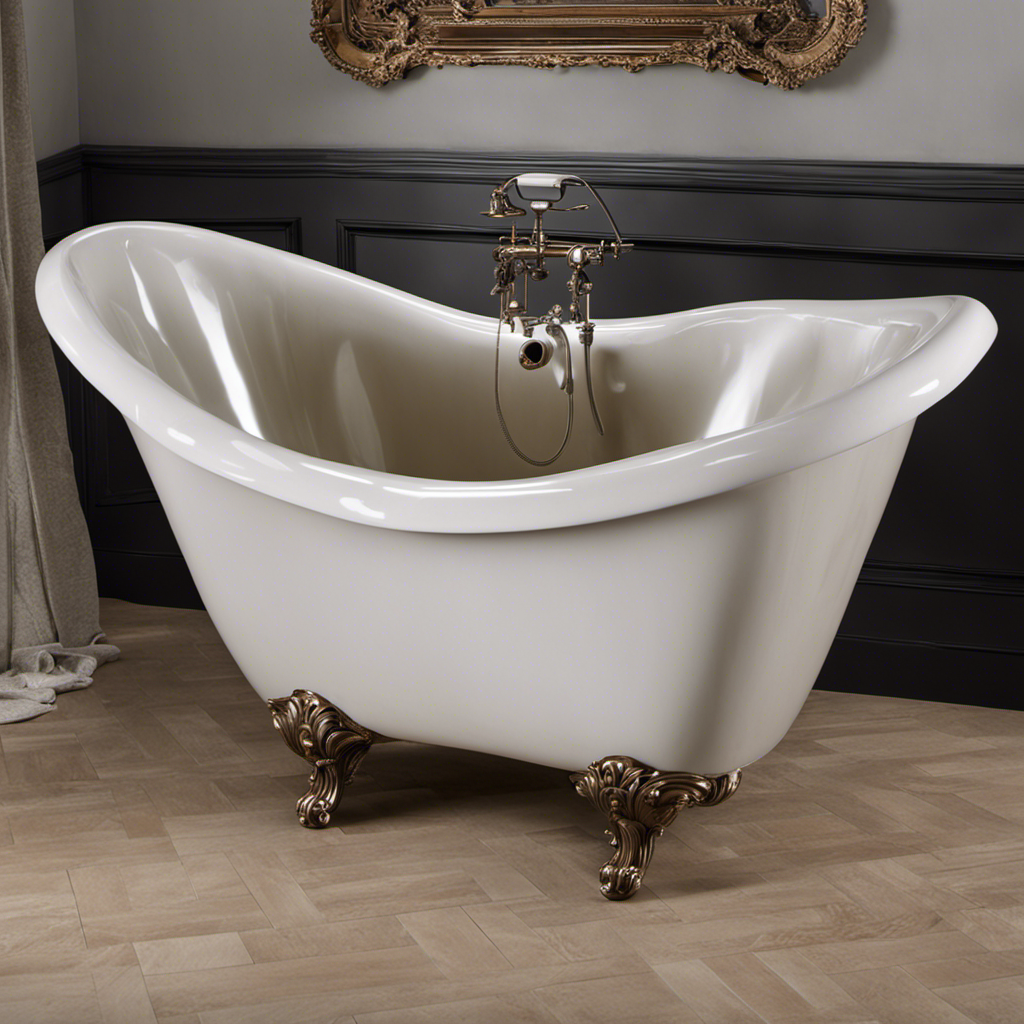
Assessing the Condition of the Bathtub
Now, you’ll want to take a close look at the bathtub to see if there are any cracks or chips in the surface. This is an important step in determining the feasibility of restoring the bathtub.
Start by examining the entire surface of the bathtub, paying close attention to the areas around the drain and the edges. Look for any signs of damage, such as hairline cracks or small chips. These can be indicators of deeper structural issues that may affect the success of the restoration.
Additionally, check if there are any stains or discoloration that cannot be removed through regular cleaning. If the bathtub has significant damage or stains that cannot be removed, it may not be suitable for restoration.
Once you have assessed the condition of the bathtub, you can move on to the next step: cleaning and removing stains from the bathtub.
Cleaning and Removing Stains From the Bathtub
To effectively clean and remove stains from the tub, you’ll need a mixture of baking soda and vinegar. This powerful combination will help tackle tough stains, including rust and soap scum.
Here’s a step-by-step guide to help you restore your bathtub to its former glory:
-
Start by sprinkling a generous amount of baking soda onto the stained areas. Focus on the rust spots and soap scum buildup.
-
Using a spray bottle, spritz the baking soda with vinegar until it forms a paste. The fizzing action will help break down the stains.
-
Grab a scrub brush or sponge and gently scrub the paste into the stains. Apply a bit more pressure on the tough spots to loosen the grime.
-
Let the mixture sit for about 15-20 minutes to allow the baking soda and vinegar to work their magic.
-
After the designated time, rinse the tub thoroughly with warm water. Use a clean cloth to wipe away any residual paste.
Repairing Any Damages or Chips in the Bathtub
You can easily repair any damages or chips in the bathtub using a specialized bathtub repair kit. This DIY bathtub repair method is cost-effective and can help restore the appearance of your tub without the need for professional assistance.
Here’s a step-by-step guide on how to repair your bathtub using a repair kit:
-
Clean the damaged area: Before starting the repair process, make sure to thoroughly clean the damaged area using a mild cleaner and a sponge or cloth.
-
Prepare the repair kit: Follow the instructions provided with the repair kit to mix the necessary components. This usually involves mixing a resin and a hardener to create a durable repair compound.
-
Apply the repair compound: Using a putty knife or a spatula, carefully apply the repair compound to the damaged area. Make sure to spread it evenly and fill in any gaps or cracks.
-
Smooth out the repair: Once the repair compound is applied, use sandpaper or a sanding block to smooth out the repaired area. This will help blend it with the surrounding surface and create a seamless finish.
Refinishing and Re-Enameling the Bathtub
Refinishing and re-enameling the bathtub can give it a fresh and updated look. Here are the steps to follow:
-
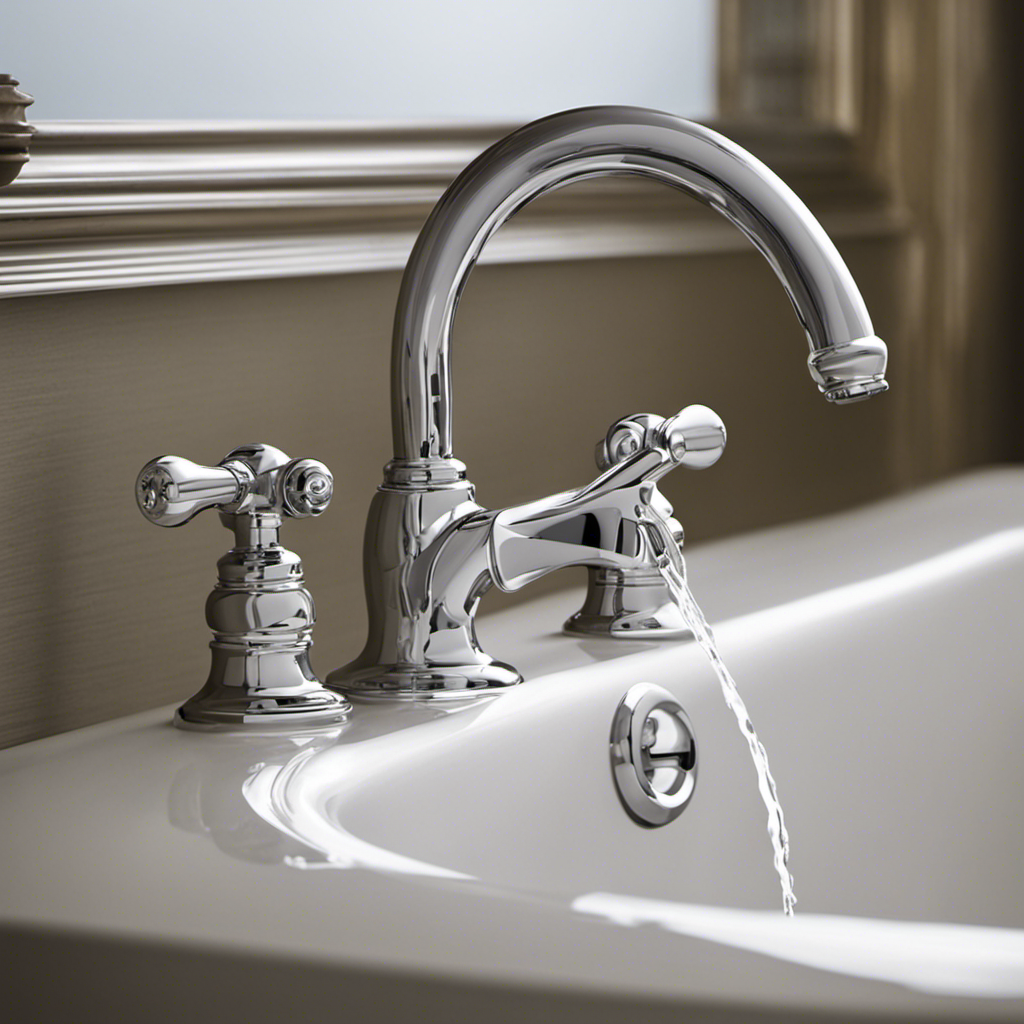
Start by removing any hardware attached to the bathtub, such as faucets and handles. This will allow you to refinish the entire surface without any obstructions.
-
Thoroughly clean the bathtub using a mild cleaner and scrub brush. Make sure to remove any soap scum, grime, or residue.
-
Repair any chips or damages in the bathtub surface using a bathtub repair kit. Follow the instructions carefully to ensure a seamless repair.
-
Once the repairs are complete, it’s time to choose the right bathtub paint. Look for a high-quality enamel paint specifically designed for bathtubs. Consider the color and finish options available.
-
Apply the paint using a paintbrush or roller, following the manufacturer’s instructions. Apply multiple coats if needed, allowing each coat to dry completely before applying the next.
-
Finally, reattach the hardware, replacing any worn or outdated pieces with new ones for a complete transformation.
Maintaining and Caring for the Restored Bathtub
Maintaining and caring for the restored bathtub is essential to preserve its fresh and updated look.
To prevent future damage to the bathtub, it is important to follow a few simple steps.
First, avoid using abrasive cleaners or scrub brushes that can scratch the surface. Instead, choose cleaning products specifically designed for use on restored bathtubs. Look for non-abrasive cleaners that are safe for both the finish and the environment.
When cleaning, use a soft sponge or cloth to gently scrub the surface, rinsing thoroughly afterwards.
Additionally, be mindful of any objects that may cause scratches or chips, such as metal razors or hard plastic toys.
Frequently Asked Questions
Can I Use Regular Household Cleaning Products to Remove Stains From the Bathtub?
You can use regular household cleaning products to remove stains from your bathtub. There are many DIY alternatives available that can effectively remove stains and restore the bathtub’s original appearance.
How Long Does the Refinishing Process Usually Take?
To restore an old bathtub, the refinishing process usually takes a few days. After the bathtub is cleaned and prepped, the refinishing materials are applied, followed by a drying period of about 24-48 hours.
Can I Still Use Abrasive Cleaners on the Restored Bathtub?
Using abrasive cleaners on a restored bathtub can cause damage. It’s best to avoid bleach or other harsh chemicals when cleaning. Instead, opt for gentle, non-abrasive cleaners to preserve the restored finish.
Is It Necessary to Remove the Bathtub From the Bathroom During the Restoration Process?
To restore an old bathtub, it may be necessary to remove it from the bathroom. This step ensures thorough cleaning, repairs, and refinishing. Follow the steps below to successfully remove and restore your bathtub.
What Should I Do if the Bathtub Starts to Chip Again After Restoration?
To prevent future chipping in your bathtub, there are a few maintenance steps you can take. First, make sure to clean the surface regularly with a non-abrasive cleaner. Then, apply a protective coating or sealant to keep it in good condition.
Conclusion
In conclusion, restoring an old bathtub can be a rewarding and cost-effective project.
By assessing the condition of the bathtub, cleaning and removing stains, repairing any damages or chips, and refinishing and re-enameling the bathtub, you can bring new life to your old tub.
Remember to properly maintain and care for the restored bathtub to ensure its longevity.
Just like the saying goes, ‘A stitch in time saves nine,’ taking the time to restore your bathtub now can save you from more extensive repairs down the road.
So roll up your sleeves and get ready to enjoy a beautifully restored bathtub!