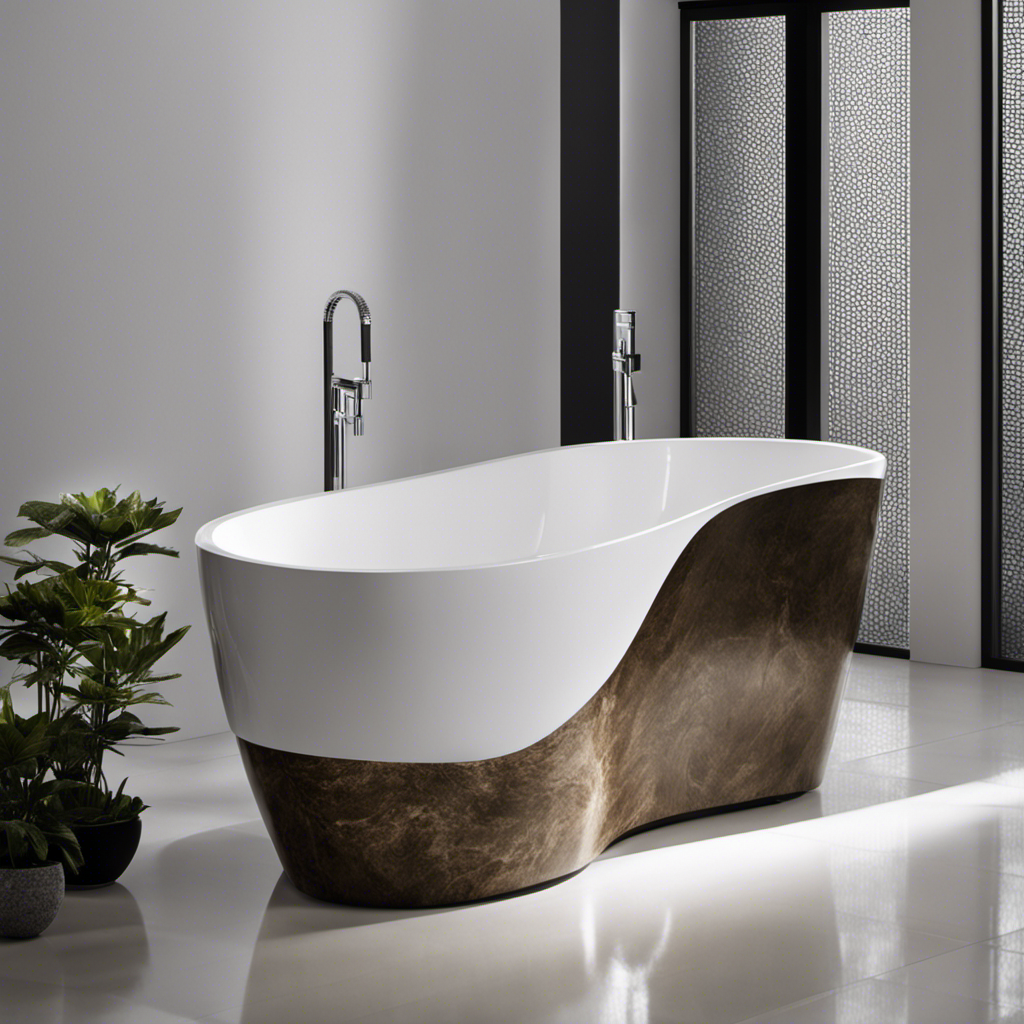
As an experienced homeowner, I have encountered my fair share of challenges when it comes to maintaining and restoring various aspects of my house. One area that often requires attention is the bathtub, which can become worn, stained, or damaged over time.
In this article, I will share my knowledge and expertise on how to restore a bathtub to its former glory. From assessing the condition of the tub to refinishing and protecting it, I will provide detailed instructions to ensure a successful restoration that will stand the test of time.
Key Takeaways
- Assess the condition of the bathtub by inspecting for chips, cracks, discoloration, rust, corrosion, leaks, and water damage.
- Prepare the bathtub surface for restoration by cleaning it, removing old finishes, and sanding it to create a smooth texture.
- Repair any chips and cracks in the bathtub using a bathtub repair kit and achieve a seamless finish by sanding the repaired area.
- Refinish or reglaze the bathtub for a cost-effective solution, considering factors like color options and durability. Sealing and protecting the restored bathtub is crucial for maintaining its longevity and beauty.

Tub Repair Kit White, Tub Chip and Bathtub Repair Kit for Enamel, Fiberglass, Acrylic, Porcelain, Patch and Repairs Chips, Crack, Scratches, Rust, Holes on Tubs, Toilet, Sink, Shower, Tray in Bathroom
Permanently Repair Bathtub Chips, Cracks and Holes: For Fiberglass, Enamel, Acrylic; restore a glossy, non-yellowing, leak-stopping and chip…
As an affiliate, we earn on qualifying purchases.
As an affiliate, we earn on qualifying purchases.
Assessing the Condition of Your Bathtub
Before beginning any restoration work, it’s important to assess the current condition of your bathtub. Evaluating the damage is crucial to determine the best restoration method.
Start by inspecting the surface for any chips, cracks, or discoloration. Look out for rust or corrosion on metal fixtures. Check for any leaks or water damage around the edges. Pay attention to the condition of the enamel or acrylic coating.
Once you have identified the issues, you can choose the appropriate restoration method. If there are minor chips or cracks, a DIY repair kit can be used. For more extensive damage, professional refinishing or reglazing may be necessary.
It’s important to carefully consider the extent of the damage before deciding on the best course of action for restoring your bathtub.

Rust-Oleum 384165 Tub And Tile Refinishing 2-Part Kit, 32 oz, Gloss White
Prepare and paint surface the same day with a tough, with tub and tile’s 2-part epoxy acrylic formula…
As an affiliate, we earn on qualifying purchases.
As an affiliate, we earn on qualifying purchases.
Preparing the Bathtub Surface for Restoration
When it comes to restoring a bathtub, proper preparation is essential for achieving a successful outcome. This discussion focuses on three key points: cleaning the bathtub, removing old finishes, and sanding the surface.
As someone who has tackled bathtub restorations before, I can share my knowledge and experience on how to effectively clean away grime, strip off old finishes, and prepare the surface for a smooth and even restoration.
Cleaning the Bathtub
To easily clean the bathtub, start by applying a mixture of baking soda and vinegar.
This deep cleaning method is not only effective but also uses natural cleaning solutions that are safe for you and the environment.
Begin by sprinkling a generous amount of baking soda onto the surface of the bathtub. Then, pour vinegar over the baking soda, causing a fizzing reaction.
Let the mixture sit for about 15 minutes to allow it to penetrate and loosen any dirt or grime.
Afterward, scrub the bathtub using a sponge or brush, paying extra attention to any stubborn stains.
Rinse thoroughly with water to remove any residue.
Now that the bathtub is sparkling clean, we can move on to the next step of removing old finishes.
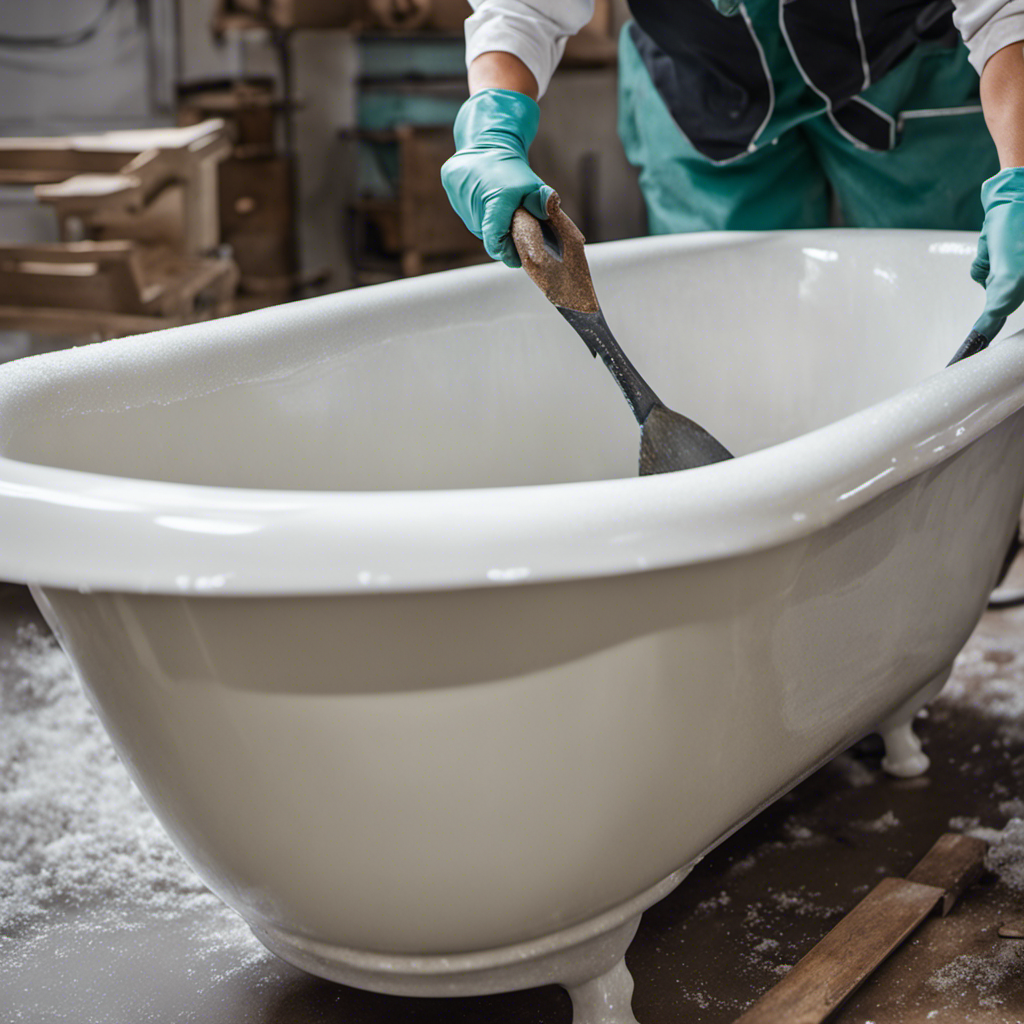
Removing Old Finishes
You’ll need a paint stripper to effectively remove the old finishes from your bathtub. As someone who has been involved in bathtub refinishing for years, I can confidently say that this step is crucial for achieving a professional restoration.
When it comes to restoring a bathtub, it’s important to consider professional restoration services that can provide the expertise and tools needed for a successful refinishing job.
To begin, choose a high-quality paint stripper that is specifically designed for removing bathtub finishes. Apply the stripper evenly across the surface of the bathtub and let it sit for the recommended amount of time. This will allow the stripper to penetrate the layers of old finishes and soften them, making them easier to remove.
Using a scraper or a putty knife, gently scrape off the softened finishes, being careful not to damage the underlying surface. It may take multiple passes to fully remove all of the old finishes, so be patient and thorough in your approach.
Once the old finishes are completely removed, clean the bathtub thoroughly to remove any traces of the paint stripper. Rinse the bathtub with clean water and dry it completely before moving on to the next step in the refinishing process.
By following these steps and using a paint stripper, you can effectively remove the old finishes from your bathtub and prepare it for the next stage of the refinishing process.
Don’t hesitate to seek professional restoration services if you’re unsure or prefer to leave the job to the experts. They have the experience and knowledge to ensure a successful restoration of your bathtub.
Sanding the Surface
Once the old finishes have been removed, gently sand the surface of your bathtub to create a smooth and even texture. This step is crucial in preparing the surface for the next phase of restoration.
To achieve the desired results, I recommend using a buffing technique with the appropriate sanding tools. Start by selecting a fine-grit sandpaper, such as 220 or 320, and attach it to a sanding block or a power sander if you prefer.
Begin sanding in a circular motion, applying even pressure to ensure an even finish. Take your time and be thorough, paying attention to any rough patches or uneven areas. By properly sanding the surface, you will create a solid foundation for repairing chips and cracks in the bathtub.
Transitioning into the next section, let’s now discuss how to effectively tackle these repairs.
Tub Repair Kit White, Tub Chip and Bathtub Repair Kit for Enamel, Fiberglass, Acrylic, Porcelain, Patch and Repairs Chips, Crack, Scratches, Rust, Holes on Tubs, Toilet, Sink, Shower, Tray in Bathroom
Permanently Repair Bathtub Chips, Cracks and Holes: For Fiberglass, Enamel, Acrylic; restore a glossy, non-yellowing, leak-stopping and chip…
As an affiliate, we earn on qualifying purchases.
As an affiliate, we earn on qualifying purchases.
Repairing Chips and Cracks in the Bathtub
When repairing chips and cracks in the bathtub, start by cleaning the damaged area with a mild cleaner. This will ensure that the surface is free from any dirt or debris that could interfere with the repair process. Once the area is clean, you can move on to repairing the actual damage.
Here are a few steps to help you effectively repair the chips and cracks:
- First, use a fine-grit sandpaper to smooth out any rough edges around the damaged area.
- Next, apply a bathtub repair kit, which typically includes a filler compound and a color-matching agent.
- Use a putty knife to carefully fill in the gaps and scratches, making sure to smooth the surface as much as possible.
- Allow the filler to dry completely before moving on to the next step.
- Finally, sand the repaired area using a fine-grit sandpaper to achieve a seamless finish.

Scrubbing Bubbles Foaming Bleach Bathroom and Shower Cleaner Disinfectant Spray, Helps Erase Mold & Mildew, 32oz
What You'll Get: One 32oz spray bottles of Scrubbing Bubbles Foaming Bleach Bathroom Cleaner. Bottle Made from 30%…
As an affiliate, we earn on qualifying purchases.
As an affiliate, we earn on qualifying purchases.
Removing Stains and Discoloration
After successfully repairing chips and cracks in my bathtub, I turned my attention to tackling the stubborn stains and discoloration that had accumulated over the years.
To prevent future stains and discoloration, I made sure to choose the right cleaning products for my bathtub. I found that using a mild, non-abrasive cleaner specifically designed for bathtubs was the most effective. These cleaners are gentle enough to prevent damage to the surface while still being tough on stains.
Additionally, I made it a habit to clean my bathtub regularly to prevent any build-up. By using the right cleaning products and maintaining a regular cleaning routine, I was able to keep my bathtub looking clean and free from stains and discoloration.
Refinishing or Reglazing the Bathtub
To achieve a fresh and updated look, you can consider refinishing or reglazing your bathtub. This is a cost-effective solution that can transform the appearance of your bathroom without the need for a full replacement.
Here are some key points to consider:
-
Refinishing:
-
Cost of refinishing is typically lower compared to reglazing.
-
The process involves repairing any chips or cracks and then applying a new coat of finish.
-
It can be done in a variety of colors to match your desired aesthetic.
-
Reglazing:
-
Provides a more durable and longer-lasting finish compared to refinishing.
-
The process involves stripping the old finish, repairing any damage, and then applying a new glaze.
-
It can give your bathtub a brand new look and feel.
Both refinishing and reglazing have their pros and cons, so it’s important to weigh them against your specific needs and budget.
In the next section, I will discuss how to seal and protect your restored bathtub to ensure its longevity and maintain its beauty.
Sealing and Protecting the Restored Bathtub
One important step in maintaining the longevity and beauty of your newly refinished or reglazed bathtub is sealing and protecting it.
After investing time and effort into restoring your bathtub, it is crucial to apply a protective coating to ensure its durability and preserve its glossy finish.
There are various sealing techniques available to safeguard your bathtub against daily wear and tear.
Firstly, consider using a high-quality sealant specifically designed for bathtubs. Apply the sealant evenly, following the manufacturer’s instructions. This protective coating forms a barrier that shields the underlying surface from stains, moisture, and chemicals.
Additionally, regular cleaning and maintenance are essential to prolong the life of your bathtub. Avoid using abrasive cleaners or scrubbing tools that could damage the protective coating.
Maintaining the Restored Bathtub for Longevity
After sealing and protecting your restored bathtub, it is important to maintain it properly to extend its lifespan and prevent future damage. Here are some essential tips to keep your bathtub looking and functioning like new:
-
Regular Cleaning:
-
Use a non-abrasive cleaner specifically designed for bathtubs.
-
Avoid harsh chemicals that can erode the coating.
-
Clean the bathtub regularly to prevent the buildup of grime and soap scum.
-
Avoid Damaging Habits:
-
Do not use abrasive sponges or scrub brushes that can scratch the surface.
-
Avoid using heavy or sharp objects that may cause dents or chips.
-
Be cautious with bath products that contain dyes or strong pigments that can stain the surface.
Conclusion
After following these steps, my bathtub looks brand new and rejuvenated. Its surface is smooth and flawless, with no signs of chips or cracks.
The stains and discoloration have vanished, leaving behind a gleaming and pristine finish. I can’t help but admire the beautiful reflection in the bathtub’s surface, as if I’m gazing into a tranquil pool of crystal-clear water.
With proper sealing and maintenance, this restored bathtub will continue to bring joy and relaxation for years to come.