Hey there! Ever wondered how to give your worn-out bathtub a fresh new look? Well, look no further! In this article, I’ll be sharing my step-by-step guide on how to resurface a bathtub like a pro.
We’ll cover everything from preparing the surface to adding those perfect finishing touches. So, if you’re ready to transform your bathtub into a shining masterpiece, let’s dive right in!
Key Takeaways
- Gather necessary cleaning products and remove loose caulk or grime
- Clean the entire bathtub with mild detergent and pay special attention to stains or soap scum buildup
- Ensure the surface is clean and free of debris before applying the resurfacing solution
- Sand the surface in a circular motion, paying extra attention to stains or imperfections, and apply a sealant or topcoat for protection.
Ekopel 2K Bathtub Refinishing Kit – Pour On Bathtub Paint White Gloss Finish Kit, 1 Coat Odorless Sink and Bath Tub Paint – Long Lasting Never Peel DIY Glaze for Tub, Made in USA – Bright Gloss White
COMPLETE POUR-ON BATHTUB REFINISHING KIT: Ekopel Pour On Bathtub Refinishing Kit is designed to restore worn or discolored…
As an affiliate, we earn on qualifying purchases.
As an affiliate, we earn on qualifying purchases.
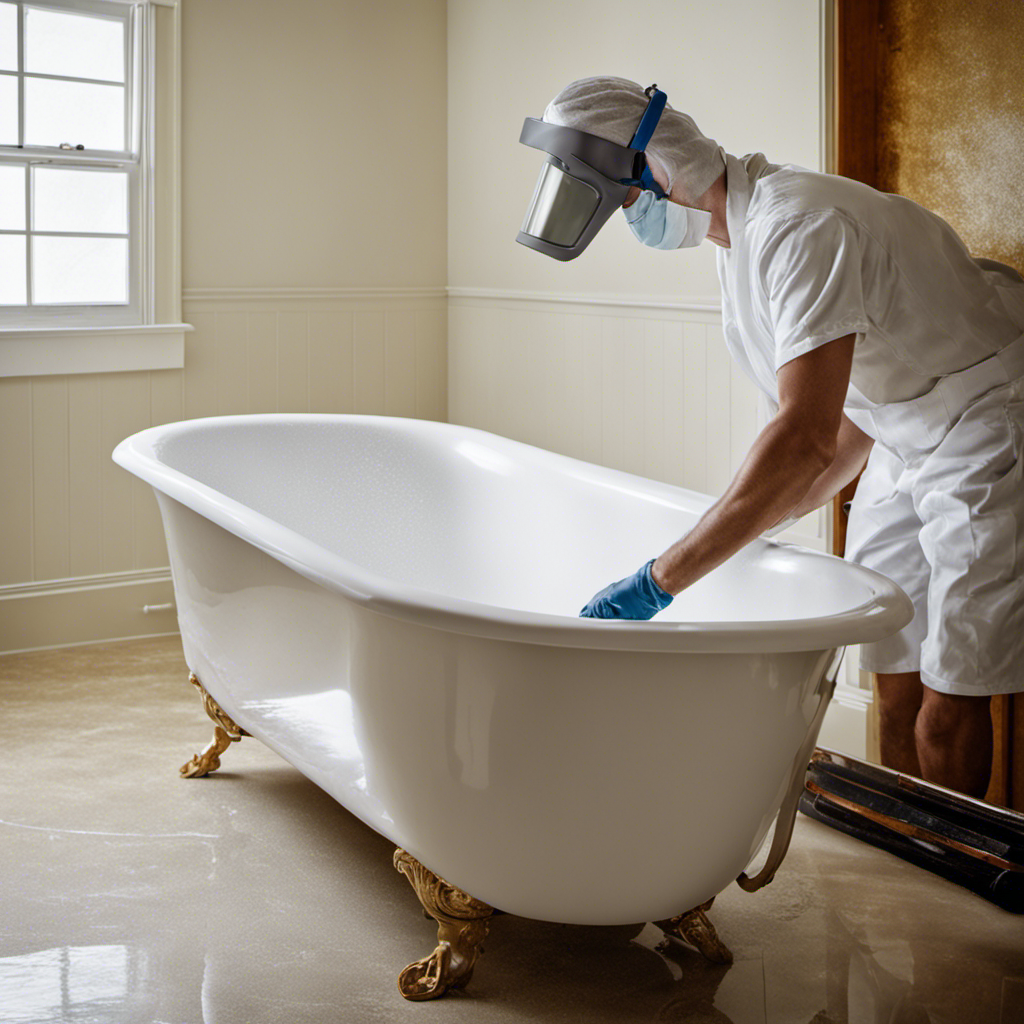
Preparing the Bathtub Surface
Now, you need to start prepping the bathtub surface for resurfacing. This step is crucial to ensure a smooth and long-lasting finish.
First, gather the necessary cleaning products such as a mild detergent, a non-abrasive sponge, and a scraper.
Begin by removing any loose caulk or grime using the scraper. Be careful not to damage the surface.
Next, mix the mild detergent with warm water and use the sponge to thoroughly clean the entire bathtub. Pay special attention to any stains or soap scum buildup.
Rinse the bathtub with clean water and dry it completely before proceeding.
Safety precautions are essential during this process. Always wear gloves, eye protection, and a mask to protect yourself from harsh chemicals or fumes.

Romeda 8-Pack Sanding Sponge, Four Grits Per Pack 60/80/120/220, Washable and Reusable Handmade Sandpaper Block, Drywall Sandpaper Blocks for Wooden Drywall Sheetrock and Metal Glazing
【ASSORTED GRIT SANDING BLOCKS】 8 sand blocks, 4 sizes from coarse to ultra-fine sand, 60/80/120/220 grit, 2 blocks…
As an affiliate, we earn on qualifying purchases.
As an affiliate, we earn on qualifying purchases.
Applying the Resurfacing Solution
First, you’ll want to ensure that the surface is clean and free of any debris before applying the resurfacing solution. This is crucial to achieve a smooth and long-lasting finish. Professional bathtub resurfacing offers several benefits compared to DIY projects. Not only does it save you time and effort, but it also guarantees a professional and flawless result. The resurfacing solution used by professionals is specifically designed to bond with the bathtub surface, creating a durable and beautiful finish that can last for years. However, there are common mistakes to avoid when applying the resurfacing solution. These include not properly preparing the surface, applying the solution too thick or too thin, and not allowing enough time for the solution to cure. By following the correct techniques and avoiding these mistakes, you can achieve a stunning and rejuvenated bathtub.
| Benefits of Professional Bathtub Resurfacing | Common Mistakes to Avoid |
|---|---|
| Saves time and effort | Improper surface preparation |
| Professional and flawless result | Applying the solution too thick or too thin |
| Durable and long-lasting finish | Insufficient curing time |
bathtub sealant topcoat
As an affiliate, we earn on qualifying purchases.
As an affiliate, we earn on qualifying purchases.
Sanding and Smoothing the Surface
Before applying the resurfacing solution, it’s important to sand and smooth the surface to ensure a clean and even finish. Choosing the right sandpaper is crucial for achieving the desired results.
For bathtub resurfacing, I recommend using a fine-grit sandpaper, such as 220 or 320 grit. This will help remove any rough or uneven areas on the surface. Start by thoroughly cleaning the bathtub and removing any loose debris.
Then, use the sandpaper to gently sand the entire surface in a circular motion. Pay extra attention to areas with stains or imperfections. After sanding, wipe away any dust with a damp cloth.
To achieve a smooth finish, apply a second round of sanding, this time using a finer grit sandpaper, such as 400 or 600 grit. Repeat the process of sanding and wiping until the surface feels smooth to the touch.
This will provide an optimal base for the resurfacing solution to adhere to, resulting in a flawless bathtub finish.
bathtub cleaning and prep tools
As an affiliate, we earn on qualifying purchases.
As an affiliate, we earn on qualifying purchases.
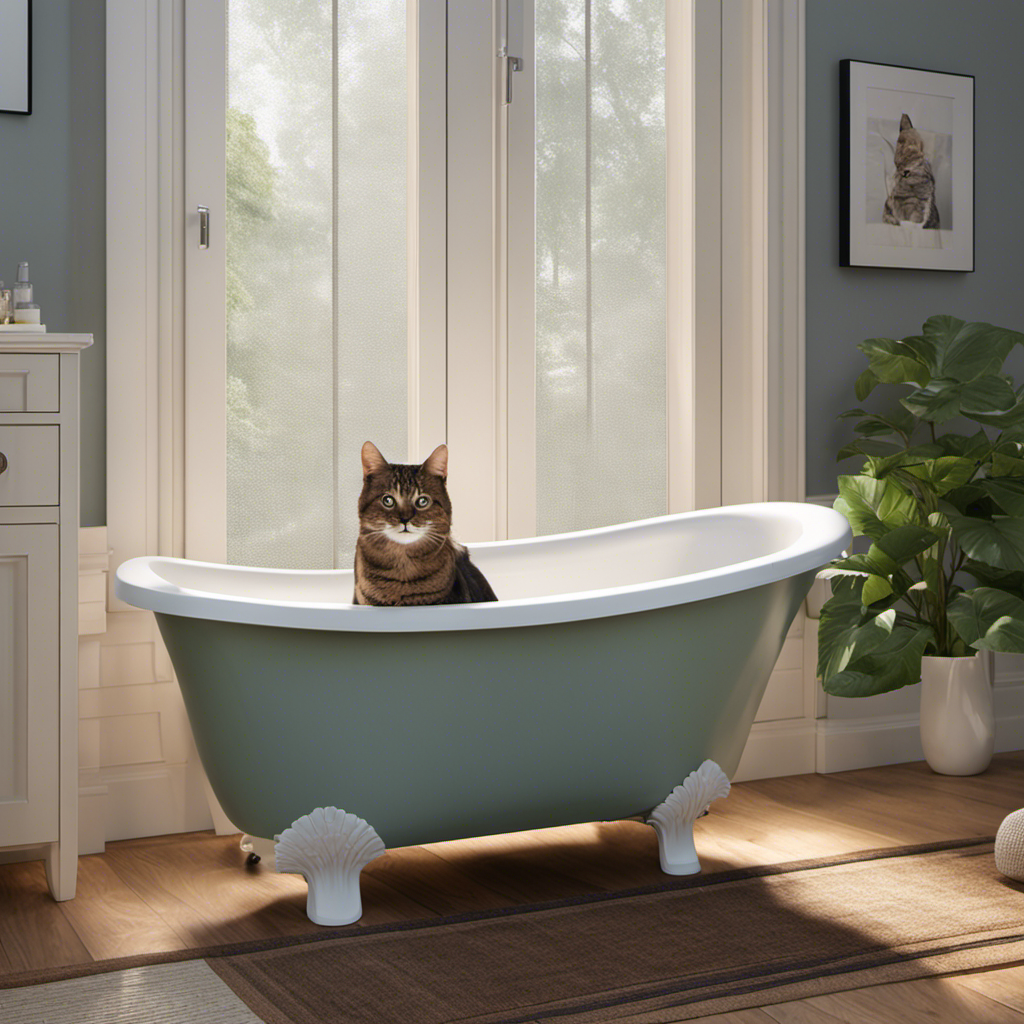
Adding the Finishing Touches
To complete the project, it’s important to apply a sealant or topcoat to protect the newly resurfaced surface.
After all the hard work of sanding and smoothing the bathtub, it’s time to add the finishing touches that will enhance its appearance.
One important aspect is selecting the right bathtub paint. You want a paint that is specifically designed for use on bathtubs and can withstand constant exposure to water and cleaning products. Look for a high-quality, durable paint that will provide a long-lasting finish.
Additionally, you can further enhance the bathtub’s look by adding decorative accents. This could include applying stencils, decals, or even using a different color for the edges or feet of the bathtub.
By paying attention to these details, you can create a beautiful and rejuvenated bathtub.
Now, let’s move on to maintenance and care tips to ensure the longevity of your newly resurfaced bathtub.
Maintenance and Care Tips
Taking proper care of your newly rejuvenated tub is essential to maintain its longevity and keep it looking its best.
After investing time and effort into resurfacing your bathtub, it is important to know how to maintain its pristine condition.
When it comes to cleaning products, it is crucial to avoid harsh chemicals and abrasive cleaners, as they can damage the surface of your tub. Instead, opt for mild, non-abrasive cleaners specifically designed for use on resurfaced tubs. These cleaners will effectively remove dirt and grime without causing any scratches or discoloration.
Additionally, always use soft, non-abrasive sponges or cloths when cleaning your tub to prevent any potential scratches.
Frequently Asked Questions
Can I Resurface a Bathtub With Deep Cracks or Chips?
Yes, you can resurface a bathtub with deep cracks or chips. One option is to use fiberglass to fill and reinforce the damaged areas. Alternatively, there are other resurfacing methods available.
How Long Does the Resurfacing Solution Take to Dry?
The drying time of the best resurfacing products can vary, but typically it takes around 24 hours for the solution to fully dry. It’s important to follow the manufacturer’s instructions for optimal results.
Is It Necessary to Wear Protective Gear While Applying the Resurfacing Solution?
It is necessary to wear protective gear when applying the resurfacing solution to ensure safety. However, there are alternative resurfacing methods available that may not require the same level of protective gear.
Can I Use Any Type of Sandpaper for Sanding and Smoothing the Resurfaced Bathtub Surface?
Yes, you can use different types of sandpaper for sanding and smoothing the resurfaced bathtub surface. The choice of sandpaper depends on the level of abrasiveness needed and the material of the bathtub.
How Often Should I Reapply the Finishing Touches to Maintain the Bathtub’s Appearance?
To maintain the bathtub’s appearance, it’s important to reapply the finishing touches regularly. A general rule of thumb is to do it every 1-2 years. This ensures that the surface remains smooth and beautiful for years to come.
Conclusion
In conclusion, resurfacing a bathtub is a cost-effective and efficient way to give your bathroom a fresh and updated look. By following the steps outlined in this article, you can easily transform your worn-out bathtub into a sleek and modern fixture.
Did you know that resurfacing a bathtub can save you up to 80% compared to replacing it? This interesting statistic highlights the financial benefits of this DIY project, making it even more appealing to homeowners.
So why not give it a try and enjoy a beautiful bathtub without breaking the bank?