I’ve sanded my fair share of bathtubs in my time, and let me tell you, it’s not for the faint of heart. But fear not, because I’m here to guide you through the process step by step.
With the right tools and a little elbow grease, you’ll be able to transform your worn-out bathtub into a smooth and shiny masterpiece.
So roll up your sleeves and get ready to tackle this project head-on. Trust me, the results will be well worth the effort.
Key Takeaways
- Choose fine-grit sandpaper (220 to 320 grit) to avoid scratching the bathtub surface
- Use coarse sandpaper (40 to 60 grit) for initial sanding and switch to finer sandpaper (80 to 120 grit) for a smoother surface
- Protect surrounding areas with painter’s tape and plastic sheeting
- Repair any damaged areas using epoxy resin, enamel repair kit, fiberglass patch, or acrylic repair kit depending on the type of damage.
Gathering the Necessary Tools and Materials
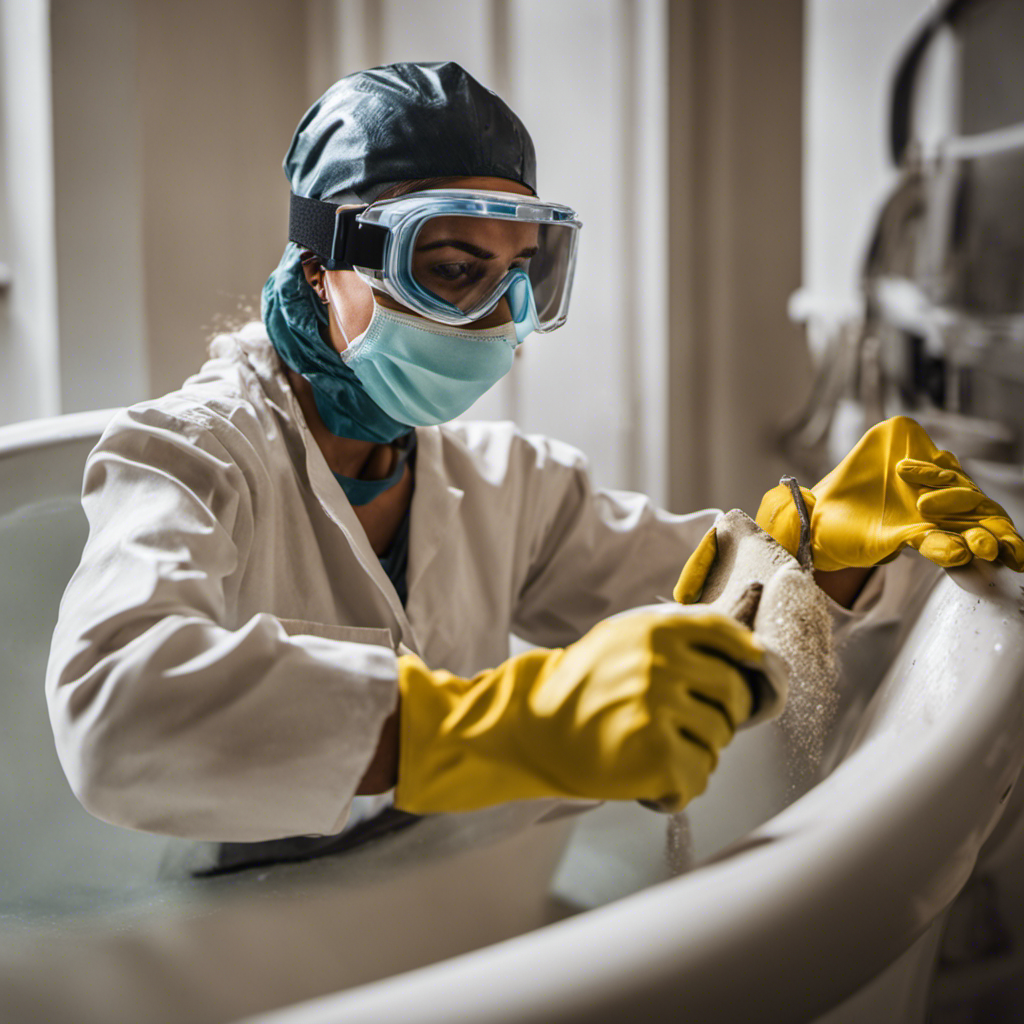
Before you can start sanding your bathtub, you’ll need to gather all the necessary tools and materials.
First and foremost, you’ll need to choose the right sandpaper for the job. I recommend using a fine-grit sandpaper, around 220 to 320 grit, to avoid scratching the surface of your bathtub.
Safety precautions during sanding are of utmost importance. Make sure to wear protective goggles to shield your eyes from any flying debris. Additionally, wearing a dust mask will help prevent you from inhaling any harmful particles. To protect your skin, it’s advisable to wear gloves.
Lastly, ensure good ventilation in the area to minimize the buildup of dust and fumes.
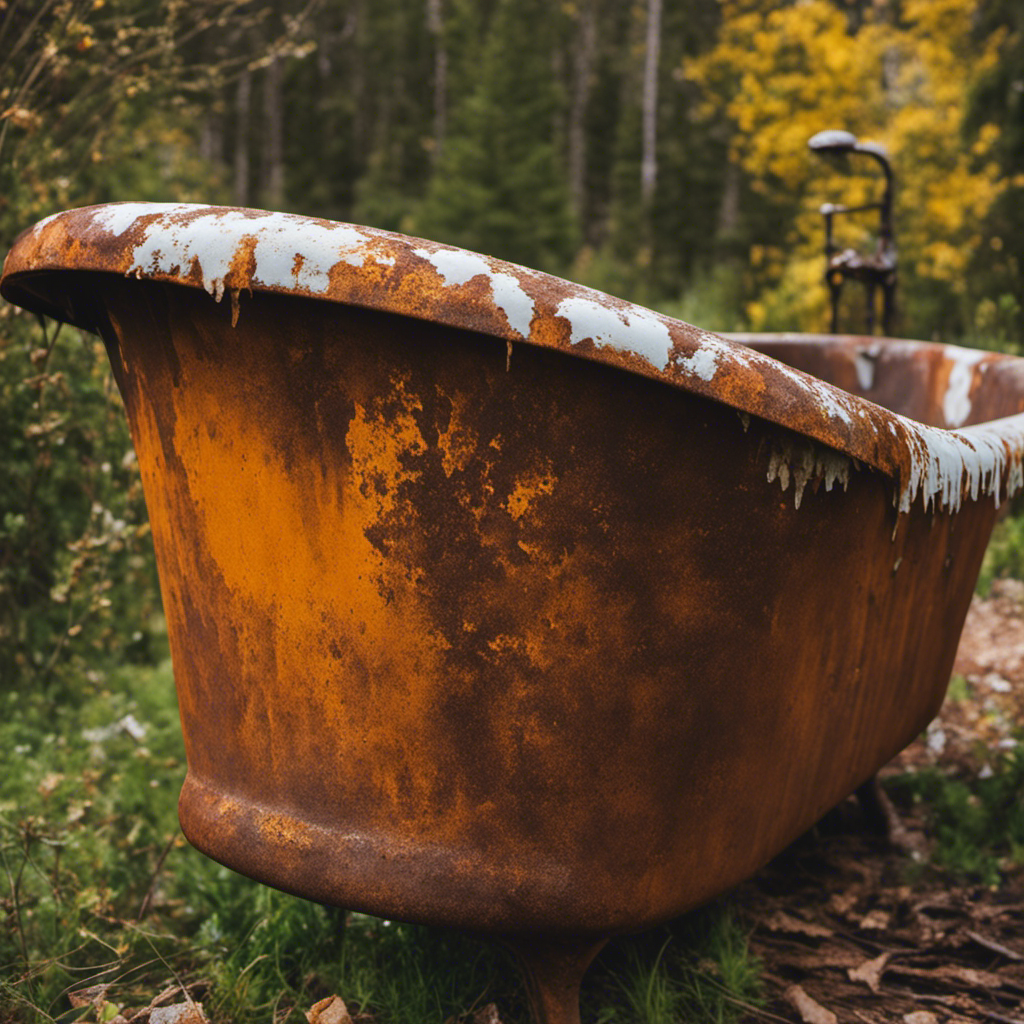
Preparing the Bathtub for Sanding
To get started, you’ll want to make sure you’ve thoroughly cleaned the surface of the bathtub. This is essential to ensure proper adhesion of any coatings or refinishing materials you’ll be using later.
Once the tub is clean and dry, it’s time to choose the right sandpaper for bathtub sanding. When sanding a bathtub, you’ll want to use a fine-grit sandpaper, such as 220-grit or higher. This will help to smooth out any imperfections and create a surface that is ready for refinishing.
Additionally, it’s important to mask off surrounding areas to protect them from any dust or debris that may be generated during the sanding process. Use painter’s tape and plastic sheeting to cover fixtures, walls, and any other nearby surfaces.
Taking the time to properly prepare the bathtub for sanding will ensure a successful refinishing project.
Sanding the Bathtub Surface
Now that you have cleaned the bathtub and protected the surrounding areas, it’s time to start smoothing out any imperfections on the surface.
Choosing the right sandpaper for the job is crucial to ensure a smooth and even finish. For initial sanding, I recommend using a coarse sandpaper with a grit between 40 and 60. This will help remove any rough patches or stubborn stains.
As you progress, switch to a finer sandpaper with a grit between 80 and 120 to achieve a smoother surface.
When sanding curved surfaces, such as the edges of the bathtub, it’s important to use a sanding sponge or wrap the sandpaper around a foam block. This will allow you to effectively sand the curves without causing any damage.
Once you have completed the sanding process, we can move on to repairing any damaged areas.
Repairing Any Damaged Areas
For a quick and effective repair, you’ll need to assess any damaged areas of your bathtub surface. This step is crucial in ensuring that the repair is done properly and that the results are long-lasting. When it comes to repairing cracks and chips, filling in holes and scratches, there are several methods you can use depending on the severity of the damage. Here’s a handy table that outlines different repair techniques based on the type of damage:
| Damage Type | Repair Method |
|---|---|
| Cracks | Epoxy resin |
| Chips | Enamel repair kit |
| Holes | Fiberglass patch |
| Scratches | Acrylic repair kit |
Finishing and Refinishing the Bathtub
Once you’ve completed the necessary repairs, it’s time to apply a finishing coat to protect and enhance the surface of your tub. Here are three bathtub refinishing techniques and professional bathtub resurfacing options to consider:
-
Epoxy Coating: This is a popular choice for refinishing a bathtub as it provides a durable and long-lasting finish. It is applied in multiple layers and creates a smooth, glossy surface that is resistant to stains and scratches.
-
Acrylic Urethane Coating: This type of coating is known for its high resistance to chemicals and moisture. It offers a glossy finish and is easy to clean and maintain. Additionally, it provides a protective barrier against everyday wear and tear.
-
Porcelain Enamel Refinishing: This technique involves applying a new layer of porcelain enamel to the bathtub surface. It is a cost-effective option that can restore the original shine and beauty of your tub.
Conclusion
In conclusion, sanding a bathtub may seem like a daunting task, but it can be accomplished smoothly with the right tools and materials. By following the steps outlined in this article and taking the time to prepare the bathtub properly, sanding can lead to a beautifully refinished surface.
Just like a master craftsman transforming a rough piece of wood into a work of art, you too can transform your bathtub into a stunning centerpiece for your bathroom. So, grab your sandpaper and get ready to create a bathing experience like no other!