
Did you know that cracks in bathtubs can lead to water leaks and costly repairs if left untreated?
In this guide, I’ll show you how to seal a bathtub crack effectively. By following these steps, you can save time and money by fixing the issue yourself.
With a few simple supplies and some patience, you’ll be able to restore the integrity of your bathtub and prevent any further damage.
Let’s get started!
Key Takeaways
- Regularly inspect and maintain caulking to prevent cracks in the bathtub.
- Gather reliable supplies and tools, such as a caulk gun and high-quality silicone caulk, for precise and effective sealing.
- Proper tool selection and application techniques, such as using a utility knife to remove loose material and applying epoxy adhesive, ensure a successful repair.
- Prepare the bathtub surface by cleaning it thoroughly, removing dirt and residue, and smoothing the crack with sandpaper before applying the sealant.
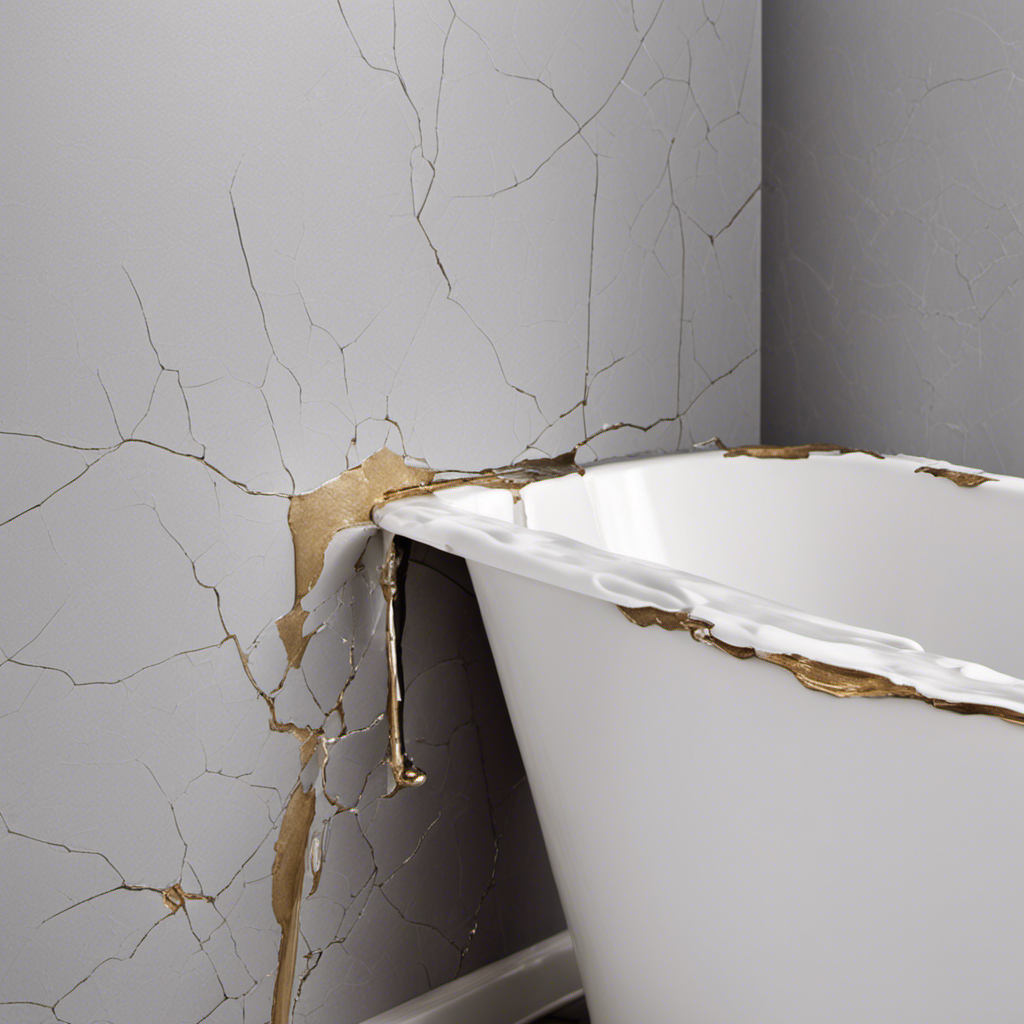
Identifying the Crack
Now, take a closer look at the crack in your bathtub to determine its size and location.
To identify the cause of the crack, start by examining the surroundings. Look for any signs of water damage or leaks around the area. Check for any structural issues, such as sagging or uneven floors, which could be putting pressure on the bathtub.
Next, measure the size of the crack using a ruler or tape measure. Note down the length and width of the crack, as well as its depth if possible. This information will be helpful when choosing the appropriate repair method.
To prevent future cracks, ensure that the bathtub is properly supported and that there are no excessive vibrations or movements. Regularly inspect and maintain the caulking around the bathtub to prevent water penetration.
Gathering the Necessary Supplies
When it comes to repairing a bathtub crack, there are three key points to consider:
-
Essential repair materials: Having the right materials on hand is crucial for a successful repair, so it’s important to gather everything you need before getting started.
-
Proper tool selection: Additionally, selecting the proper tools will ensure that the repair is done accurately and efficiently.
-
Sealant application techniques: Finally, understanding the proper techniques for applying sealant will help to ensure a long-lasting and effective repair.
Essential Repair Materials
First, you’ll need to gather the essential repair materials for sealing the bathtub crack. Here are the must-haves:
-
Caulk gun: A reliable caulk gun is crucial for applying the sealant with precision and control.
-
Emotion evoked: Confidence. With a caulk gun in hand, you’ll feel empowered to tackle the crack head-on, knowing you have the right tool for the job.
-
Silicone caulk: Opt for a high-quality silicone caulk specifically designed for bathroom use. This ensures maximum durability and water resistance.
-
Emotion evoked: Peace of mind. Using a top-notch silicone caulk guarantees that your repair will stand the test of time, giving you reassurance that your bathtub will remain leak-free.
By having these repair materials at your disposal, you’ll be equipped to tackle the crack and prevent further damage. Remember to clean and dry the area thoroughly before applying the sealant.
With proper repair techniques and troubleshooting tips, you’ll have your bathtub looking and functioning like new in no time.
Proper Tool Selection
To ensure success, make sure you’ve got the right tools on hand for properly repairing your bathtub. A few essential tools for repairing a bathtub crack include a utility knife, sandpaper, epoxy adhesive, and a caulk gun. These tools will help you remove any loose material around the crack, sand down the surface for better adhesion, apply the epoxy adhesive, and then seal the crack with caulk.
When it comes to tool maintenance, it’s important to keep your tools clean and in good condition to prolong their lifespan and ensure they work effectively.
However, it’s worth mentioning that there are alternative repair methods available, such as using a bathtub repair kit or hiring a professional to do the job. Ultimately, the choice of tools and repair method will depend on the severity of the crack and your level of expertise.
Sealant Application Techniques
You can achieve a smooth and even seal by applying the adhesive with a steady hand and using a caulk gun. This is a crucial step in bathtub crack repair.
Here are some tips to help you apply the sealant correctly:
- Choose the right sealant for the job, considering factors like moisture resistance and flexibility.
- Clean the crack thoroughly before applying the sealant to ensure proper adhesion.
- Apply the sealant in a continuous and even bead, keeping the gun at a 45-degree angle.
- Smooth the sealant with a caulk smoother or your finger to create a neat finish.
- Allow the sealant to dry for the recommended time, usually around 24 hours, before using the bathtub.
Preparing the Surface
Before starting the process of sealing a bathtub crack, it’s important to properly prepare the surface. This involves three key steps: cleaning and drying, removing loose particles, and sanding the surface.
To ensure a successful seal, it’s crucial to follow these steps diligently. They will help create a clean and smooth surface for the sealant to adhere to.
Cleaning and Drying
Start by wiping down the bathtub surface to remove any dirt or residue. This is an essential step in preparing the surface for sealing. Cleaning the bathtub not only ensures a proper bond between the sealant and the surface but also helps maintain a clean and hygienic bathroom environment.
Here are some effective cleaning techniques and drying methods to consider:
-
Cleaning Techniques:
-
Use a mild detergent or bathroom cleaner to remove soap scum and grime.
-
Scrub the surface gently with a sponge or soft brush to avoid scratching.
-
Drying Methods:
-
After cleaning, rinse the bathtub thoroughly with warm water.
-
Use a clean cloth or towel to dry the surface completely before applying the sealant.
Removing Loose Particles
To ensure a smooth and durable seal, it’s important to remove any loose particles from the bathtub surface. These particles can prevent the sealant from adhering properly and may lead to future cracks.
To remove loose particles, follow these steps:
-
Use a soft-bristle brush or sponge to gently scrub the crack and surrounding area. This will help loosen any dirt or debris.
-
Rinse the area with clean water to remove any loosened particles.
-
Dry the surface thoroughly using a clean towel or cloth.
By thoroughly cleaning the crack and removing loose particles, you can create an optimal surface for sealing. This will help prevent future cracks and ensure a long-lasting repair.
In the next section, we will discuss the importance of sanding the surface before applying the sealant.
Sanding the Surface
Make sure you use sandpaper to smooth the surface before applying the sealant and prevent any imperfections. Sanding the surface is an important step in bathtub crack repair as it ensures proper adhesion of the sealant and creates a smooth, even finish.
Here are some key sanding techniques and surface preparation tips to consider:
- Start by cleaning the cracked area with a mild detergent and water to remove any dirt or grime.
- Use fine-grit sandpaper (around 220 grit) to gently sand the cracked surface, ensuring you smooth out any rough edges or raised areas.
- Apply even pressure and use long, sweeping motions to avoid creating uneven patches.
- Wipe away any dust or debris with a clean cloth before proceeding to the next step.
Applying the Sealant
First, you’ll need to mix the sealant according to the manufacturer’s instructions. Make sure to read and follow the guidelines carefully to ensure the best results.
Once the sealant is mixed and ready to use, apply it to the bathtub crack using a caulk gun or a putty knife. Start from one end of the crack and work your way to the other, applying a thin and even layer of sealant. Be careful not to apply too much, as it can take longer to dry and may result in an uneven finish.
Avoid the common mistake of rushing the drying process. Give the sealant ample time to dry completely before using the bathtub. This typically takes around 24 hours, but consult the manufacturer’s instructions for specific drying times.
Filling the Crack
Once the sealant is mixed and ready, you can start filling the crack using a caulk gun or putty knife. This step is crucial in repairing bathtub cracks and preventing further damage.
Here are some repair techniques and crack prevention tips to consider:
- Use a caulk gun or putty knife to apply the sealant evenly into the crack.
- Make sure to fill the crack completely, leaving no gaps or air pockets.
- Smooth the surface with a putty knife for a seamless finish.
- Allow the sealant to dry thoroughly before using the bathtub again.
- Regularly inspect and maintain the sealant to prevent future cracks.
Smoothing and Finishing the Surface
Now that the crack in my bathtub is filled, it’s time to focus on smoothing and finishing the surface. But before I can do that, proper surface preparation is essential.
I start by cleaning the area around the crack to remove any dirt or debris. Then, I lightly sand the filled crack to ensure a smooth surface.
Next, I apply a thin layer of epoxy filler over the crack, using a putty knife or scraper. This helps to level out any unevenness and provides a seamless finish. I make sure to follow the manufacturer’s instructions for drying time and sanding between coats if necessary.
Once the surface is smooth, I can move on to the final steps of finishing. This may involve applying a bathtub repair paint or using a bathtub refinishing kit to restore the color and shine.
Allowing the Sealant to Cure
To ensure a strong and durable repair, make sure you give the sealant enough time to fully cure. Curing time is crucial in achieving a long-lasting and effective seal. Rushing this step can lead to a compromised repair that may not stand the test of time. It’s important to remember that the curing time can vary depending on the type of sealant used, so always refer to the manufacturer’s instructions for guidance.
Here are two emotional reasons why giving the sealant ample time to cure is important:
-
Peace of mind: Allowing the sealant to cure completely gives you the reassurance that your repair will hold up over time, providing a sense of security and peace of mind.
-
Beauty and pride: Taking the time to properly cure the sealant ensures a smooth and seamless finish, enhancing the overall appearance of your bathtub and instilling a sense of pride in your DIY accomplishment.
Conclusion
In conclusion, sealing a bathtub crack is a simple task that can save you from future headaches and potential water damage. By identifying the crack, gathering the necessary supplies, and preparing the surface, you’re already on your way to success.
Applying the sealant and filling the crack is like adding a protective shield to your bathtub, ensuring a watertight seal. Smoothing and finishing the surface is the cherry on top, giving your bathtub a polished and professional look.
Just remember to allow the sealant to cure, like a magician’s spell, turning your cracked bathtub into a flawless oasis once again.