Did you know that a leaking bathtub drain can waste up to 20 gallons of water per day?
If you’re tired of the constant drip and the rising water bills, it’s time to take matters into your own hands.
In this article, I’ll guide you through the step-by-step process of sealing your bathtub drain.
With just a few tools and materials, you’ll be able to fix the problem and enjoy a leak-free bathing experience.
So let’s get started and put an end to that annoying drip!
Key Takeaways
- A leaking bathtub drain can waste up to 20 gallons of water per day.
- Slow draining, gurgling sounds, and unpleasant odors indicate a faulty drain.
- Choose a sealant designed for bathtub drains that ensures a watertight seal and resistance to mold and mildew.
- Properly clean the drain, remove old sealant, and apply new sealant evenly for a tight and durable seal.
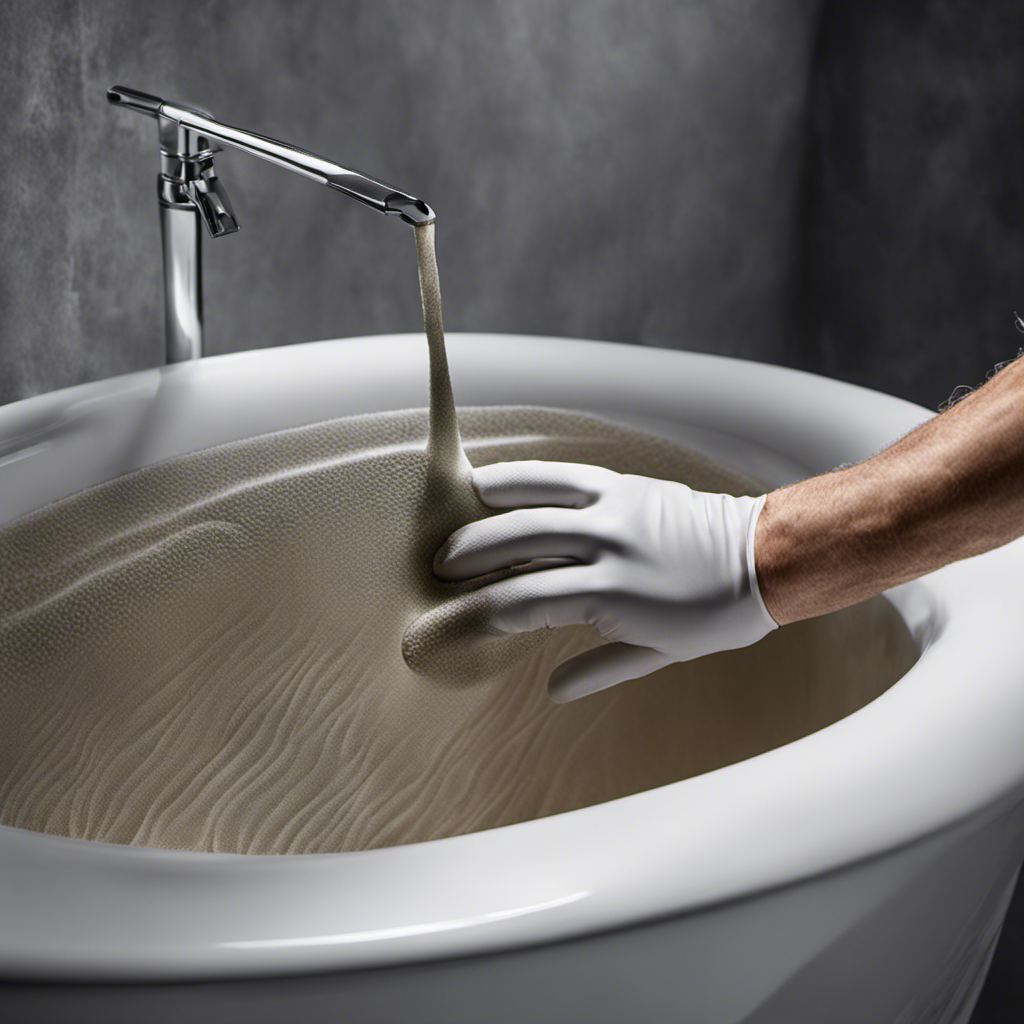
Assessing the Condition of Your Bathtub Drain
Before you start sealing the bathtub drain, make sure to assess its condition to determine if it needs any repairs.
Proper bathtub drain maintenance is essential to prevent potential problems in the future.
Start by checking for signs of a faulty drain, such as slow draining, gurgling sounds, or unpleasant odors coming from the drain.
Next, remove any debris or hair that may have accumulated in the drain using a drain snake or a pair of needle-nose pliers.
Inspect the drain flange and the surrounding area for any cracks or damage.
If you notice any issues, it’s important to address them before sealing the drain to ensure a tight and secure fit.
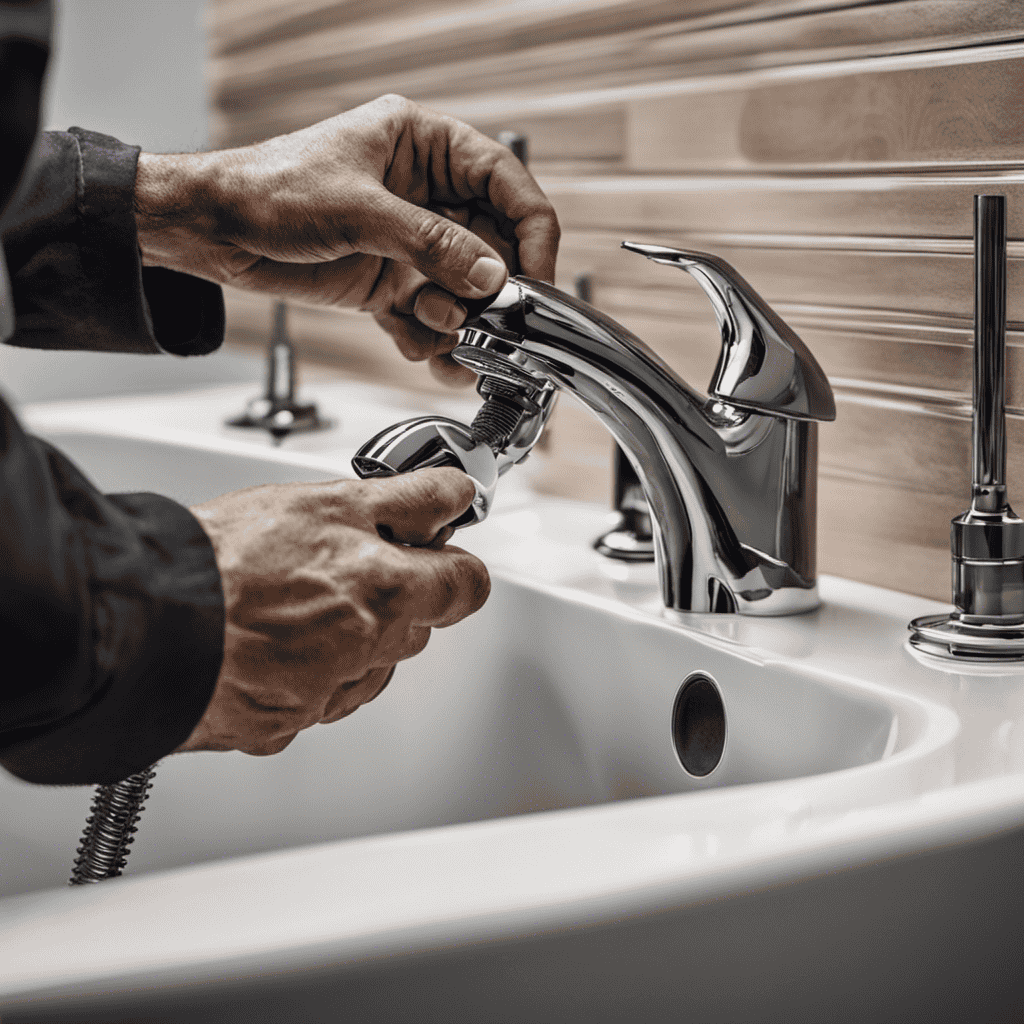
Gathering the Necessary Tools and Materials
Once you’ve got everything you need, it’s time to start sealing the drain. Before you begin, it’s important to choose the right sealant and ensure the drain is properly cleaned. The sealant you select should be specifically designed for bathtub drains and offer a watertight seal. Additionally, it should be resistant to mold and mildew. To properly clean the drain, start by removing any debris or hair that may have accumulated. Next, use a mixture of equal parts baking soda and vinegar to dissolve any buildup or residue. After allowing the solution to sit for a few minutes, flush the drain with hot water. By choosing the right sealant and using proper cleaning techniques, you can ensure a successful and long-lasting seal.
| Column 1 | Column 2 | Column 3 |
|---|---|---|
| Choose a sealant designed for bathtub drains | Ensure a watertight seal | Resistant to mold and mildew |
| Remove debris and hair from the drain | Use a mixture of baking soda and vinegar | Dissolve buildup and residue |
| Allow the solution to sit for a few minutes | Flush the drain with hot water | Ensure thorough cleaning |
| Follow manufacturer’s instructions for sealant application | Check for any leaks or gaps | Make adjustments as necessary |
Removing the Old Sealant From the Bathtub Drain
To remove the old sealant, you’ll need to carefully scrape it off using a putty knife or a similar tool. Here’s how to do it:
-
Start by preparing the area by cleaning the bathtub drain thoroughly. Use a mild detergent and a brush to remove any dirt or debris.
-
Once the drain is clean, inspect the old sealant to identify any loose or damaged areas. These should be the first to be removed.
-
Hold the putty knife at a shallow angle and gently scrape away the old sealant. Be careful not to scratch the surface of the bathtub.
-
Continue scraping until all the old sealant has been removed. Use a damp cloth to wipe away any residue.
-
If the old sealant is stubborn, you can use a solvent or adhesive remover to soften it before scraping.
Now that the old sealant has been removed, let’s move on to applying the new sealant to the bathtub drain.
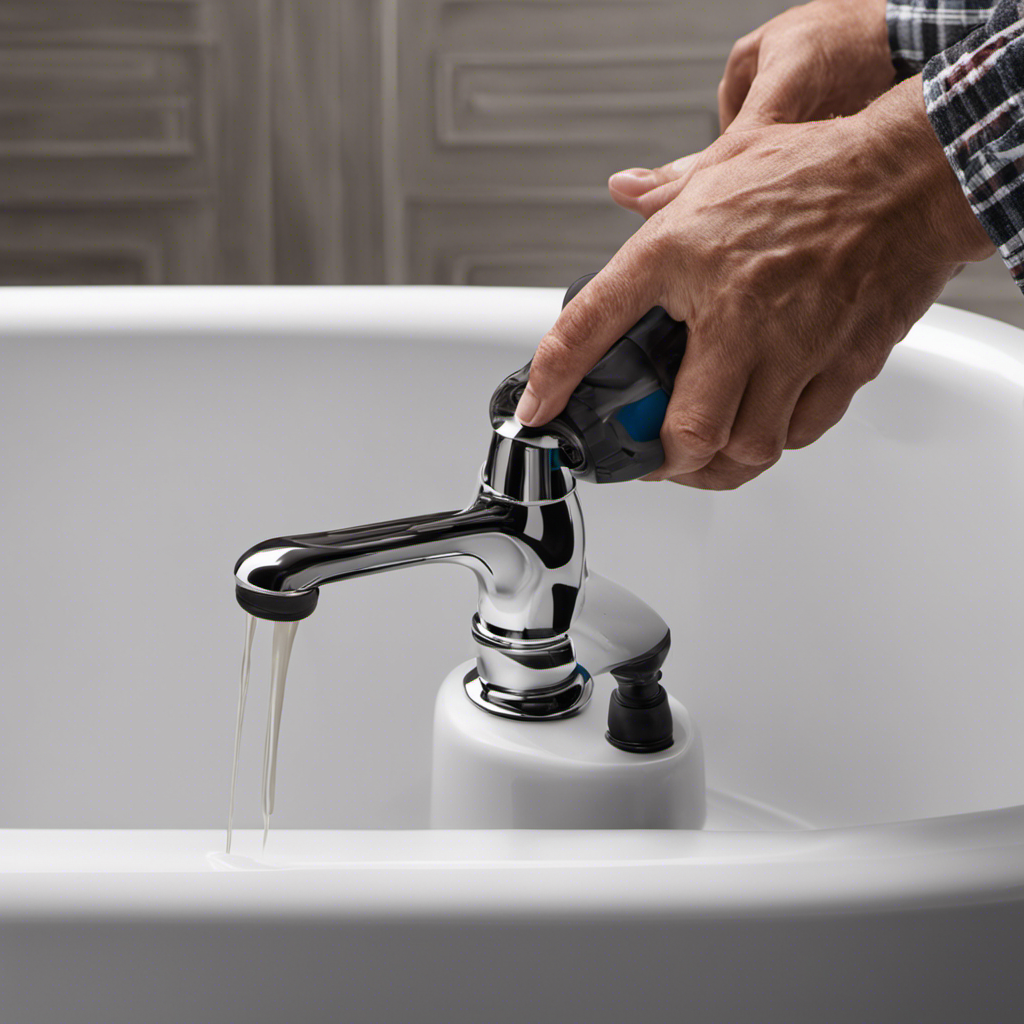
Applying the New Sealant to the Bathtub Drain
After removing the old sealant, it’s time to apply the new sealant to ensure a secure and watertight bathtub drain.
To begin, prepare the surface by cleaning it thoroughly with a mild detergent and warm water. This will remove any dirt, grime, or residue that could interfere with the adhesion of the new sealant.
Once the surface is clean and dry, choose the right sealant for your bathtub drain. Silicone-based sealants are commonly used due to their flexibility and waterproof properties.
Apply the sealant evenly around the edges of the drain, ensuring complete coverage. Use a caulking gun to make the application easier and more precise. Smooth out any excess sealant with a damp cloth or your finger.
Allow the sealant to cure according to the manufacturer’s instructions before using the bathtub.
Testing the Seal for Leaks and Ensuring a Tight Fit
Make sure you check for any leaks and ensure a snug fit by running water through the newly applied sealant on your bathtub drain.
To ensure that your seal is working properly, follow these troubleshooting steps:
-
Check for proper drainage: After running water through the drain, observe if the water flows smoothly without any blockages or backups.
-
Inspect the sealant for any signs of leakage: Look for any water seeping through the sealant or any damp spots around the drain area.
-
Test the tightness of the seal: Gently press down on the drain cover to ensure it is securely in place and doesn’t move or wobble.
-
Verify the seal’s durability: Apply pressure around the sealant to see if it remains intact without cracking or breaking.
-
Address common seal issues: If you notice any leaks or loose seals, remove the old sealant and reapply a new layer, making sure to follow the proper sealing techniques.
Conclusion
As I finished applying the new sealant to my bathtub drain, I couldn’t help but feel a sense of accomplishment. The process was straightforward and easy to follow, thanks to the step-by-step instructions.
Now, all that was left to do was test the seal for leaks. My heart raced with anticipation as I turned on the water. Would my hard work pay off? Would the seal hold tight?
The suspense hung in the air, and I anxiously awaited the moment of truth.