
Are you tired of dealing with a leaky bathtub that turns your bathroom into a swimming pool? Well, fret no more! In this article, we will guide you through the simple yet effective process of sealing around your bathtub.
With just a few tools and materials, you can say goodbye to those pesky water leaks and hello to a watertight seal that will stand the test of time.
So, roll up your sleeves and let’s get started on this bathtub sealing adventure!
Key Takeaways
- Prepare the surface by removing old caulk and cleaning the area thoroughly
- Choose a silicone-based caulk designed for bathroom use
- Apply a thin bead of caulk along the joint between the bathtub and the wall using steady pressure and a consistent angle
- Smooth and finish the seal using a caulk smoothing tool or finger, and remove excess caulk with a damp cloth

GE Advanced Silicone Caulk for Kitchen & Bathroom, White, 2.8 fl oz Tube, 1 Pack – 100% Waterproof Silicone Sealant, 5X Stronger Adhesion, Shrink & Crack Proof
100% Silicone Caulk Protection: This silicone caulk white provides ultimate waterproof protection, ensuring a reliable seal against water…
As an affiliate, we earn on qualifying purchases.
As an affiliate, we earn on qualifying purchases.
Tools and Materials Needed
To properly seal around the bathtub, you’ll need caulk, a caulking gun, and a putty knife. Choosing the right caulk is crucial for achieving a long-lasting seal. Look for a caulk that is specifically designed for bathrooms and is labeled as waterproof and mold-resistant. Silicone caulk is often the best option as it provides excellent adhesion and flexibility.
Before applying the caulk, it’s important to prepare the surface properly. Start by thoroughly cleaning the area around the bathtub with a mild detergent and water. Remove any old caulk or residue using a putty knife. Make sure the surface is completely dry before proceeding with the caulking process.
Caulk Gun Kit, Smooth Silicone Caulking Gun and Caulk Remover Tool, Sealant Finishing Tool Grout Scraper for Kitchen Bathroom Window Sink Joint, All in One with Gift Box
【Easy to operate】Cocew Caulking Gun is lightweight, the Smooth Pressure Rod is available with a high thrust ratio….
As an affiliate, we earn on qualifying purchases.
As an affiliate, we earn on qualifying purchases.
Preparing the Surface
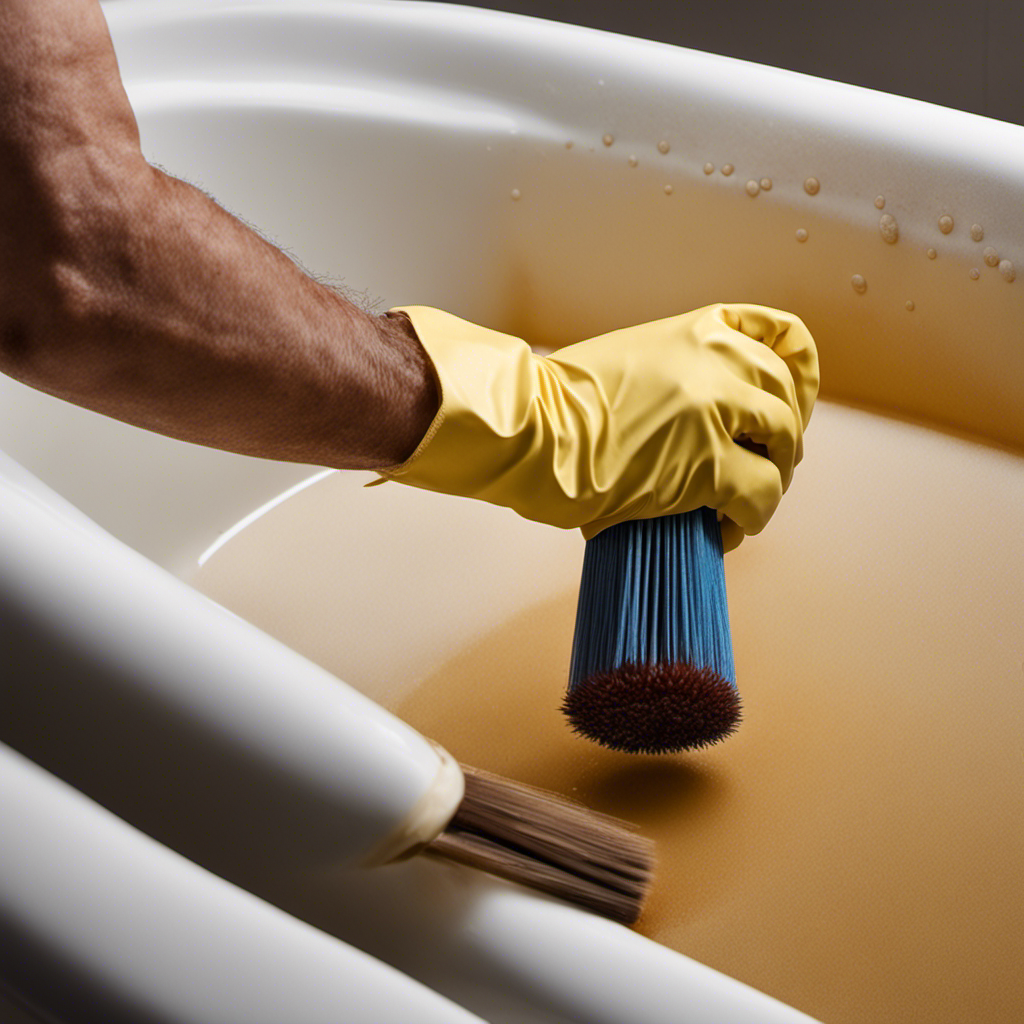
Before applying the caulk, make sure the surface is clean and dry. Cleaning and drying the surface thoroughly is essential for a proper seal around your bathtub.
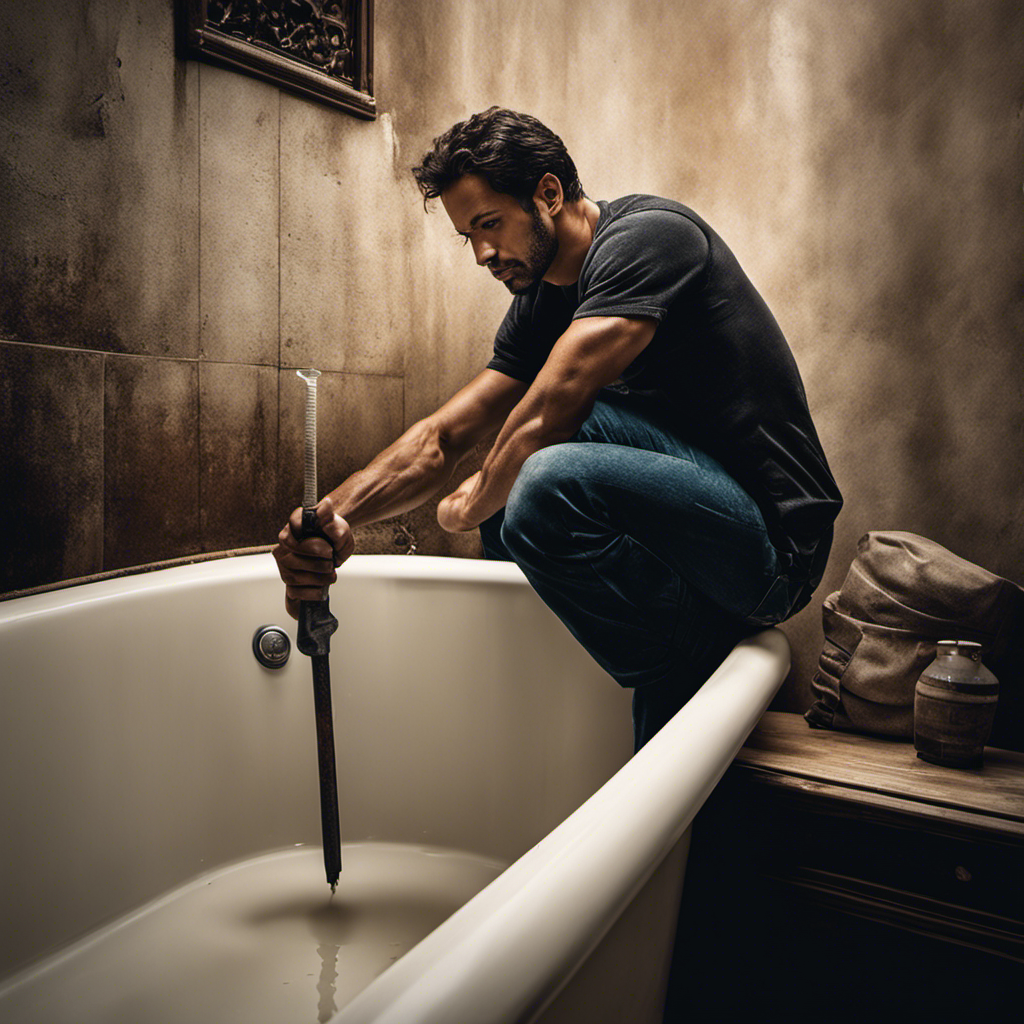
Start by removing any old caulk using a caulk remover tool or a putty knife. Be careful not to damage the surrounding tiles or fixtures.
Once the old caulk is removed, clean the area with a mixture of warm water and mild detergent. Scrub the surface gently using a sponge or a soft brush to remove dirt, grime, and any remaining caulk residue.
Rinse the area thoroughly and allow it to dry completely before applying the new caulk. A clean and dry surface will ensure that the new caulk adheres properly and provides a long-lasting seal.

ALLWAY CT31 3-in-1 Caulk Tool for Removal and Application
Multifunction 3-in-1 Caulk Tool: Comfortable soft-grip and made from strong engineering plastic
As an affiliate, we earn on qualifying purchases.
As an affiliate, we earn on qualifying purchases.
Applying the Caulk
First, you’ll need to gather all the necessary materials for applying the caulk. To ensure a successful seal around your bathtub, it’s important to choose the right caulk. Look for a silicone-based caulk that is specifically designed for bathroom use. This type of caulk is waterproof, flexible, and resistant to mold and mildew.
Once you have the caulk, prepare the caulk gun by cutting off the tip at a 45-degree angle. Load the caulk tube into the gun and squeeze the trigger until the caulk starts to flow. Apply a thin bead of caulk along the joint between the bathtub and the wall, working in small sections at a time. Use steady pressure and keep the caulk gun at a consistent angle.
After applying the caulk, smooth and finish the seal using a caulk smoothing tool or your finger. This will help create a neat and professional-looking finish.
Transitioning into the next section, you can move on to smoothing and finishing the seal.

GE Advanced Silicone Caulk for Kitchen & Bathroom, White, 10 fl oz Cartridge, 1 Pack – 100% Waterproof Silicone Sealant, 5X Stronger Adhesion, Shrink & Crack Proof
100% Silicone Caulk Protection: This silicone caulk white provides ultimate waterproof protection, ensuring a reliable seal against water…
As an affiliate, we earn on qualifying purchases.
As an affiliate, we earn on qualifying purchases.
Smoothing and Finishing the Seal
Now, you can use a caulk smoothing tool or your finger to achieve a smooth and professional finish on the joint between the bathtub and the wall. This step is crucial in preventing mold growth and ensuring a long-lasting seal.
When smoothing the caulk, it’s important to apply even pressure and maintain a consistent motion. Start at one end of the joint and work your way to the other end, using long, sweeping strokes. Be sure to remove any excess caulk as you go, wiping it away with a damp cloth.
Additionally, choosing the right caulk color is essential for a seamless finish. Consider matching the caulk color to the color of your bathtub or the surrounding tiles for a more cohesive look.
Maintaining and Repairing the Seal
To keep the caulk in good condition, it’s important to regularly inspect and repair any cracks or gaps. This will ensure that the seal around your bathtub remains effective, preventing water from seeping into the walls and causing damage.
Here are some tips to help you maintain and repair the seal:
- Clean the area thoroughly before inspecting it, removing any old caulk or debris.
- Use a caulk softener to help remove stubborn caulk.
- Apply a new layer of caulk to any cracks or gaps, making sure to fill them completely.
- Smooth the caulk with your finger or a caulking tool for a neat finish.
Regularly check the seal for any signs of wear or damage. If the seal is beyond repair, consider replacing the bathtub to prevent further issues. Keep the area dry to prevent mold growth.
Frequently Asked Questions
How Long Does It Take for the Caulk to Dry and Fully Cure?
Caulk drying time varies depending on the brand and type, but it usually takes about 24 hours to dry and fully cure. Proper caulk curing is important to ensure a watertight seal around your bathtub.
Can I Use a Different Type of Sealant Instead of Caulk for Sealing Around My Bathtub?
You can use a different type of sealant for sealing around your bathtub, but it’s important to consider the pros and cons. Caulk is commonly used because it’s flexible, waterproof, and easy to apply.
Should I Remove the Old Caulk Before Applying a New Seal?
Yes, you should remove the old caulk before applying a new seal. It is important because removing the old caulk ensures a clean surface for the new seal to adhere to, resulting in a more effective and long-lasting seal.
What Should I Do if the Caulk Starts to Crack or Peel After a Few Months?
If the caulk cracks or peels, it’s time to roll up those sleeves. Start by removing the old caulk, clean the area, and apply a fresh bead of caulk. Don’t forget to smooth it out for a watertight seal.
Can I Use the Same Caulk for Both the Bathtub and the Surrounding Tiles?
Yes, you can use the same silicone caulk for both the bathtub and surrounding tiles. It provides a waterproof seal and flexibility. However, keep in mind that if one area needs repair, you’ll have to redo the whole seal.
Conclusion
So there you have it, you’ve successfully sealed around your bathtub!
Now, not only will you prevent water damage, but you’ll also add a polished look to your bathroom.
Remember to regularly check and maintain the seal to ensure its longevity.
And if you ever need to repair it, don’t worry, you now have all the knowledge and tools to do so.
With a little bit of effort and some caulk, you can keep your bathtub watertight and enjoy relaxing baths for years to come.
Happy sealing!