
I’ve discovered a crack in my bathtub, and I’m determined to fix it myself.
In this article, I’ll show you how to seal a crack in your bathtub using simple techniques and materials.
We’ll start by assessing the crack and gathering the necessary materials.
Then, we’ll prepare the crack for sealing and apply the sealant.
Finally, we’ll let the sealant cure and test for any potential leaks.
Get ready to say goodbye to that pesky crack and hello to a well-sealed bathtub!
Key Takeaways
- Determine the size and severity of the crack before proceeding with the repair.
- Choose the right sealant based on the type of crack and the material of your bathtub.
- Clean the crack thoroughly before applying the sealant to ensure proper adhesion.
- Follow the manufacturer’s instructions for proper application and curing time of the sealant, and regularly inspect the repaired area for any damage or deterioration.

Tub Repair Kit White, Tub Chip and Bathtub Repair Kit for Enamel, Fiberglass, Acrylic, Porcelain, Patch and Repairs Chips, Crack, Scratches, Rust, Holes on Tubs, Toilet, Sink, Shower, Tray in Bathroom
Permanently Repair Bathtub Chips, Cracks and Holes: For Fiberglass, Enamel, Acrylic; restore a glossy, non-yellowing, leak-stopping and chip…
As an affiliate, we earn on qualifying purchases.
As an affiliate, we earn on qualifying purchases.
Assessing the Crack in Your Bathtub
Before you can repair the crack, you’ll need to assess its size and severity. Evaluating the damage is crucial to determine the best course of action.
Start by carefully inspecting the crack. Is it a hairline crack or a larger one that extends across the bathtub? Take note of any surrounding damage or signs of water leakage. This information will help you choose the right sealant for the job.
For smaller cracks, a silicone-based bathtub caulk can be effective. It provides a waterproof seal and is flexible, allowing for any movement in the bathtub.
However, for larger cracks or significant damage, an epoxy-based sealant may be necessary. It offers a stronger, more durable repair.

GE Advanced Silicone Caulk for Kitchen & Bathroom, Clear, 2.8 fl oz Tube, 1 Pack – 100% Waterproof Silicone Sealant, 5X Stronger Adhesion, Shrink & Crack Proof
100% Silicone Caulk Protection: This silicone caulk clear provides ultimate waterproof protection, ensuring a reliable seal against water…
As an affiliate, we earn on qualifying purchases.
As an affiliate, we earn on qualifying purchases.
Gathering the Necessary Materials
When fixing a crack in your tub, the first thing you’ll need to do is gather the necessary materials. Choosing the right sealant is crucial for a successful repair. Look for a sealant specifically designed for bathtubs and showers, as it will provide the best adhesion and durability. Silicone-based sealants are commonly used and offer excellent water resistance.
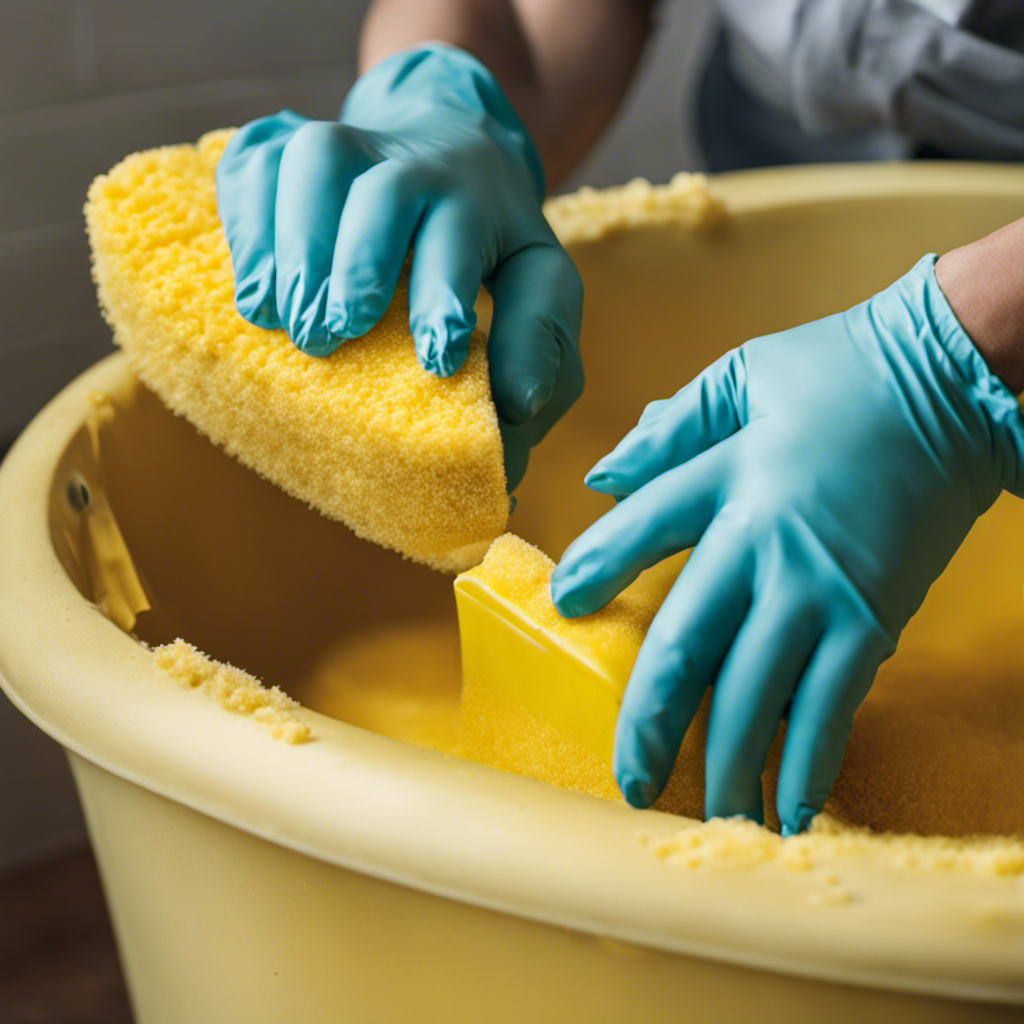
Additionally, make sure to properly clean the crack before applying the sealant. Use a mild detergent and a scrub brush to remove any dirt, grime, or soap residue from the crack. Rinse thoroughly and allow it to dry completely before proceeding with the repair.

Epoxy Putty, Endhokn 10.5oz White Putty Stick Fix Leaks, Cracks and Fill Holes, Sculpting, Modeling, Epoxy Sculpt Clay for Metal, Ceramics, Plastic, Wood, Tile, Concrete 300g
Multipurpose 2 Part Epoxy Putty: White epoxy putty sticks meet underwater and above repair needs. Epoxy fillers can…
As an affiliate, we earn on qualifying purchases.
As an affiliate, we earn on qualifying purchases.
Preparing the Crack for Sealing
To get started, you’ll need to clean the area around the crack in your tub using a mild detergent and a scrub brush. This will ensure that the sealant adheres properly and provides a long-lasting fix.
Once the area is clean, follow these steps to prepare the crack for sealing:
-
Assess crack severity: Take a close look at the crack and determine its size and depth. If it’s a small surface crack, a simple DIY fix may be sufficient. However, if the crack is large or goes all the way through the tub, it’s best to consult a professional.
-
Choose sealant type: Depending on the material of your bathtub, you’ll need to select the appropriate sealant. Acrylic tubs require a different sealant than porcelain or fiberglass tubs. Read the manufacturer’s instructions and choose a sealant that is specifically designed for your tub type.
-
Fill any gaps: If there are any gaps or loose pieces of material around the crack, use a putty knife to gently fill them in with an epoxy filler. This will provide a solid foundation for the sealant to adhere to.
Tub Repair Kit White, Tub Chip and Bathtub Repair Kit for Enamel, Fiberglass, Acrylic, Porcelain, Patch and Repairs Chips, Crack, Scratches, Rust, Holes on Tubs, Toilet, Sink, Shower, Tray in Bathroom
Permanently Repair Bathtub Chips, Cracks and Holes: For Fiberglass, Enamel, Acrylic; restore a glossy, non-yellowing, leak-stopping and chip…
As an affiliate, we earn on qualifying purchases.
As an affiliate, we earn on qualifying purchases.
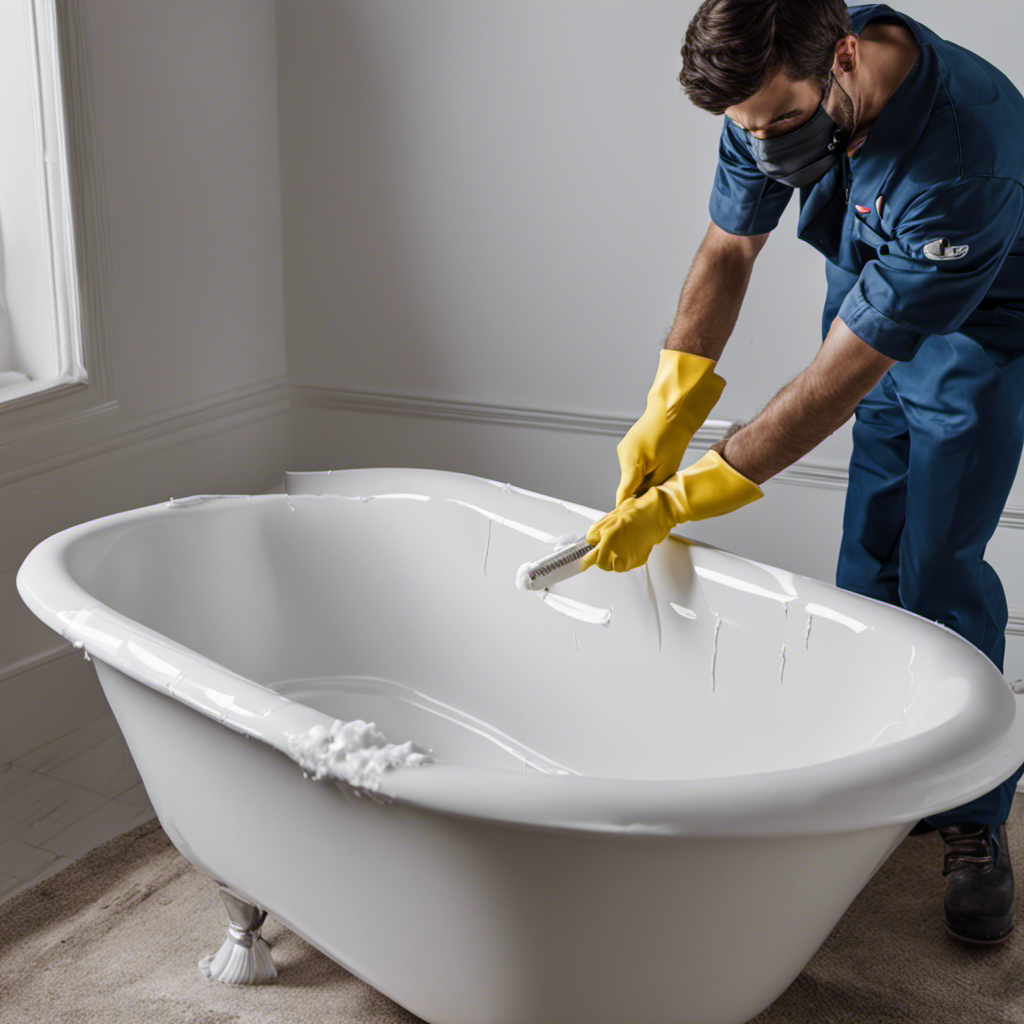
Applying the Sealant to the Crack
Now that you’ve assessed the severity of the crack, it’s time to apply the appropriate sealant to ensure a proper fix. When it comes to sealing bathtub cracks, there are a few options to consider.
The best sealant options for bathtub cracks include silicone caulk and epoxy-based sealants. Silicone caulk is a popular choice due to its flexibility and waterproof properties. On the other hand, epoxy-based sealants offer a stronger and more durable solution. Whichever sealant you choose, make sure to follow the manufacturer’s instructions for application.
To avoid common mistakes when sealing a bathtub crack, it’s important to clean the area thoroughly before applying the sealant. Remove any dirt, grime, or old caulk with a scraper or a brush. Additionally, ensure that the crack is completely dry before applying the sealant to ensure proper adhesion.
Now that the sealant has been applied, it’s crucial to allow it to cure and test for leaks. This process typically takes around 24 hours, but consult the manufacturer’s instructions for precise curing times. Once the sealant has cured, carefully inspect the area for any signs of leakage. Run water in the bathtub and check for any water seeping through the crack. If there are no leaks, congratulations! Your bathtub crack is now properly sealed.
Allowing the Sealant to Cure and Testing for Leaks
Once the sealant is applied, you’ll need to give it time to cure and then check for any signs of leakage. Here’s what you need to know:
-
Curing Time: The curing time for the sealant will vary depending on the type and brand you’re using. It’s important to follow the manufacturer’s instructions for the specific product you have chosen. Typically, the sealant will need at least 24 hours to fully cure before it can be exposed to water.
-
Troubleshooting Leaks: After the curing time has passed, it’s crucial to check for any signs of leakage. Run water in the bathtub and carefully inspect the area where the crack was sealed. Look for any water seepage or droplets on the surface. If you notice any leaks, you may need to reapply the sealant or seek professional assistance.
-
Additional Tips: To ensure a proper cure and prevent leaks, avoid using the bathtub during the curing process. Keep the bathroom well-ventilated to aid in the drying process. Regularly inspect the repaired area for any signs of damage or deterioration.
Conclusion
In conclusion, fixing a crack in your bathtub is a simple task that anyone can do. By following the steps outlined in this article, you can assess the crack, gather the necessary materials, prepare the crack for sealing, apply the sealant, and allow it to cure.
With a little patience and effort, your bathtub will be as good as new. So don’t let that crack go unnoticed any longer, take action today and seal it up like a pro!