Imagine stepping into a luxurious oasis at the end of a long day, where stress melts away and relaxation takes over. That dream can become a reality when you learn how to set a bathtub in your own bathroom.
In this article, we will guide you through the process of choosing the right bathtub, preparing the space, and installing it with precision. Don’t worry, we’ve got you covered every step of the way.
Get ready to transform your bathroom into a personal sanctuary.
Key Takeaways
- Consider factors like size, style, and material when choosing a bathtub
- Measure the dimensions of the bathtub and compare them to the available space in the bathroom
- Clear the area of any obstacles or debris before installation
- Secure the floor beneath the bathtub to prevent movement or instability
Choosing the Right Bathtub
To choose the right bathtub, you’ll want to consider factors like size, style, and material.
When it comes to bathtub materials, there are several options to choose from. One popular choice is acrylic, which is lightweight, durable, and retains heat well. Another option is fiberglass, which is also lightweight and easy to clean. Cast iron is a classic choice that offers durability and excellent heat retention, though it can be quite heavy. For a more modern and sleek look, you might consider a bathtub made from solid surface materials like stone or resin.
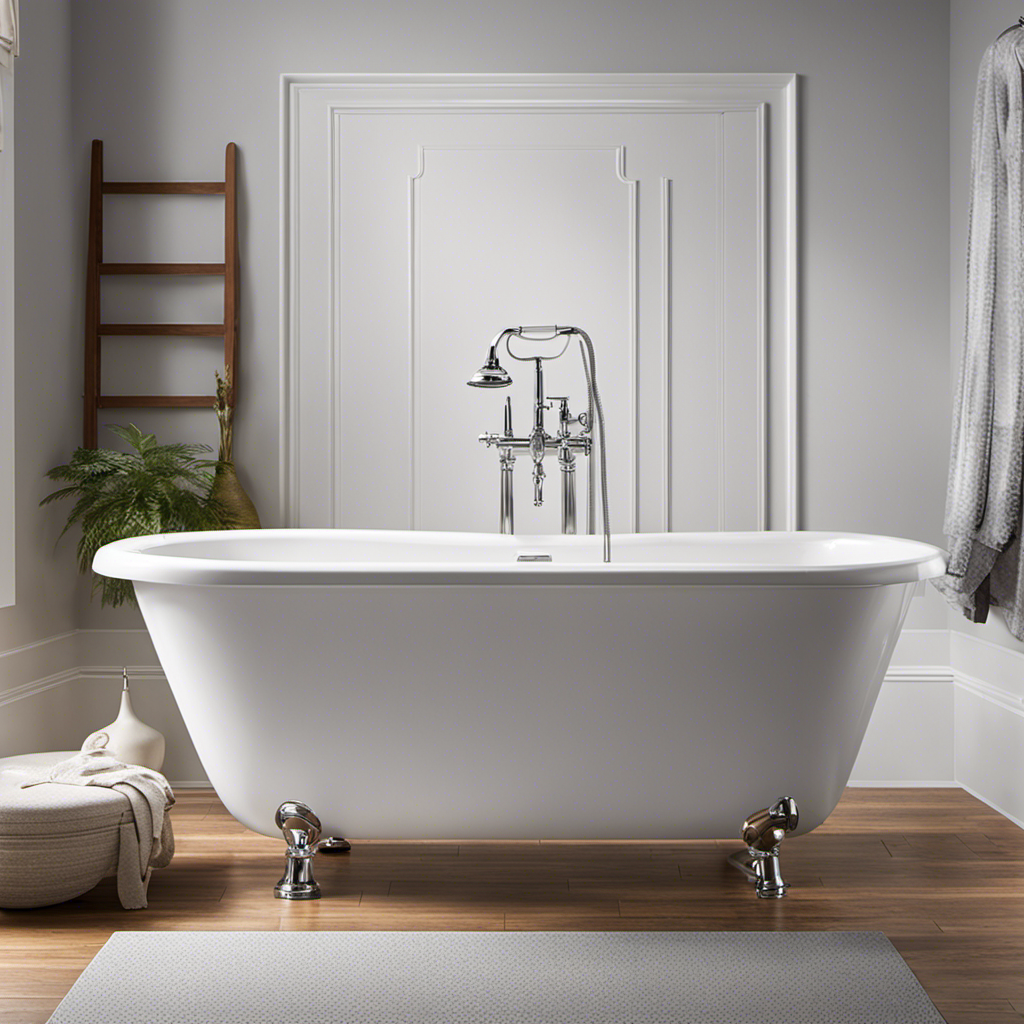
As for bathtub styles, there are freestanding tubs, alcove tubs, corner tubs, and drop-in tubs, among others. Each style has its own unique features and advantages, so it’s important to consider your specific needs and preferences when making a choice.
Preparing the Bathroom for Installation
When preparing your bathroom for installation, there are three key points to consider:
-
Measuring for fit: Measure the dimensions of your bathtub and compare them to the available space in your bathroom. This will ensure that the bathtub fits properly and avoids any issues during installation.
-
Clearing the space: Clear the area of any obstacles or debris that could hinder the installation process. This includes removing any furniture, fixtures, or other items that may be in the way. A clear space will make it easier to maneuver and install the bathtub.
-
Securing the floor: It is crucial to secure the floor beneath the bathtub to prevent any movement or instability. This can be done by reinforcing the subfloor or using an adhesive to secure the bathtub in place. A secure floor will ensure the bathtub remains stable and safe to use.
Measuring for Fit
First, you’ll want to measure the length and width of the area where the bathtub will be installed. This step is crucial to ensure that the bathtub fits perfectly in the designated space. To achieve accurate measurements, make sure you use a reliable measuring tape.
Here’s a step-by-step guide to help you measure for fit:
- Start by measuring the length of the area from one wall to the other.
- Next, measure the width of the area from the back wall to the front edge.
- Take into account the thickness of the tiles if you plan to install them around the bathtub. Adjust your measurements accordingly to ensure a snug fit.
- Double-check your measurements to ensure precision and accuracy.
Clearing the Space
Clear out any objects or furniture that may obstruct the area where the bathtub will be installed. It’s important to create a temporary workspace that is clutter-free and allows for easy access to the installation area. This will ensure a smooth and efficient installation process. Take the time to clear away any unnecessary items and organize the space to make it more manageable. To help you in this process, here is a table that outlines the steps to clearing the space for your bathtub installation:
| Steps to Clearing the Space |
|---|
| 1. Remove any furniture or large objects |
| 2. Clear out smaller items and clutter |
| 3. Store items in boxes or bins temporarily |
| 4. Sweep or vacuum the area |
| 5. Create a designated workspace for tools and materials |
Securing the Floor
To ensure a stable foundation, it’s important to secure the floor before installing the bathtub. Here are some steps to help you with this process:
-
Choose the right flooring options: Look for materials that are water-resistant and can withstand the weight of the bathtub. Some popular choices include ceramic tiles, vinyl, and waterproof laminate.
-
Prepare the subfloor: Ensure that the subfloor is level and free from any cracks or damage. Repair any issues before proceeding.
-
Apply a waterproofing method: To protect the floor from water damage, consider using a waterproofing membrane or a liquid waterproofing solution. These products create a barrier that prevents water from seeping into the subfloor.
-
Secure the flooring: Once the waterproofing method is applied and dried, install the chosen flooring option according to the manufacturer’s instructions. Make sure it is securely fastened to the subfloor.
By following these steps, you can ensure a sturdy and waterproof base for your bathtub installation.
Now, let’s move on to measuring and marking the position.
Measuring and Marking the Position
Make sure you measure and mark the position of the bathtub accurately before proceeding further with the installation. Measuring accuracy is crucial to ensure a proper fit and avoid any future issues.
Start by measuring the length and width of the designated area where the bathtub will be installed. Use a tape measure and take precise measurements, accounting for any uneven walls or obstructions.
Once you have the measurements, mark the position on the floor using a pencil or masking tape. Take into consideration the recommended clearance space around the tub for easy access and maintenance.
Additionally, marking techniques such as using a level or laser can help ensure a straight and level installation.
Removing the Old Bathtub
When removing an old bathtub, there are a few key points to consider.
First, you will need a set of specific tools to successfully remove the bathtub, such as a wrench, pliers, and a utility knife.
Additionally, there may be potential plumbing complications that you should be aware of, such as leaking pipes or corroded fittings.
Tools Needed for Removal
You’ll need a few tools for the removal process, such as a wrench and a screwdriver. Here are the essential tools you’ll need for removing your old bathtub:
-
Wrench: This handy tool will help you loosen and remove any nuts or bolts that are securing the bathtub in place. Make sure to choose the right size wrench for the job.
-
Screwdriver: A screwdriver will come in handy for removing any screws or fasteners that are holding the bathtub in place. Be sure to have both a flathead and a Phillips head screwdriver on hand.
-
Pry Bar: This tool will assist you in prying off any caulk or adhesive that is sealing the bathtub to the walls or floor.
-
Safety Glasses: It’s crucial to protect your eyes during the removal process. Safety glasses will shield your eyes from any debris or dust that may be generated.
Now that you have the necessary tools, let’s move on to potential plumbing complications that may arise during the bathtub removal process.
Potential Plumbing Complications
To avoid any potential issues, ensure that the plumbing connections are properly disconnected before attempting to remove the bathtub. Plumbing complications can arise during the removal process, so it is crucial to be prepared and aware of troubleshooting tips.
One common issue is leaking pipes or fittings. Before disconnecting any plumbing connections, turn off the water supply to the bathtub. This will prevent any water from leaking out when the pipes are disconnected.
Another potential problem is stuck or corroded pipes. If you encounter this, try using penetrating oil or a pipe wrench to loosen the connections.
Additionally, be cautious of any electrical components near the plumbing, as they may need to be disconnected before removing the bathtub.
Proper Disposal Methods
Before disposing of your old tub, make sure to check with local regulations and recycling centers to ensure you’re following the proper disposal methods.
When it comes to getting rid of your bathtub, there are a few eco-friendly options to consider:
-
Recycle: Look for recycling centers that accept old tubs. Some may even offer pick-up services, making it convenient for you to dispose of your tub responsibly.
-
Reuse: If your old tub is still in good condition, consider donating it to a local charity or organization. They may be able to repurpose it for someone in need.
-
Repurpose: Get creative and find alternative uses for your old tub. It can be transformed into a stylish planter, outdoor seating, or even a unique pond for your garden.
-
Professional Removal: If you’re unsure about the proper disposal methods or your tub is too damaged to be reused, hire a professional removal service. They will ensure that your old tub is disposed of safely and in accordance with disposal regulations.
By following these disposal methods, you can make sure that your old tub is handled in an environmentally-friendly manner.
Now that you’ve taken care of disposing of the old tub, let’s move on to preparing the subfloor for the new bathtub.
Preparing the Subfloor for the New Bathtub
First, check the subfloor for any signs of damage or rot that may need to be repaired before installing the new bathtub. This step is crucial to ensure a stable and long-lasting installation.
Start by inspecting the subfloor for any soft spots or discoloration, as these may indicate water damage or rot. If any damage is found, it’s important to repair or replace the affected area before proceeding.
Additionally, make sure the subfloor is level and free from any debris or protruding nails that could interfere with the bathtub installation. Taking the time to properly prepare the subfloor will provide a solid foundation for the bathtub and prevent any future issues.
Now that the subfloor is ready, you can move on to installing the drain and overflow system.
Installing the Drain and Overflow System
Now that you’ve prepared the subfloor, it’s time to install the drain and overflow system. Follow these steps to ensure a successful installation:
-
Choose the perfect drain: Consider the color and finish that will complement your bathtub and bathroom decor. Options include chrome, brushed nickel, oil-rubbed bronze, and more.
-
Inspect the drain hole: Ensure that the drain hole in the bathtub aligns with the drain pipe in the floor. Make any necessary adjustments to ensure a proper fit.
-
Attach the drain flange: Apply a bead of plumber’s putty around the underside of the drain flange and insert it into the drain hole. Tighten the flange using a drain wrench or pliers.
-
Connect the overflow pipe: Slide the overflow pipe into the overflow opening on the bathtub and secure it with screws or a locking nut.
With the drain and overflow system installed, you’re ready to move on to placing and leveling the bathtub.
Placing and Leveling the Bathtub
To ensure a stable installation, make sure the bathtub is positioned level and securely in place. Proper leveling techniques are crucial to prevent any future issues with your bathtub. Here are some methods you can use to level your bathtub:
| Leveling Techniques | Waterproofing Methods |
|---|---|
| Using a spirit level: Place a spirit level on top of the tub and adjust the leveling feet until the bubble is centered. | Apply a waterproofing membrane to the subfloor and walls surrounding the bathtub to prevent water damage. |
| Shimming: If the tub is not level, use shims to fill the gaps between the tub and the floor. | Use a silicone sealant to seal any gaps between the tub and the walls to ensure a waterproof seal. |
| Checking the clearance: Ensure there is enough clearance between the tub and the walls for expansion and contraction. | Install a waterproofing underlayment beneath the bathtub to provide an extra layer of protection against water penetration. |
Securing the Bathtub in Place
Once the bathtub is level, it can be securely fastened in place using screws or brackets. Here’s how to properly secure your bathtub:
-
Choose the right fasteners: Use screws or brackets specifically designed for securing bathtubs. These should be made of durable, waterproof materials to ensure long-lasting stability.
-
Locate the studs: Use a stud finder to locate the wall studs behind the bathtub. These provide the strongest support for securing the bathtub.
-
Mark the screw or bracket locations: Measure and mark the positions where the screws or brackets will go. Make sure they align with the studs for maximum strength.
-
Secure the bathtub: Attach the screws or brackets to the marked locations, ensuring they penetrate through the bathtub flange and into the wall studs. Tighten them securely, but be careful not to overtighten and damage the bathtub.
By following these steps, you will secure your bathtub in place, ensuring a stable and safe installation.
Don’t forget to also waterproof the area around the bathtub to prevent water damage.
Connecting the Plumbing and Finishing Touches
Make sure you connect the plumbing fixtures correctly and add the finishing touches to complete the installation of your bathtub.
Connecting the plumbing is crucial to ensure proper functionality and prevent potential leaks. Begin by attaching the drain and overflow assembly to the bathtub’s waste outlet. Use plumber’s putty or silicone caulk to create a watertight seal around the drain flange.
Next, connect the hot and cold water supply lines to the appropriate valves on the bathtub. Use Teflon tape or pipe joint compound to secure the connections and prevent leaks.
Finally, install the bathtub spout and showerhead if applicable. Tighten the connections using an adjustable wrench, ensuring a snug fit.
Once the plumbing is connected, seal the bathtub by applying a bead of silicone caulk along the joint where the tub meets the wall. Smooth the caulk with a caulk tool or your finger to create a neat finish.
Frequently Asked Questions
How Do I Choose the Right Faucet for My Bathtub?
Choosing the right faucet for your bathtub requires considering both style and functionality. There are budget-friendly options available that offer a wide range of designs and features to suit your needs.
What Tools Do I Need to Remove an Old Bathtub?
What tools do you need to remove an old bathtub? To tackle this task, you’ll want a pry bar, a utility knife, a wrench, and a screwdriver. With these essentials, you’ll be well-equipped for the job.
Can I Install a Freestanding Bathtub Myself?
Yes, you can install a freestanding bathtub yourself. Here are some bathtub installation tips: ensure proper measurements, secure the tub to the floor, connect the plumbing, and test for leaks.
How Do I Fix a Leaky Bathtub Drain?
To fix a leaky bathtub drain, start by identifying the source of the leak. Then, tighten any loose connections or replace worn-out parts. Regular bathtub drain maintenance will help prevent future leaks.
What Type of Caulk Should I Use to Seal the Edges of the Bathtub?
To seal the edges of your bathtub, use a waterproof caulk specifically designed for bathtubs. Apply it evenly along the edges, using a caulk gun, and smooth it with your finger or a caulking tool for a neat finish.
Conclusion
Congratulations! You’ve successfully navigated the intricate process of setting a bathtub. By carefully choosing the right bathtub and preparing your bathroom, you’ve set the stage for a stunning transformation.
With precise measurements and expert installation techniques, you’ve ensured a level and secure foundation for your new bathtub. Connecting the plumbing and adding those finishing touches have elevated your bathroom to a whole new level of sophistication.
Now, sit back, relax, and enjoy the luxurious experience of your perfectly set bathtub.


