
Did you know that over 30% of bathtubs develop leaks due to deteriorating or poorly applied silicone sealant?
In this article, I’ll guide you through the process of properly siliconing your bathtub, ensuring a watertight and long-lasting seal.
We’ll assess the condition of your bathtub, prepare the surface, apply the silicone sealant with precision, and finish it off with a smooth and professional touch.
With these step-by-step instructions, you’ll be able to confidently tackle this essential home maintenance task.
Key Takeaways
- Assess the condition of the bathtub for cracks, gaps, and water damage before applying silicone.
- Prepare the bathtub surface by ensuring it is clean and dry, removing any soap scum or residue.
- Choose a silicone sealant formulated for bathroom and kitchen use, with excellent water resistance and durability.
- Apply the silicone in a steady and even motion using a caulking gun, smoothing it with a wet finger or caulk smoothing tool.

GE Advanced Silicone Caulk for Kitchen & Bathroom, White, 2.8 fl oz Tube, 1 Pack – 100% Waterproof Silicone Sealant, 5X Stronger Adhesion, Shrink & Crack Proof
- Waterproof Sealant: Provides 100% waterproof protection
- Flexible and Durable: Remains flexible to adapt to surfaces
- Fast Water Resistance: Becomes water-resistant in 30 minutes
As an affiliate, we earn on qualifying purchases.
As an affiliate, we earn on qualifying purchases.
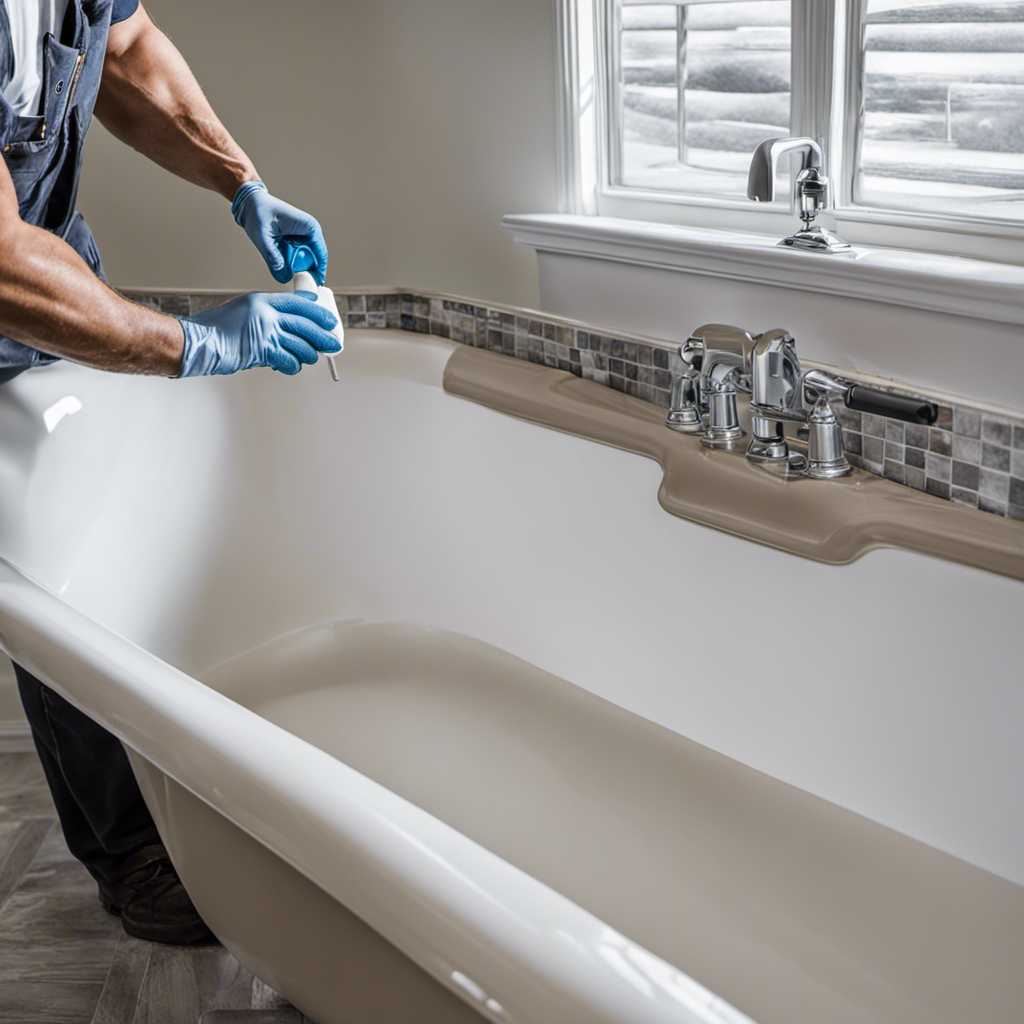
Assessing the Bathtub Condition
You should start by checking if your bathtub is in good condition before applying silicone. Evaluating the damage is crucial to ensure a successful seal.
Begin by inspecting the edges and corners of the bathtub for any cracks, gaps, or loose tiles. Look for signs of mold or mildew, as this can indicate water damage. If you notice any significant damage, it is essential to address it before proceeding with the silicone application.
Next, choose an appropriate sealant based on the material of your bathtub. For acrylic or fiberglass tubs, use a silicone-based sealant specifically designed for these surfaces. Porcelain or ceramic tubs may require a different type of sealant. Remember, selecting the right sealant is essential to achieve a strong and durable seal.
Preparing the Bathtub Surface
Before starting, make sure the bathtub surface is clean and dry. Proper surface preparation is crucial for a successful silicone application.
To begin, gather the necessary cleaning products such as a non-abrasive cleaner and a sponge. Start by removing any soap scum or residue using the cleaner and sponge, ensuring that all areas are thoroughly cleaned. If there are any stubborn stains, a mild abrasive cleaner can be used, but be cautious not to damage the bathtub surface.
Once the surface is clean, dry it completely using a clean, lint-free cloth. Removing all moisture is essential to ensure proper adhesion of the silicone. Take your time during this step, as any remaining moisture could compromise the longevity of the silicone seal.
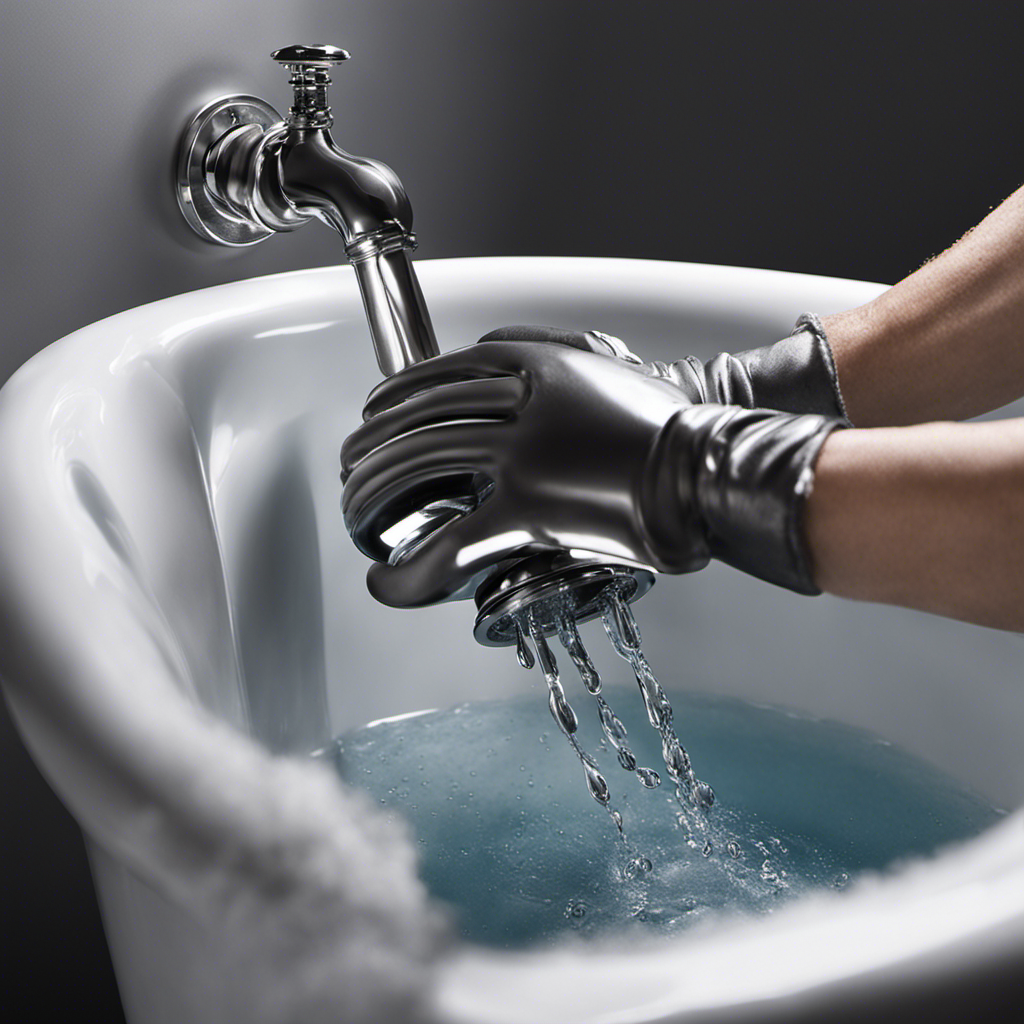
Applying the Silicone Sealant
Once the surface’s clean and dry, applying the silicone sealant is the next step.
Choosing the right silicone is crucial for a successful bathtub sealing job. Look for a silicone sealant specifically formulated for bathroom and kitchen use, as it will offer excellent water resistance and durability. Make sure to select a color that matches your bathtub or tiles for a seamless finish.
Now, let’s talk about some tips for avoiding air bubbles. Firstly, apply the silicone in a steady and even motion, using a caulking gun. Avoid stopping and starting as it can create air pockets.
Secondly, smooth the silicone with a wet finger or a caulk smoothing tool, ensuring there are no uneven areas.
Lastly, allow the silicone to dry undisturbed for at least 24 hours to prevent any potential damage.
Smoothing and Shaping the Silicone
To achieve a smooth and seamless finish, it’s important to gently smooth and shape the silicone using a wet finger or caulk smoothing tool. Here are some tips for avoiding lumps and bumps when working with silicone:
- Start with a clean and dry surface to ensure proper adhesion.
- Apply the silicone in a steady and even motion, using just enough pressure to fill the joint.
- Keep a wet finger or caulk smoothing tool nearby to immediately smooth out any imperfections.
- Work in small sections at a time to prevent the silicone from drying before you can shape it.
- Use a wet cloth or sponge to wipe away any excess silicone and create a clean edge.
By following these tips, you can achieve a seamless finish and avoid unsightly lumps and bumps in your silicone application.
Once the silicone is shaped and smoothed, it’s time to move on to the next step: curing and finishing touches.
Curing and Finishing Touches
After smoothing and shaping the silicone, it’s crucial to allow it to cure fully before applying any finishing touches.
The drying time for silicone can vary depending on factors such as temperature and humidity. Generally, it takes around 24 to 48 hours for silicone to fully cure.
It’s important to avoid touching or disturbing the silicone during this time to ensure a smooth and even finish.
Once the silicone is fully cured, you can proceed with applying any desired finishing touches. Before doing so, it’s recommended to clean the silicone with suitable cleaning products to remove any dust or debris that may have settled on its surface. This will help achieve a clean and professional-looking result.
Conclusion
In conclusion, silicone sealing a bathtub is a meticulous yet essential task to ensure a watertight barrier. By carefully assessing the condition of the bathtub, preparing the surface, and applying the silicone sealant with precision, you can create a durable and long-lasting seal.
Just like an artist delicately crafting a masterpiece, each step requires attention to detail. The end result will be as smooth and flawless as a finely polished gem, protecting your bathtub from water damage for years to come.