
I’ve been there – standing in a puddle of water in my bathroom, frustrated by another bathtub leak. But fear not, because I’m here to share my expertise on how to stop a bathtub from leaking.
In this article, I’ll guide you through the process step by step, offering clear instructions and helpful tips along the way. From identifying the source of the leak to sealing those pesky bathtub seams, I’ve got you covered.
Say goodbye to leaky bathtubs once and for all!
Key Takeaways
- Identify the source of the leak (faucet or drain) before attempting any repairs
- Inspect and clean the drain to remove any debris or hair that may be causing the leak
- Check and repair any loose or worn-out parts in the bathtub faucet to stop the dripping
- Seal the bathtub seams with high-quality silicone caulk to prevent future leaks
Identifying the Source of the Leak
First, you’ll need to check if the leak is coming from the faucet or the drain. Determining the source of the leak is crucial before proceeding with any repairs.
Start by inspecting the faucet for any visible signs of water damage, such as dripping or pooling water. Check the connections between the faucet and the handles, ensuring they are tightly sealed.
If the faucet seems to be in good condition, move on to the drain. Examine the drain for any cracks or gaps that could be causing the leak.
It is important to note that if the leak is severe or if you are unsure about the source of the leak, it is recommended to hire a professional plumber. They have the expertise and tools to accurately identify and fix the issue, saving you time and potential headaches in the long run.
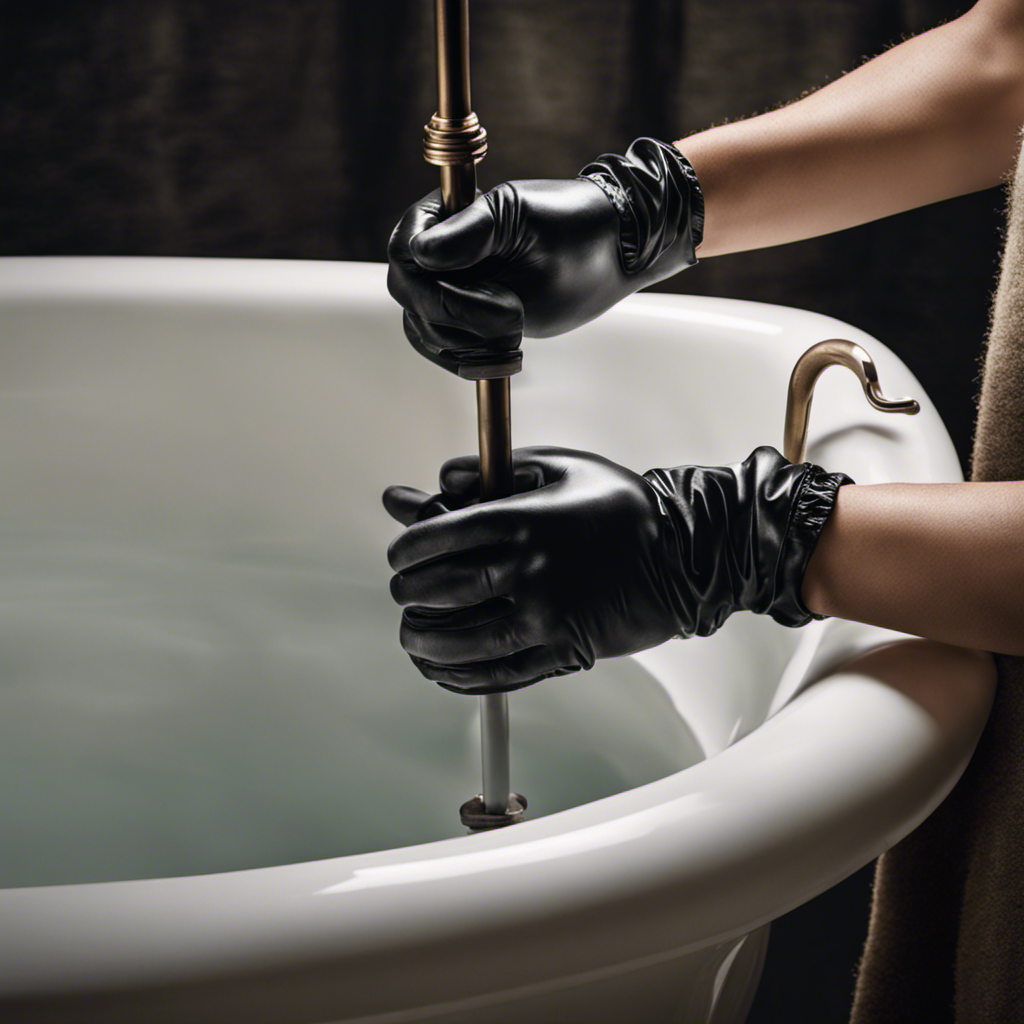
Fixing Leaks in the Bathtub Drain
To fix leaks in the bathtub drain, you can try using a plunger to clear any clogs. Here are four steps you can take to prevent water damage and avoid the need for professional plumbing services:
-
Inspect the drain: Carefully examine the area around the drain for any signs of leakage. Look for water stains, mold, or musty odors.
-
Remove the drain cover: Unscrew the drain cover and check for any debris or hair that may be causing the clog. Use a pair of tweezers or a drain snake to remove any obstructions.
-
Clean the drain pipe: Pour a mixture of baking soda and vinegar down the drain to dissolve any buildup. Let it sit for a few minutes, then flush it with hot water.
-
Tighten connections: Check the connections between the drain pipe and the bathtub. Use a wrench to tighten any loose fittings.
By following these steps, you can effectively fix leaks in the bathtub drain and prevent water damage.
Now, let’s move on to repairing leaky bathtub faucets.
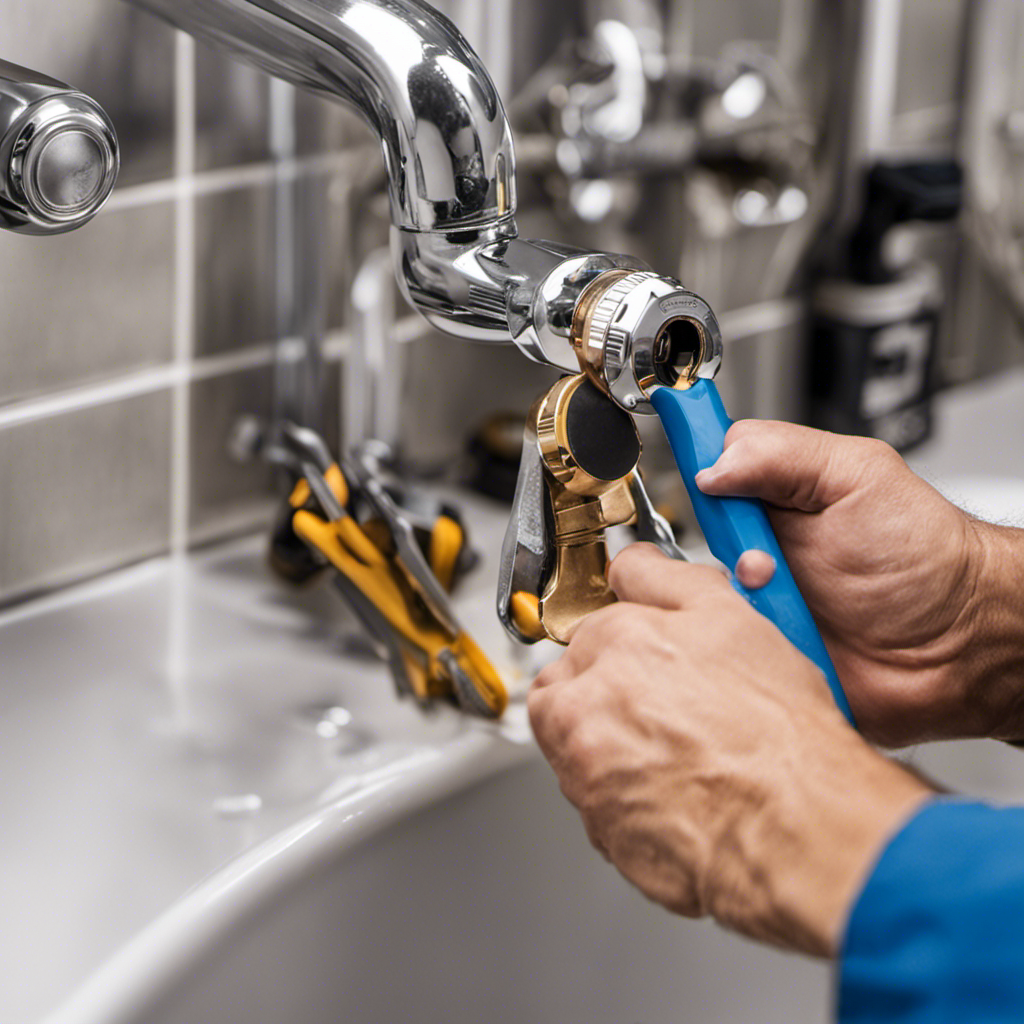
Repairing Leaky Bathtub Faucets
Next, you’ll want to check the faucet handles for any loose or worn-out parts. Troubleshooting faucet leaks is an important step in stopping a bathtub from leaking. As a plumbing specialist, I highly recommend conducting a thorough inspection of the faucet handles to identify any potential issues. Here is a table that outlines the common problems and their solutions:
| Problem | Possible Cause | Solution |
|---|---|---|
| Dripping Faucet | Worn-out O-ring or cartridge | Replace the O-ring or cartridge |
| Leaking Handle | Loose packing nut or valve stem | Tighten the packing nut or replace the valve stem |
| Water Pressure Issue | Faulty pressure regulator or valve | Replace the pressure regulator or valve to restore pressure |
| Rusty Water | Corroded pipes or faucet | Replace the corroded pipes or faucet to eliminate rust issues |
| Low Water Temperature | Malfunctioning thermostat | Adjust or replace the thermostat to regulate water temperature |
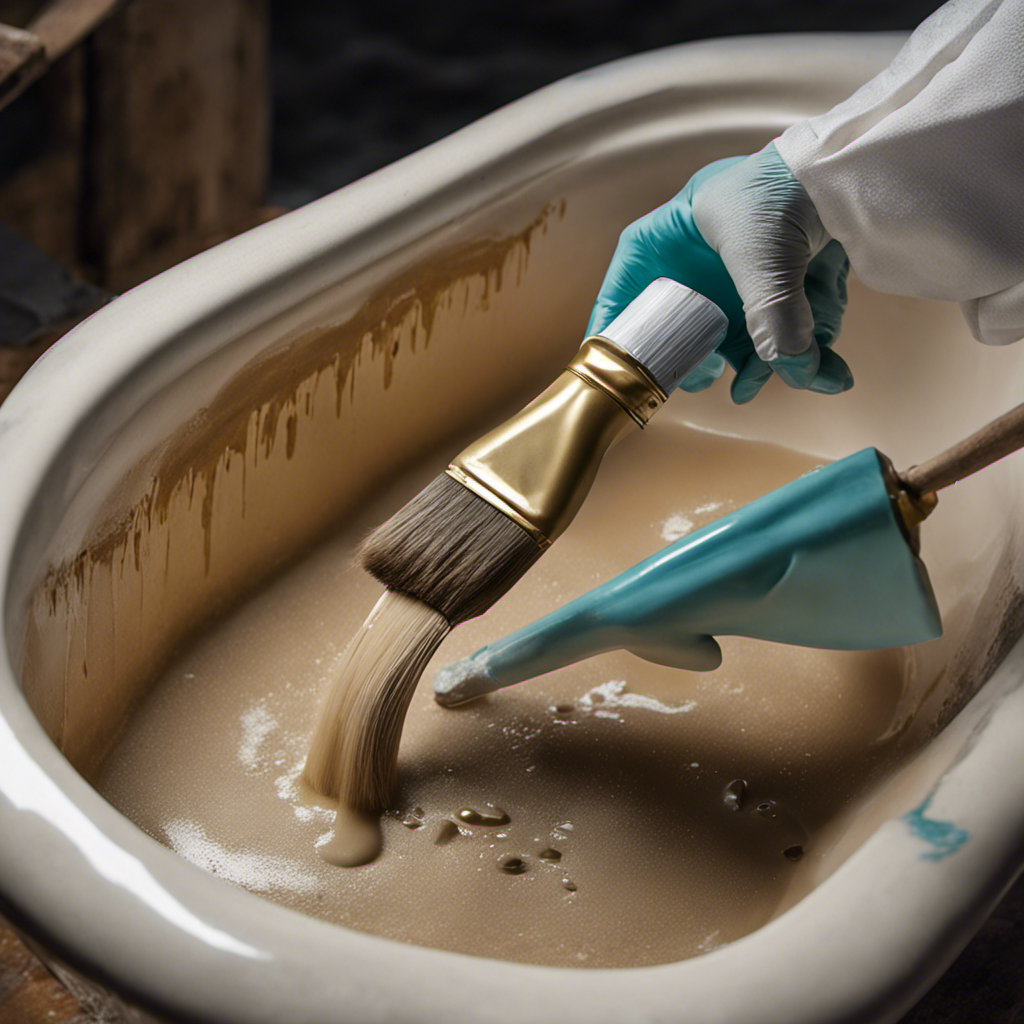
Sealing Leaky Bathtub Seams
Another important step in preventing water damage is sealing the seams of your bathtub to prevent leaks. Properly sealing the seams of your bathtub is crucial in maintaining a watertight barrier and preventing any potential water damage. Here are four waterproofing techniques for replacing caulking and sealing bathtub seams:
-
Remove old caulking: Start by removing the old caulking using a putty knife or caulk remover tool. Ensure that all remnants of the old caulking are completely removed.
-
Clean and dry the area: Thoroughly clean and dry the area where the new caulking will be applied. Use a mildew cleaner to remove any mold or mildew from the surfaces.
-
Apply new caulking: Choose a high-quality silicone caulk that is specifically designed for bathroom use. Apply a thin, even bead of caulk along the seam, ensuring full coverage and a smooth finish.
-
Smooth and shape the caulking: Use a caulk smoothing tool or your finger to smooth and shape the caulking, creating a neat, professional-looking finish.
Preventing Future Bathtub Leaks
Make sure you regularly inspect the seams of your bathtub for any signs of potential leaks. Prevention is key when it comes to maintaining a leak-free bathtub.
To avoid future bathtub leaks, it is essential to focus on proper maintenance and effective waterproofing techniques. First, check the caulking around the seams of your bathtub. Over time, caulking can deteriorate, leading to water seepage. If you notice any cracks or gaps, remove the old caulking and replace it with a fresh sealant.
Additionally, ensure that the drain and overflow assemblies are tightly sealed to prevent any water leakage. Regularly cleaning and removing any debris from your drains will also help maintain the proper function of your bathtub.
Conclusion
In conclusion, it is crucial to meticulously identify the source of the bathtub leak and apply the appropriate solution.
By fixing leaks in the drain, repairing leaky faucets, and sealing bathtub seams, you can effectively prevent further leakage.
Remember, a thorough inspection and precise execution are key to resolving the issue.
As a plumbing specialist, I assure you that with attention to detail and clear communication, you can successfully stop your bathtub from leaking and keep your bathroom dry as a bone.