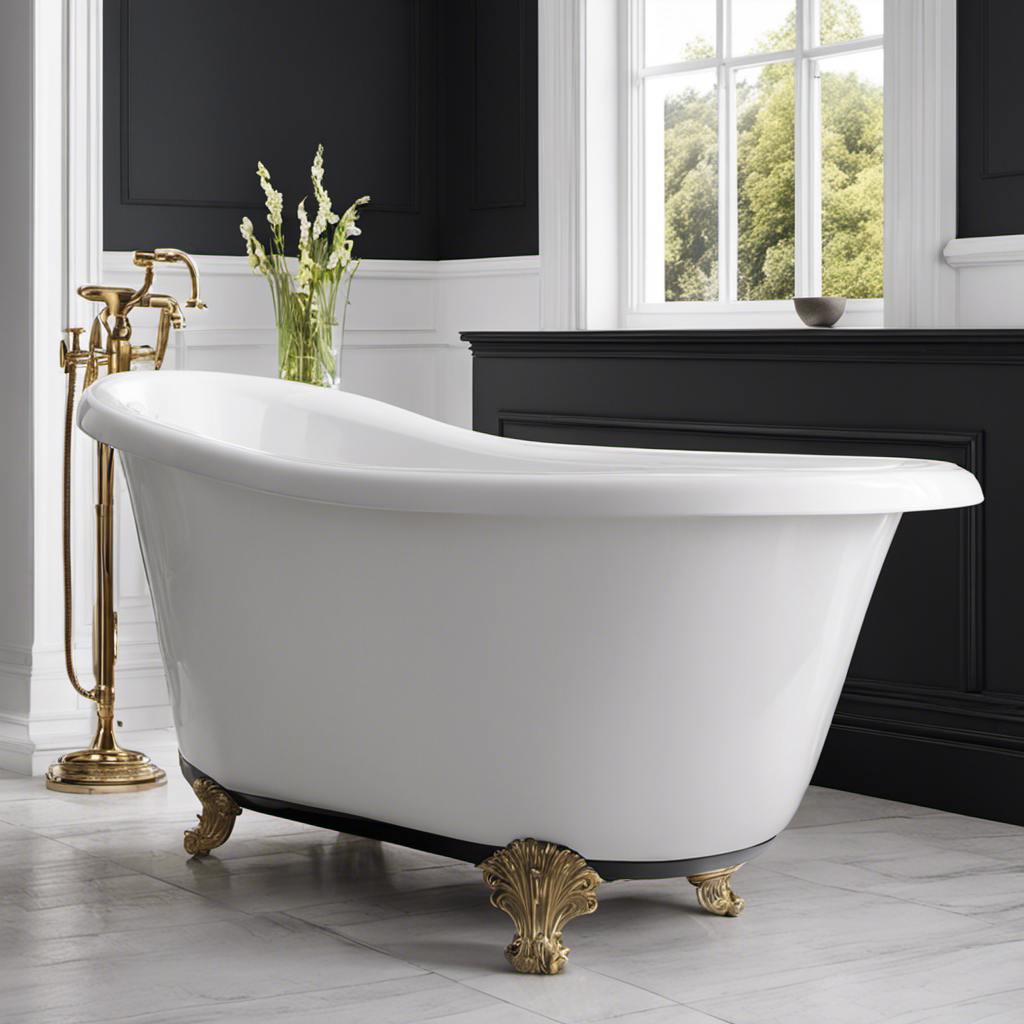
I’ve had enough of that incessant drip, drip, drip from my bathtub faucet. It’s time to take matters into my own hands and put an end to this irritating problem once and for all.
In this article, I’ll show you exactly how to stop a dripping bathtub faucet. With a few simple tools and a little know-how, you’ll be able to fix the issue and enjoy a peaceful, leak-free bathroom.
So let’s roll up our sleeves and get started!
Key Takeaways
- The common causes of dripping bathtub faucets include worn-out rubber washers, loose or damaged O-rings, corroded valve seats, and worn-out cartridge seals.
- The tools and materials needed to fix a dripping bathtub faucet include an adjustable wrench, screwdriver (both flathead and Phillips), pliers, replacement washers, O-rings, and plumber’s tape, and silicone grease.
- The step-by-step guide to disassembling a bathtub faucet includes removing the faucet handle, identifying faulty parts, loosening the nut holding the faucet handle, removing the handle, and checking for any visible screws.
- Troubleshooting techniques for a dripping bathtub faucet involve examining the O-ring and surrounding components for leaks or wet spots, determining if the O-ring is the cause of the dripping faucet, taking appropriate steps to resolve the issue based on the troubleshooting results, and considering hiring a professional plumber if needed.

gotonovo Rainfall Bathroom Shower System Rain Shower Head and Handle Set Wall Mounted Shower Complete Combo Solid Brass Pressure Balancing Shower Mixer Valve 10 Inch Matte Black
1. 10-Inch Rainfall Shower Head – Luxurious Shower Experience: Oversized 10-inch square rainfall shower head delivers wide, even...
As an affiliate, we earn on qualifying purchases.
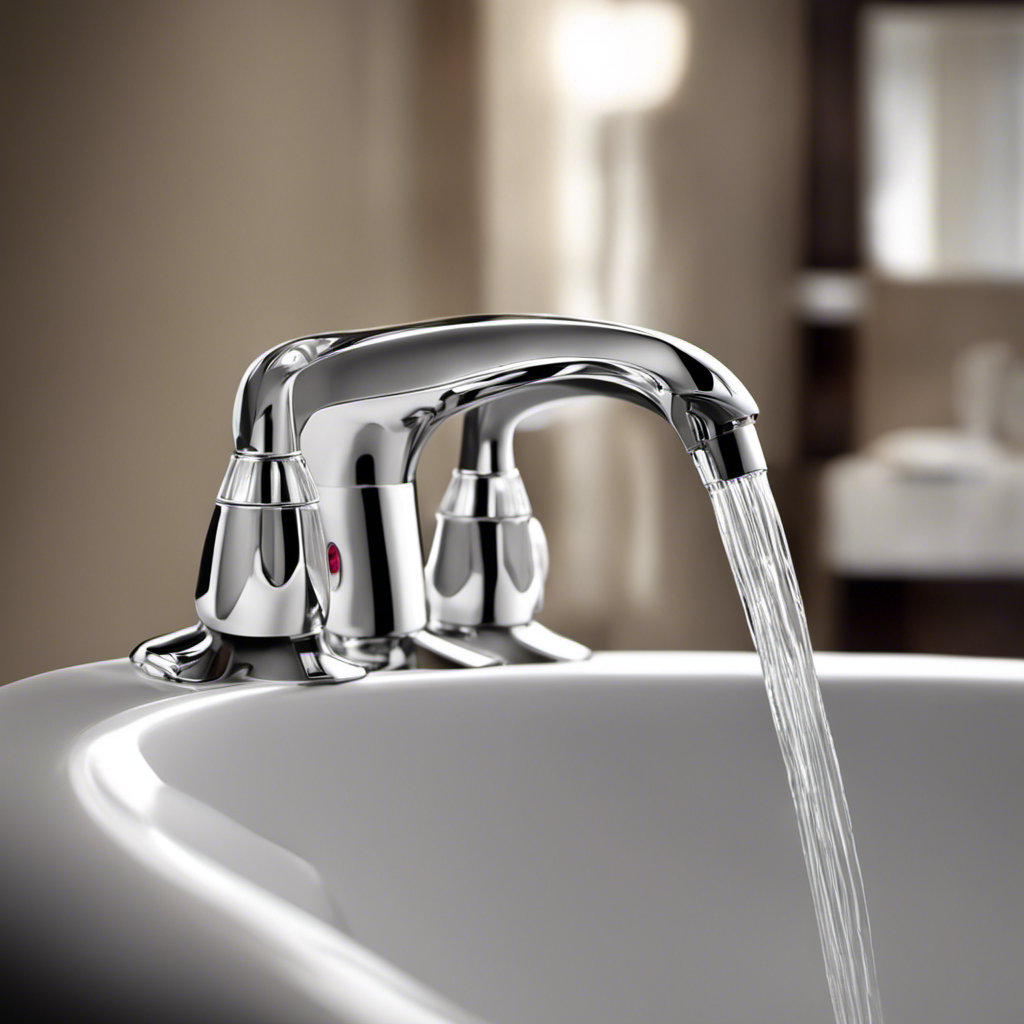
Common Causes of Dripping Bathtub Faucets
One of the most common causes of dripping bathtub faucets is worn-out rubber washers. When these washers become old and deteriorated, they no longer create a tight seal, allowing water to leak out of the faucet.
Signs of a dripping faucet include a constant drip or a slow but steady stream of water coming from the spout even when the faucet is turned off.
Other causes of water leakage can include loose or damaged O-rings, corroded valve seats, or worn-out cartridge seals.
It is important to address these issues promptly to prevent further water waste and potential damage to your bathtub and bathroom fixtures.
Regular maintenance and replacing worn-out parts can help stop the dripping and restore the functionality of your bathtub faucet.

ELLO&ALLO Stainless Steel Shower Panel Tower System,LED Rainfall Waterfall Shower Head 6-Function Faucet Rain Massage System with Body Jets, Brushed Nickel
LOWER Water Pressure: If the water pressure has decreased, please refer to the manual to clean the water...
As an affiliate, we earn on qualifying purchases.
Tools and Materials Needed to Fix a Dripping Bathtub Faucet
To fix the problem, you’ll need a few tools and materials. The essential faucet repair tools include an adjustable wrench, a screwdriver (both flathead and Phillips), and a pair of pliers. Additionally, you’ll need some bathtub faucet materials such as replacement washers, O-rings, and plumber’s tape.
These materials are necessary to ensure a proper and effective repair of your dripping bathtub faucet. With these tools and materials at hand, you’ll be well-equipped to tackle the task of fixing your faucet.
In the following section, I will provide you with a step-by-step guide to disassembling a bathtub faucet, which will help you identify the cause of the dripping and enable you to make the necessary repairs.

Shower Faucet Set, 12" Ceiling Mount Rainfall Shower System with 2 Rain Shower Head and Multi-function Handheld Head Push Button Diverter Shower Faucet Trim Kit (12", Matte Black)
COMPREHENSIVE SHOWER SYSTEM- This shower faucet set comes with two shower heads that can be used together or...
As an affiliate, we earn on qualifying purchases.
Step-by-Step Guide to Disassembling a Bathtub Faucet
When it comes to fixing a dripping bathtub faucet, proper tool selection is crucial. By using the right tools, you can ensure that the job is done efficiently and effectively.
One of the first steps in disassembling a bathtub faucet is removing the faucet handle, which can be done with the appropriate tool.
Once the handle is removed, it is important to identify any faulty parts that may be causing the drip, such as a worn-out washer or a damaged cartridge.
Proper Tool Selection
The first step in stopping a dripping bathtub faucet is choosing the right tools. It is crucial to have the necessary tools to ensure a successful repair. Here are some important tools to consider:
- Adjustable wrench: This tool is essential for loosening and tightening different parts of the faucet.
- Screwdriver: A screwdriver is needed to remove any screws or fasteners that hold the faucet together.
- Pliers: Pliers are useful for gripping and turning stubborn nuts and bolts.
- Plumber’s tape: This tape is used to create a watertight seal on threaded connections.
- Silicone grease: Applying silicone grease to moving parts can prevent future leaks and ensure smooth operation.
Remember, proper tool maintenance is vital for their longevity and effectiveness.
Additionally, if you’re not comfortable with disassembling the faucet yourself, there are alternative repair methods, such as calling a professional plumber or using a faucet repair kit.
Removing Faucet Handle
Using an adjustable wrench, you’ll need to loosen the nut that holds the faucet handle in place. This is an essential step in removing the handle of your dripping bathtub faucet.
Once the nut is loosened, you can easily remove the handle by pulling it straight out. It’s important to note that some handles may have screws that need to be removed before the handle can be taken off. Check for any visible screws on the handle and use a screwdriver to remove them if necessary.
When removing the handle, be gentle to avoid damaging any surrounding parts. Once the handle is off, you can assess the extent of the damage and explore handle replacement options to stop the drip for good.
Identifying Faulty Parts
Now that we have successfully removed the faucet handle, let’s move on to the next step in our faucet repair process – identifying faulty parts.
This is a crucial step in resolving a dripping bathtub faucet and ensuring proper plumbing maintenance. Here’s what you need to do:
-
Check the O-rings: These small rubber rings can wear out over time and lead to leaks. Inspect them for any signs of damage or deterioration.
-
Examine the Washer: A worn-out washer is a common cause of faucet leaks. Look for any cracks or tears in the washer and replace if necessary.
-
Inspect the Valve Seat: This is where the washer sits when the faucet is closed. If it is corroded or damaged, it can cause leaks.
-
Check the Cartridge: Some faucets have a cartridge that can become worn or faulty. Inspect it for any signs of damage.
-
Look for any other damaged or worn parts: Check all other components of the faucet for any signs of wear or damage.
VEVOR Wet Tile Saw with Stand - 10-inch 65Mn Steel Blade, 4500 RPM Motor, Water Reservoir, Caster Wheels, 0-45 Degrees Miter Angle for Cutting Tiles & Stones
0-45° Angle and Deep Cutting: The VEVOR wet tile saw provides adjustable cutting angles from 0 to 45...
As an affiliate, we earn on qualifying purchases.
How to Identify and Replace a Faulty O-Ring in a Bathtub Faucet
When it comes to troubleshooting O-ring issues in a bathtub faucet, there are a few key tips to keep in mind.
First, check for any visible signs of wear or damage on the O-ring itself.
Secondly, ensure that the O-ring is properly lubricated to prevent any leaks or sticking.
Finally, if replacement is necessary, follow these simple steps to replace the O-ring:
-
Turn off the water supply.
-
Remove the handle.
-
Unscrew the bonnet nut.
-
Remove the old O-ring.
-
Install the new one in its place.
O-Ring Troubleshooting Tips
To troubleshoot the O-ring, you’ll want to check for any signs of wear or damage. Here are some o ring maintenance and troubleshooting techniques to help you identify and address the issue:
- Inspect the O-ring for cracks, splits, or tears.
- Look for any signs of corrosion or mineral buildup around the O-ring.
- Check if the O-ring is loose or improperly seated.
- Test the O-ring’s elasticity by gently stretching it. It should bounce back into shape.
- Use a flashlight to examine the O-ring and surrounding components for any leaks or wet spots.
By following these troubleshooting techniques, you can determine if the O-ring is the cause of the dripping faucet and take appropriate steps to resolve the issue.
Now, let’s move on to the next section to learn the steps for replacing the O-ring.
Steps for Replacing O-Ring
Inspect the O-ring for any signs of wear or damage before proceeding with the steps for replacing it. The O-ring is a small rubber ring that creates a watertight seal in your bathtub faucet. Over time, it can become worn or damaged, causing the faucet to drip.
To replace the O-ring, follow these steps:
- Turn off the water supply to the bathtub.
- Remove the handle of the faucet.
- Locate the O-ring and carefully remove it.
- Replace the old O-ring with a new one of the same size.
By hiring a professional plumber, you can ensure that the O-ring is replaced correctly and efficiently. However, there are alternative solutions for fixing a dripping bathtub faucet.
Some pros of hiring a professional plumber include their expertise and knowledge in plumbing repairs. They have the necessary tools and skills to fix the problem effectively. On the other hand, a con of hiring a professional plumber is the cost involved.
If you prefer a DIY approach, you can attempt to replace the O-ring yourself using the steps mentioned above.
Fixing a Leaky Bathtub Faucet Handle: A Complete Tutorial
First, you’ll want to gather the necessary tools for fixing your leaky bathtub faucet handle. Here’s what you’ll need:
- Adjustable wrench
- Screwdriver
- Replacement parts (cartridge or washer)
- Plumber’s tape
- Penetrating oil (if necessary)
To fix a leaky bathtub faucet handle, follow these steps:
- Turn off the water supply: Locate the shut-off valve for your bathtub and turn it off to prevent any water leakage.
- Remove the handle: Use a screwdriver or an adjustable wrench to remove the handle and expose the cartridge or washer.
- Replace the faulty part: Inspect the cartridge or washer for any signs of damage or wear. If necessary, replace it with a new one.
- Apply plumber’s tape: Wrap plumber’s tape around the threads of the handle to ensure a tight seal.
- Reassemble and test: Put the handle back in place, turn on the water supply, and check for any leaks.
Fixing a leaky bathtub faucet handle is essential not only for saving water but also for preventing leaks in other bathroom fixtures. By addressing the issue promptly, you can avoid potential damage and additional repairs.
How to Replace a Worn-Out Washer in a Dripping Bathtub Faucet
When replacing a worn-out washer in a dripping bathtub faucet, start by turning off the water supply. This step is crucial to prevent any further water leakage during the repair process.
Once the water supply is turned off, you can proceed with the o ring replacement. Begin by removing the handle of the faucet using a screwdriver or an Allen wrench, depending on the type of handle. Once the handle is removed, you will have access to the stem assembly.
Take out the stem assembly and locate the washer at the bottom. Carefully remove the old washer and replace it with a new one of the same size and shape. This simple troubleshooting tip can often fix the dripping issue in your bathtub faucet.
Now, let’s move on to adjusting the water pressure to prevent dripping in bathtub faucets.
Adjusting the Water Pressure to Prevent Dripping in Bathtub Faucets
To prevent further leakage, you should start by adjusting the water pressure in your bathtub faucets. Here are some alternative solutions to consider:
-
Use a pressure regulator: Install a pressure regulator on the main water line to control the overall water pressure in your home.
-
Check the water supply valve: Make sure the valve supplying water to the bathtub faucet is fully open. If it’s partially closed, it can cause pressure issues.
-
Clean the aerator: Remove the aerator from the faucet and clean any debris or mineral deposits that may be affecting water flow.
-
Replace the cartridge or valve: If adjusting the water pressure doesn’t solve the problem, you may need to replace the cartridge or valve in the faucet.
-
Consult a plumber: If you’re unsure about adjusting the water pressure or need professional assistance, it’s best to consult a plumber.
Tips and Tricks for Maintaining a Drip-Free Bathtub Faucet
If you want to maintain a drip-free bathtub faucet, you should regularly clean and replace the washers inside the handles.
Bathtub faucet maintenance is essential to prevent faucet drips. Over time, the washers can become worn out or damaged, causing leaks and annoying drips.
By cleaning the washers regularly, you can remove any debris or buildup that may affect their functionality. It’s also important to replace the washers when necessary to ensure a tight seal and prevent leaks.
Additionally, checking for any loose or damaged parts and tightening them can help prevent faucet drips. Remember to use the right tools and follow the manufacturer’s instructions when cleaning and replacing the washers.
Frequently Asked Questions
How Long Does It Take to Fix a Dripping Bathtub Faucet?
It doesn’t take long to fix a dripping bathtub faucet if you know how to do it quickly. Hiring a professional may be worth it if you’re not confident in your skills.
Can I Use Regular Pliers to Disassemble a Bathtub Faucet?
Yes, regular pliers can be used to disassemble a bathtub faucet. However, it’s important to take safety precautions. Ensure the water supply is turned off and be careful not to damage any components during the process.
What Should I Do if I Can’t Identify the Faulty O-Ring in My Bathtub Faucet?
When I can’t identify the faulty o-ring in my bathtub faucet, I explore alternative solutions like replacing the entire cartridge. If I’m still unsure, I seek professional help to quickly fix the issue.
Is It Possible to Fix a Leaking Bathtub Faucet Handle Without Replacing It?
Yes, it is possible to fix a leaking bathtub faucet handle without replacing it. There are alternative solutions available that can help stop the leak and save you from having to replace the entire handle.
How Often Should I Adjust the Water Pressure in My Bathtub Faucet to Prevent Dripping?
Adjusting the water pressure in my bathtub faucet regularly is crucial to prevent dripping. I learned this the hard way when my faucet started leaking due to high pressure. Don’t make the same mistake!
Conclusion
So there you have it, folks. After following the step-by-step guide and utilizing the necessary tools and materials, you can bid farewell to that pesky dripping bathtub faucet.
By identifying and replacing faulty components such as O-rings and worn-out washers, and adjusting the water pressure accordingly, you can ensure a drip-free bathing experience.
Remember to regularly maintain your bathtub faucet to avoid any future issues.
With these helpful tips and tricks, you’ll be able to enjoy a soothing and uninterrupted bath like never before.