So, you’ve got a leaking bathtub faucet, huh? Well, don’t worry, because in just a few simple steps, you’ll be able to put an end to that pesky drip.
This article will guide you through the process of fixing your leaky faucet, from assessing the problem to reassembling everything back in place. By following these steps, you’ll have a leak-free faucet in no time.
So, let’s roll up our sleeves and get to work!
Key Takeaways
- Turn off the water supply to the bathtub to prevent further leakage.
- Inspect the faucet and surrounding area for visible signs of damage or leakage.
- Replace the washer, which is often the cause of leaks, and ensure a smooth reassembly of the faucet handle.
- Regularly maintain the faucet by cleaning it, inspecting and replacing seals, and monitoring water pressure to prevent future leaks.
Assess the Leak
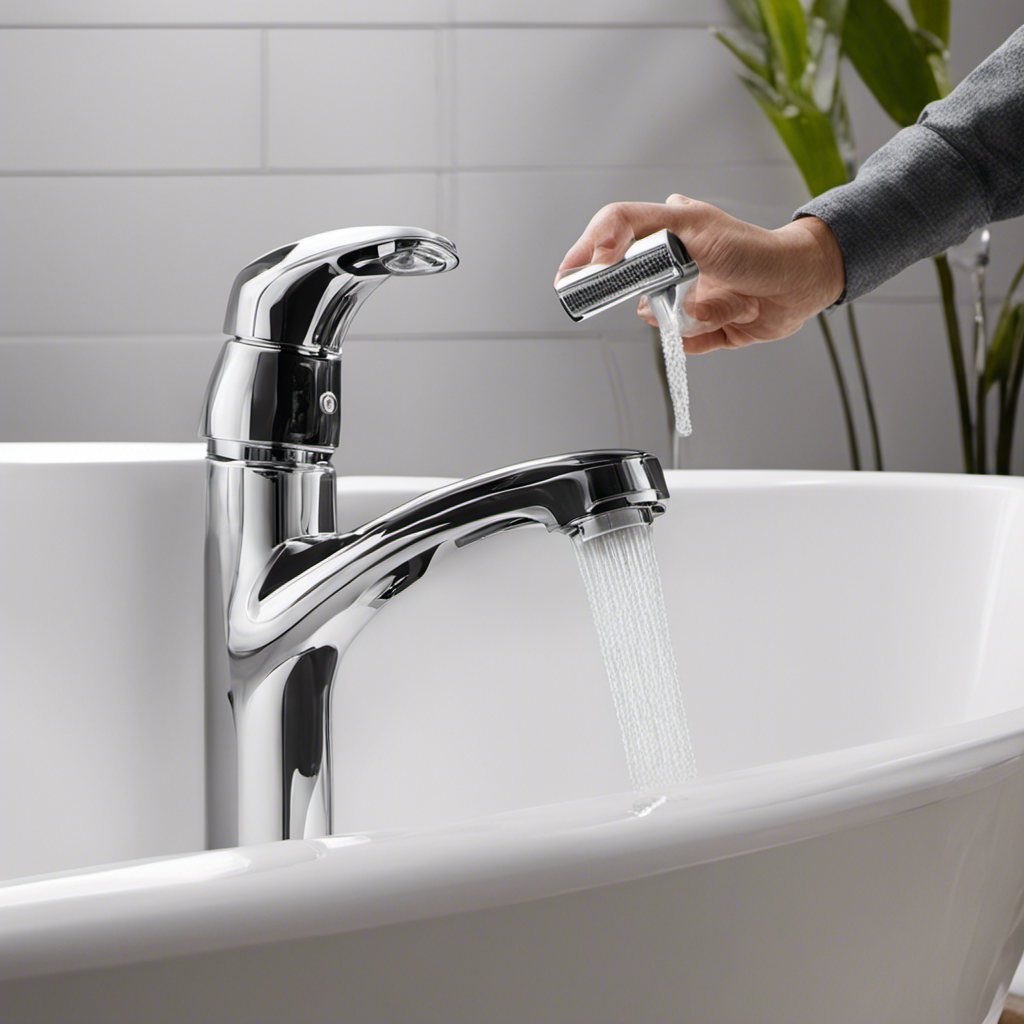
You’ll need to first assess the leak to determine the severity and location. Start by turning off the water supply to the bathtub. This can usually be done by shutting off the water valves located under the sink or behind the bathtub.
Once the water is off, examine the faucet and surrounding area for any visible signs of damage or leakage. Look for dripping water, water stains, or wet spots. Check the handle, spout, and any connections for loose or worn parts.
If the leak is minor and easily accessible, you may be able to troubleshoot the issue by tightening loose fittings or replacing worn-out washers. However, if the damage is more extensive or the leak persists, it may be necessary to gather the necessary tools to fix the problem.
Gather the Necessary Tools
To fix the problem, you’ll need to gather the necessary tools. Fixing bathtub faucets can be a simple task if you have the right tools at hand. Here’s what you’ll need:
- Adjustable wrench
- Screwdriver
- Replacement parts (cartridge, O-rings, washers)
- Plumber’s tape
- Towel
Common causes of faucet leaks are worn out O-rings, damaged cartridges, or loose connections. To begin, turn off the water supply to the bathtub. Use the adjustable wrench to unscrew the faucet handle and remove it. Check the O-rings and washers for signs of wear and tear. If they are damaged, replace them with new ones.
Next, remove the cartridge and inspect it for any cracks or damage. If necessary, replace the cartridge.
Finally, reassemble the faucet, ensuring all connections are secure. Use the plumber’s tape to wrap around the threads before reinstalling the handle. Turn on the water supply and check for any leaks.
If the problem persists, it may be best to consult a professional plumber.
Shut off the Water Supply
Before beginning any repairs, make sure to shut off the water supply to prevent any further issues. This step is crucial in ensuring a safe and effective fix for your leaking bathtub faucet.
To stop the water flow, locate the main water shut-off valve in your home. It is typically located near the water meter or in the basement. Once you have found the valve, turn it clockwise until it is fully closed. This will shut off the water supply to your entire house. By doing so, you prevent any accidental flooding or water damage during the repair process.
Remember to turn off any faucets in your home to release any remaining water pressure. Now you are ready to move on to the next step and fix your faucet.
Remove the Faucet Handle
Once you’ve shut off the water supply, start by removing the faucet handle. This step is crucial in order to access the inner components of the faucet.
Follow these step-by-step instructions to successfully remove the faucet handle:
-
Use a screwdriver to locate and remove the screw securing the handle. It is typically located either on the top or underneath the decorative cap.
-
Once the screw is removed, gently pull the handle away from the wall. Be careful not to force it or use excessive pressure, as this may cause damage.
-
If the handle feels stuck, try using a handle puller tool specifically designed for this purpose. This will help loosen the handle without causing any harm.
Now that you’ve successfully removed the faucet handle, you can proceed to inspect and replace the washer, which is often the culprit behind leaks and drips.
Inspect and Replace the Washer
After successfully removing the faucet handle, you can now inspect and replace the washer if necessary. To ensure a smooth and effective process, follow these steps:
-
Turn off the water supply: Before inspecting the faucet, make sure to turn off the water supply to prevent any leaks or accidents.
-
Inspect the washer: Take a close look at the washer located inside the faucet assembly. Look for any signs of wear, tear, or damage, such as cracks or breaks.
-
Replace the washer: If the washer is worn or damaged, it needs to be replaced. Remove the old washer and replace it with a new one of the same size and shape.
Replace the O-Ring
To fix the issue, you’ll need to replace the o-ring by following these steps.
A leaking bathtub faucet can be quite a nuisance, but luckily, it is a problem that can be easily resolved. The o-ring, also known as a rubber washer, is a common culprit behind leaks.
Here are some troubleshooting tips and the steps to replace the o-ring:
- Turn off the water supply to the bathtub faucet.
- Remove the handle by unscrewing the screw or lever.
- Locate the o-ring, which is usually found inside the faucet body.
- Carefully remove the old o-ring using a small screwdriver or pliers.
- Take the old o-ring to a hardware store to find a suitable replacement.
- Install the new o-ring by sliding it into place.
- Reassemble the faucet handle and turn on the water supply to test for leaks.
Clean the Valve Seat
If you’re still experiencing a leaking faucet even after replacing the O-ring, it’s time to move on to the next step: cleaning the valve seat.
The valve seat is responsible for creating a watertight seal when the faucet is closed, but over time, it can become corroded or covered in mineral deposits, causing leaks.
To clean the valve seat, you’ll need a valve seat wrench and some vinegar or a commercial cleaning solution.
Valve Seat Cleaning
You can clean the valve seat by using a small wire brush. This is an important step in valve seat maintenance as it helps remove any mineral deposits or debris that may be causing the leakage in your bathtub faucet.
To effectively clean the valve seat, follow these steps:
- Turn off the water supply to the faucet.
- Remove the faucet handle and any other components that may be covering the valve seat.
- Gently scrub the valve seat with the wire brush, making sure to remove any buildup or residue.
By using this effective cleaning technique, you can ensure that the valve seat is free from any obstructions, allowing for a proper seal and preventing any leaks.
Remember to reassemble the faucet components and turn on the water supply after cleaning the valve seat.
Leaking Faucet Solutions
One way to address the issue is by checking the washer for any signs of wear or damage.
Start by turning off the water supply to the faucet.
Remove the handle by unscrewing the screw located underneath.
Take off the cap and unscrew the packing nut.
Once you have access to the stem, inspect the washer for any cracks or tears.
If you find any damage, replace the washer with a new one of the same size.
Reassemble the faucet in the reverse order and turn on the water supply to test for leaks.
This is a common plumbing issue that can be easily fixed by replacing the washer.
Preventing Future Leaks
By regularly maintaining the plumbing fixtures, homeowners can easily avoid future leaks. Here are three preventive measures you can take to ensure long-term solutions:
-
Inspect and clean the faucet: Over time, mineral deposits can build up inside the faucet, causing leaks. Regularly inspect the faucet for any signs of leakage and clean it using a gentle cleanser to remove any buildup.
-
Check the seals: Faulty seals can lead to leaks. Inspect the seals around the faucet handles and spout for any cracks or wear. Replace any damaged seals to prevent future leaks.
-
Monitor water pressure: High water pressure can put excessive strain on the plumbing fixtures, leading to leaks. Install a pressure regulator to maintain a steady water pressure and prevent leaks.
Reassemble the Faucet
To reassemble the faucet, start by screwing the handle back onto the stem tightly. Next, place the escutcheon plate over the handle and secure it with the screws provided. Ensure that the plate is aligned properly and snugly fastened. Then, attach the spout to the body of the faucet, making sure it is firmly in place. Finally, tighten the connection with a wrench, being careful not to over-tighten and damage the threads.
Here is a table highlighting common faucet problems and their corresponding reassembling steps:
| Faucet Problem | Reassembling Steps |
|---|---|
| Dripping faucet | Follow the steps above to reassemble the faucet. |
| Loose handle | Tighten the handle onto the stem securely. |
| Leaking spout | Ensure the spout is properly attached and tightened. |
Now that the faucet is reassembled, it’s time to test for leaks.
Test for Leaks
Make sure you check for any leaks by turning on the water and observing the faucet closely. This step is crucial to ensure that the leak is completely resolved.
Here’s what you need to do:
- Turn on the water supply to the faucet.
- Carefully observe the faucet for any signs of water leakage.
- Check both the hot and cold water handles separately.
If you notice any leaks, it means that there might still be an issue with the faucet. In that case, you will need to proceed with further repairs to fix the leak completely. Consider additional repairs such as replacing worn-out washers or O-rings to ensure a watertight seal.
Consider Additional Repairs
If you notice any leaks, it might be necessary to address further repairs to ensure a watertight seal. Common issues that may require additional repairs include worn-out washers, damaged valves, or loose connections. Here’s a step-by-step guide to help you address these problems:
| Common Issues | Possible Solutions |
|---|---|
| Worn-out washers | Replace the washers with new ones. Make sure to turn off the water supply before removing the old washers. |
| Damaged valves | Replace the valve assembly. This may require some disassembly of the faucet, so refer to the manufacturer’s instructions for guidance. |
| Loose connections | Tighten any loose nuts or connections using a wrench. Be careful not to overtighten, as this can cause damage. |
Maintain a Leak-Free Faucet
Now that you have considered additional repairs for your leaking bathtub faucet, it’s important to understand how to properly maintain your faucet to prevent future leaks. By following these steps, you can ensure a leak-free faucet and save yourself from costly repairs down the line.
Proper Faucet Maintenance:
- Regularly clean your faucet to remove any mineral deposits or debris that could cause leaks.
- Inspect the rubber washers and O-rings for signs of wear and tear. Replace them if necessary.
- Lubricate the moving parts of the faucet with plumber’s grease to prevent friction and leaks.
Troubleshooting Faucet Leaks:
- If your faucet is still leaking, check the water pressure. High water pressure can cause leaks. Install a pressure regulator if needed.
- Inspect the supply lines for any leaks or loose connections. Tighten or replace them as necessary.
- If the leak persists, consider calling a professional plumber to diagnose and repair the issue.
Frequently Asked Questions
How Long Does It Take to Fix a Leaking Bathtub Faucet?
On average, it takes about 1-2 hours to fix a leaking bathtub faucet. To fix it, you’ll need to follow a few steps, such as turning off the water supply, disassembling the faucet, replacing the worn-out parts, and reassembling everything.
Can a Leaking Bathtub Faucet Cause Water Damage to the Surrounding Area?
A leaking bathtub faucet can cause significant water damage to the surrounding area if not addressed promptly. Look for signs of water damage, such as discoloration or peeling paint, to prevent further issues.
Are There Any Alternative Methods to Fixing a Leaking Bathtub Faucet?
To fix a leaking bathtub faucet, there are alternative methods and DIY solutions available. These methods can help you stop the leak without calling a plumber. Here’s how you can do it yourself.
What Are the Common Reasons for a Bathtub Faucet to Start Leaking?
Dripping faucets are caused by worn-out washers, damaged O-rings, or corroded valve seats. To fix a leaking faucet, turn off the water supply, disassemble the faucet, replace any faulty parts, and reassemble the faucet tightly.
Can a Leaking Bathtub Faucet Be Fixed Without Calling a Professional Plumber?
You can fix a leaking bathtub faucet without calling a plumber by trying DIY solutions. All you need are a few common tools and a step-by-step process to follow.
Conclusion
Congratulations! You’ve successfully fixed that pesky leaking bathtub faucet, restoring peace and tranquility to your bathroom. Who needs a plumber when you can conquer this challenge yourself?
Remember, maintaining a leak-free faucet is essential to prevent water wastage and save those precious pennies. So, go ahead, bask in the glory of your newfound plumbing prowess, and enjoy a soothing bath without any unwanted surprises.
Just don’t forget to give yourself a well-deserved pat on the back for a job well done!

Liam’s journey with us started as a consumer. Having faced challenges while setting up his own modern bathroom, he delved deep into research.
Recognizing his knack for simplifying complex information and his authentic writing style, we were thrilled to welcome him aboard. Liam’s articles often merge practicality with style, ensuring readers find the perfect fit for their homes. Liam is an avid hiker off-duty and often jokes about finding the best “natural toilets” Mother Earth has to offer.