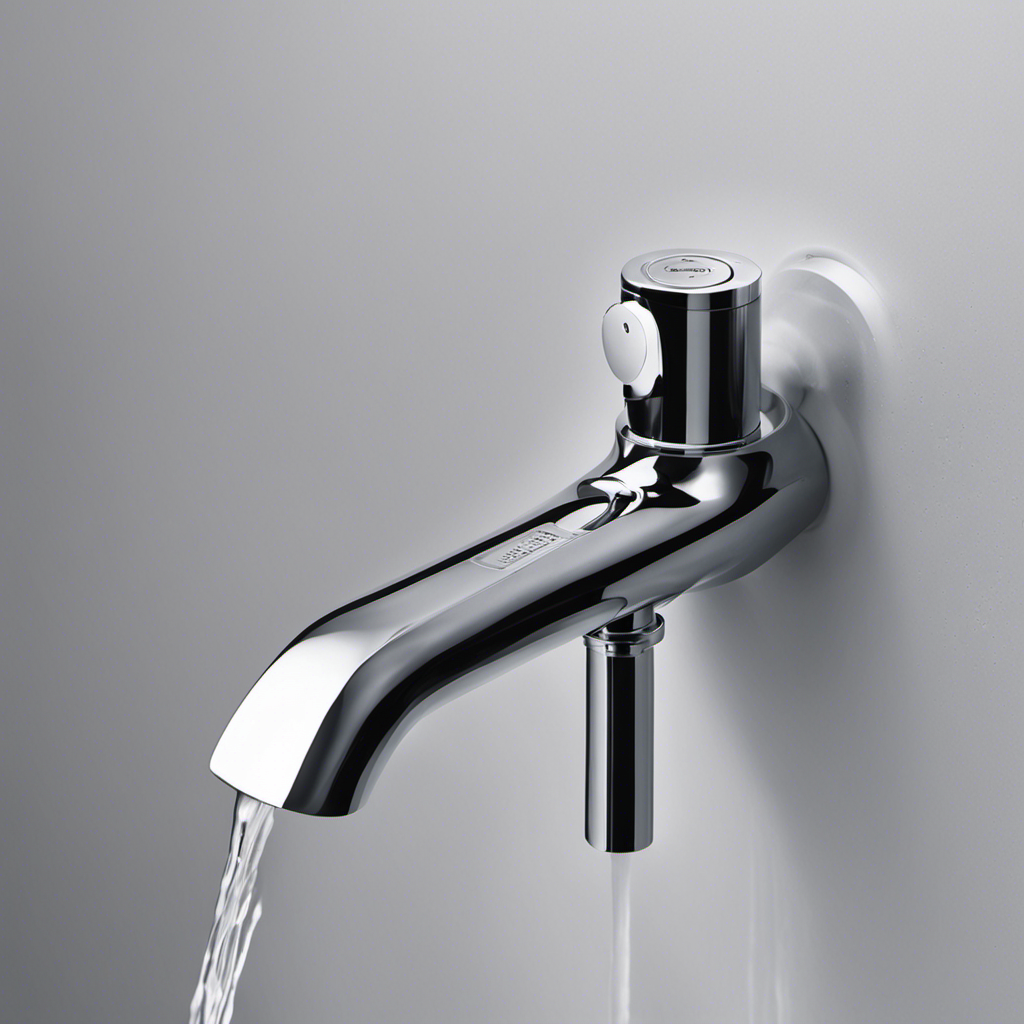
I’ve been there before – standing in my bathroom, watching as the steady drip from my bathtub faucet slowly transforms into a miniature waterfall. It’s frustrating, wasteful, and in need of a quick fix.
In this article, I’ll guide you through the precise steps to stop that stubborn leak once and for all. By identifying the source of the leak, gathering the necessary tools, and replacing faulty parts, you’ll have a fully functioning faucet in no time.
Let’s dive in and put an end to that pesky drip.
Key Takeaways
- Regular maintenance, such as checking and replacing washers and O-rings, can help prevent leaks.
- Clean valve seats to prevent leaks caused by debris or mineral buildup.
- Avoid over-tightening faucet handles to prevent damage.
- Gather the necessary tools and replacement parts before starting the repair process.

XBVV 106 PCS Faucet Washer Assortment Kit with Assorted Flat and Beveled Rubber Washers for Outdoor Garden Faucet Stem Leak Worn Replacement Repair
Multiple sizes: 106 Pcs faucet washer kit with assorted different flat beveled common sizes: 3/8, 1/4L, 1/4, 1/4M…
As an affiliate, we earn on qualifying purchases.
As an affiliate, we earn on qualifying purchases.
Identifying the Source of the Leak
To stop your bathtub faucet from leaking, start by identifying the source of the leak. Leaks can occur due to various common causes, such as worn-out washers, faulty O-rings, or damaged valve seats. These issues can lead to water seeping through the faucet even when it is turned off.
To prevent such leaks, regular maintenance is crucial. One prevention technique is to check and replace washers and O-rings periodically. Additionally, ensuring that the valve seats are clean and free from any debris or mineral buildup can help prevent leaks.
It is also important to avoid over-tightening the faucet handles, as this can cause damage to the internal components. By identifying the source of the leak and implementing these prevention techniques, you can effectively stop your bathtub faucet from leaking.

360 Pcs O Ring Assortment Kit,Rubber Washer Orings, Black 24 Sizes Pressure Washer O Ring Kit for Faucet, Hose, Automotive, Air Gas Plumbing Sealing Repair O Rings
Premium Material: These assorted o rings are made of outstanding rubber material with good air tightness and high…
As an affiliate, we earn on qualifying purchases.
As an affiliate, we earn on qualifying purchases.
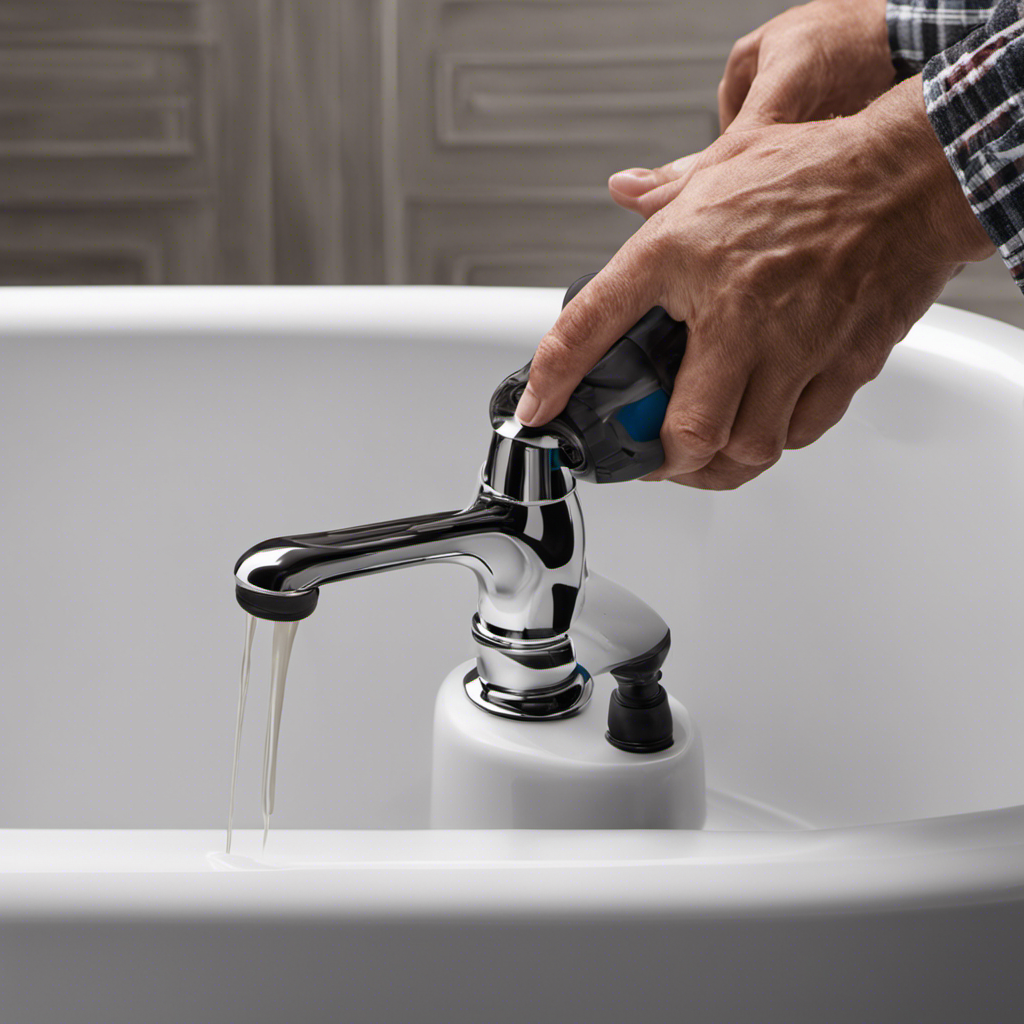
Gathering the Necessary Tools
Start by gathering all the necessary tools for fixing the leaky faucet in your bathtub. To successfully repair the leak, it is crucial to have the following items on hand:
| Tools | Materials | Safety Equipment |
|---|---|---|
| Adjustable wrench | Replacement parts (such as O-rings, washers) | Safety goggles |
| Screwdriver (Phillips and flathead) | Plumbers tape | Gloves |
| Pliers | Lubricating grease | Protective clothing |
Now that you have gathered the required tools, let’s understand the common causes of bathtub faucet leaks. One common culprit is worn-out O-rings or washers, which can create gaps and allow water to escape. Another cause is a faulty valve or cartridge, which may need to be replaced. To prevent future leaks, it is essential to regularly inspect and maintain your bathtub faucet. Ensure that all connections are tight, and apply plumbers tape to prevent leaks at threaded joints. Additionally, lubricating the moving parts of the faucet can help extend its lifespan.
With the necessary tools in hand and an understanding of common causes and preventive measures, we can now proceed to the next step of disassembling the faucet.

LASCO 13-1065 Metal Faucet Seat Grinder/Reseater Tool, Used to Resurface Faucet Seats
The product is easy to use
As an affiliate, we earn on qualifying purchases.
As an affiliate, we earn on qualifying purchases.
Disassembling the Faucet
Now that I have all the necessary tools, it’s time to disassemble the faucet. To fix a leaking bathtub faucet, it is essential to replace the washer and fix the valve. Here are the steps to disassemble the faucet:
- Turn off the water supply to the faucet.
- Remove the handle by unscrewing the set screw.
- Take off the decorative cap and unscrew the escutcheon plate.
- Locate the valve and carefully remove it using a wrench.
- Inspect the washer for any signs of wear or damage.

MLD Hand Held Bidet Sprayer for Toilet, Muslim Shower Bidet Hose Toilet Faucet Sprayer Kit, Toliet Jet Spray Bidet Attachment with T Valve, Toilet Water Spray Shower for Washer and Cleaner
1 Better Personal Hygiene: The bidet for toilet is the best choice for bottom cleaning to improve personal…
As an affiliate, we earn on qualifying purchases.
As an affiliate, we earn on qualifying purchases.
Replacing Faulty Parts
First, you’ll need to locate the faulty parts in your bathtub faucet and carefully remove them using the appropriate tools.
When it comes to repairing vs. replacing faulty parts, it’s important to consider the severity of the damage and the overall condition of your faucet. In some cases, a simple repair may be enough to fix the issue. However, if the damage is extensive or if the faucet is old and worn out, it may be more cost-effective to replace the faulty parts altogether.
Common causes of bathtub faucet leaks include worn-out washers, damaged O-rings, or corroded valve seats. Once you have identified the faulty parts, you can easily find replacements at your local hardware store or online. Remember to follow the manufacturer’s instructions when installing the new parts to ensure a proper and leak-free fix.
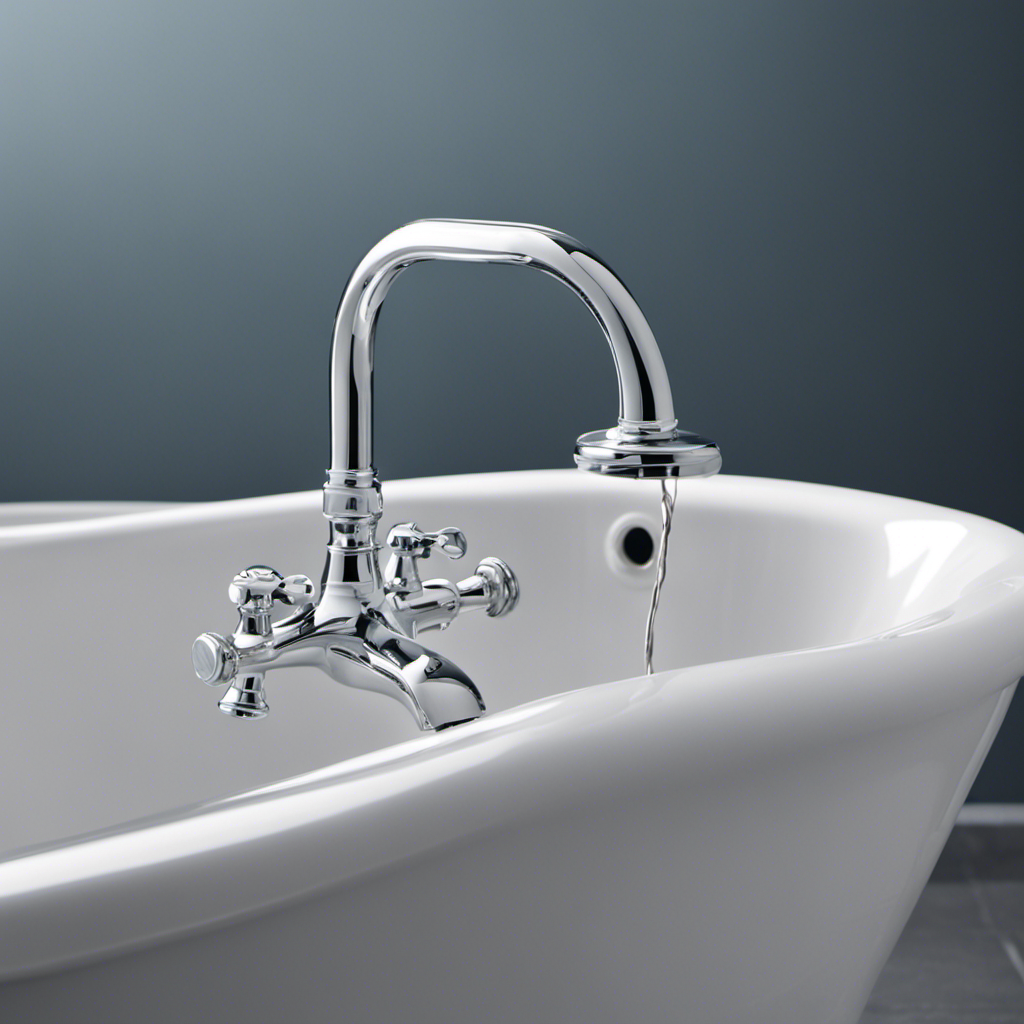
Testing and Reassembling the Faucet
To test and reassemble the faucet, you’ll need to carefully follow the manufacturer’s instructions and use the appropriate tools. Here are some important steps to take when testing and reassembling your faucet:
-
Check for leaks: Before reassembling the faucet, make sure there are no leaks by turning on the water supply. If you notice any leaks, tighten the connections or replace any faulty parts.
-
Test the handle: Once the faucet is reassembled, test the handle for smooth operation. Ensure that it can be easily turned on and off without any resistance.
-
Check for proper water flow: Run the water and check for any restrictions or reduced water flow. If the flow is not satisfactory, clean the aerator or replace it if necessary.
-
Inspect the connections: Carefully examine all the connections for any signs of leakage or loose fittings. Tighten them if needed.
-
Apply lubricant: To ensure smooth operation, apply a small amount of silicone-based lubricant to the valve stem and other moving parts.
Conclusion
In conclusion, fixing a leaking bathtub faucet requires careful identification of the source of the leak and gathering the necessary tools for disassembly.
By replacing the faulty parts and testing the faucet, you can put an end to the irritating drip.
Just like a skilled plumber, with patience and precision, you can restore the smooth flow of water and bring harmony back to your bathroom oasis.
So grab your wrench and get ready to conquer that leaky faucet once and for all.