I’ve tackled many home improvement projects over the years, but there’s one that always gets me excited: stripping a bathtub. It’s like peeling away layers of time to reveal the beauty beneath.
In this guide, I’ll share my tried and true method for safely and effectively stripping a bathtub. From gathering the necessary tools to applying the stripping solution, I’ll walk you through each step with detailed instructions.
Get ready to transform your bathtub into a stunning centerpiece of your bathroom.
Key Takeaways
- Safety precautions such as wearing rubber gloves, safety goggles, and a respirator are essential when stripping a bathtub.
- Choosing the right stripping solution and gathering necessary protective gear and materials is crucial before starting the process.
- Preparing the bathtub by removing debris, cleaning the surface, and protecting surrounding areas is important for a successful stripping.
- Applying the stripping solution carefully, ensuring proper ventilation, and emphasizing safety precautions are crucial steps in the process.

NUTICT Toilet UVC Light for Shared Bathroom, 6 UV-C LEDs, Auto Cleaning in 3 Minutes, 2000mAh Rechargeable Battery, Easy to Use Toilet Lid UV Light for Home Hotel Guest Room Bathroom, White
Toilet UV Light: Designed with 6 UV-C LED lights, feature 180° UV-C cleaning range, not only clean toilet...
As an affiliate, we earn on qualifying purchases.
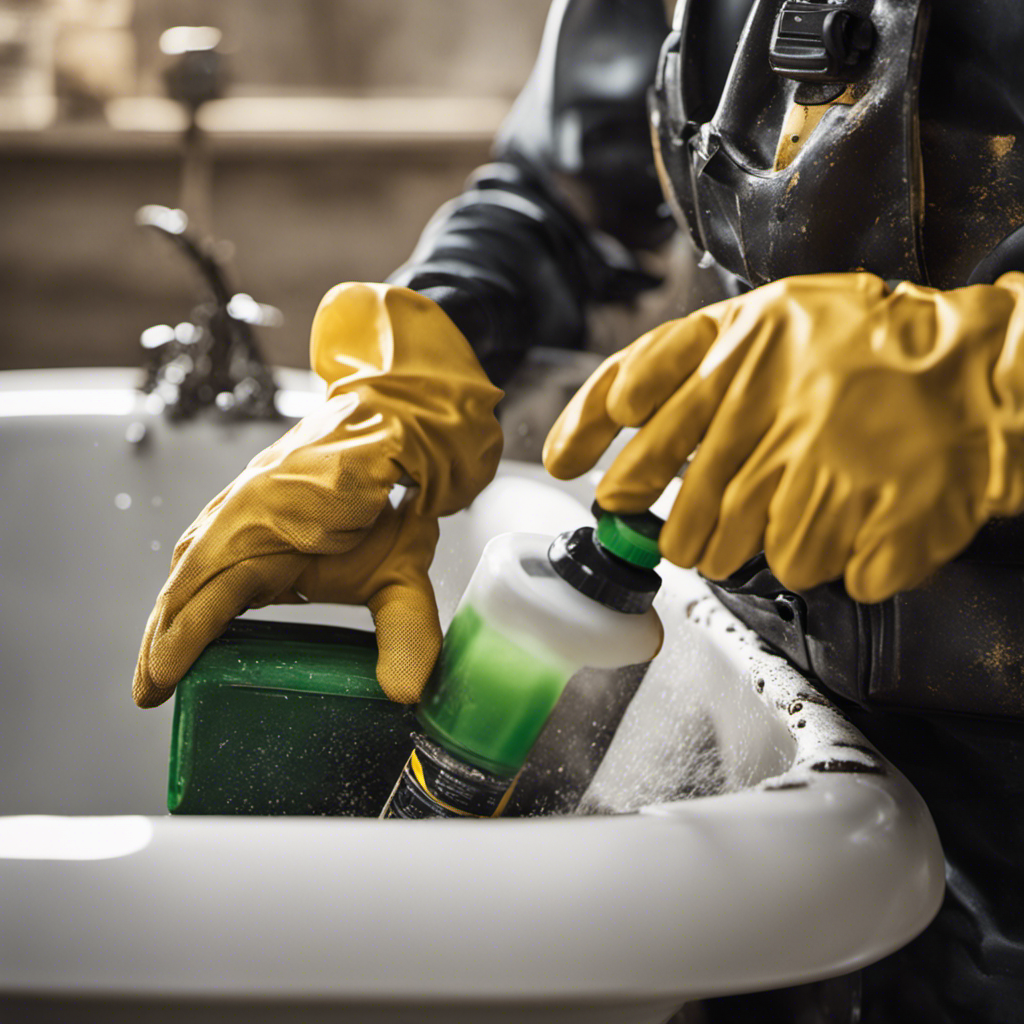
Safety Precautions for Bathtub Stripping
Before starting, it’s important to take safety precautions when stripping a bathtub. Safety measures should always be a priority to prevent any accidents or injuries.
When it comes to stripping a bathtub, wearing the appropriate protective gear is essential. I recommend wearing rubber gloves to protect your hands from any harsh chemicals or potential skin irritations. Additionally, it’s important to wear safety goggles to shield your eyes from any splashes or fumes. A respirator is also necessary to avoid inhaling any harmful chemicals or dust particles.
Lastly, make sure to work in a well-ventilated area to minimize exposure to fumes. By following these safety measures and using the proper protective gear, you can ensure a safe and successful bathtub stripping experience.
Casta Diva Smart Toilet with Bidet Built in, Auto Open/Close, Foam Shield, 1000g MaP Flush, Heated Seat, Foot Kick & Blackout Flush, Bidet Toilet with Night Light for Bathrooms
Foam Shield Smart Toilet: Enjoy a cleaner, splash-free experience. Automatically creates a thick foam barrier when you sit...
As an affiliate, we earn on qualifying purchases.
Gathering the Necessary Tools and Materials
To get started, you’ll need a few tools and materials for the job. The most important thing is to choose the right stripping solution for your bathtub. There are different types available, such as gel-based or liquid, so make sure to read the instructions and choose the one that suits your needs.
Additionally, you’ll need some protective gear, like gloves and goggles, to ensure your safety during the process. It’s also crucial to protect the surrounding area from any potential damage. Use drop cloths or plastic sheets to cover the floors and walls near the bathtub. This will prevent any accidental spills or splatters from causing any harm.

WinZo Luxury Smart Toilet With Bidet Seat, Elongated Egg Shaped Modern Design, Auto Open Auto Flush, Adjusted Heated Seat, Warm Water and Dryer, Night Light, Side Buttons, Matte Black
AutoFlush, Soft Close - The smart toilet coming with auto flushing function (auot flush after leaving)Remote & foot...
As an affiliate, we earn on qualifying purchases.
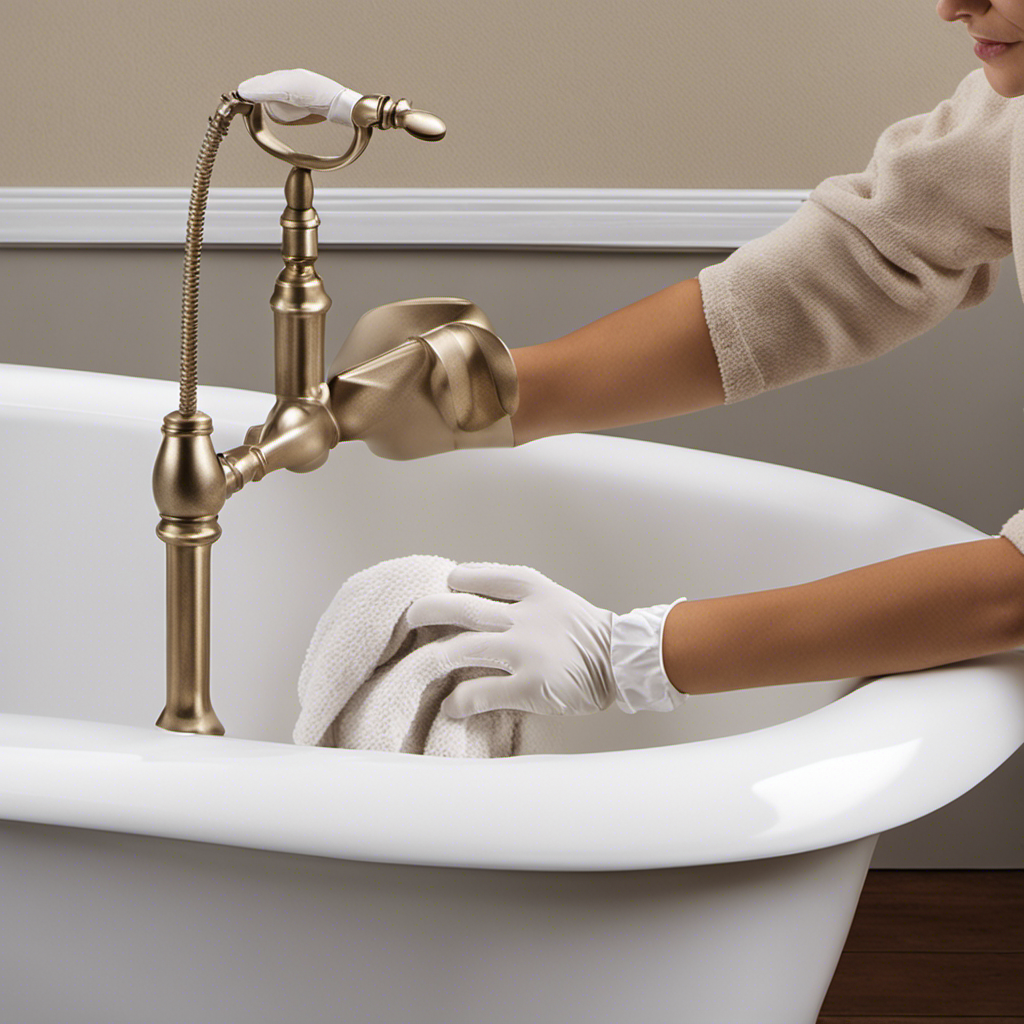
Preparing the Bathtub for Stripping
Once you’ve gathered all the necessary tools and materials, it’s important to thoroughly clean the bathtub surface before starting the stripping process. This step is crucial to ensure proper adhesion of the stripping agent and a successful stripping job.
To clean the bathtub, start by removing any loose debris or dirt using a soft brush or vacuum. Next, mix a solution of warm water and a mild detergent, and use a sponge or cloth to scrub the entire surface of the bathtub. Pay special attention to areas with built-up grime or soap scum.
Rinse the bathtub thoroughly with clean water and dry it completely before proceeding with the stripping process.
Additionally, it’s important to protect surrounding surfaces, such as tiles or countertops, by covering them with plastic sheets or masking tape. This will prevent any accidental damage or staining from the stripping chemicals.

EPLO Smart Toilet with Bidet Built In, Luxury Bidet with Heated Seat ADA Comfort Height & Foam Dispenser, Elongated Japanese Toilet with Automatic Flush, Dryer, Night Light, TEMP Display - iX7 MT
Bidet Toilet Combo ● EPLO iX7-MT Smart Toilet with Bidet built in, Heated Seat, High Speed Dryer,Tankless, Siphonic...
As an affiliate, we earn on qualifying purchases.
Applying the Stripping Solution
When applying the stripping solution, make sure you wear protective gloves and goggles to avoid any skin or eye irritation. Proper ventilation during the stripping process is also crucial to ensure a safe environment.
As an experienced professional, I cannot stress enough the importance of taking these precautions. The stripping solution contains chemicals that can be harmful if they come into contact with your skin or eyes. By wearing protective gloves and goggles, you create a barrier between the solution and your skin, minimizing the risk of irritation or injury.
Additionally, proper ventilation helps to reduce the concentration of fumes in the air, preventing any respiratory discomfort.
Now that we have discussed the importance of safety, let’s move on to the next step: removing the stripped finish from the bathtub.
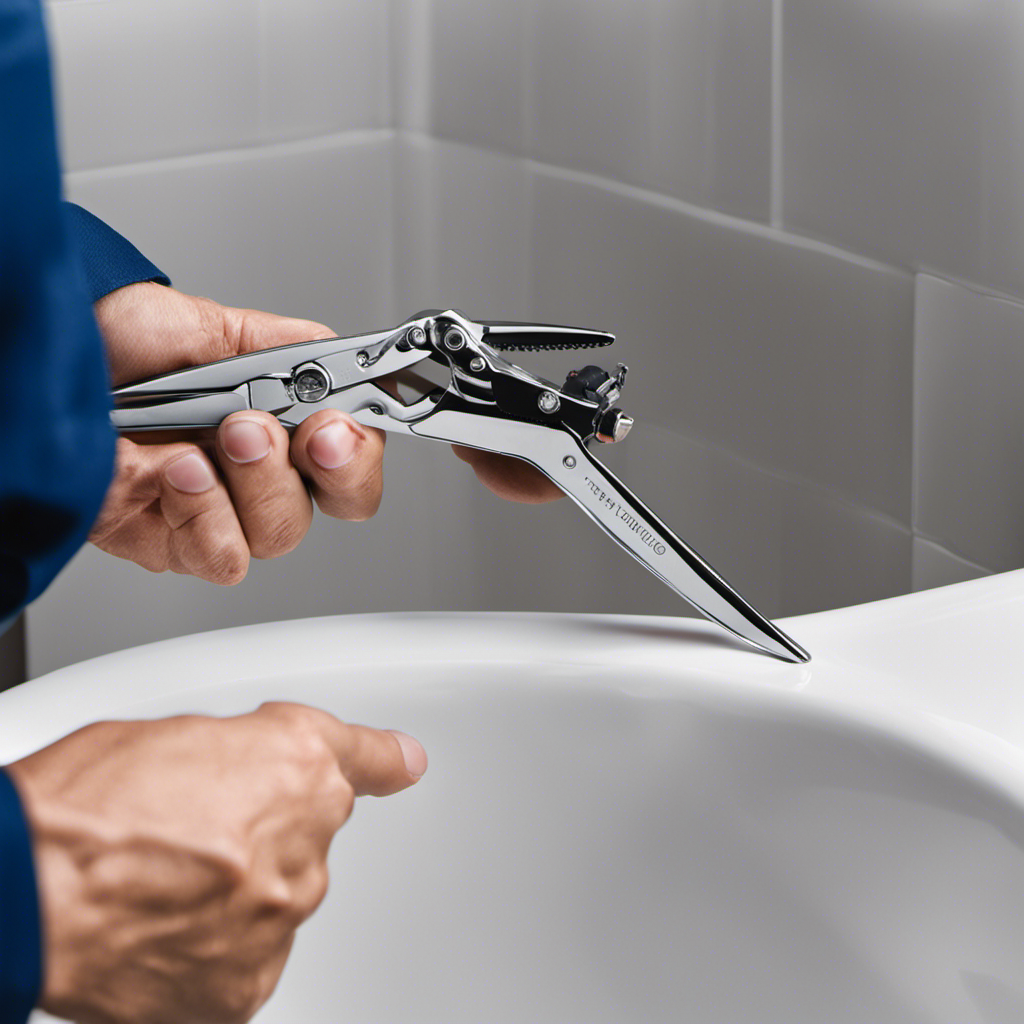
Removing the Stripped Finish From the Bathtub
Make sure you have all the necessary tools, such as a scraper and sandpaper, to effectively remove the stripped finish from your bathtub. Restoring the bathtub’s original shine can be a laborious task, but with the right techniques, it can be accomplished.
One alternative method for removing the stripped finish is by using a chemical paint stripper. Apply the stripper onto the surface of the bathtub and let it sit for the recommended time. Then, using a scraper, gently scrape off the loosened finish.
Another method is to use a heat gun to soften the finish, making it easier to scrape off. Be cautious when using a heat gun, as excessive heat can damage the bathtub. Remember to wear protective gear and work in a well-ventilated area.
Conclusion
In conclusion, stripping a bathtub can be a daunting task, but with the right tools and precautions, it can be a rewarding experience.
Just like peeling away layers to reveal a hidden treasure, stripping the bathtub’s finish allows you to restore its original beauty.
Remember to always prioritize safety and gather all the necessary materials before starting the process.
With careful application of the stripping solution and patience, you can remove the old finish and give your bathtub a fresh, new look.
Happy stripping!