So, you’ve decided it’s time to take that old bathtub out and give your bathroom a fresh new look. Well, you’ve come to the right place! In this step-by-step guide, I’ll show you exactly how to remove a bathtub like a pro.
Imagine stepping into your bathroom and seeing a sleek, modern space where that clunky old tub used to be. With the right tools and a little know-how, you’ll be well on your way to transforming your bathroom in no time.
Let’s get started!
Key Takeaways
- Assess the condition of the bathtub and surrounding area before taking it out.
- Gather the necessary tools and supplies for the removal process.
- Shut off the water supply and disconnect the plumbing and drainage system.
- Carefully detach the bathtub from the wall and floor, ensuring safety and proper lifting techniques.

HAUTMEC Tub Drain Remover Wrench Tool Heavy Duty Aluminum Shower Bathtub Drain Removal Tool PL0030
The dual ended tub drain wrench fits most inner diameter 1 3/8" and 1 1/2" tub drain shoe,ideal…
As an affiliate, we earn on qualifying purchases.
As an affiliate, we earn on qualifying purchases.
Assessing the Bathtub and Surrounding Area
Before you start, make sure you’re assessing the bathtub and surrounding area to determine the best course of action.
Start by evaluating the condition of the bathtub. Look for any signs of damage, such as cracks or leaks. This will help you decide if the bathtub needs to be replaced or if it can be repaired.
Next, measure the space for potential replacement tubs. Make sure to take accurate measurements of the length, width, and depth of the area. Consider any obstacles, such as plumbing fixtures or walls, that may affect the installation process.
Once you have assessed the condition of the bathtub and measured the space, you can move on to gathering the necessary tools and supplies for the removal process.

HORUSDY 4 Pack Heavy Duty Pipe Wrench Set, Adjustable 8" 10" 12" 14" Soft Grip Plumbing Wrench Set with Storage Bag
The handle is made of high strength malleable cast iron, and the head is made of heavy forged…
As an affiliate, we earn on qualifying purchases.
As an affiliate, we earn on qualifying purchases.
Gathering the Necessary Tools and Supplies
First, you’ll need to gather all the necessary tools and supplies for the job. Here are some bathtub removal tips to help you get started:
-
Tools:
-
Hammer
-
Screwdriver
-
Wrench
-
Pry bar
-
Utility knife
-
Supplies:
-
Safety goggles
-
Gloves
-
Dust mask
-
Drop cloths
-
Plastic sheets
Before starting the removal process, it’s important to consider finding professional help. Removing a bathtub can be a complex task that requires knowledge and experience. Hiring a professional will ensure that the job is done correctly and safely. They will have the necessary tools and expertise to handle any unexpected challenges that may arise.
Additionally, professionals can provide guidance and advice throughout the process, making it a smoother and more efficient experience. Taking these bathtub removal tips into account will help you gather the right tools and supplies, and make an informed decision about whether to hire a professional or tackle the job yourself.

DEWALT DPG82-11 Concealer Clear Anti-Fog Dual Mold Safety Goggle, Clear Lens, 1 Pair
DEWALT ToughCoat hard coated lens provides tough protection against scratches.
As an affiliate, we earn on qualifying purchases.
As an affiliate, we earn on qualifying purchases.
Shutting Off the Water Supply
When it comes to shutting off the water supply, there are a few key steps you need to follow.
First, locate the main water shutoff valve for your property. This is typically found near the water meter or where the main water line enters your home.
Next, use a wrench or pliers to turn the valve clockwise until it is fully closed.
Step-By-Step Water Shutoff
To start the process, you’ll need to shut off the water supply to the bathtub. This is an essential step in removing a bathtub safely.
Here’s a step-by-step guide on how to perform the water shutoff process:
-
Locate the main water shut-off valve in your home. It is usually found near the water meter or where the main water line enters your house.
-
Turn the valve clockwise to shut off the water supply. This will stop the flow of water to your bathtub.
-
If you have a separate shut-off valve for your bathtub, locate it and turn it off as well.
-
If you can’t find a shut-off valve specific to your bathtub, shutting off the main water supply will suffice.
With the water supply successfully turned off, you can now move on to the next step: gathering the necessary tools for the water shutoff process.
Tools for Water Shutoff
One tool you’ll need for the water shutoff process is a pair of pliers. These will come in handy when you need to turn off the water supply to your bathtub. However, there are a few other tools that you should have on hand to ensure a smooth water shutoff process. Here is a list of essential tools for water shutoff:
| Tool | Purpose |
|---|---|
| Adjustable Wrench | Used to loosen and tighten nuts and bolts |
| Pipe Cutter | Cuts through pipes cleanly and efficiently |
| Teflon Tape | Helps create a watertight seal when reassembling pipes |
| Bucket | Catches any water that may spill during the shutoff process |
| Towels | Used to dry any excess water and keep the work area clean |

Gutster 60” Demolition Pry Bar & Crowbar – Round Handle Wrecking Bar for Ceiling & Wall Demo – Heavy Duty Nail Puller Tool for Contractors, Firefighters & Home Renovations
Lightweight But Heavy Duty Performance: This 60” demolition pry bar features a lighter round handle for easier overhead…
As an affiliate, we earn on qualifying purchases.
As an affiliate, we earn on qualifying purchases.
Disconnecting the Plumbing and Drainage System
First, I’ll outline the necessary steps for removing the water supply from the bathtub. This involves turning off the main water valve and disconnecting the water supply lines.
Next, I’ll explain how to detach the drain pipe. This requires loosening the fittings and removing the drain assembly.
Removing Water Supply
After shutting off the water valves, it’s time to disconnect the water supply lines from the bathtub. This step is essential to prevent any potential water leaks and assess any water damage that may have occurred. Here’s how to remove the water supply:
-
Locate the water supply lines connected to the bathtub.
- Look for the hot and cold water valves near the bathtub.
- Trace the water supply lines from the valves to the bathtub.
-
Use an adjustable wrench to loosen the nuts connecting the supply lines to the bathtub.
- Turn counterclockwise to loosen the nuts.
- Hold the supply lines with one hand while loosening to prevent any strain on the pipes.
Once the supply lines are disconnected, you can move on to detaching the drain pipe, which is the next step in removing the bathtub.
Detaching Drain Pipe
To continue with the process of removing a bathtub, the next step is to detach the drain pipe. This is an important step as it allows for inspection and repair if needed.
There are alternative methods of removing the drain pipe, depending on the specific setup of your bathtub. Let’s take a look at the steps involved in detaching the drain pipe:
-
Start by locating the drain pipe underneath the bathtub. This is usually located near the center or at one end of the tub.
-
Use a wrench to loosen the nut connecting the drain pipe to the tub’s drain outlet.
-
Once the nut is loosened, carefully remove the drain pipe from the drain outlet.
-
Inspect the drain pipe for any damage or leaks. If necessary, make any repairs or replacements.
-
With the drain pipe detached, you can now proceed to the next step of removing the bathtub fixtures and accessories.
By detaching the drain pipe, you ensure a smooth removal process and allow for necessary inspections and repairs.
Now, let’s move on to removing the bathtub fixtures and accessories.
Removing the Bathtub Fixtures and Accessories
Now, you’ll want to start by disconnecting the bathtub fixtures and accessories. This is an important step in the process of removing a bathtub, especially if you are planning a bathroom remodeling project.
To make things easier, here are the steps you need to follow:
-
Turn off the water supply to the bathtub. This can usually be done by shutting off the water valves located under the sink or behind the bathtub.
-
Use a wrench to loosen the nuts that connect the bathtub faucet and showerhead to the water supply lines. Make sure to place a bucket underneath to catch any water that may spill.
-
Next, remove the trim or decorative pieces around the bathtub fixtures. This can usually be done by unscrewing or prying them off.
-
Finally, detach the bathtub drain stopper. This can be done by unscrewing it or using a drain key to remove it.
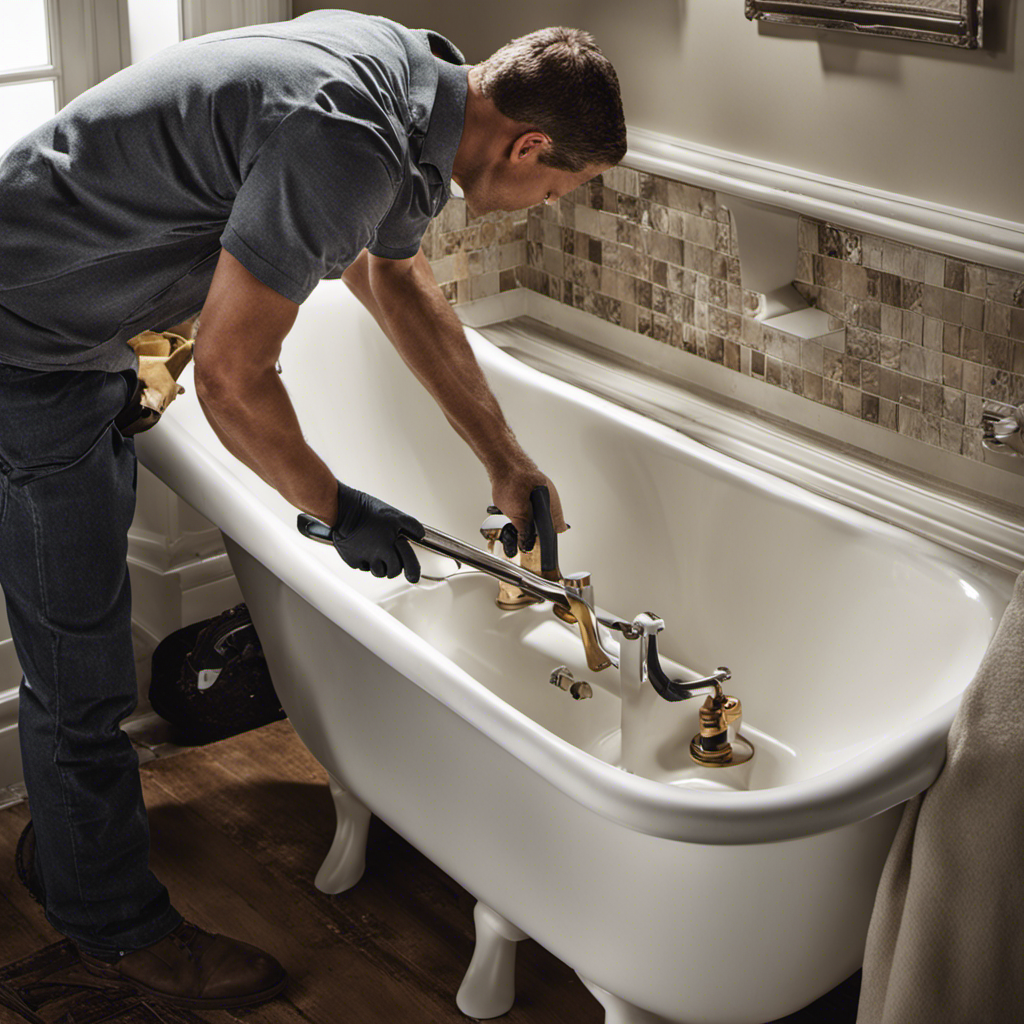
Detaching the Bathtub From the Wall and Floor
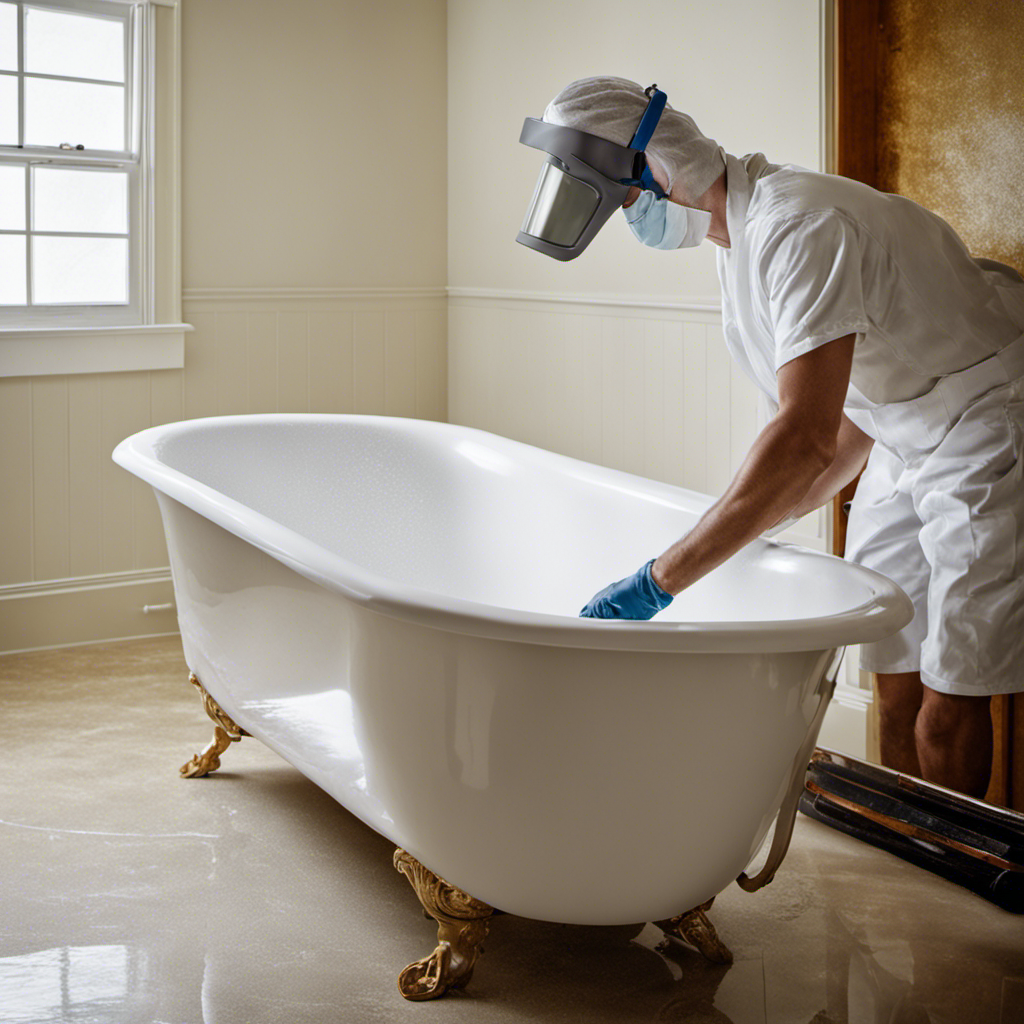
Once you’ve disconnected the bathtub fixtures and accessories, it’s time to detach the bathtub from the wall and floor. Before starting this step, it’s important to assess the condition of the bathtub to ensure it is safe to remove. Look for any signs of damage or weakening that may affect its stability.
Now, let’s prepare the surrounding area to avoid any damage or accidents. Clear the space around the bathtub, removing any furniture or obstacles. Cover the floor with drop cloths or plastic sheets to protect it from scratches or debris. Additionally, use masking tape to protect the walls from any accidental scrapes or scratches during the removal process.
Taking these precautions will ensure a smooth and safe bathtub removal.
Lifting and Removing the Bathtub From the Bathroom
Now that the bathtub has been detached from the wall and floor, it’s time to lift and remove it from the bathroom. This step requires careful planning and proper lifting techniques to ensure your safety and avoid any damage to the bathtub or your surroundings. Here’s how you can do it:
-
Gather the necessary equipment:
- Heavy-duty gloves to protect your hands
- Lifting straps or a dolly with straps for easier lifting and transportation
-
Determine the disposal options for the bathtub:
- Contact your local waste management facility for proper disposal guidelines
- Consider recycling options if the bathtub is made of recyclable materials
Conclusion
In conclusion, taking out a bathtub is like unraveling a puzzle. You delicately remove each piece until the grand design is revealed. With the right tools and a careful approach, I was able to disconnect the plumbing and detach the bathtub from its stronghold.
It was a dance of precision and patience. I lifted the bathtub from its watery kingdom, freeing the bathroom from its aquatic throne. Remember, this task requires expertise and attention to detail. But with determination, you too can conquer the art of bathtub removal.