I’ve always wondered what lies beneath the surface of my bathtub drain. The mysterious world of pipes and plumbing has intrigued me for years. So, I decided to take matters into my own hands and learn how to take apart a bathtub drain.
In this article, I will guide you through the step-by-step process of removing the drain cover, disconnecting the drain stopper, unscrewing the drain flange, and cleaning and reassembling the drain components.
Get ready to dive deep into the inner workings of your bathtub drain!
Key Takeaways
- The necessary tools for taking apart a bathtub drain include a screwdriver, pliers, an adjustable wrench, and plumber’s tape.
- To remove the drain cover, insert a screwdriver into the screw slots, turn counterclockwise to loosen the screws, and lift the drain cover carefully.
- Different types of drain stoppers require different methods of disconnection, such as twisting, pulling, or rotating counterclockwise while lifting.
- To unscrew the drain flange, use a wrench or pliers to grip it securely and turn it counterclockwise. Before cleaning and reassembling the drain components, inspect the flange for damage or corrosion.

Smart Toilet with Bidet Built In, Heated Seat, Warm Water Wash & Dryer, Tankless Bidet Toilet with Foot Sensor & Night Light, Auto Open/Close Lid & Flush, Wireless Remote, 1.26GPF Water-Saving Design
🛠️ Easy Installation & Reliable Support: This smart toilet with bidet built in includes all accessories, flange kit,...
As an affiliate, we earn on qualifying purchases.
Required Tools for the Job
To start taking apart the bathtub drain, you’ll need a few tools. When it comes to bathtub drain installation or addressing common bathtub drain problems, having the right tools is essential. Here are the tools you’ll need for the job:
- Screwdriver: A flathead or Phillips screwdriver will be needed to remove the drain cover.
- Pliers: You’ll need pliers to grip and turn the drain body.
- Adjustable wrench: This tool will help you loosen and remove the drain flange.
- Plumber’s tape: It’s always a good idea to have plumber’s tape on hand to seal any connections.

LOUPUSUO Smart Toilet with Warm Water Sprayer and Dryer, One Piece Bidet Toilet with Auto Dual Flush Foot Sensor Operation,Heated Seat Smart with Built In Fahrenheit LED Display
Powerful Flushing System: Designed with low water consumption (1.26 gallons per flush), this system ensures efficient and thorough...
As an affiliate, we earn on qualifying purchases.
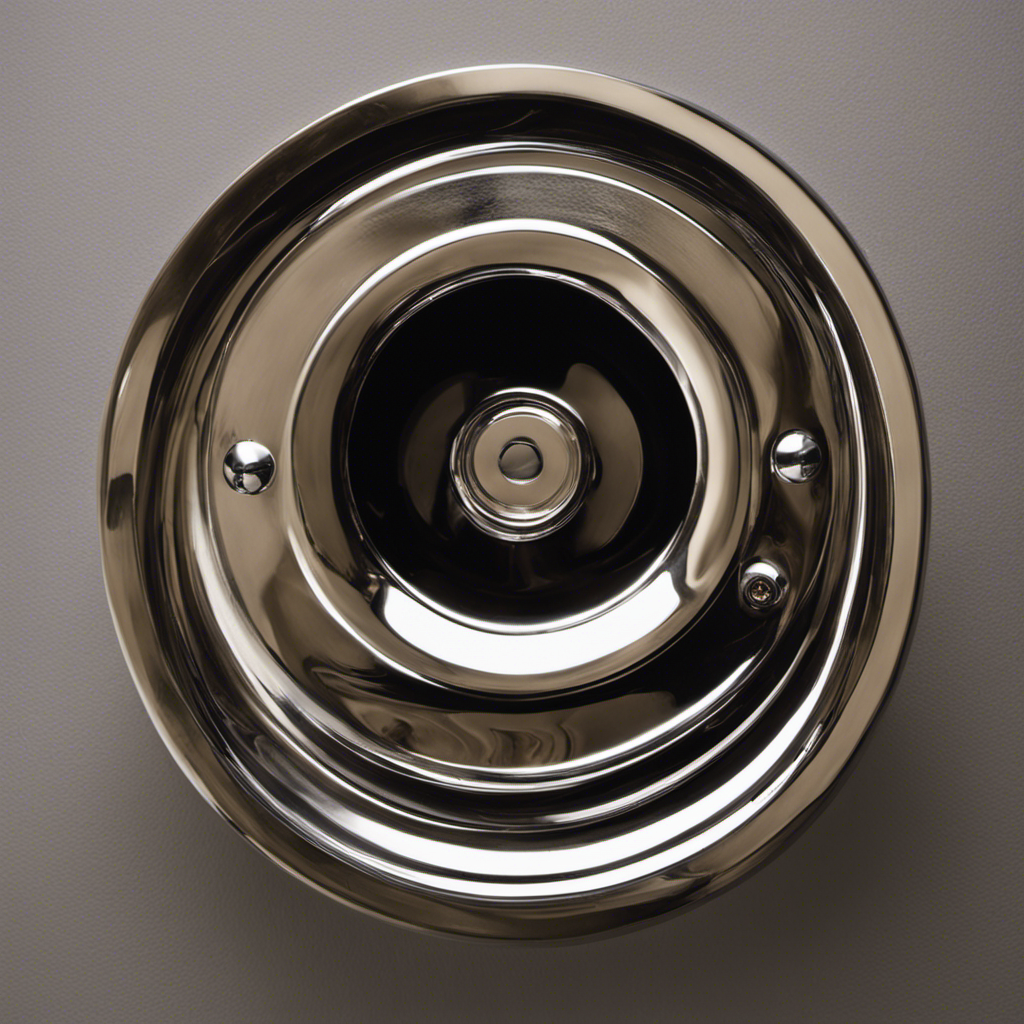
Step 1: Removing the Drain Cover
First, you’ll need to unscrew the cover of the drain. This step is crucial when replacing a bathtub drain cover or preventing clogs in bathtub drains. To ensure a successful removal, follow these steps:
| Step | Instructions |
|---|---|
| 1 | Locate the drain cover in your bathtub. It is usually positioned near the bottom of the tub. |
| 2 | Take a screwdriver and insert it into the screw slots on the cover. Apply pressure and turn counterclockwise to loosen the screws. |
| 3 | Once the screws are loose, carefully lift the drain cover upwards. Be cautious not to damage the surrounding area or drop any screws into the drain. |

WITMYA Smart Toilet with Bidet Built In, One Piece Bidet Toilet with Auto Dual Flush, Foam Shield, Modern Elongated Tankless Toilet with Foot Sensor, Heated Bidet Seat, Warm Water & Dryer,LED Display
【Efficient Flush & Energy-Saving Design】There smart toilets feature a highly efficient 1.28 GPF water-saving dual flush system with...
As an affiliate, we earn on qualifying purchases.
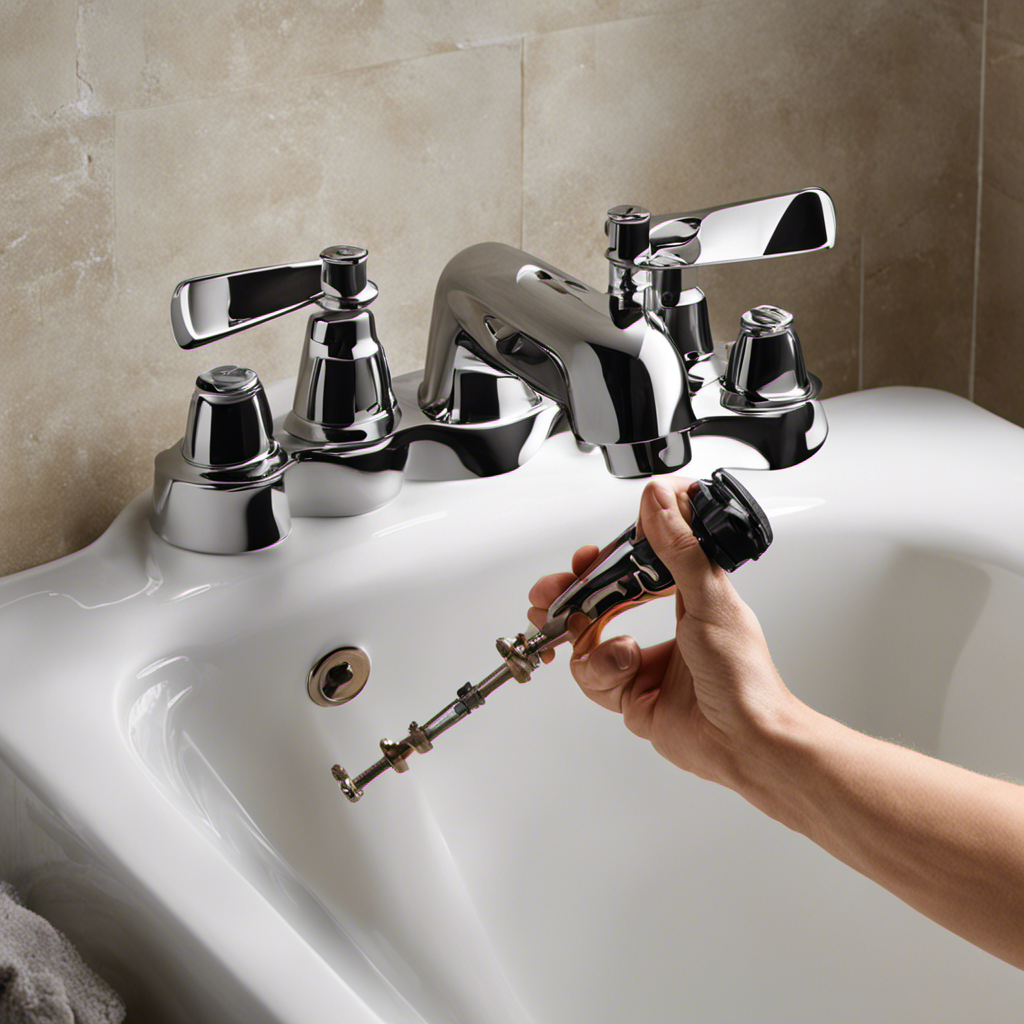
Step 2: Disconnecting the Drain Stopper
Next, you’ll want to unscrew the stopper from the drain.
To properly maintain your bathtub drain, it is important to periodically remove any hair and debris that may have accumulated in the drain stopper.
Start by locating the stopper and identifying the type of stopper you have. There are various types, such as lift-and-turn, push-and-pull, or toe-touch stoppers.
Once you have determined the type, you can proceed accordingly. For lift-and-turn stoppers, you will need to twist the stopper counterclockwise to release it from the drain. For push-and-pull stoppers, you can simply pull the stopper upwards. Lastly, for toe-touch stoppers, you will need to rotate the stopper counterclockwise while lifting it up.
Remember to clean the stopper thoroughly by removing any hair and debris before reattaching it to the drain.

Loniko Smart Toilet with Bidet Built In, Heated Seat & Dual Auto Flush, Foot Sensor, Tankless Modern Elongated Electric Toilet with Warm Water Wash, Air Dryer, LED Display & 1000g MaP Flush, 1.28 GPF
🧻 [Powerful & Water-Saving Dual Flush System] This one piece smart toilet with bidet built in uses an...
As an affiliate, we earn on qualifying purchases.
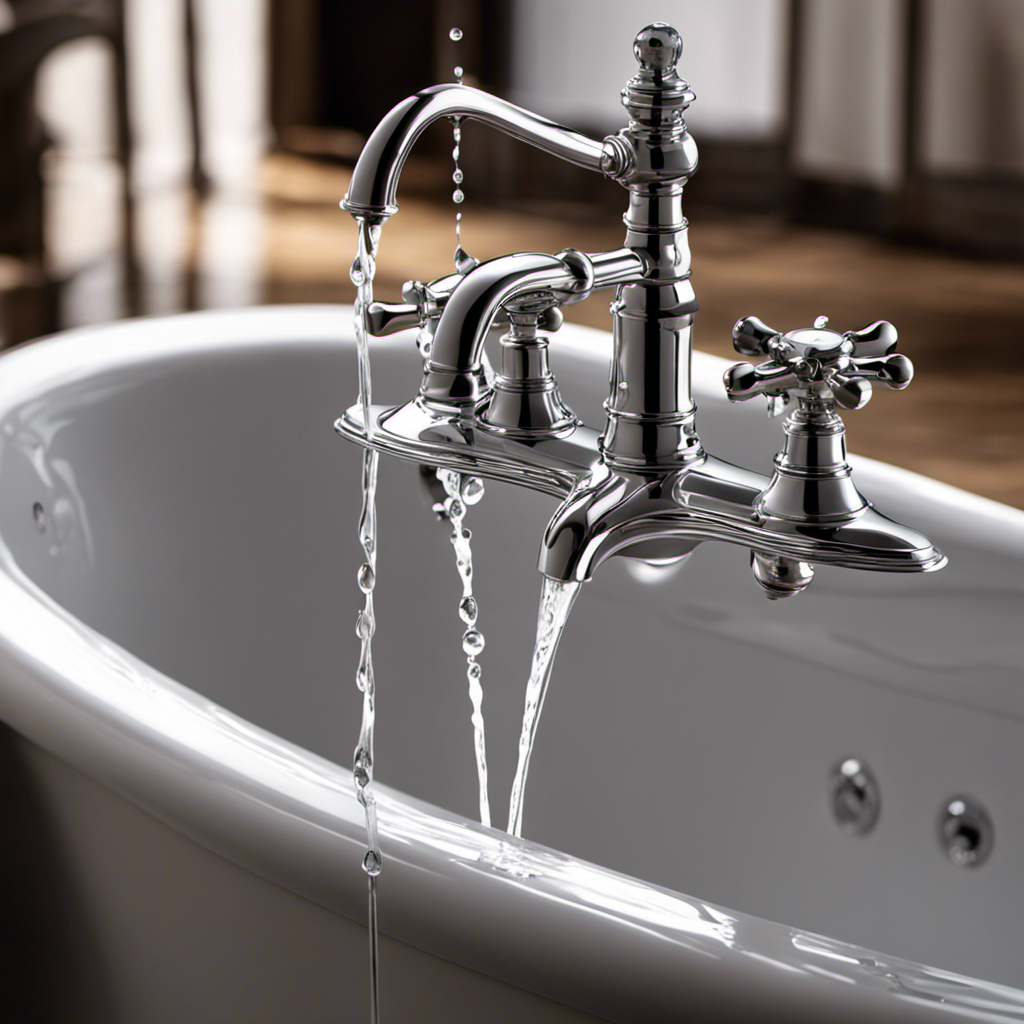
Step 3: Unscrewing the Drain Flange
Now you’ll need to unscrew the drain flange to continue the maintenance process. This step is crucial in accessing the inner components of the bathtub drain and resolving any issues that may be causing blockage or poor drainage. Here are some important points to consider:
-
Proper maintenance for bathtub drains: Regularly cleaning the drain and removing any hair or debris can prevent clogs and ensure smooth water flow.
-
Common issues and troubleshooting tips for bathtub drains: If the drain is slow or completely blocked, try using a plunger to dislodge the obstruction. If that doesn’t work, a drain snake can be used to remove any stubborn clogs. In some cases, you may need to replace the drain flange or other parts if they are damaged or worn out.
-
When unscrewing the drain flange, use a suitable wrench or pliers to grip the flange securely. Turn it counterclockwise to loosen and remove it from the drain pipe.
-
Once the drain flange is removed, inspect it for any signs of damage or corrosion. Clean it thoroughly to remove any residue or buildup before reassembling the drain.
Step 4: Cleaning and Reassembling the Drain Components
To clean and reassemble the drain components, make sure you thoroughly inspect and clean the removed drain flange for any signs of damage or corrosion. This step is crucial to ensure the proper functioning of your bathtub drain.
Start by using a mild detergent or a cleaning solution specifically designed for removing grime and buildup. Scrub the drain flange with a soft-bristled brush, paying close attention to any grooves or crevices where dirt might accumulate. Rinse the flange thoroughly with warm water to remove any residue.
Once the flange is clean, it’s time to reassemble the drain components. Follow the manufacturer’s instructions carefully, ensuring that each part is aligned correctly. Tighten the screws or bolts securely but be careful not to overtighten, as it can cause damage.
Conclusion
After following the step-by-step process, you’ll have successfully taken apart your bathtub drain. Remember to use caution and take your time to ensure everything is done correctly.
Now you can clean and reassemble the drain components, leaving your bathtub in pristine condition.
So go ahead, enjoy your newfound knowledge and dive into the world of DIY plumbing. With these skills under your belt, you’ll be able to tackle any drain issue that comes your way.
Happy plumbing!