
As a plumbing professional, I’m here to guide you through the process of taking off a bathtub faucet with ease.
Today, we’ll embark on a journey to dismantle this essential fixture, step by step. By following my expert advice, you’ll gain the knowledge and confidence needed to tackle this task like a pro.
From shutting off the water supply to detaching the cartridge and removing the faucet spout, I’ll provide clear and concise instructions every step of the way.
Let’s dive in and make this faucet removal a breeze!
Key Takeaways
- Shut off the water supply before starting any work on the bathtub faucet.
- Use the appropriate tools, such as a screwdriver and wrench, to remove screws and detach parts.
- Apply penetrating oil or vinegar and water mixture if there is resistance or buildup during the removal process.
- Clean the faucet spout with mild soap and warm water or vinegar and water solution before reattaching it.

Smart Toilet with Warm Water Sprayer and Dryer, One Piece Bidet Toilet with Auto Dual Flush Foot Sensor Operation,Heated Seat Smart with Built In Fahrenheit LED Display
Powerful Flushing System: Designed with low water consumption (1.26 gallons per flush), this system ensures efficient and thorough...
As an affiliate, we earn on qualifying purchases.
Tools and Materials Needed
You’ll need a screwdriver to remove the screws on the bathtub faucet.
Before you start, make sure to turn off the water supply to avoid any leaks or accidents.
To begin replacing the faucet aerator or upgrading to a new bathtub faucet, gather the necessary tools and materials.
You will need a wrench, plumber’s tape, a new aerator or faucet, and a cloth or towel to protect the surface.
Ensure that the new aerator or faucet is compatible with your bathtub before purchasing.
It’s also a good idea to check for any additional parts or adapters required for installation.
TOTO® WASHLET® C5 Electronic Bidet Toilet Seat with PREMIST and EWATER+ Wand Cleaning, Elongated, Cotton White - SW3084#01
A REFRESHING CLEAN FOR EVERYONE - Gentle yet powerful water spray provides an effective clean; Adjustable warm water...
As an affiliate, we earn on qualifying purchases.
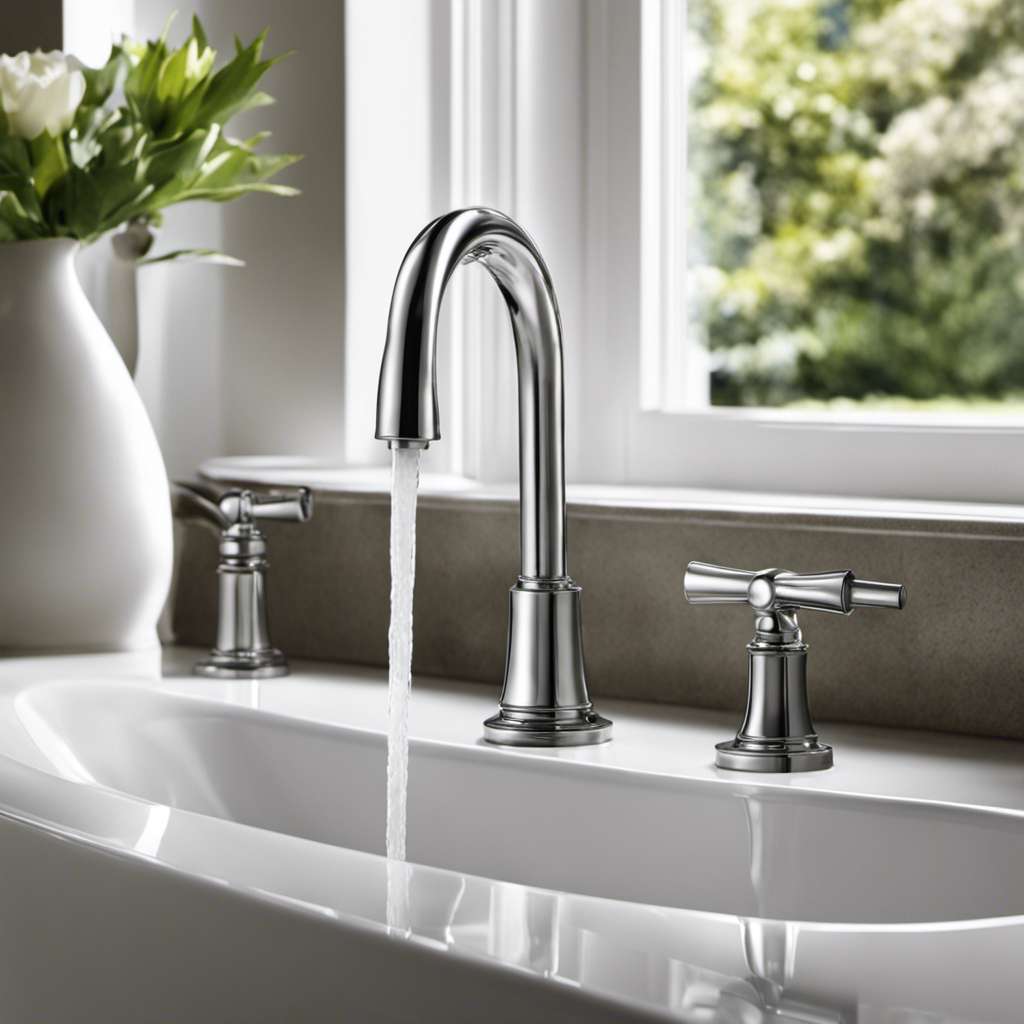
Shutting off the Water Supply
To shut off the water supply, simply locate the shut-off valve and turn it clockwise. This is a crucial step before taking off a bathtub faucet, as it prevents any water from flowing while you work.
Here are 4 important things to keep in mind when turning off the water:
-
Locate the shut-off valve: It is usually located near the bathtub or in the basement. Look for a small lever or wheel.
-
Turn clockwise: Use a wrench or your hand to turn the valve in a clockwise direction. This will shut off the water supply.
-
Test the water: After turning off the valve, test the water by turning on a faucet. If no water comes out, you have successfully shut down the water supply.
-
Safety first: Remember to wear protective gloves and eyewear while working with the shut-off valve to avoid any accidents or injuries.

WITMYA Smart Toilet with Bidet Built In, One Piece Bidet Toilet with Auto Dual Flush, Foam Shield, Modern Elongated Tankless Toilet with Foot Sensor, Heated Bidet Seat, Warm Water & Dryer,LED Display
【Efficient Flush & Energy-Saving Design】There smart toilets feature a highly efficient 1.28 GPF water-saving dual flush system with...
As an affiliate, we earn on qualifying purchases.
Removing the Handle and Trim
After shutting off the water supply, you can start removing the handle and trim of the bathtub faucet.
First, locate the set screw on the handle and use an Allen wrench to loosen and remove it. Once the set screw is out, firmly grasp the handle and pull it straight off. Be careful not to twist or force it, as this can damage the trim.
Next, you will need to remove the trim plate. Use a screwdriver to remove any screws securing the trim plate to the wall. Once the screws are removed, gently pry the trim plate away from the wall using a putty knife or flathead screwdriver. Be cautious not to scratch or damage the surrounding area.
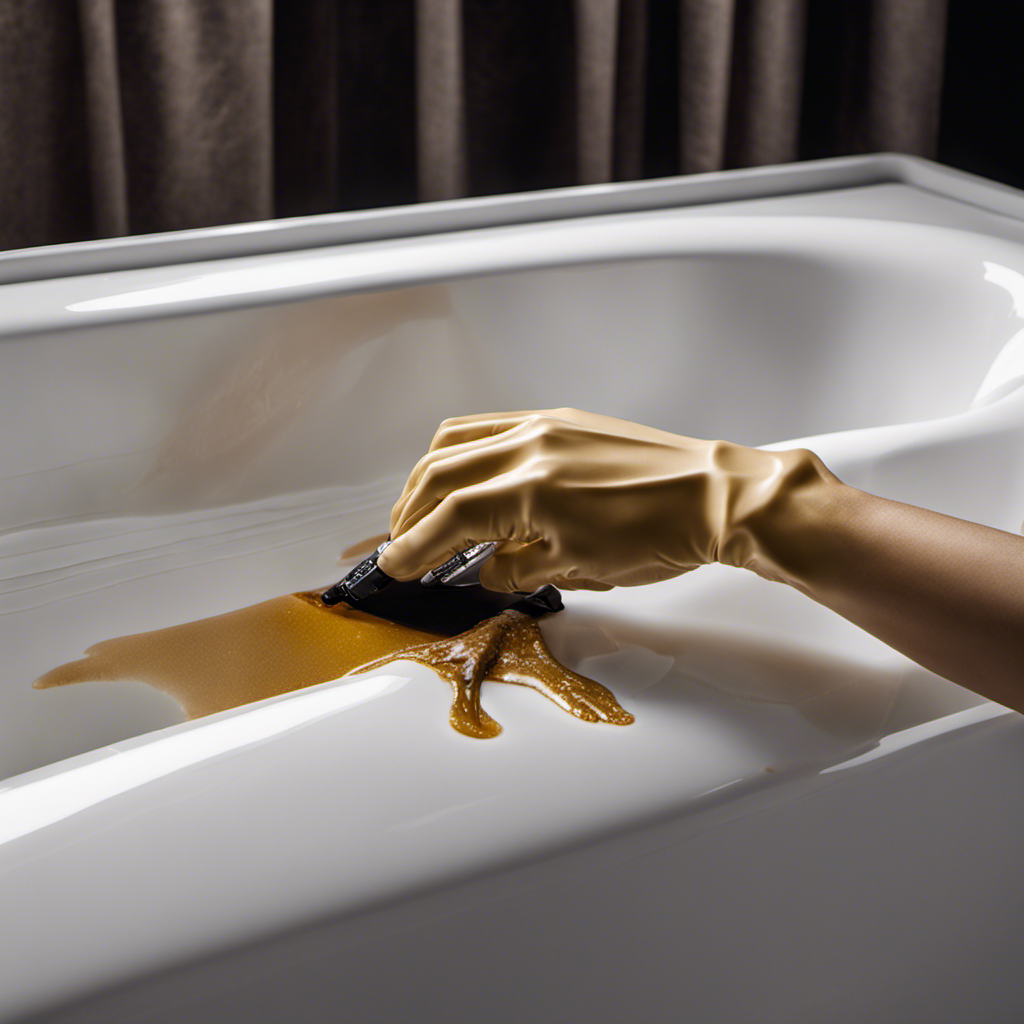
If you encounter any resistance, apply penetrating oil to loosen any stuck parts. If the handle or trim is stuck due to mineral deposits or corrosion, use a mixture of equal parts white vinegar and water to dissolve the buildup.

Smart Toilet with Bidet Built In, Heated Seat, Warm Water Wash & Dryer, Tankless Bidet Toilet with Foot Sensor & Night Light, Auto Open/Close Lid & Flush, Wireless Remote, 1.26GPF Water-Saving Design
🛠️ Easy Installation & Reliable Support: This smart toilet with bidet built in includes all accessories, flange kit,...
As an affiliate, we earn on qualifying purchases.
Detaching the Cartridge or Valve
Once the handle and trim are removed, it’s time to detach the cartridge or valve from the bathtub faucet. Here are the steps to follow:
-
Turn off the water supply: Locate the shut-off valves under the sink or in the basement and turn them clockwise to shut off the water supply to the faucet.
-
Remove the retaining nut: Using a wrench, unscrew the retaining nut that holds the cartridge or valve in place. Be careful not to damage the surrounding pipes or fittings.
-
Pull out the cartridge or valve: Gently pull out the cartridge or valve from the faucet body. If it’s stuck, you can use a cartridge puller tool for added leverage.
-
Inspect and replace: Inspect the cartridge or valve for any signs of damage or wear. If necessary, replace it with a new one, making sure to align it properly before reassembling the faucet.
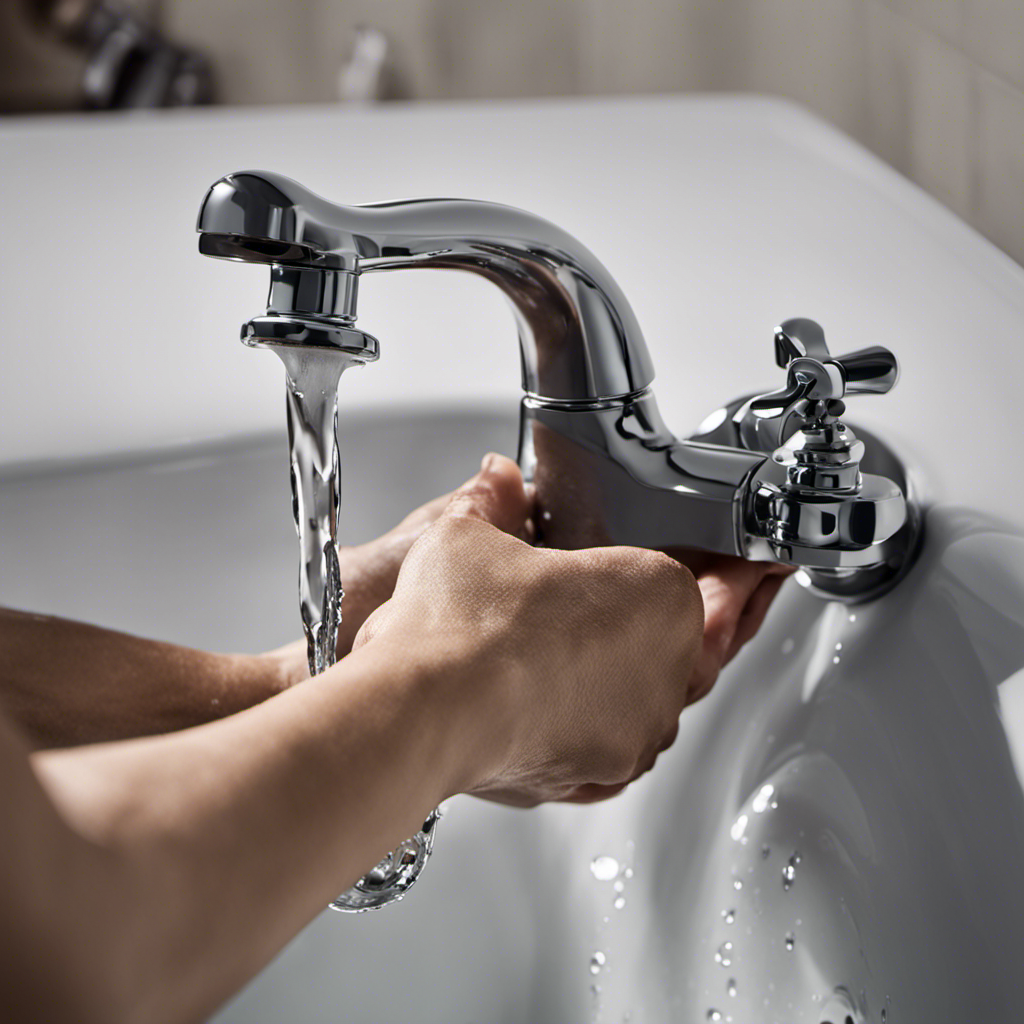
Taking off the Faucet Spout
First, you’ll need to unscrew the spout from the faucet body to access the internal components.
To replace or clean the faucet spout, you’ll require a few tools: an adjustable wrench and a screwdriver.
Start by locating the set screw, usually located on the underside of the spout. Loosen and remove the set screw using a screwdriver.
Next, use the adjustable wrench to grip the base of the spout and turn it counterclockwise to unscrew it from the faucet body. Be careful not to damage the threads.
Once the spout is loose, simply lift it off the faucet body.
To clean the spout, you can use a mild soap and warm water solution or a vinegar and water solution to remove any mineral buildup. Rinse thoroughly and dry before reattaching.
When replacing the spout, ensure it is securely tightened to prevent any leaks.
Conclusion
In conclusion, removing a bathtub faucet requires several steps. First, you need to shut off the water supply. Then, you should remove the handle and trim. After that, you can detach the cartridge or valve. Finally, you can take off the faucet spout. It may seem like a daunting task, but with the right tools and materials, it can be done efficiently. Remember, patience is key as you navigate through the technical process. As the saying goes, ‘Rome wasn’t built in a day,’ so take your time and follow the steps carefully to successfully take off your bathtub faucet.