Taking off a bathtub spout is like unraveling a mystery. With the right tools and a few simple steps, you can uncover the secrets behind a stubborn spout and give your bathroom a much-needed upgrade.
In this guide, I will walk you through the process of removing a bathtub spout, from shutting off the water supply to inspecting and replacing the O-ring.
So, grab your toolkit and get ready to solve the puzzle of the bathtub spout!
Key Takeaways
- The main water supply must be shut off before removing the bathtub spout.
- The handle of the spout can be unscrewed counterclockwise to gain access to the inner workings.
- The escutcheon plate can be detached by loosening it with a screwdriver or pry tool and removing screws or fasteners.
- Regular O-ring maintenance is important to prevent leaks, and signs of wear include leakage, a loose spout, and difficulty turning the spout on or off.

HAUTMEC Tub Drain Remover Wrench Tool Heavy Duty Aluminum Shower Bathtub Drain Removal Tool PL0030
The dual ended tub drain wrench fits most inner diameter 1 3/8" and 1 1/2" tub drain shoe,ideal…
As an affiliate, we earn on qualifying purchases.
As an affiliate, we earn on qualifying purchases.
Tools Required
You’ll need a few tools to take off the bathtub spout. The first tool you’ll need is a screwdriver, preferably a flathead or Phillips-head depending on the type of screws used to secure the spout.
Next, you’ll need an adjustable wrench to loosen the locking nut that holds the spout in place. Make sure to choose a wrench that fits snugly around the nut to prevent any slipping or damage.
Additionally, having a pair of pliers can be helpful for gripping and turning any stubborn parts.
When troubleshooting spout leaks, it’s important to have a pipe wrench on hand to tighten or replace any fittings if necessary.
These tools are essential for a successful bathtub spout installation and for effectively addressing any leaks that may occur.

Bathtub Faucet and Shower Knobs Replacement,Easy to Install Tub Spout Set for 1/2" Copper Pipe,1/2" IPS and 3/4" IPS with Install Tool
Easy to install:You can install all in 15 minutes with the install tool and instructions included
As an affiliate, we earn on qualifying purchases.
As an affiliate, we earn on qualifying purchases.
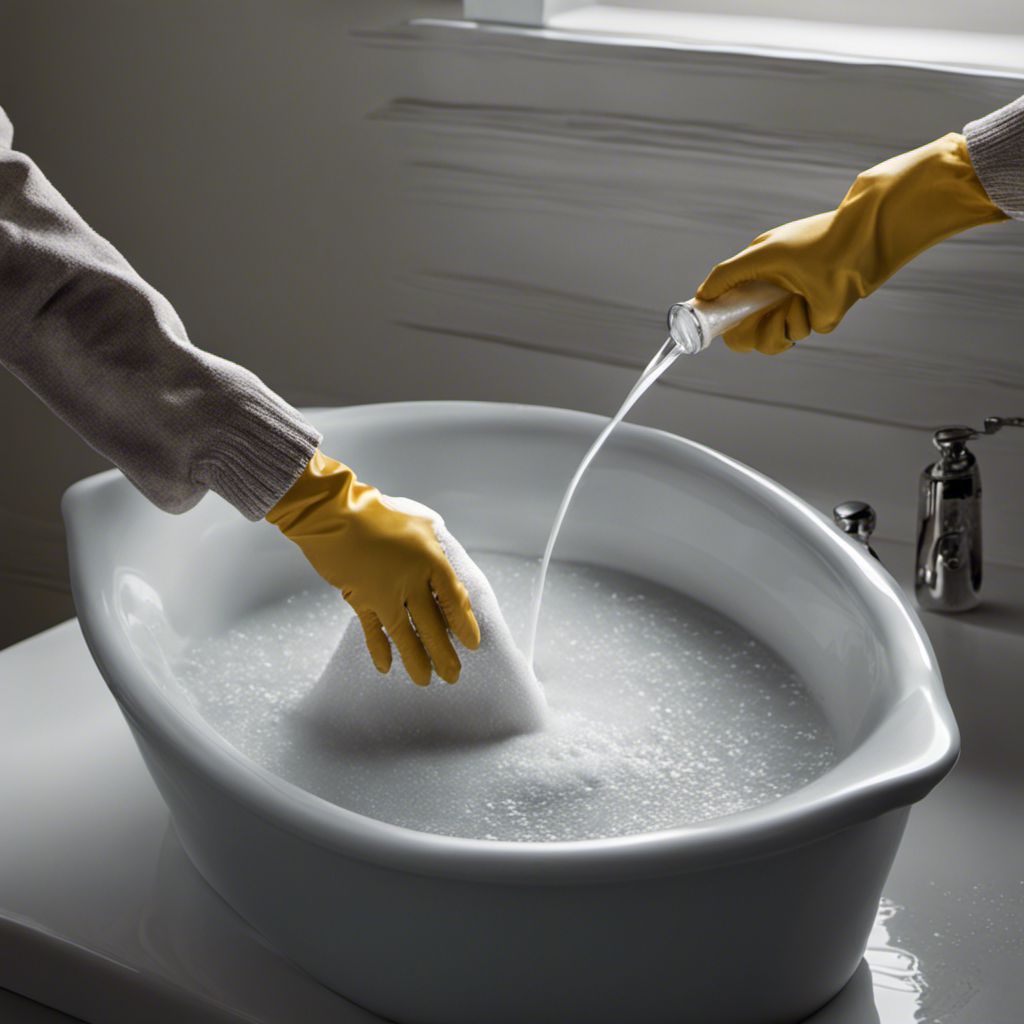
Shutting Off the Water Supply
To shut off the water supply, simply locate the valve and turn it clockwise. This step is crucial before attempting any plumbing work to avoid any potential flooding or water damage.
Here are some tips to help you stop the water flow and turn off the water supply effectively:
-
Find the main water shut-off valve: Look for the valve near the water meter or in the basement. It is usually a round wheel or lever.
-
Turn off the valve: Use a wrench or your hand to turn the valve clockwise until it is fully closed. This will stop the water flow throughout your home.
-
Check for residual water: After closing the valve, open a faucet to drain any remaining water in the pipes.

96778 Spout O-Ring Kit Fits Moen Kitchen faucets with a Rotating Spout Chateau/Extensa Models 7425, 7425BC, 7425W, Replaces 117 O-Ring Kit (2 Sets)
Product Information: The 96778 O-Ring kit replace the Moen 117 spout o ring, Includes 2 sets of 3…
As an affiliate, we earn on qualifying purchases.
As an affiliate, we earn on qualifying purchases.
Removing the Handle
Once you’ve located the handle, simply unscrew it counterclockwise to remove it. This step is crucial in the process of taking off the bathtub spout. The handle is usually attached to a stem that connects to the valve inside the wall. By removing the handle, you gain access to the inner workings of the spout, allowing for further disassembly if necessary.
To help you understand the different handle replacement options, I have created a table below:
| Handle Type | Material | Style |
|---|---|---|
| Knob | Plastic | Traditional |
| Lever | Metal | Modern |
| Cross | Brass | Vintage |
These handle replacement options can vary in price, durability, and aesthetic appeal. Consider your personal preference and the overall style of your bathroom when choosing a replacement handle.
HAUTMEC Tub Drain Remover Wrench Tool Heavy Duty Aluminum Shower Bathtub Drain Removal Tool PL0030
The dual ended tub drain wrench fits most inner diameter 1 3/8" and 1 1/2" tub drain shoe,ideal…
As an affiliate, we earn on qualifying purchases.
As an affiliate, we earn on qualifying purchases.
Detaching the Escutcheon Plate
When it comes to removing the escutcheon plate from a bathtub or shower, there are several techniques that can be used.
One common method involves using a screwdriver or a small pry tool to carefully loosen the plate from the wall.
Additionally, it may be necessary to remove any screws or fasteners that are holding the plate in place.
Escutcheon Plate Removal Techniques
First, locate the screws on the escutcheon plate that secure it to the wall. These screws are typically found on the bottom or sides of the plate. Once you have identified the screws, follow these steps to remove the escutcheon plate:
- Use a screwdriver to loosen and remove the screws from the plate.
- Gently pull the escutcheon plate away from the wall, being careful not to damage any surrounding tiles or fixtures.
- If the plate is stuck, try using a putty knife or a flathead screwdriver to carefully pry it off, being mindful not to scratch or chip the surface.
Tools Needed for Removal
Now that we have discussed the techniques for removing the escutcheon plate, let’s move on to the tools needed for the actual removal of the bathtub spout. Proper tools are essential to ensure a smooth and successful removal process.
Below is a table outlining the necessary tools for bathtub spout removal:
| Tools | Description |
|---|---|
| Adjustable wrench | Used to loosen and tighten the spout connection |
| Pipe wrench | Ideal for removing stubborn or tightly sealed spouts |
| Screwdriver | Required for removing any screws or fasteners |
| Plumber’s tape | Used to create a tight seal during installation |
When it comes to bathtub spout installation and maintenance, having the right tools is crucial. These tools will allow you to effectively remove the spout and perform any necessary repairs or replacements. Remember to always follow safety precautions and consult a professional if needed.
Common Challenges During Removal
If you encounter any difficulties during removal, you may need to use additional tools or seek professional assistance. Here are some common challenges faced when removing a bathtub spout and troubleshooting tips to overcome them:
-
Rust or corrosion: If the spout is stuck due to rust or corrosion, try using penetrating oil to loosen it. Apply the oil around the base of the spout and let it sit for a few minutes before attempting to remove it.
-
Stubborn threads: Sometimes, the threads on the spout and pipe can be stubborn, making it difficult to unscrew. In such cases, using a pipe wrench or adjustable pliers can provide extra leverage to loosen the spout.
-
Hidden set screw: Some spouts have a hidden set screw that secures them in place. If you can’t find the set screw, check underneath any decorative caps or covers on the spout for its location.
With these troubleshooting tips, you should be able to overcome the challenges faced during removal and proceed to the next step of loosening the spout.
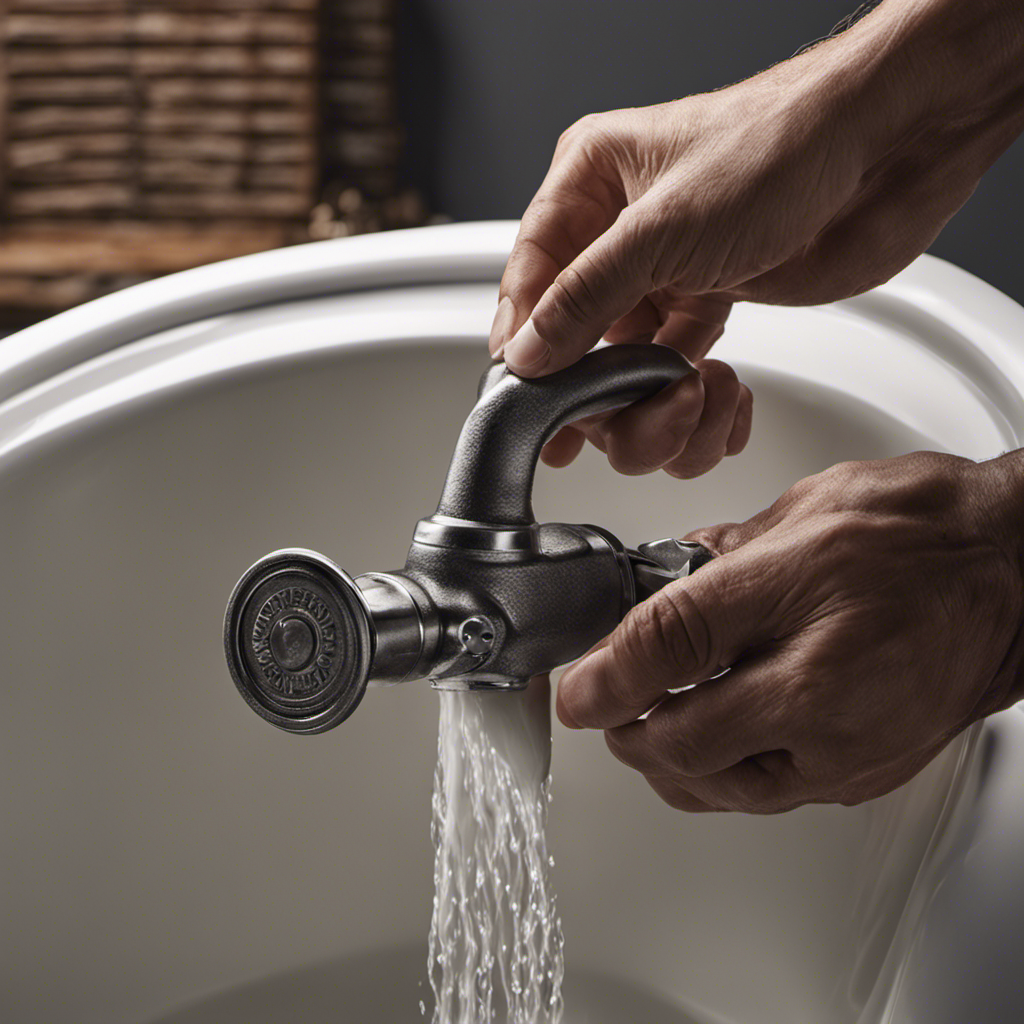
Loosening the Spout
To start, you’ll want to use a wrench to loosen the bathtub spout.
There are a few loosening techniques you can try if the spout is stuck. First, check if there is a screw or set screw holding the spout in place. If there is, use a screwdriver or Allen wrench to remove it.
Once the screw is removed, take your wrench and place it around the base of the spout. Turn the wrench counterclockwise to loosen the spout from the pipe.
If the spout still won’t budge, you can try using heat to expand the metal and make it easier to loosen.
Troubleshooting tip: if you’re having trouble gripping the spout with the wrench, try using a cloth or rubber grip for better leverage.
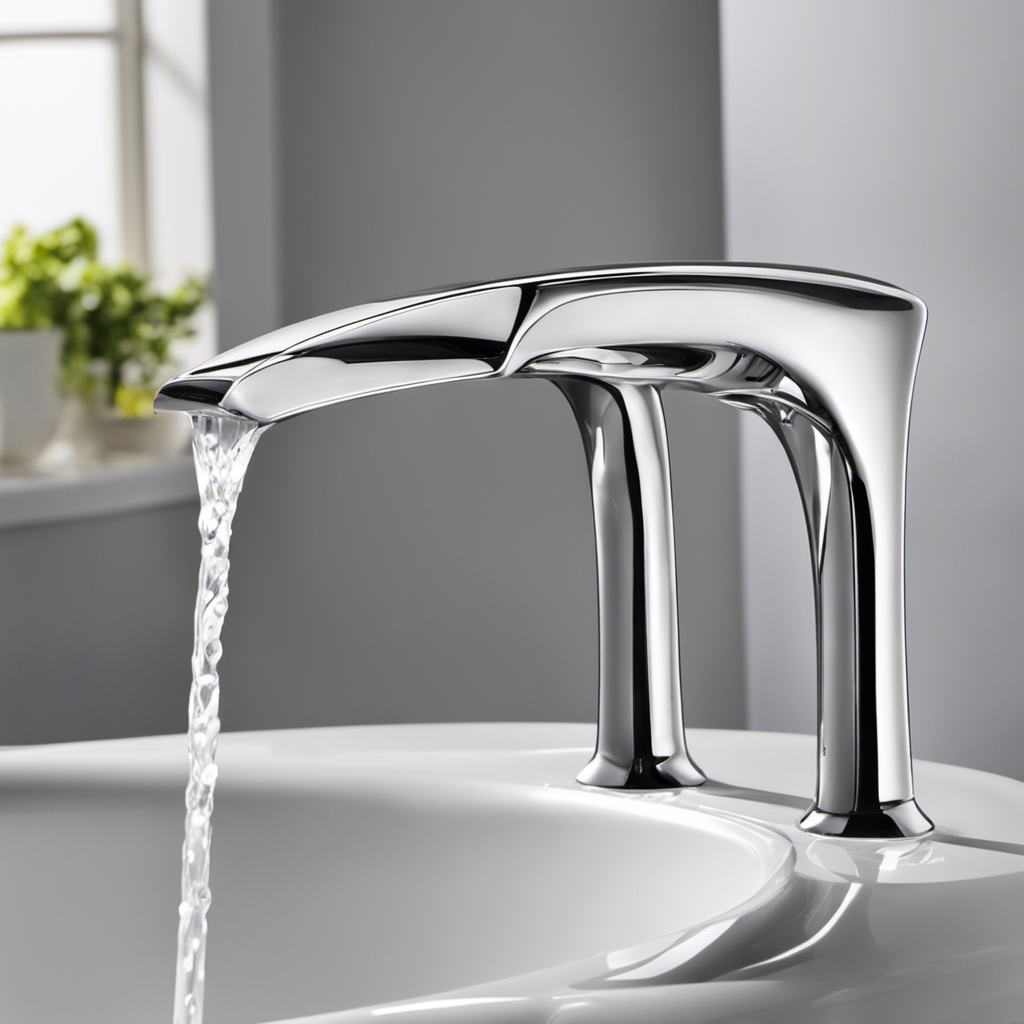
Pulling off the Spout
You’ll need to wiggle the spout back and forth to loosen it from the pipe. Once it feels loose, you can proceed with pulling off the spout. Here’s how:
- Firmly grasp the spout with your hand.
- Apply steady and even pressure while pulling it straight out from the wall.
- Be cautious not to exert too much force, as you don’t want to damage the plumbing behind the wall.
Taking off the spout is just the first step in inspecting and replacing the o-ring. Once the spout is removed, you can move on to examining the o-ring for any signs of wear or damage. Pay close attention to any cracks, tears, or deformities. If necessary, replace the o-ring with a new one before reattaching the spout to the pipe.
Inspecting and Replacing the O-Ring
When it comes to maintaining a leak-free plumbing system, one key component to keep an eye on is the O-ring. O-ring wear signs, such as cracks or dryness, can indicate the need for replacement.
To properly replace the O-ring, it is essential to follow a step-by-step procedure that ensures a tight and secure fit. By inspecting and replacing the O-ring correctly, you can avoid future leaks and maintain the efficiency of your plumbing system.
O-Ring Wear Signs
Check for signs of O-ring wear on the bathtub spout. The O-ring plays a crucial role in preventing water leaks and potential water damage. Here are some key indicators of O-ring wear:
-
Leakage: If you notice water dripping from the spout even when the faucet is fully closed, it could be a sign of a worn-out O-ring.
-
Loose fitting: A loose or wobbly spout indicates that the O-ring might be deteriorating or needs to be replaced.
-
Difficulty turning: If you experience resistance or difficulty when turning the spout on or off, it may be due to an O-ring that has become stiff or damaged.
Regular O-ring maintenance is essential to prevent water damage. By checking for these signs of wear and promptly replacing worn-out O-rings, you can ensure a tight seal and prevent potential leaks.
Proper Replacement Procedure
Now that we’ve discussed the signs of O-ring wear, let’s move on to the proper replacement procedure for your bathtub spout.
When it comes to replacing the spout, you have a few options. One option is to replace the entire spout assembly, which includes the diverter. Another option is to just replace the O-rings inside the spout.
To begin the replacement process, you’ll need to remove the old spout by unscrewing it counterclockwise. Once the old spout is removed, you can either install the new spout assembly or replace the O-rings.
If you’re replacing the O-rings, make sure to lubricate them with plumber’s grease before sliding them onto the spout. Then, simply screw the spout back onto the pipe and tighten it securely.
Avoiding Future Leaks
To prevent future leaks, make sure to regularly inspect and replace worn O-rings. O-rings are essential components in preventing water leakage from the bathtub spout.
Here are some maintenance tips to help you avoid future damage:
- Use a flashlight to inspect the O-rings for cracks or deformities.
- Check for signs of water leakage around the spout area.
- Apply a silicone-based lubricant to ensure a proper seal.
Regularly inspecting and maintaining the O-rings will help prevent future leaks and ensure the longevity of your bathtub spout.
Conclusion
In conclusion, removing a bathtub spout may seem like a daunting task, but with the right tools and knowledge, it can be easily accomplished. Just like unraveling the mysteries of a tangled knot, taking off the spout requires patience and precision.
By shutting off the water supply, removing the handle and escutcheon plate, loosening the spout, and finally pulling it off, you can inspect and replace the O-ring for a smooth and leak-free bathing experience.
Remember, a well-functioning spout is like a trusted friend, always ready to provide a refreshing escape.