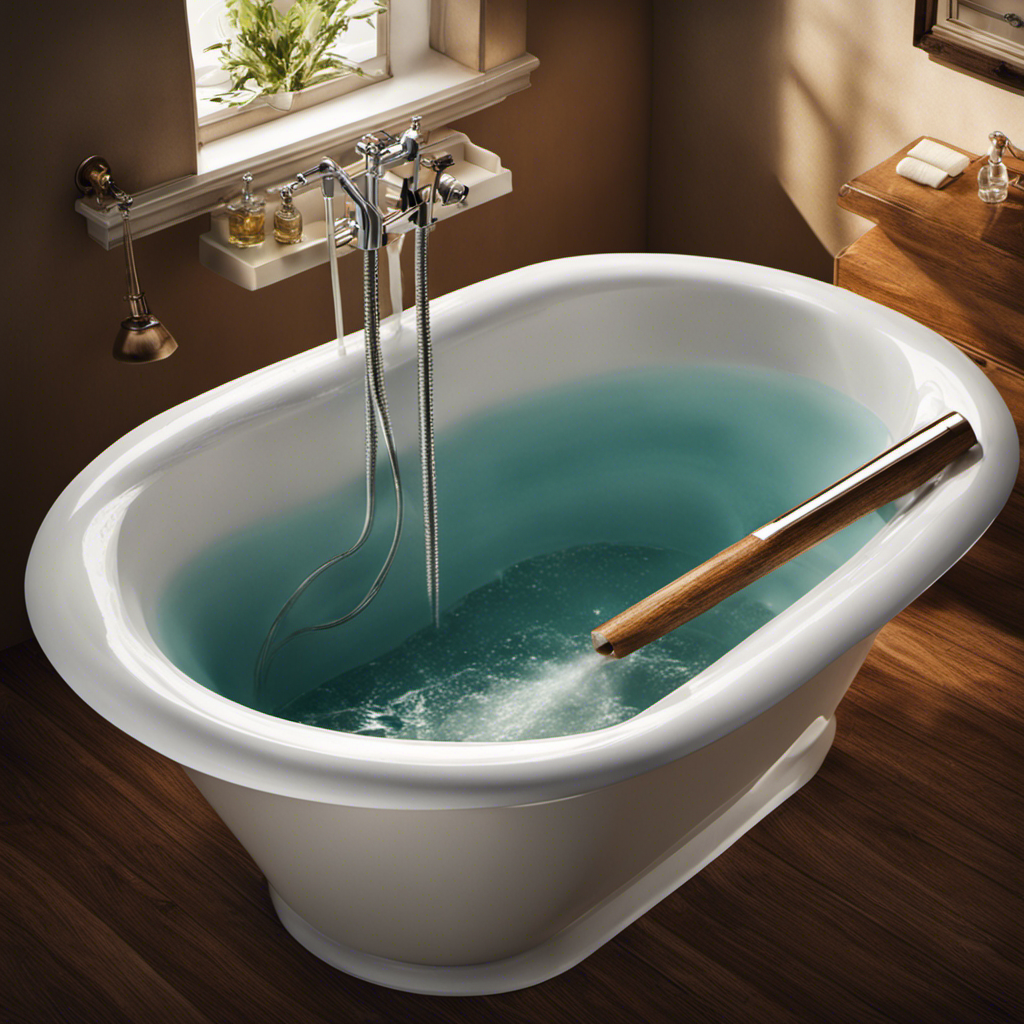

Are you tired of your outdated bathtub taking up valuable space in your bathroom? If so, it’s time to take matters into your own hands and remove that tub yourself.
In this step-by-step guide, we’ll show you how to successfully take out a bathtub using simple tools and materials you likely already have.
From disconnecting the plumbing fixtures to safely lifting and removing the tub, you’ll be amazed at how easy and rewarding this DIY project can be.
Key Takeaways
- Assess the size, weight, and surrounding fixtures to evaluate the complexity of the bathtub removal process.
- Gather the necessary tools and materials, such as a pry bar, utility knife, and safety goggles, for a safe and efficient removal.
- Prepare the surrounding area by clearing debris, protecting nearby fixtures, and preventing water damage to walls and floor.
- Safely disconnect and remove plumbing fixtures, break down and remove surrounding materials like tiles or drywall, and loosen and remove the bathtub drain and faucet before lifting and removing the bathtub.

Shower Faucet Set, 12" Ceiling Mount Rainfall Shower System with 2 Rain Shower Head and Multi-function Handheld Head Push Button Diverter Shower Faucet Trim Kit (12", Matte Black)
COMPREHENSIVE SHOWER SYSTEM- This shower faucet set comes with two shower heads that can be used together or...
As an affiliate, we earn on qualifying purchases.
Assessing the Bathtub Removal Process
Assessing the bathtub removal process can be a bit challenging, but it’s important to evaluate the necessary steps.
When it comes to assessing removal challenges, you need to consider the size and weight of your bathtub, as well as any surrounding fixtures that may complicate the process.
Additionally, evaluating professional help should be a priority. A professional plumber or contractor can provide expertise and guidance, ensuring a safe and efficient removal. They have the necessary tools and experience to handle any unexpected challenges that may arise during the process.
While it may be tempting to attempt a DIY removal, it’s important to recognize the potential risks and complexities involved.

LUXE Bidet NEO 120 - Single Nozzle, Self-Cleaning, Non-Electric Bidet Attachment for Toilet Seat, Adjustable Water Pressure, Rear Wash (Blue)
THE ULTIMATE VALUE – With a sleek design and high-quality parts, Our Bidet Attachment will give your bathroom...
As an affiliate, we earn on qualifying purchases.
Gathering the Necessary Tools and Materials
To successfully remove a bathtub, you’ll need a specific set of tools and materials. The essential tools for this process include a pry bar, a utility knife, and a reciprocating saw.
Additionally, you’ll require materials such as safety goggles, gloves, and a drop cloth to protect yourself and your surroundings during the demolition.
Essential Tools for Removal
You’ll need a few essential tools if you want to remove a bathtub. Here are three items that will make the process easier and ensure your bathtub removal safety:
-
Safety goggles: Protect your eyes from any debris or flying particles that may occur during the removal process. Safety goggles will shield your eyes and prevent any potential harm.
-
Adjustable wrench: This versatile tool will come in handy when removing stubborn bathtub fixtures. From loosening nuts and bolts to adjusting different sizes, an adjustable wrench is a must-have for dismantling various parts of the bathtub.
-
Pry bar: Removing a bathtub requires some force, and a pry bar is just the tool for the job. It will allow you to pry the bathtub away from the walls or floor, making it easier to lift and remove.
Required Materials for Demolition
Once you have gathered the necessary materials for demolition, it’s time to start the process of removing your bathtub. Before you begin, ensure you take proper safety precautions.
Put on safety goggles, gloves, and a dust mask to protect yourself from any potential hazards.
The demolition process involves breaking down the existing structure of the bathtub. Start by removing the caulking around the edges with a utility knife. Then, use a sledgehammer or a pry bar to break the bathtub into manageable pieces. Be careful not to damage any surrounding walls or plumbing.
Once the bathtub is broken, carefully remove the pieces and dispose of them properly. Remember to clean up any debris and ensure the area is safe for further renovation work.

Smart Toilet with Warm Water Sprayer and Dryer, One Piece Bidet Toilet with Auto Dual Flush Foot Sensor Operation,Heated Seat Smart with Built In Fahrenheit LED Display
4-Level Heated Seat & Multi-Mode Warm Water Bidet - Adjustable seat/water temp with LED display, 3 personalized cleaning...
As an affiliate, we earn on qualifying purchases.
Preparing the Surrounding Area for Removal
Before you begin removing the bathtub, it’s crucial to clear the workspace and protect adjacent fixtures.
Start by removing any items from the surrounding area, such as towels, toiletries, and other personal belongings.
Additionally, cover nearby fixtures like sinks, countertops, and flooring with protective materials to prevent any damage during the removal process.
Clearing the Workspace
To clear the workspace, it’s important to remove all items from the surrounding area. This ensures a clean and organized work area, allowing you to focus on the task at hand.
Here are three key steps to clear the workspace effectively:
-
Clearing debris: Begin by removing any loose debris or materials that may be present around the bathtub. This includes old tiles, grout, or caulking that may have come loose over time. Use a broom or vacuum cleaner to thoroughly clean the area.
-
Organizing work area: Once the debris is cleared, organize your work area by gathering all the necessary tools and supplies. Place them in a designated area nearby for easy access. This will help you stay organized and prevent any unnecessary trips back and forth.
-
Removing personal items: Before starting the bathtub removal process, make sure to remove any personal items from the workspace. This includes towels, toiletries, or any other belongings that could get in the way or become damaged during the process.
Protecting Adjacent Fixtures
Make sure you’ve gathered all the necessary tools and supplies before starting the bathtub removal process.
Protecting nearby walls, floor, and ceiling is crucial in preventing water damage. Begin by covering the walls with protective plastic sheeting or drop cloths. Use painter’s tape to secure the sheeting in place, ensuring full coverage.
Next, lay a thick tarp or drop cloth on the floor to catch any water or debris that may fall during the removal process. If there are any fixtures or cabinets above the bathtub, protect them by covering them with plastic sheeting as well.
Don’t forget to also cover any vents or openings in the ceiling to prevent dust or debris from entering. Taking these precautions will help minimize potential damage and make the cleanup process much easier.
Hibbent 5-spray Dual Filtered Rainfall Shower Head Combo, High Pressure 13'' Showerhead with 10 Spray Mode Handheld, Easy Reach 4-way Diverter Shower Arm with Pause Mode, 71'' Hose and Holder, Black
[Upgraded 5 Spray 13" Rainfall Shower Head] This 13”rain showerhead features 157 splash jets to offer greater coverage...
As an affiliate, we earn on qualifying purchases.
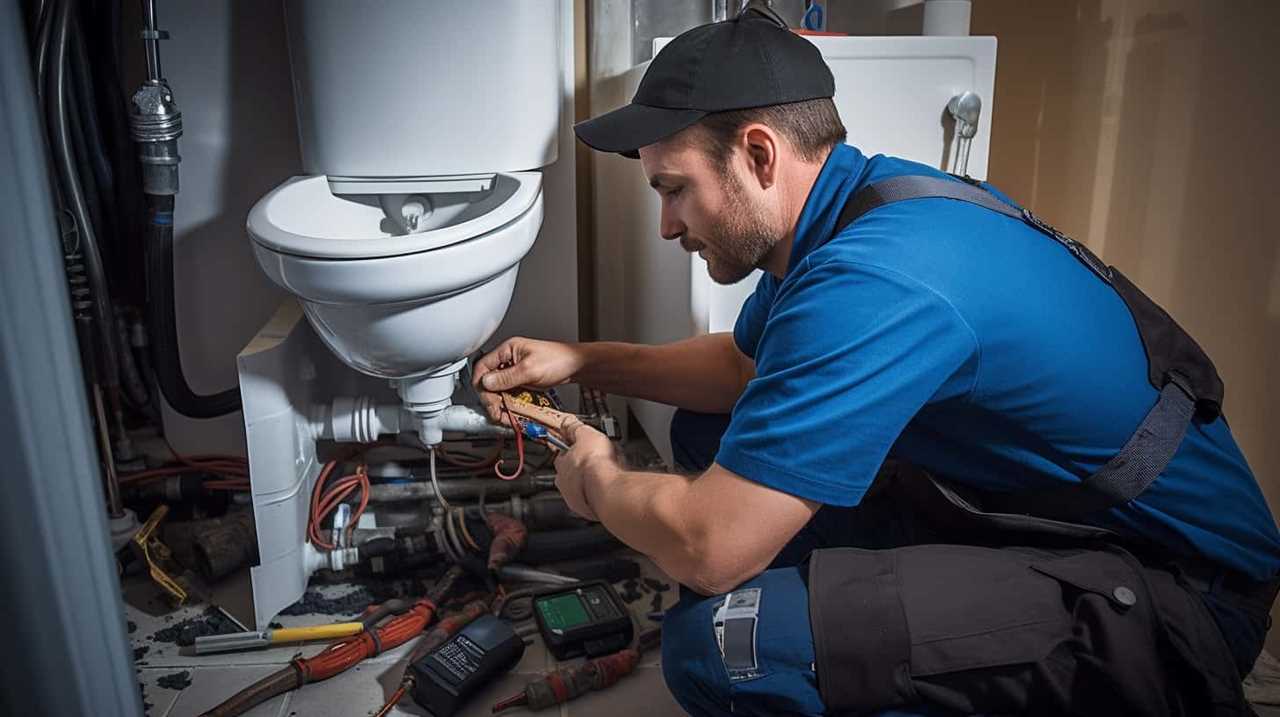
Disconnecting and Removing the Plumbing Fixtures
First, you’ll need to disconnect the plumbing fixtures before removing the bathtub. To do this, follow these steps:
-
Turn off the water supply: Locate the shut-off valves for the bathtub and turn them clockwise to shut off the water flow.
-
Remove the drain: Unscrew the drain cover and use a drain wrench to disconnect the drain pipe from the bathtub. Make sure to catch any water that may be trapped in the pipe.
-
Disconnect the supply lines: Use an adjustable wrench to loosen the nuts connecting the hot and cold water supply lines to the faucet. Once the nuts are loose, carefully remove the lines.
Breaking Down and Removing the Tile or Surrounding Materials
Now, you’ll need to carefully chip away at the tile or surrounding materials to expose the bathtub’s frame for removal. Start by using a chisel and hammer to break down the tiles. Be cautious not to damage the underlying structure or plumbing.
Work your way around the edges, breaking down the grout and adhesive that hold the tiles in place. Once the tiles are removed, you may need to remove any surrounding materials such as drywall or backer board. Use a utility knife to carefully cut through any caulk or adhesive, and a pry bar to gently remove the materials. This will expose the bathtub’s frame, making it easier to proceed with the removal process.
With the tile and surrounding materials removed, you can now move on to loosening and removing the bathtub drain.
Loosening and Removing the Bathtub Drain
To remove the bathtub drain, you’ll need to use a wrench to loosen the connection between the drain and the pipe beneath it. Follow these steps for a successful removal:
-
Locate the drain plug: Look for a small circular plate or stopper on the bottom of the tub. This is where the drain is located.
-
Remove the drain cover: Use a screwdriver or pliers to unscrew or pry off the drain cover. This will expose the drain assembly.
-
Loosen the drain: Place a wrench on the drain assembly and turn counterclockwise to loosen it from the pipe. Apply steady pressure until the drain is free.
Once the drain is removed, you can proceed with bathtub drain cleaning or bathtub drain replacement as needed. Remember to use caution and follow manufacturer instructions to ensure proper installation and functionality.
Detaching and Removing the Bathtub Faucet and Handles
After removing the bathtub drain, you can now detach and remove the bathtub faucet and handles.
To begin, turn off the water supply by closing the main shut-off valve.
Next, locate the small screw or set screw on the side of the faucet handle and use a screwdriver or Allen wrench to loosen and remove it. Once the screw is out, carefully pull the handle away from the wall to expose the valve stem.
Use an adjustable wrench to loosen and remove the retaining nut that secures the faucet to the wall.
Once the nut is off, gently pull the faucet away from the wall, taking care not to damage any pipes or plumbing connections.
Now, you can proceed with your bathtub faucet installation or bathtub handle replacement.
Safely Lifting and Removing the Bathtub
First, make sure you have a helper to assist you in safely lifting and removing the bathtub. Taking proper safety precautions is crucial to avoid any injuries during this process. Here are three important tips to follow:
-
Use proper lifting techniques: Bend your knees and keep your back straight when lifting the bathtub. Avoid bending from your waist, as this can strain your back. Lift with your legs and not your back to distribute the weight evenly.
-
Wear protective gear: It is essential to wear gloves and safety goggles to protect yourself from any sharp edges or debris while handling the bathtub. Additionally, wearing sturdy shoes will provide stability and protect your feet.
-
Clear the surrounding area: Before attempting to lift the bathtub, clear the space around it. Remove any obstacles or furniture that may hinder your movement or cause accidents. Having a clutter-free area will make the process smoother and safer.
Frequently Asked Questions
What Should I Do if I Encounter Any Mold or Water Damage While Removing the Bathtub?
If you encounter mold or water damage while removing the bathtub, first ensure your safety by wearing protective gear. Then, address the mold remediation by removing affected materials and repairing water damage promptly to prevent further issues.
Can I Reuse the Plumbing Fixtures and Materials After Removing the Bathtub?
Yes, you can reuse plumbing fixtures and materials after removing the bathtub. Ensure they are in good condition and properly cleaned. Don’t forget to recycle broken tiles for an eco-friendly approach.
How Can I Dispose of the Broken Tiles and Surrounding Materials in an Environmentally Friendly Way?
To dispose of broken tiles and surrounding materials in an environmentally friendly way, you can explore eco-friendly disposal options such as recycling. Look for local recycling centers or contact waste management services for guidance on proper disposal methods.
Is It Necessary to Hire a Professional for Bathtub Removal, or Can It Be Done as a DIY Project?
To remove a bathtub, you can either hire a professional or tackle it as a DIY project. There are pros and cons to both options, including cost considerations. It’s important to weigh the advantages and disadvantages before making a decision.
Are There Any Safety Precautions I Should Take When Lifting and Removing the Bathtub to Avoid Injury?
When lifting and removing the bathtub, you must prioritize safety precautions to avoid injury. Use proper lifting techniques, like bending your knees and keeping your back straight, to prevent strain and ensure a successful removal.
Conclusion
Congratulations! You’ve successfully learned how to take out a bathtub. By following the step-by-step process and using the right tools, you can safely remove your bathtub without any hassle.
So, are you ready to transform your bathroom and create a new space? Now that you know how to remove a bathtub, the possibilities are endless.
So, why wait? Start your bathtub removal project today and enjoy the satisfaction of a job well done.