So, you’ve decided it’s time to give your bathtub surround a fresh new look. Well, you’ve come to the right place. In this article, we’re going to show you exactly how to tile your bathtub surround like a pro.
We’ll guide you through each step of the process, from choosing the perfect tiles to applying the adhesive and grouting. By the time you’re done, you’ll have a beautifully tiled bathtub surround that will transform your bathroom into a stunning oasis.
Let’s get started!
Key Takeaways
- Consider the style and theme you want to achieve
- Choose tiles that are durable and water-resistant
- Thoroughly clean the surface before applying adhesive or grout
- Accurately measure the length and width of the bathtub surround

Cement Mixer, Handheld Electric Concrete Mixer, Portable Mortar Mixer with 6 Adjustable Speed, 110V Mud Mixer Machine Drill Tool for Paint Mortar Fodder Mixing Drywall Grout Plaster (Red)
【Powerful Copper Motor】This Electric Concrete Mixer equipped 2100W/110V copper motor, Handheld Mud Mixer offers a more efficient and...
As an affiliate, we earn on qualifying purchases.
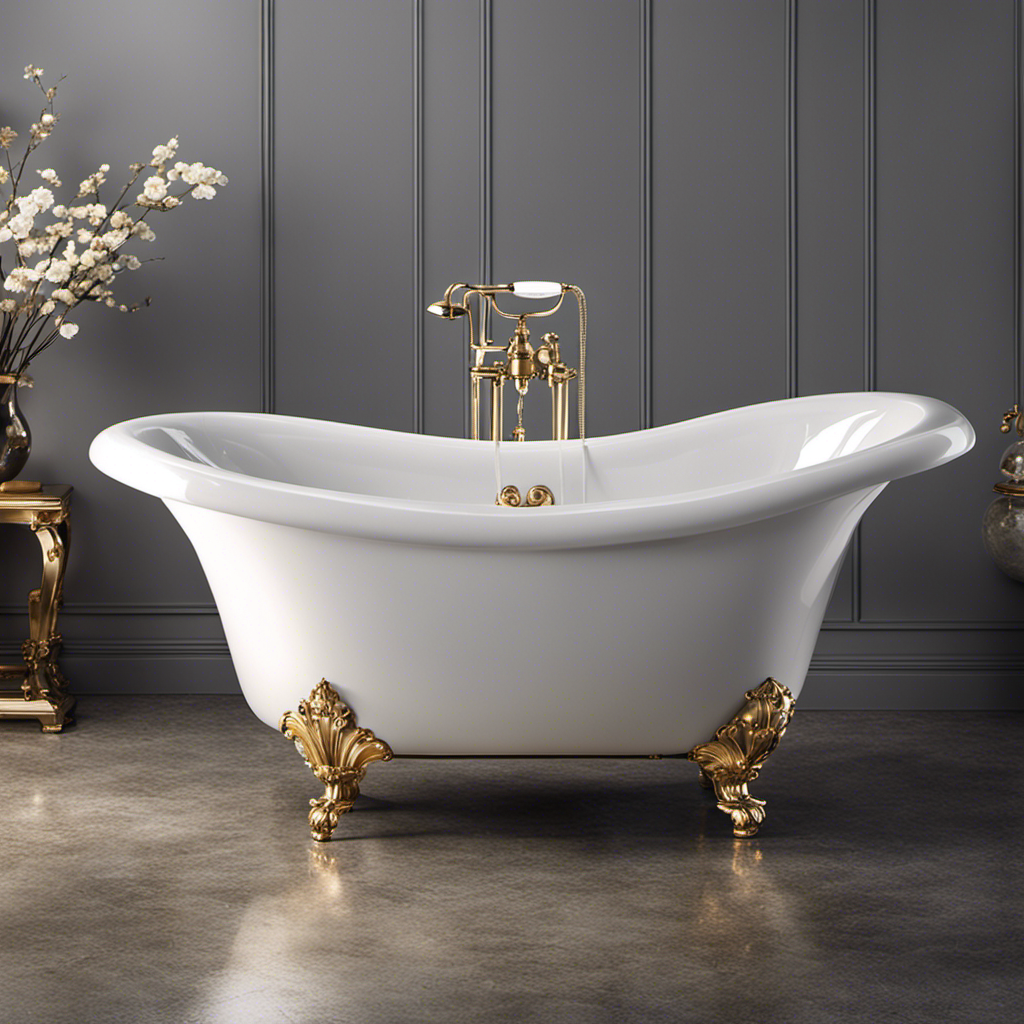
Choosing the Right Tiles for Your Bathtub Surround
Before you start tiling your bathtub surround, make sure you’re choosing the right tiles for the job. The tile design you choose will greatly impact the overall look and feel of your bathroom. Consider the style and theme you want to achieve. Are you aiming for a modern, sleek look or a more traditional, rustic feel?
Additionally, think about the size and shape of the tiles. Larger tiles can create a more spacious appearance, while smaller tiles can add intricate detail.
When it comes to tile installation techniques, it’s important to choose tiles that are durable and water-resistant. Look for tiles specifically designed for wet areas like bathrooms. Consider ceramic or porcelain tiles, as they are both durable and easy to clean.

MAXXT Mixer 13A Single Paddle Concrete Mortar Mixer, 5/8" Keyed Chuck, Soft Start, Come w/100mm Large Spiral Mixing Paddle
SOFT Start & Constant Speed Technology: This mixer enables a slow startup to prevent splashes and extend the...
As an affiliate, we earn on qualifying purchases.
Preparing the Surface for Tiling
When preparing the surface for tiling, there are two key points to consider: surface cleaning techniques and necessary surface repairs.
To ensure a successful tiling project, it is essential to thoroughly clean the surface before applying any adhesive or grout. This can be achieved by using a combination of mild detergent, warm water, and a scrub brush.
Additionally, it is important to inspect the surface for any cracks, chips, or uneven areas that may require repairs before tiling. These necessary surface repairs will help create a smooth and stable foundation for the tiles, ensuring a professional and long-lasting finish.
Surface Cleaning Techniques
To clean the surface of your bathtub surround, start by scrubbing it with a mixture of baking soda and water. This simple yet effective cleaning solution is perfect for removing stubborn stains and dirt buildup.
Begin by mixing equal parts baking soda and water to create a paste-like consistency. Then, using a scrub brush or sponge, apply the mixture onto the surface of your bathtub surround. Scrub in circular motions, paying extra attention to areas with stains or grime.
This gentle abrasive action of the baking soda will help lift and remove the dirt without damaging the surface. Once you have thoroughly scrubbed the entire surface, rinse it with clean water and wipe it dry with a soft cloth.
This cleaning method is not only easy and affordable but also helps prepare the surface for sealing techniques that can protect your bathtub surround from future stains and damage.
Necessary Surface Repairs
If you notice any cracks or chips in the surface, it’s important to address them promptly to prevent further damage. Before tiling a bathtub surround, it’s crucial to prepare the surface properly. Here are four necessary surface repairs to ensure a successful tile installation:
-
Fill in any cracks or chips: Use a high-quality epoxy or patching compound to fill in any damaged areas. Smooth the surface with a putty knife and allow it to dry completely.
-
Remove loose or peeling paint: Scrape off any loose or peeling paint using a paint scraper or sandpaper. This will create a smooth and stable surface for the tile.
-
Repair any water damage: If there are signs of water damage, such as mold or mildew, treat the area with a mold-killing solution. Then, repair any damaged drywall or substrate to ensure a solid foundation for the tile.
-
Check for levelness: Use a level to ensure that the surface is level and even. If necessary, use a self-leveling compound to correct any uneven areas.

MAXXT Mixer 12A Single Paddle Concrete/Mortar Mixer, 5/8" Keyed Chuck,Soft Start,Come w/100mm Large Spiral Mixing Paddle
SOFT Start Technology: The mixer incorporates a soft start feature, gradually powering up to prevent splashes, extend the...
As an affiliate, we earn on qualifying purchases.
Measuring and Planning the Tile Layout
When it comes to tiling, proper measurements are crucial for a successful project. Knowing the exact size and shape of your tiles will help you determine the amount of materials needed and avoid any costly mistakes.
Additionally, having a well-thought-out layout strategy will ensure that your tiles are positioned in a visually pleasing and symmetrical manner. By carefully planning the placement of your tiles, you can create a stunning and professional-looking finish that will enhance the overall aesthetics of your space.
Proper Tile Measurements
Start by measuring the length and width of your bathtub surround to ensure you purchase the correct amount of tile. Proper tile measurements are crucial for a successful tiling project. Here are some essential tips to help you get started:
-
Use a tape measure to accurately measure the length and width of the bathtub surround. Take into account any irregularities or slopes in the area.
-
Add an extra 10% to your measurements to account for any cutting errors or wastage during the tiling process.
-
Consider the tile cutting techniques you will be using. If you plan on using intricate patterns or shapes, you may need to purchase extra tiles to accommodate for the additional cuts.
-
Remember to seal the tile grout after installation. This will help protect the grout from stains and moisture, ensuring its longevity and maintaining a clean, polished look.
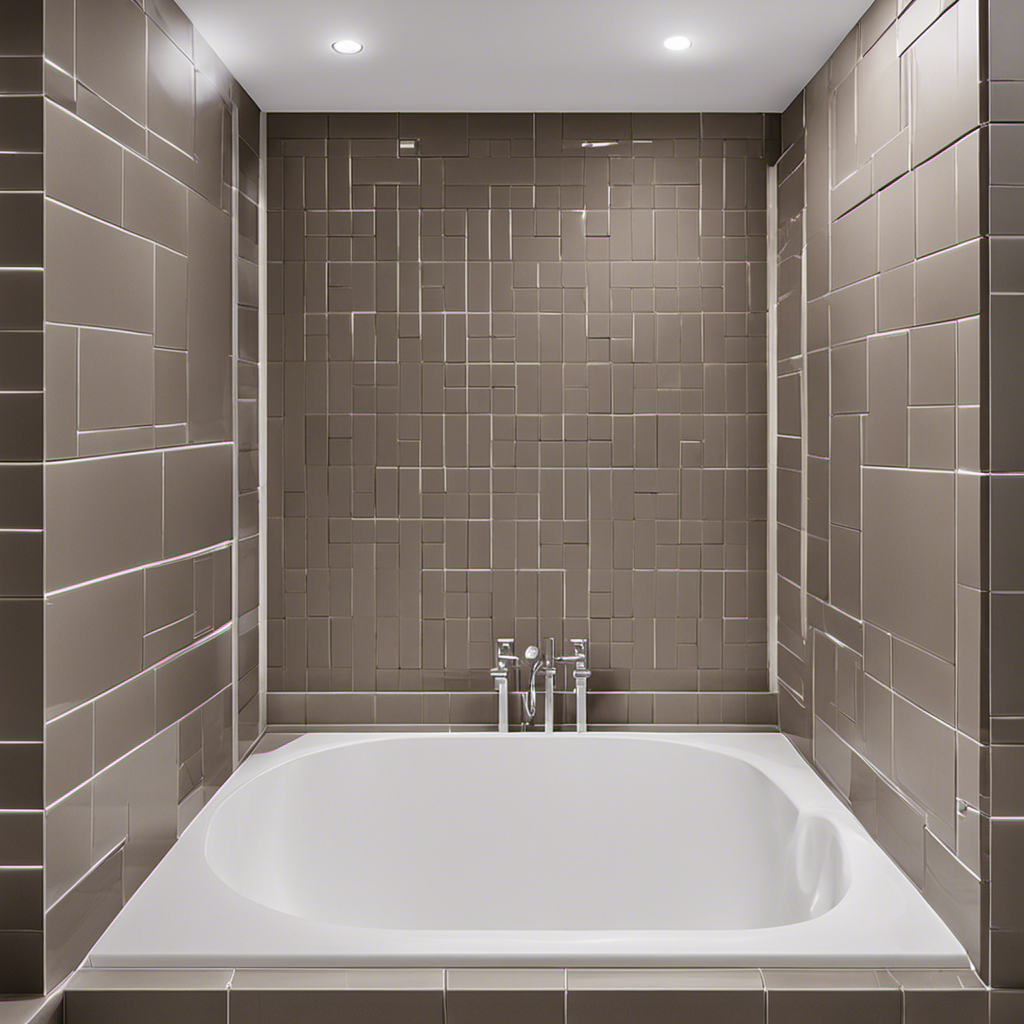
Layout Strategies for Tiles
To ensure a visually appealing layout, plan out the placement of your tiles in a way that avoids narrow cuts and creates symmetry in your space. This will help achieve a professional and polished look for your bathtub surround. When it comes to choosing a tile pattern, there are various options available, such as herringbone, subway, or diagonal. Each pattern adds a unique touch to the overall design. Additionally, tile spacing is crucial for a seamless and balanced appearance. The standard recommendation is to leave a 1/8-inch gap between tiles to allow for grout application. However, some patterns may require tighter or wider spacing. Below is a table to illustrate different tile patterns and recommended spacing options:
| Tile Pattern | Spacing Recommendation |
|---|---|
| Herringbone | 1/8 inch |
| Subway | 1/8 inch |
| Diagonal | 1/4 inch |
Planning Tile Placement
Carefully consider factors such as placement and symmetry to create a visually appealing tile layout for your bathroom. When planning the tile pattern, keep in mind the color selection and the overall style you want to achieve. Here are four important considerations to guide you:
-
Layout: Decide on the tile layout pattern that best suits your space. Options include herringbone, subway, or diagonal patterns. Each pattern can create a different visual effect.
-
Symmetry: Achieving symmetry in your tile layout can enhance the overall aesthetic appeal. Consider centering the pattern around a focal point, such as the bathtub or vanity.
-
Color Contrast: Select tile colors that complement each other and the overall color scheme of your bathroom. The right color combination can create a harmonious and cohesive look.
-
Accents: Add visual interest by incorporating accent tiles in a different shape, size, or color. This can break up the monotony of a single tile pattern and add a touch of personality to your bathroom.

IMAYCC Cement Mixer 2100W, Portable Concrete Mixer, 110V Handheld Mud Mixer for Motar,Paint, Grout, Plaster, Thinset,Fodder Stirring Tool
【Powerful Motor】This Cement mixer equiped 2100 Watt motor with 270-900 RPM, Suitable for mixing oil paint, cement, fodder,...
As an affiliate, we earn on qualifying purchases.
Applying the Tile Adhesive
Once you’ve measured and cut your tiles, it’s time to apply the tile adhesive to the bathtub surround. Proper application of the adhesive is crucial to ensure that your tiles adhere securely and create a long-lasting finish. Here are some tile adhesive application techniques to help you achieve professional results:
-
Clean the surface: Before applying the adhesive, make sure the bathtub surround is clean and free from any dust or debris. This will ensure proper adhesion.
-
Mix the adhesive: Follow the manufacturer’s instructions to mix the tile adhesive to the correct consistency. Use a trowel to achieve a smooth and even texture.
-
Apply the adhesive: Using the notched side of the trowel, apply the adhesive to the bathtub surround in small sections. Spread the adhesive evenly, making sure to cover the entire surface.
| Column 1 | Column 2 | Column 3 |
|---|---|---|
| Clean the surface | Mix the adhesive | Apply the adhesive |
| in small sections | following instructions | using the notched side |
- Troubleshooting: If you encounter any issues with the adhesive, such as it drying too quickly or not adhering properly, refer to the manufacturer’s guidelines for troubleshooting tips.
Installing the Tiles on the Bathtub Surround
Now it’s time for you to start placing the tiles on the wall of your bathtub. Follow these steps to ensure a successful installation:
-
Prepare the tiles: Lay out the tiles on a flat surface to ensure they are evenly spaced and aligned. Make any necessary cuts using a tile cutter or wet saw.
-
Apply adhesive: Use a notched trowel to spread the tile adhesive evenly on the wall. Start at the bottom and work your way up, applying enough adhesive to cover the back of each tile.
-
Place the tiles: Press each tile firmly into the adhesive, using spacers to maintain consistent spacing between tiles. Check for level and adjust as needed.
-
Grout and seal: Once the adhesive has dried, remove the spacers and apply grout to the gaps between the tiles. After the grout has fully cured, seal the tiles with a grout sealer to protect against moisture and stains.
Grouting and Finishing the Tile Installation
After the adhesive has dried, it’s time to remove the spacers and apply grout to fill in the gaps between the tiles. Grouting is an essential step in completing your bathtub surround tile installation. Not only does it provide a finished look, but it also helps to protect the edges of the tiles and prevent water from seeping into the gaps.
When choosing a grout color, consider the overall aesthetic of your bathroom. You can opt for a grout color that matches the tiles to create a seamless look or choose a contrasting color to make the tiles stand out.
Once the grout is applied, use a grout float to spread it evenly over the gaps. Afterward, wipe off any excess grout with a damp sponge.
Lastly, it is crucial to seal the grout to ensure its longevity and prevent staining. Apply a grout sealer according to the manufacturer’s instructions, and your bathtub surround will look flawless for years to come.
Cleaning and Maintaining Your Tiled Bathtub Surround
To keep your tiled bathtub surround looking its best, it’s important to regularly clean and maintain it. Here are some cleaning techniques and tips to prevent tile damage:
-
Regular cleaning: Use a mild detergent or a tile cleaner to clean the tiles and grout lines. Avoid using harsh abrasive cleaners that can damage the tiles.
-
Scrubbing: Use a soft-bristle brush or sponge to scrub the tiles gently. Avoid using abrasive scrubbers that can scratch the surface of the tiles.
-
Grout maintenance: Keep the grout lines clean by using a grout brush or an old toothbrush. Regularly inspect the grout and repair any cracks or gaps to prevent water damage.
-
Preventing mold and mildew: Use a mold and mildew remover periodically to prevent the growth of mold and mildew in the grout lines and corners of the bathtub surround.
Frequently Asked Questions
What Is the Average Cost of Tiling a Bathtub Surround?
You’re wondering about the average cost of tiling a bathtub surround. Well, the cost estimation depends on factors like materials, labor, and location. DIY installation can save money, but professional installation ensures a high-quality result.
Can I Use the Same Type of Tiles for the Floor and Bathtub Surround?
Yes, you can use the same type of tiles for the floor and bathtub surround. However, using different tile sizes can create visual interest and highlight the bathtub area. Consider the pros and cons before making a decision.
How Do I Remove Old Tiles From a Bathtub Surround?
To remove old tiles from a bathtub surround, start by removing the grout with a grout removal tool. Then, carefully pry off the tiles using a chisel. Repair any damage to the wall before installing new tiles.
Are There Any Special Considerations for Tiling Over an Existing Bathtub Surround?
When tiling over an existing bathtub surround, there are a few special considerations to keep in mind. First, make sure to properly remove any old tiles. Additionally, don’t forget to address any waterproofing concerns before proceeding with the tiling process.
How Long Does It Take for the Tile Adhesive to Fully Dry Before Grouting?
Tile adhesive typically takes around 24-48 hours to fully dry before you can start grouting. But hey, don’t rush it! Let that adhesive work its magic and ensure a strong bond for your beautiful tile surround.
Conclusion
Congratulations! You’ve successfully transformed your plain bathtub surround into a stunning masterpiece with the power of tiling. By carefully choosing the right tiles, preparing the surface, and applying the tile adhesive with precision, you’ve created a work of art that will leave your guests in awe.
The grouting and finishing touches have added the perfect touch of elegance, making your tiled bathtub surround the envy of all who lay eyes upon it.
Now, sit back, relax, and enjoy the beauty of your newly transformed oasis.