So you want to give your bathtub a fresh new look? Well, you’re in luck! Tiling the front of your bathtub is a fantastic way to add style and elegance to your bathroom.
In this step-by-step guide, we’ll show you exactly how to achieve a professional-looking tile installation. From selecting the perfect tiles to applying the adhesive and grouting, we’ve got you covered.
Get ready to transform your bathtub into a stunning centerpiece that will impress everyone who steps foot in your bathroom. Let’s dive in and get started!
Key Takeaways
- Consider the size and style of the tiles, as larger tiles create a sleek and modern look while smaller tiles add intricate and detailed patterns.
- Choose from ceramic, porcelain, or natural stone tiles, taking into account the color and texture of the tiles.
- Prepare the bathtub surface by cleaning it, removing any debris and existing caulk or grout, and applying a primer designed for tile adhesion.
- When applying the tile adhesive, choose the right type for your tiles, mix it according to instructions, and use a notched trowel to spread it in small sections, pressing each tile firmly into the adhesive.
Selecting the Right Tiles
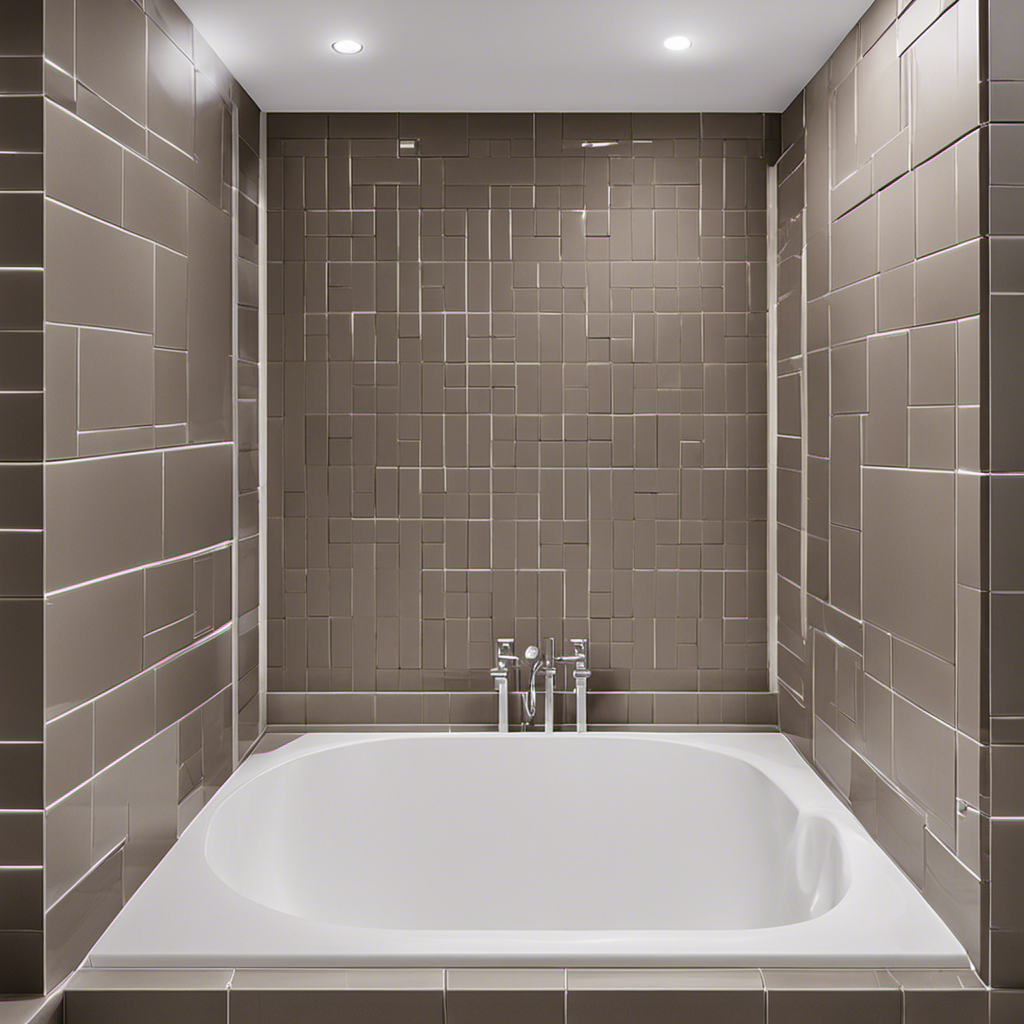
When selecting the right tiles for the front of your bathtub, it’s important to consider the size and style of the tiles. The size of the tiles will depend on the overall design of your bathroom and the space available on the front of the bathtub.
Larger tiles can create a sleek and modern look, while smaller tiles can add a more intricate and detailed pattern. In terms of style, you can choose from a wide range of options, including ceramic, porcelain, or natural stone tiles. Consider the color and texture of the tiles as well, as they can greatly impact the overall aesthetic of your bathroom.
To ensure you have enough tiles, measure the length and height of the bathtub and calculate the quantity needed based on the size of the tiles and the desired pattern.
Preparing the Bathtub Surface
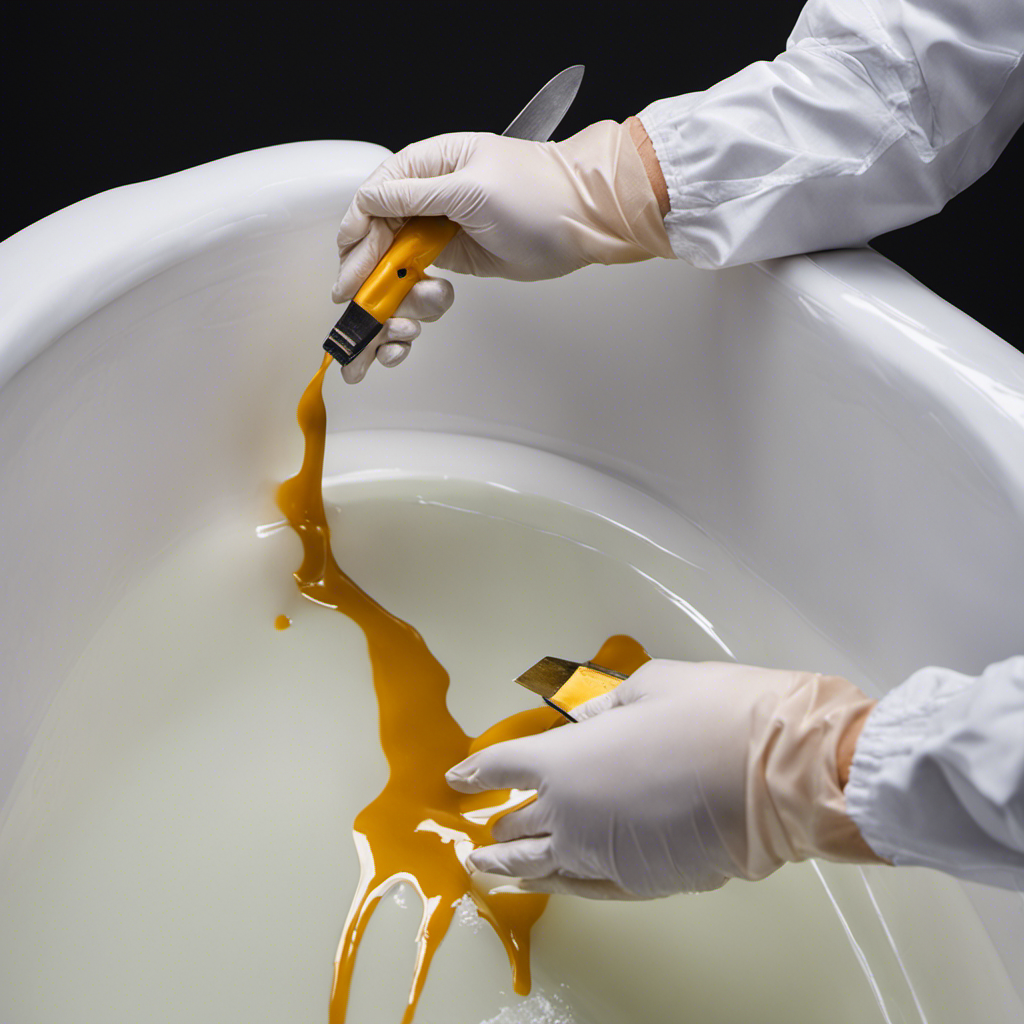
First, you’ll need to make sure the surface is clean and free of any debris. Cleaning and priming the bathtub surface is crucial to ensure proper adhesion of the tiles. Start by removing any existing caulk or grout and thoroughly clean the surface with a mild detergent. Rinse it well and allow it to dry completely. Once dry, apply a primer specifically designed for tile adhesion. This will create a smooth and even surface for the tiles to adhere to.
Next, it’s time to measure and cut the tiles. Use a tape measure to determine the dimensions of the area you want to tile. Take into account any obstacles like faucets or soap dishes. Transfer these measurements onto your tiles, making sure to leave room for grout lines. Use a tile cutter or wet saw to cut the tiles to the desired sizes.
Now that you have a clean and primed surface and your tiles are cut, you’re ready to start tiling the front of your bathtub!
Applying the Tile Adhesive
Now that you have a smooth and primed surface, it’s time to apply the tile adhesive.
There are different types of tile adhesives available, so it’s important to choose the right one for your project. If you’re using ceramic or porcelain tiles, a thin-set mortar adhesive is commonly used. For natural stone or glass tiles, a specialized adhesive may be required.
To achieve a smooth and even application, start by mixing the adhesive according to the manufacturer’s instructions. Use a notched trowel to spread the adhesive onto the surface, making sure to create ridges for better adhesion.
Work in small sections to ensure the adhesive doesn’t dry out before you can lay the tiles. Press each tile firmly into the adhesive, twisting slightly to ensure full coverage. Use tile spacers to maintain consistent spacing between the tiles.
Installing the Tiles
To install the tiles, make sure you have a smooth surface and apply the adhesive using a notched trowel.
It’s important to avoid common tile installation mistakes to achieve a seamless tile pattern. One common mistake is not properly preparing the surface before laying the tiles. Ensure the surface is clean, dry, and free of any debris or loose materials.
Another mistake to avoid is using too much adhesive or not spreading it evenly. Apply the adhesive in small sections and use the notched trowel to create ridges for better adhesion.
When placing the tiles, make sure they are level and aligned properly. Use tile spacers to maintain consistent spacing between tiles.
Grouting and Finishing Touches
Once the adhesive has fully dried, it’s time to mix the grout and apply it to the spaces between the tiles using a grout float. Grouting not only helps secure the tiles in place but also adds a polished finish to your bathtub front.
Here’s what you need to know for a successful grouting process:
- Start by choosing the right grout color that complements your tiles and overall bathroom design.
- Mix the grout according to the manufacturer’s instructions, ensuring a smooth and consistent texture.
- Use the grout float to spread the grout diagonally across the tile joints, pressing it firmly into the gaps.
- After about 10-15 minutes, wipe away excess grout from the tiles using a damp sponge, making sure to clean the surface thoroughly.
Proper cleaning and maintenance of the grout will ensure its longevity and keep your bathtub front looking pristine for years to come.
Frequently Asked Questions
How Do I Remove Old Tiles From the Front of My Bathtub Before Tiling?
To remove old tiles from the front of your bathtub before tiling, start by removing the grout using a grout saw or utility knife. Then, repair any damaged tile surfaces before proceeding with the tiling process.
Can I Use Any Type of Tiles for Tiling the Front of My Bathtub?
You can use ceramic tiles for tiling the front of your bathtub. They are durable, easy to clean, and come in various designs. However, alternative materials like acrylic panels offer easier installation but may not be as long-lasting.
How Long Should I Wait Before Using the Bathtub After Tiling?
After tiling the front of your bathtub, it is necessary to seal the tiles to prevent water damage. Common mistakes to avoid include not properly preparing the surface and not allowing enough time for the tiles to set before using the bathtub.
What Tools Do I Need to Install Tiles on the Front of My Bathtub?
To achieve a professional looking tile installation on your bathtub front, avoid common mistakes like not using the right tools. You’ll need a trowel, tile cutter, notched trowel, grout float, and a sponge for cleaning.
How Do I Clean and Maintain the Tiled Front of My Bathtub?
To clean and maintain the tiled front of your bathtub, use gentle cleaning techniques like scrubbing with a non-abrasive cleaner and wiping with a soft cloth. Regularly inspect for mold and prevent it by keeping the area dry and well-ventilated.
Conclusion
In conclusion, tiling the front of a bathtub is a rewarding project that can transform the look of your bathroom. By following the steps outlined in this article, you can achieve professional-looking results.
Remember to select the right tiles that complement your bathroom decor and prepare the surface properly for optimal adhesion. As you install the tiles and apply the grout, you’ll witness your bathtub’s front come to life, like a blank canvas turning into a vibrant masterpiece.
Embrace the process, and soon you’ll have a stunning bathtub that adds elegance and charm to your space.


