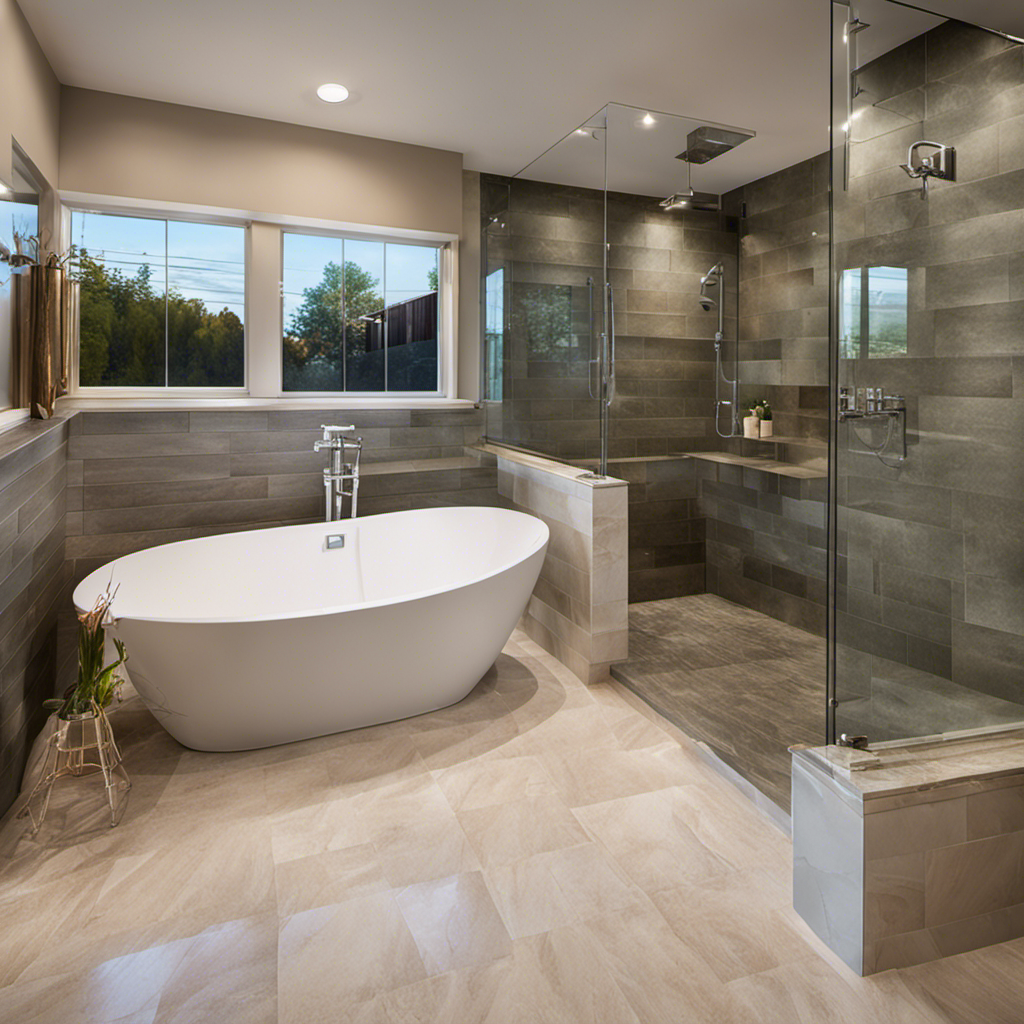

As I stand in my outdated bathroom, staring at the old bathtub that no longer suits my needs, I can’t help but imagine the transformation that lies ahead.
Converting my bathtub into a shower is not only a practical solution, but it will also bring a sense of modernity and functionality to this space.
In this step-by-step guide, I will take you through the process of turning your bathtub into a shower, providing all the necessary tools, materials, and expert tips along the way.
Get ready to say goodbye to your bathtub and hello to a rejuvenating shower experience.
Key Takeaways
- Assess the size, shape, and condition of the bathtub before proceeding with the conversion.
- Make necessary plumbing modifications such as installing a shower valve and shutting off the water supply.
- Properly waterproof the shower area using a high-quality waterproofing membrane.
- Install the shower base, drain, walls, and enclosure, ensuring proper measurements and using appropriate materials such as backer board and tiles or glass panels.
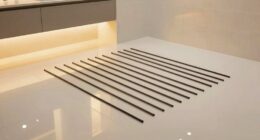
bathtub to shower conversion kit
As an affiliate, we earn on qualifying purchases.
As an affiliate, we earn on qualifying purchases.
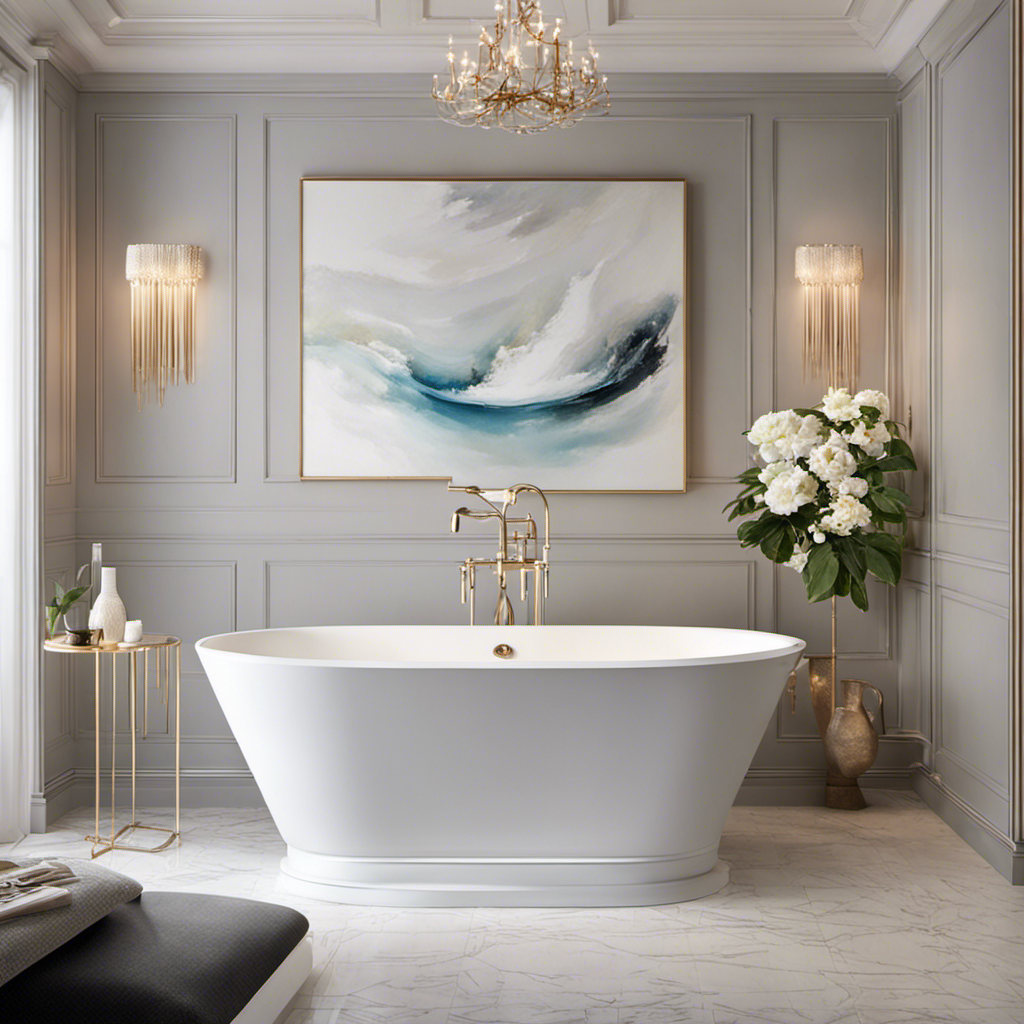
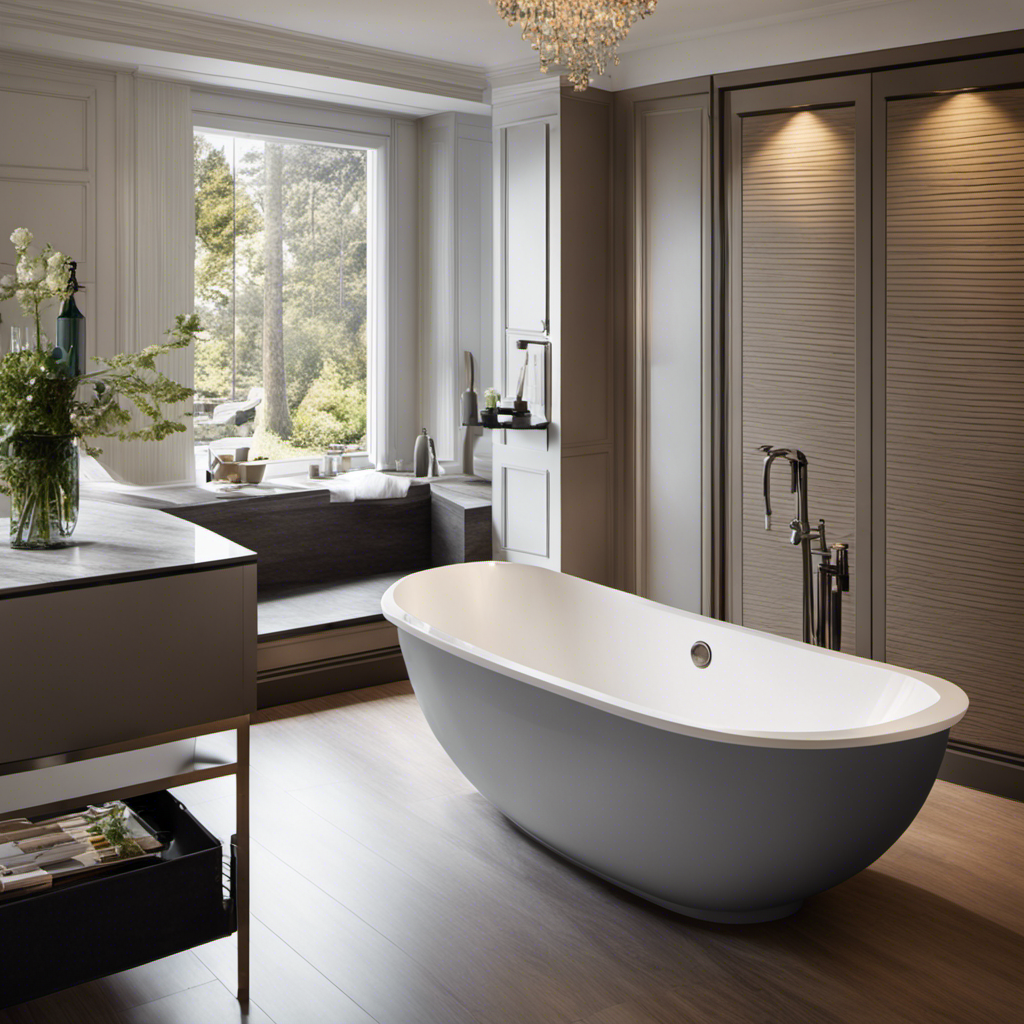
Assessing Your Bathtub’s Suitability for Conversion
First, you’ll need to determine if your bathtub’s layout is suitable for a shower conversion. Assessing the suitability of your bathtub for conversion is crucial before proceeding with any further steps.
Start by examining the size and shape of your bathtub. Consider if it provides enough space for a comfortable shower area. Additionally, check if the walls surrounding your bathtub are structurally sound and can support the installation of shower fixtures.
It’s also essential to evaluate the condition of your bathtub. If it’s worn out, damaged, or outdated, you might need to consider a bathtub replacement along with the shower conversion.
Lastly, cost considerations are vital. Determine your budget and research the various options available within your price range. Taking these factors into account will help you make an informed decision about converting your bathtub into a shower.
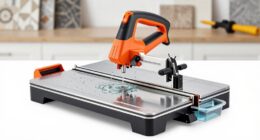
shower base and drain installation kit
As an affiliate, we earn on qualifying purchases.
As an affiliate, we earn on qualifying purchases.
Gathering the Necessary Tools and Materials
To get started, you’ll need a few tools and materials for the project. Here’s a list of what you’ll need:
-
Safety goggles and gloves: These will protect you from any potential hazards while working on your bathtub conversion.
-
Measuring tape: You’ll need this to accurately measure the dimensions of your bathtub and ensure that the shower conversion kit fits properly.
-
Bathtub refinishing kit: This will allow you to refinish your bathtub if it’s in poor condition. There are different options available, such as epoxy or acrylic refinishing kits, so choose the one that best suits your needs.
When it comes to cost estimation, the price of a bathtub conversion can vary depending on factors such as the type of conversion kit you choose and whether you need to refinish your bathtub. On average, you can expect to spend anywhere from $500 to $1500 for a bathtub to shower conversion. It’s always a good idea to do some research and compare prices before making a final decision.
waterproofing membrane for shower walls
As an affiliate, we earn on qualifying purchases.
As an affiliate, we earn on qualifying purchases.
Removing the Bathtub and Preparing the Area
Before diving into the process of removing the bathtub and preparing the area for a shower, it is important to take into consideration necessary plumbing modifications and waterproofing the shower area.
Firstly, plumbing modifications may be required to ensure proper drainage and water flow in the shower. This may involve adjusting or relocating pipes and installing a new shower drain.
Secondly, waterproofing the shower area is crucial to prevent water damage and mold growth. This can be achieved by applying a waterproofing membrane or sealant to the walls and floor of the shower area.
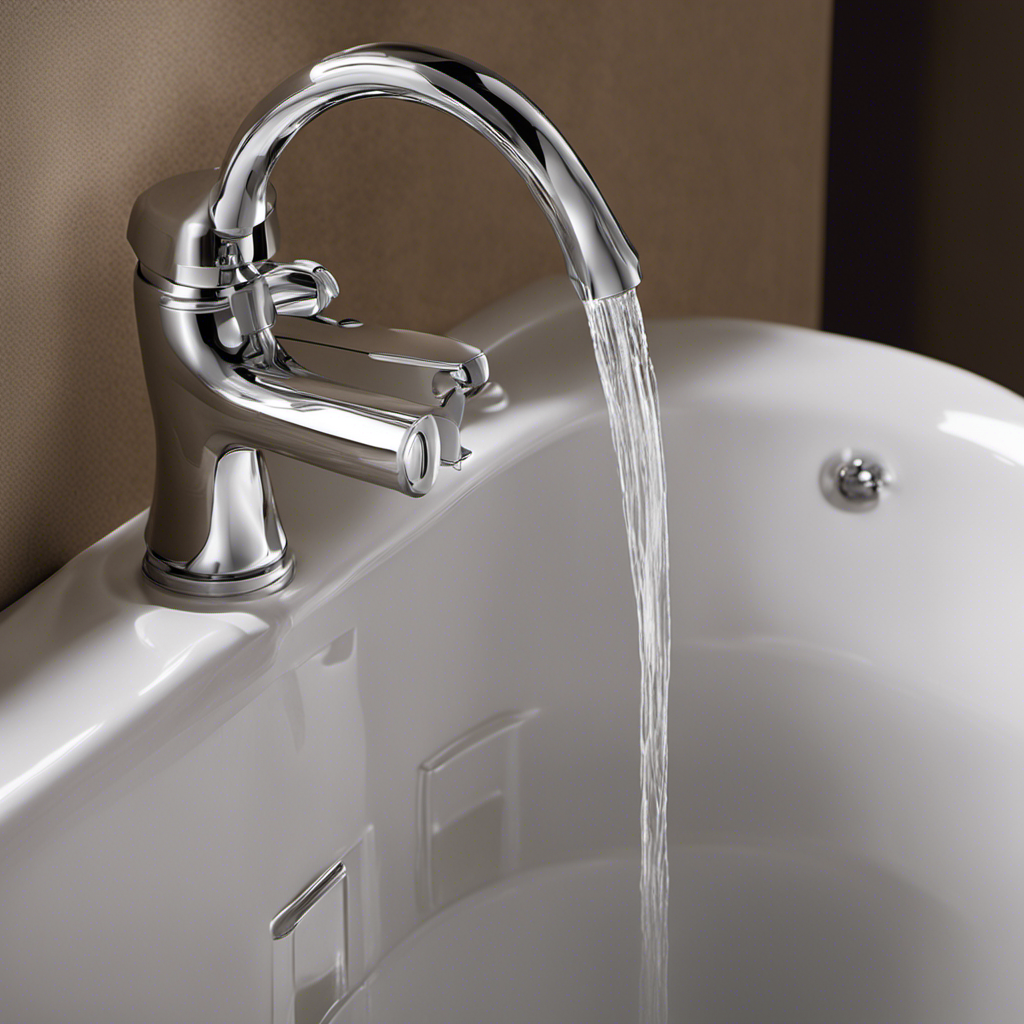
Necessary Plumbing Modifications
One of the necessary plumbing modifications you’ll need to make is installing a shower valve. This is a crucial step in turning your bathtub into a shower.
Here are some plumbing considerations and steps for professional installation:
-
Shut off the water supply: Locate the main water valve and turn it off to prevent any water leakage during the installation process.
-
Remove the bathtub faucet: Use a wrench to disconnect the bathtub faucet from the water supply lines and remove it carefully.
-
Install the shower valve: Follow the manufacturer’s instructions to install the shower valve. This typically involves connecting the valve to the hot and cold water supply lines and securing it in place.
Waterproofing the Shower Area
When waterproofing the shower area, it’s important to use a high-quality waterproofing membrane to ensure long-lasting protection against water damage. There are several waterproofing techniques that can be used, but the most common mistake people make is not properly preparing the surface before applying the membrane.
To start, make sure the area is clean and free of any debris. Next, apply a primer to the surface to ensure good adhesion of the waterproofing membrane. Once the primer is dry, it’s time to apply the membrane. Use a paintbrush or roller to evenly spread the membrane on the walls and floor of the shower area. Pay extra attention to corners and seams, as these are common areas for water to seep through.
shower enclosure glass panels
As an affiliate, we earn on qualifying purchases.
As an affiliate, we earn on qualifying purchases.
Installing the Shower Base and Drain
To install the shower base and drain, you’ll need to ensure that the area is properly prepped and leveled. Here’s a step-by-step guide to help you with the process:
-
Prepare the area:
- Remove the bathtub and clean the floor thoroughly.
- Make sure there are no debris or old caulking left behind.
-
Measure and mark:
- Measure the dimensions of the shower base and mark them on the floor.
- Use a level to ensure that the marks are straight and accurate.
-
Install the base:
- Apply a layer of mortar on the floor within the marked area.
- Place the shower base on the mortar and press it down firmly.
- Use a level to check if the base is level in all directions.
-
Connect the drain:
- Install the drain assembly according to the manufacturer’s instructions.
- Connect the drain pipe to the base, ensuring a tight fit.
-
Test the installation:
- Before proceeding further, fill the base with water and check for any leaks.
- Make any necessary adjustments or repairs if needed.
Constructing the Shower Walls and Enclosure
Measure the dimensions of your shower walls and mark them on the floor using a level to ensure accuracy. This is an important step in constructing your shower walls and enclosure.
Once you have the measurements, you can start thinking about the design of your shower walls. There are many options available, from traditional tiles to modern glass panels. Consider the overall aesthetic of your bathroom and choose a design that complements it.
Once you have decided on the design, you can begin building the walls. Start by installing the backer board and waterproofing it to prevent any water damage. Then, you can start tiling or installing the glass panels according to your chosen design.
Installing the Shower Fixtures and Plumbing
Now that the shower walls and enclosure are in place, it’s time to move on to installing the shower fixtures and plumbing. This step is crucial to ensure that your new shower functions properly and meets your needs. Here’s how to get started:
-
Selecting the Showerhead:
- Consider your preferences: Do you want a rainfall showerhead, handheld showerhead, or a combination of both?
- Check the water pressure in your bathroom: Some showerheads are designed for low water pressure, while others require higher pressure.
- Look for features like adjustable settings, water-saving options, and easy cleaning.
-
Estimating the Cost:
- Research different brands and models to get an idea of the price range.
- Consider additional costs such as installation fees, plumbing modifications, and any necessary accessories.
-
Hiring a Professional (optional):
- If you’re not confident in your plumbing skills, it’s best to hire a professional to ensure a safe and proper installation.
With the shower fixtures and plumbing in place, we can now move on to adding the finishing touches and cleaning up the space.
Adding Finishing Touches and Cleaning up the Space
When it comes to adding the finishing touches to your newly transformed shower space, there are a few key points to keep in mind.
First, consider incorporating decorative accents and accessories that complement the overall aesthetic of your bathroom. This could include things like shower curtains, rugs, and wall art.
Next, focus on efficient storage solutions to keep your shower area organized and clutter-free. Consider installing shelves or a shower caddy to hold toiletries and other essentials.
Lastly, don’t forget about maintenance and upkeep. Regularly cleaning and inspecting your shower will help ensure it stays in good condition for years to come.
Decorative Accents and Accessories
To add a touch of style to your new shower, consider installing decorative accents and accessories. Here are three options to enhance the look of your shower:
-
Shower Curtain Hooks: Choose decorative shower curtain hooks to add a pop of color or a unique design to your shower. These hooks come in various styles, such as seashells, flowers, or geometric shapes, allowing you to personalize your space.
-
Shower Curtain Liner: Opt for a fabric shower curtain liner instead of a plain plastic one. Fabric liners not only add elegance but also provide a softer and more luxurious feel. You can find liners in different patterns and colors to complement your bathroom decor.
-
Shower Curtain Rod: Upgrade your shower curtain rod to a stylish and sturdy option. Consider a curved rod to create more space inside the shower or go for a decorative rod with intricate designs. This simple change can make a big difference in the overall look of your shower.
Efficient Storage Solutions
Consider utilizing efficient storage solutions to maximize the space in your shower. When it comes to organizing your shower, having the right storage solutions can make a world of difference. Here are some organization tips to help you create a clutter-free and functional shower space.
-
Install a shower caddy: A shower caddy is a great way to keep your toiletries organized and easily accessible. Look for one that can be hung over the showerhead or attached to the wall.
-
Use suction cup storage: Suction cup storage is perfect for holding smaller items like razors, loofahs, and shower accessories. These can be easily attached to the walls or tiles.
-
Hang a shower organizer: Consider hanging a shower organizer with multiple pockets to hold your shampoo, conditioner, and body wash. This will keep everything within reach and prevent clutter.
-
Utilize shower hooks: Shower hooks can be used to hang loofahs, washcloths, and even shower caps. They are a simple yet effective way to maximize space and keep things organized.
Maintenance and Upkeep
Regular maintenance and upkeep of your shower is essential to ensure its longevity and functionality. Here are some maintenance tips to prevent mold growth and keep your shower in top condition:
-
Clean regularly: Use a mild, non-abrasive cleaner and a soft sponge or cloth to remove soap scum, dirt, and grime from the shower walls, floor, and fixtures. Rinse thoroughly after cleaning.
-
Dry the shower after use: Wipe down the walls, floor, and fixtures with a towel or squeegee to remove excess moisture. This will help prevent mold and mildew growth.
-
Check for leaks: Inspect the showerhead, faucets, and drain regularly for any signs of leaks or water damage. Repair any leaks promptly to prevent further damage and mold growth.
Conclusion
So there you have it, folks! You’ve successfully transformed your bathtub into a luxurious shower oasis.
With a little bit of elbow grease and the right tools, you’ve created a space that is both functional and stylish.
Now, you can enjoy the convenience and relaxation of a shower without having to sacrifice the beauty of your bathroom.
It’s truly a win-win situation.
So go ahead, take a step into your newly renovated shower and let the euphoria wash over you.
You deserve it!