As a seasoned DIY enthusiast, I understand the importance of using the right tools for the job. When it comes to sanding a bathtub, choosing the correct grit sandpaper is crucial for achieving a smooth and flawless finish.
In this article, I will guide you through the process of selecting the ideal grit size, considering various factors, and providing step-by-step instructions on how to sand your bathtub like a pro.
Get ready to transform your bathtub into a pristine oasis with confidence and precision.
Key Takeaways
- Grit size refers to the coarseness or fineness of sandpaper, with lower grits suitable for rough sanding and higher grits appropriate for finer work or finishing.
- The recommended grit for bathtub surfaces varies depending on the material, with porcelain requiring 400-600 grit, fiberglass needing 320-400 grit, and acrylic suitable for 220-320 grit.
- It is important to choose the appropriate grit to preserve the integrity of the bathtub material and achieve the desired outcome.
- Properly preparing and sanding the bathtub surface, as well as following maintenance tips, contributes to a smooth and flawless finish.

Romeda 8-Pack Sanding Sponge, Four Grits Per Pack 60/80/120/220, Washable and Reusable Handmade Sandpaper Block, Drywall Sandpaper Blocks for Wooden Drywall Sheetrock and Metal Glazing
- Assorted Grits Included: 60/80/120/220 grit, 8 pieces
- Color-Coded Grits: Grey, Blue, Green, Orange for easy identification
- Durable High-Density Sponge: Flexible, tear-resistant, long-lasting material
As an affiliate, we earn on qualifying purchases.
As an affiliate, we earn on qualifying purchases.
Understanding Grit Size
If you want to understand grit size, you should know that it refers to the coarseness or fineness of the sandpaper. Grit sandpaper is used in various applications, but for woodwork projects, choosing the right grit is crucial.
The different applications of grit sandpaper include removing paint, smoothing surfaces, and preparing surfaces for finishing. When it comes to woodwork, selecting the appropriate grit is essential for achieving the desired results.
For rough sanding or removing a lot of material, a lower grit such as 60 or 80 is suitable. As you progress to finer work or finishing, higher grits like 120 or 220 are more appropriate.
Knowing the right grit size for your specific woodwork project will ensure that you achieve a smooth and professional finish.
Factors to Consider
When deciding on the appropriate grit for your bathtub, it’s important to consider various factors.
Safety precautions should be given utmost importance to prevent any accidents or injuries.
There are different types of sandpaper available in the market, each serving a specific purpose.
Here are some factors to consider:
-
Surface Material: Whether your bathtub is made of porcelain, acrylic, or fiberglass, the type of sandpaper you choose should be suitable for that specific material.
-
Surface Condition: The current condition of your bathtub’s surface plays a role in determining the appropriate grit. If it has minor scratches or stains, a finer grit may be sufficient. For more severe damage, a coarser grit may be needed.
-
Desired Outcome: Consider what you’re trying to achieve. Are you looking to remove surface imperfections or simply smooth out rough areas?
-
Personal Comfort: Lastly, consider your own comfort level with sanding. If you’re new to this, start with a finer grit and work your way up gradually.
Taking these factors into account will help you make an informed decision about the appropriate grit for your bathtub surface.
Recommended Grit for Bathtub Surface
To achieve the desired outcome of a smooth and flawless bathtub surface, consider choosing a finer grit that is suitable for your specific bathtub material. When it comes to bathtub refinishing, the right sanding tools and grit can make all the difference. Here is a recommended grit guide to help you choose the appropriate sandpaper for your bathtub surface:
| Bathtub Material | Recommended Grit |
|---|---|
| Porcelain | 400-600 |
| Fiberglass | 320-400 |
| Acrylic | 220-320 |
Using the correct grit ensures that you remove any imperfections while preserving the integrity of the bathtub material. Remember to start with a coarser grit and gradually work your way up to a finer grit for a smooth and even finish. Additionally, always follow proper safety precautions, such as wearing protective goggles and a mask, to minimize dust inhalation. With the right sanding tools and grit, you can achieve professional results in your bathtub refinishing project.
Step-by-Step Sanding Process
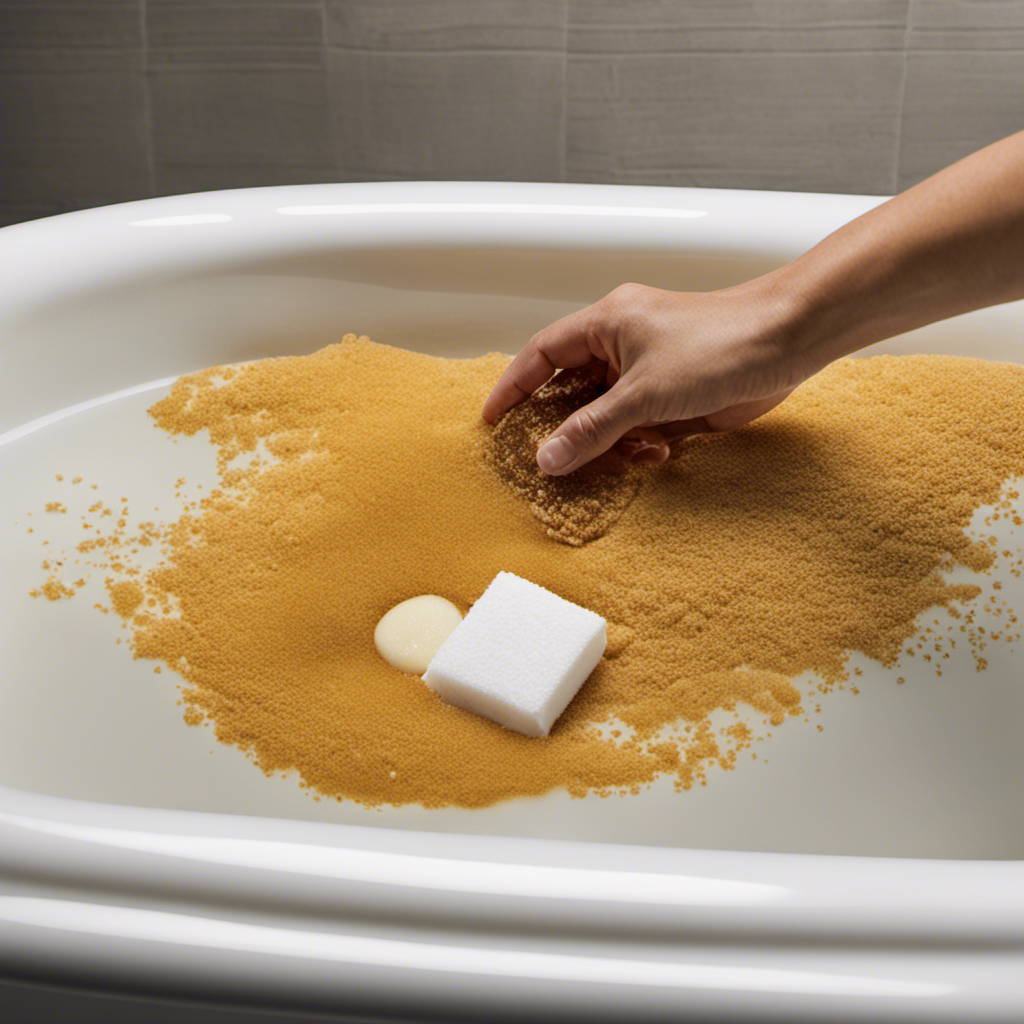
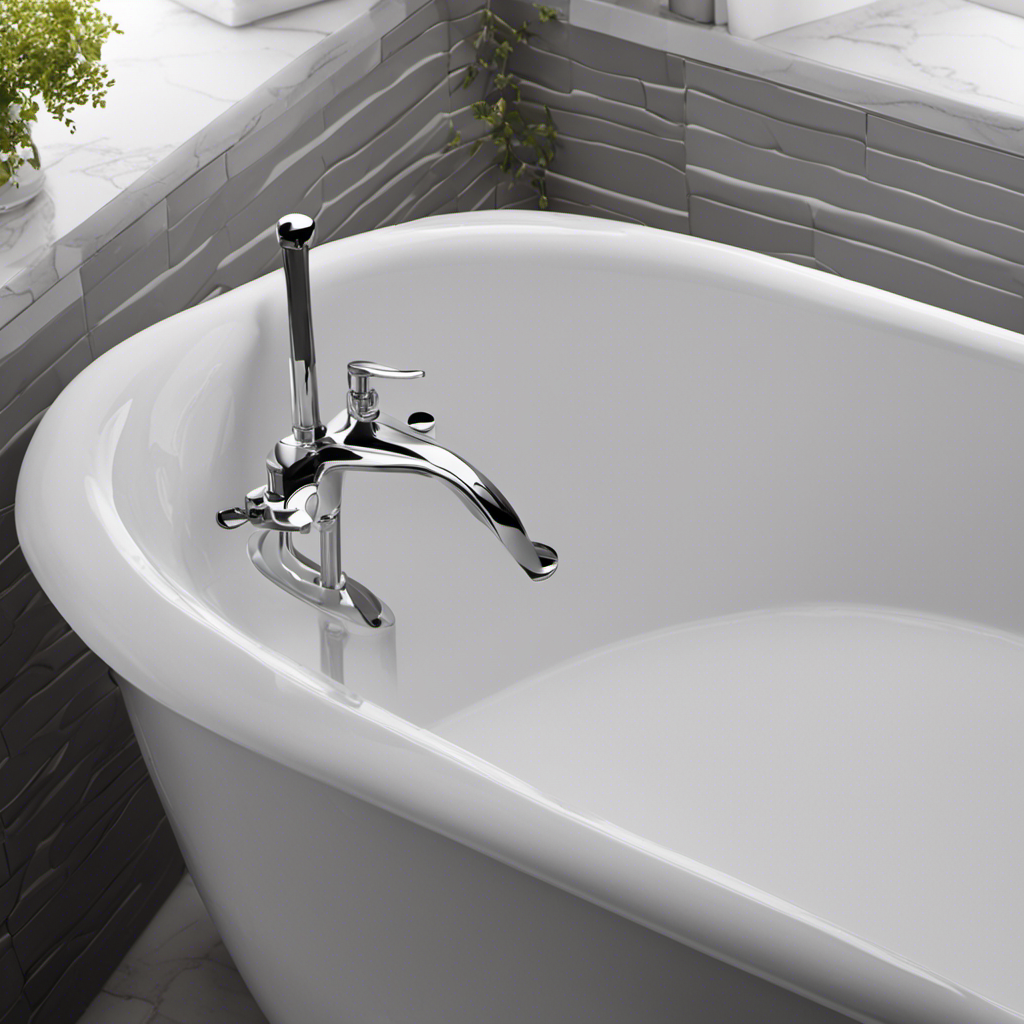
Start by preparing the surface of your bathtub by thoroughly cleaning it and removing any existing finishes or coatings. This is an important step to ensure that the sanding process is effective and achieves the desired results.
To properly sand your bathtub, you will need a few essential tools:
- Sandpaper with various grits (such as 80, 120, and 220)
- Sanding block or a sanding sponge
- Soft cloth or tack cloth
- Dust mask or respirator for safety
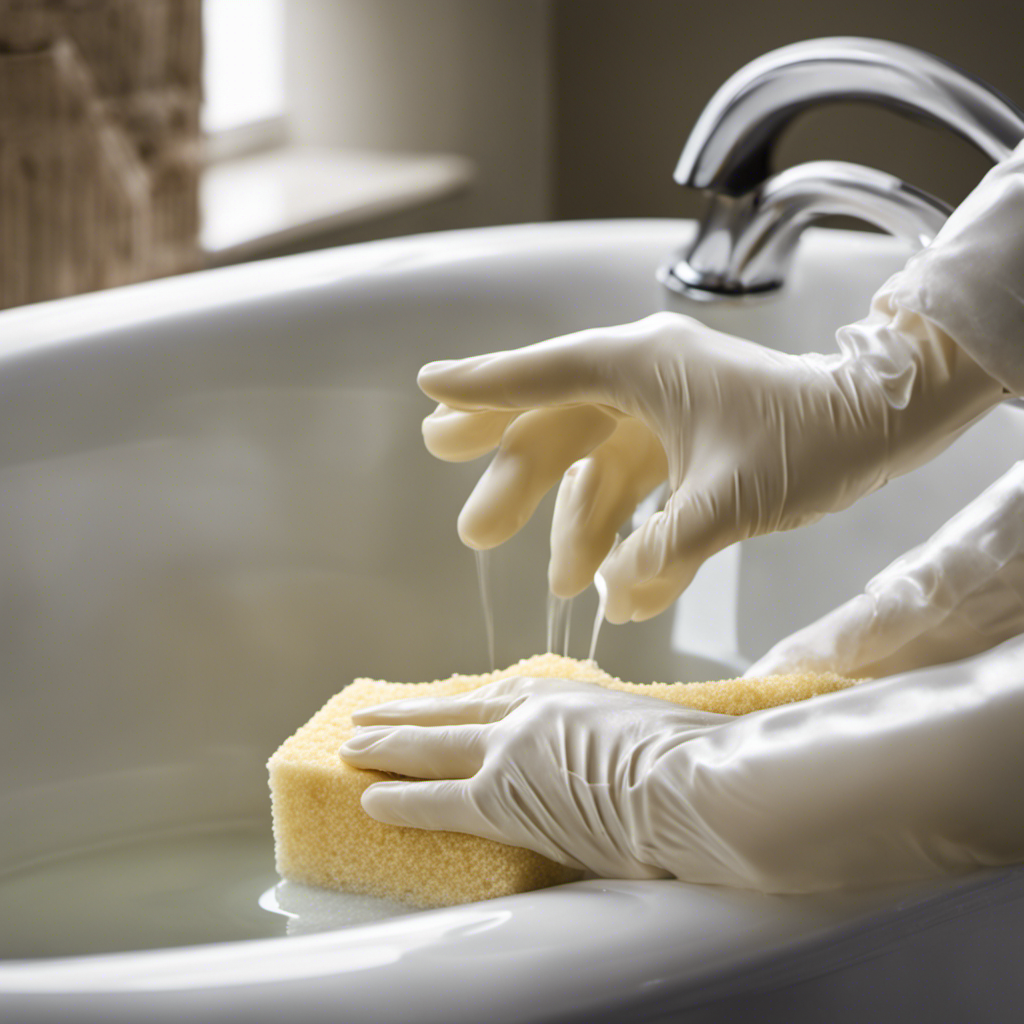
Before you begin sanding, it is crucial to take proper safety precautions. Make sure to wear protective gear, such as safety goggles and gloves, to protect yourself from any potential injuries. Additionally, ensure that the area is well-ventilated to minimize the inhalation of dust particles.
Finishing Touches and Maintenance Tips
Ensure that you wipe down the surface with a soft cloth to remove any dust particles before applying the final finish. This step is crucial to achieve a smooth and flawless bathtub surface.
When it comes to finishing touches and maintenance, there are a few things to keep in mind. First, choose the right bathtub cleaning products that are specifically designed for your tub’s material. Using harsh chemicals or abrasives can cause damage and scratches. Instead, opt for gentle cleaners that will effectively remove dirt and grime without compromising the surface.
Additionally, it’s important to prevent scratches on the surface by using non-abrasive sponges or cloths when cleaning. Avoid using abrasive materials like steel wool or harsh scrub brushes.
Conclusion
In conclusion, when it comes to sanding a bathtub, choosing the right grit size is crucial for achieving a smooth and polished surface. By considering factors such as the bathtub material and the level of damage, one can determine the recommended grit size.
Following a step-by-step sanding process and applying the necessary finishing touches will ensure a professional-looking result. Remember, like a sculptor shaping marble, with the right tools and techniques, your bathtub can be transformed into a work of art.