
Hey there!
Have you ever had the unfortunate experience of dealing with a clogged bathtub? Trust me, I’ve been there too.
But fear not, because in this article, I’m going to share some practical tips on how to get your bathtub unclogged and flowing smoothly again.
From identifying the cause of the clog to using simple homemade drain cleaners, we’ll cover it all.
So, let’s dive in and say goodbye to those pesky bathtub clogs once and for all!
Key Takeaways
- Use a drain stopper and clean it regularly to prevent clogs.
- Try using a plunger to unclog the bathtub, using different methods if needed.
- Consider using a homemade drain cleaner with baking soda and vinegar.
- If DIY methods don’t work or the clog persists, seek professional help to prevent further damage.

Black Tub Shower Faucet Set Complete with 8-Inch Rainfall Shower Head and Tub Spout Included Shower Valve Tub Shower Trim Kit Matte Black
GOUXIUHAN Tub shower trim kit not compatible with other brand valve and cartridges. The old shower valve must...
As an affiliate, we earn on qualifying purchases.
Identifying the Cause of the Clog
Now, you’ll want to figure out what’s causing the clog in your bathtub.
There are a few common signs of a clogged bathtub that you can look out for. Firstly, if the water is draining slowly or not at all, it’s a clear indication of a clog. You may also notice that the water level rises when you run the faucet or that there is a foul odor coming from the drain.
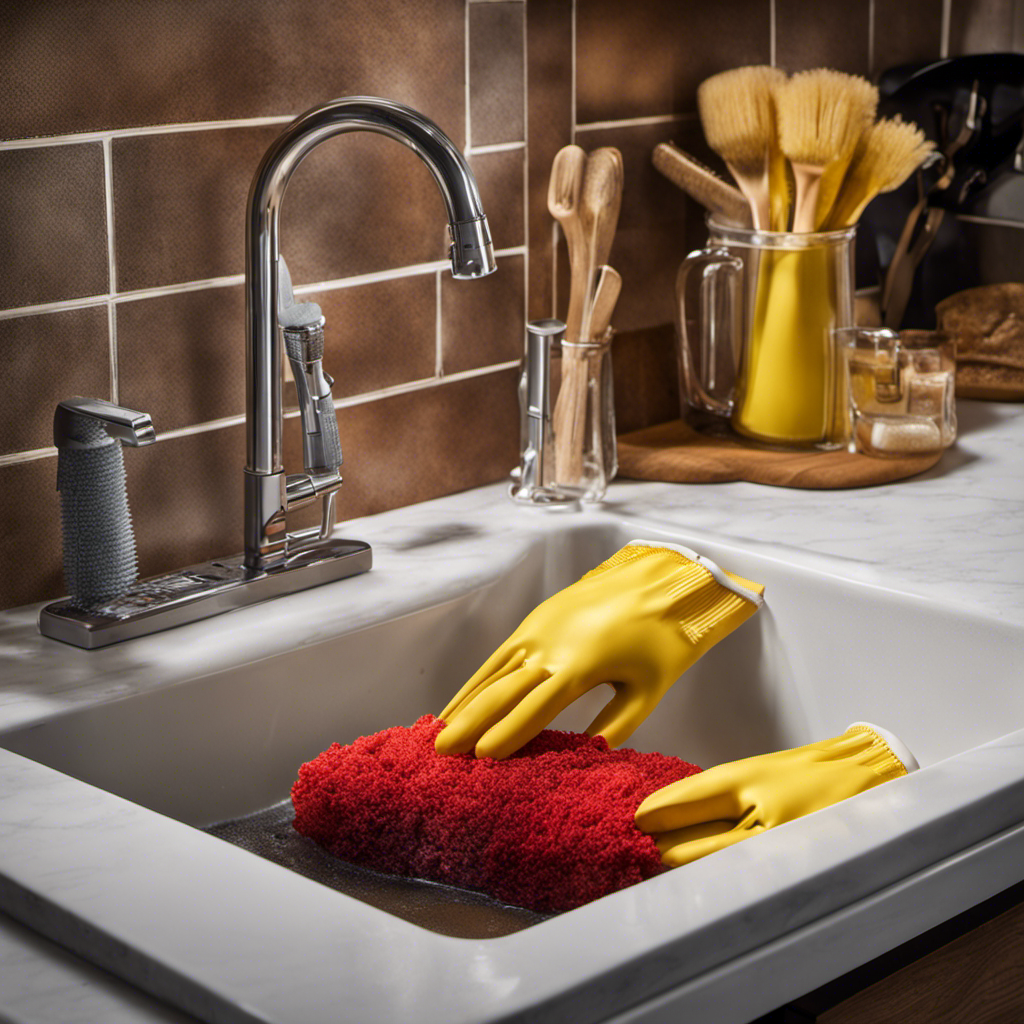
To prevent future bathtub clogs, there are a few simple steps you can take. Use a drain stopper to catch hair and other debris, and clean it regularly. Avoid pouring grease or oil down the drain, as they can solidify and cause blockages. Lastly, consider using a drain screen to catch any larger particles that might cause a clog.

Delta Modern 14 Series Square Bathtub and Shower Faucet Set, Matte Black Shower Head and Handle Set, Valve Trim Kit, Matte Black T14467-BL-PP (Valve Not Included)
ROUGH SOLD SEPARATELY: Tub/ shower faucet trim kit only, purchase Delta's MultiChoice Universal Shower Valve separately to complete...
As an affiliate, we earn on qualifying purchases.
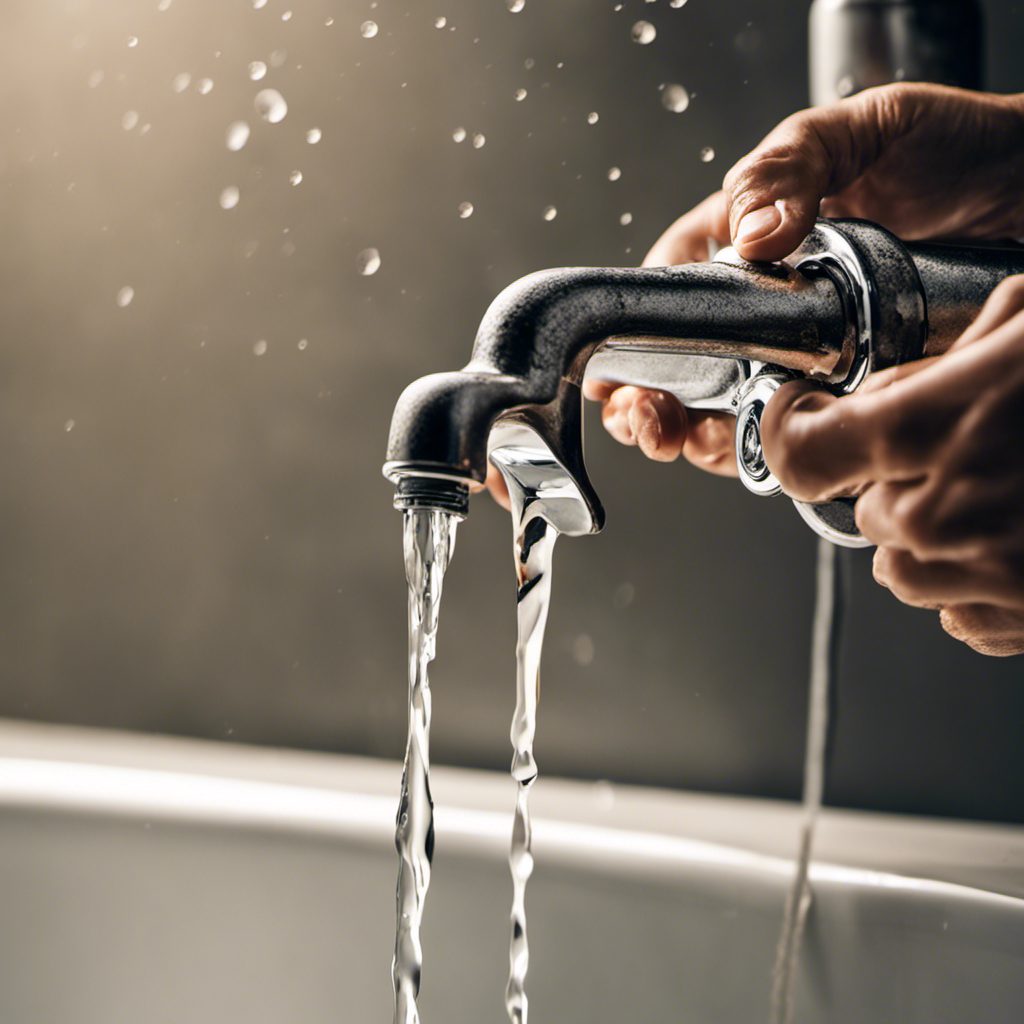
Using a Plunger to Unclog the Bathtub
To start, grab a plunger and position it over the drain in your bathtub. This versatile tool is not only effective for unclogging toilets, but also for clearing bathtub drains. Here are three plunger techniques for unclogging your bathtub:
-
The Up-and-Down Method: Press the plunger down firmly and then pull up quickly to create suction. Repeat this motion several times to dislodge the clog.
-
The Side-to-Side Method: Instead of plunging straight up and down, tilt the plunger to the side and push and pull it in a horizontal motion. This can help to break up stubborn clogs.
-
The Double Plunge Method: If the first round of plunging doesn’t work, try adding water to the bathtub and plunging again. The added water can help to create more pressure and force the clog to dislodge.
When using a plunger, it’s important to avoid these common mistakes:
-
Using too much force: Excessive force can damage the plumbing or cause water to splash everywhere.
-
Improper seal: Ensure that the plunger forms a tight seal around the drain to maximize suction.
-
Insufficient plunging: Be persistent and continue plunging until the clog is fully cleared.
Now that you’ve learned the plunger techniques, let’s move on to using a homemade drain cleaner.

Delta Foundations 13 Series 2-Spray Bathtub and Shower Faucet Set, Brushed Nickel Shower Head and Handle Set, Valve Trim Kit, Stainless BT13410-SS (Valve Not Included)
ROUGH SOLD SEPARATELY: Trim kit only, purchase Delta's MultiChoice Universal Shower Valve separately to complete the unit (recommended...
As an affiliate, we earn on qualifying purchases.
Using a Homemade Drain Cleaner
Using a homemade drain cleaner can be a cost-effective and environmentally friendly solution for clearing clogs. Instead of relying on harsh chemicals, you can create your own cleaning solutions using natural ingredients that are readily available in your kitchen pantry.
One effective homemade drain cleaner is a combination of baking soda and vinegar. Start by pouring half a cup of baking soda down the clogged drain, followed by half a cup of vinegar. Allow the mixture to sit for about 30 minutes, and then flush the drain with hot water. The baking soda and vinegar will create a chemical reaction that helps break down the clog and clear the drain.
Once the drain cleaner has been used, it’s important to remove the drain cover and clear any debris that may be causing the clog. This will ensure that the drain cleaner can work effectively and prevent future clogs.

Tub Shower Faucet Set with Valve, WRISIN Shower Faucets Sets Complete Brushed Nickel with 6 Inch High-Pressure Rian Showerhead
IMPORTANT: Our bathtub faucet set is not compatible with other old valves, if you want to install our...
As an affiliate, we earn on qualifying purchases.
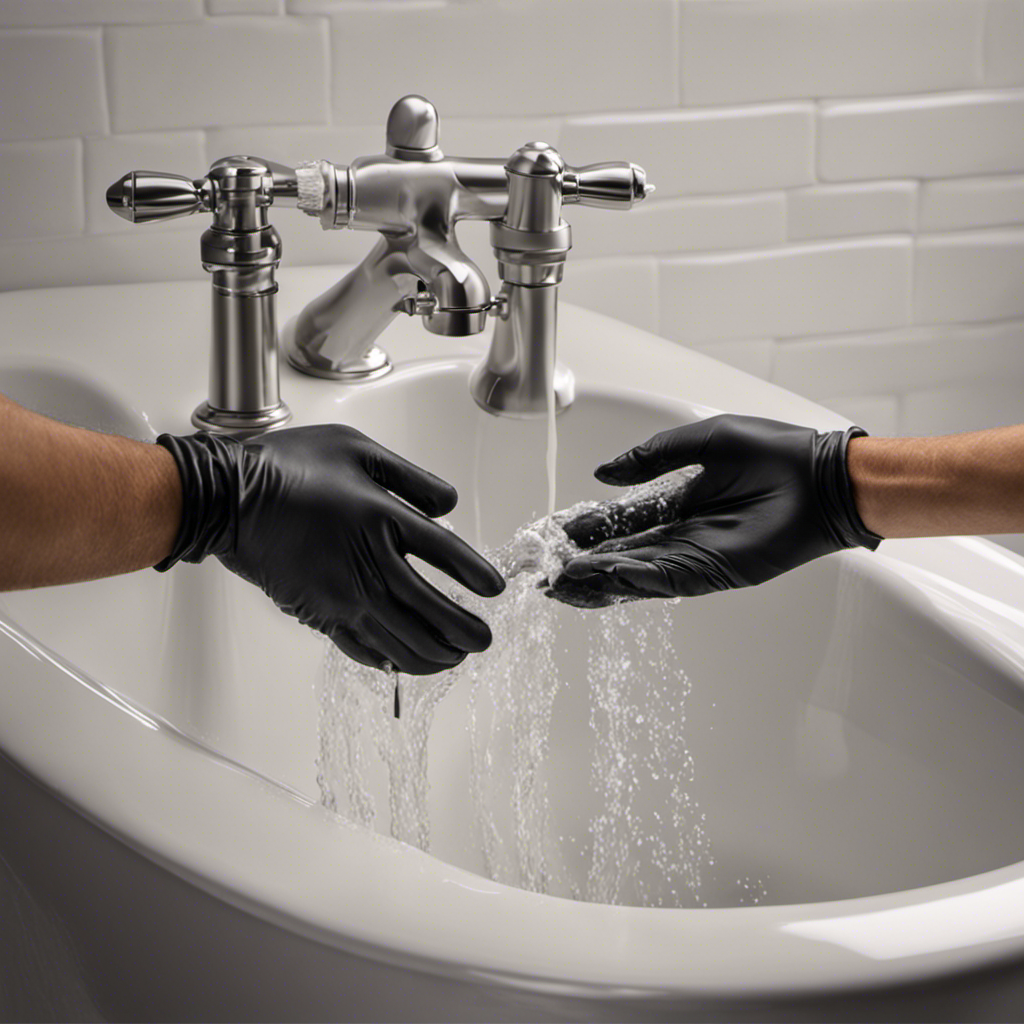
Removing the Drain Cover and Clearing Debris
After letting the homemade drain cleaner sit for 30 minutes, it’s important to remove the drain cover and clear any debris that may be causing the clog. Here are three simple steps to help you do that:
-
Prepare your tools: Before removing the drain cover, make sure you have a pair of gloves, a screwdriver, and a small bucket or bag to collect any debris.
-
Remove the drain cover: Use the screwdriver to carefully unscrew the screws holding the drain cover in place. Once the screws are removed, gently lift the cover off the drain.
-
Clear the debris: With the drain cover removed, you can now see if there is any debris causing the clog. Use your gloved hand or a small brush to remove any hair, soap scum, or other blockages from the drain. Be sure to clean the drain cover as well.
Seeking Professional Help for Stubborn Clogs
If your bathtub drain remains clogged despite your efforts, it may be time to seek professional help. While DIY methods for unclogging a bathtub drain can be effective in many cases, there are situations where a more serious plumbing issue may be at play.
One sign of a more serious issue is if the clog persists even after you have tried multiple DIY methods, such as using a plunger or a drain snake. Another sign is if you notice water backing up in other drains or toilets in your home. This could indicate a main sewer line blockage, which requires professional assistance.
Additionally, if you are experiencing foul odors or gurgling sounds coming from your drain, it is best to consult a professional plumber to assess the situation. Remember, it’s important to address stubborn clogs promptly to prevent further damage to your plumbing system.
Conclusion
Well folks, we’ve reached the end of our clogged bathtub adventure.
Hopefully, armed with these practical tips, you’ve managed to unclog that drain and restore harmony to your bathroom oasis.
Remember, it’s all about identifying the cause, using the right tools, and not being afraid to get a little dirty.
And if all else fails, don’t be shy to call in the professionals. They’re like the superheroes of the plumbing world, swooping in to save the day when your plunger just won’t cut it.
Happy unclogging, everyone!