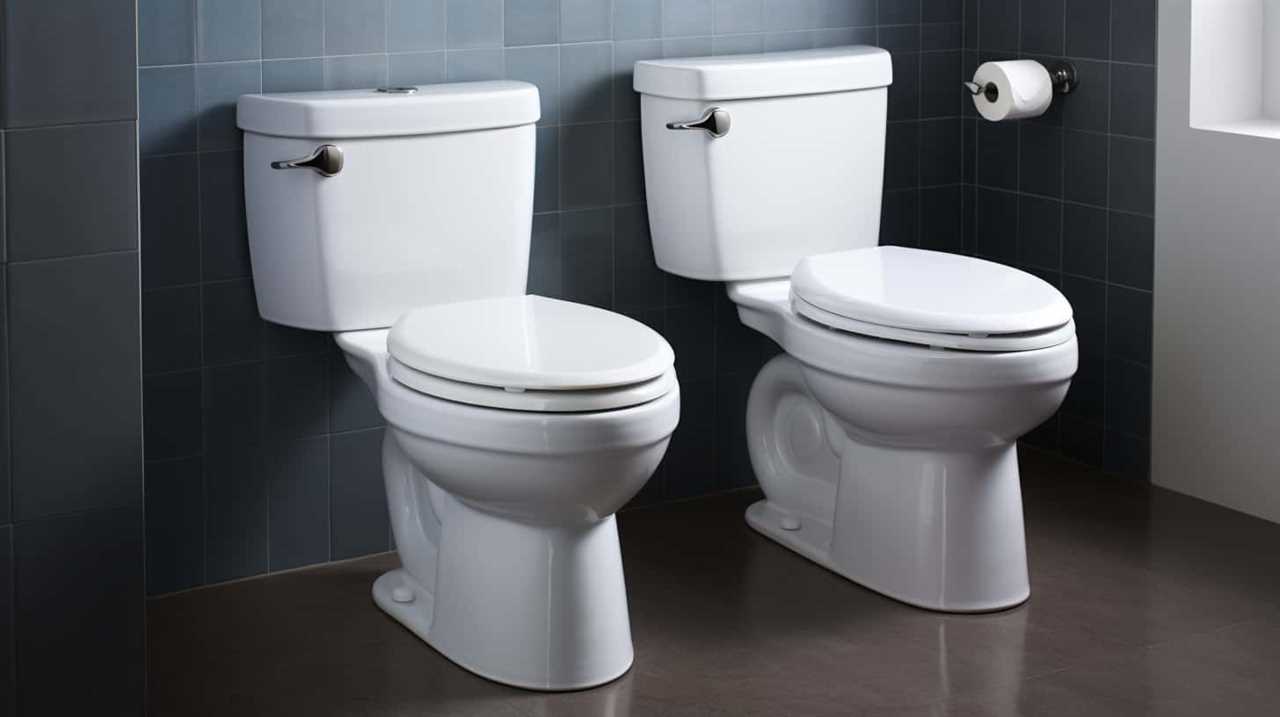
Were you aware that a staggering 90% of individuals don’t know the correct way to flush a smart toilet? Worry not, for we are here to provide you with a detailed, step-by-step walkthrough on how to do it properly.
In this article, we will explain the ins and outs of using a smart toilet, from understanding the control panel to adjusting water pressure and temperature.
By the end, you’ll have all the knowledge you need to become a master of flushing your smart toilet.
Let’s get started!
Key Takeaways
- The control panel allows customization of preferences and adjustment of water temperature, spray pressure, and seat heating settings.
- Understanding error codes enables efficient troubleshooting of toilet functionality issues.
- The flush button or sensor on the control panel initiates the flush, with options for half flush for liquid waste and full flush for solid waste.
- Smart toilets offer additional features and settings such as dual flush system, adjustable water pressure, heated seat, bidet function, and air dryer.
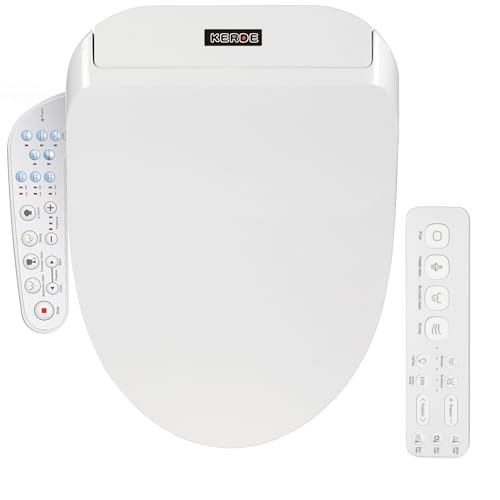
KERDE P30B Bidet Toilet Seat - Dual Control (Side Panel & Remote), Warm Water Wash, Heated Seat, Warm Air Dryer, LED Night Light,Existing Toilets Electric Bidet Elongated Electronic Heated Smart
- Dual Control Options: Side panel and wireless remote control
- Warm Water Wash: Adjustable temperature and pressure settings
- Self-Cleaning Nozzle: Hygienic stainless steel nozzle
As an affiliate, we earn on qualifying purchases.
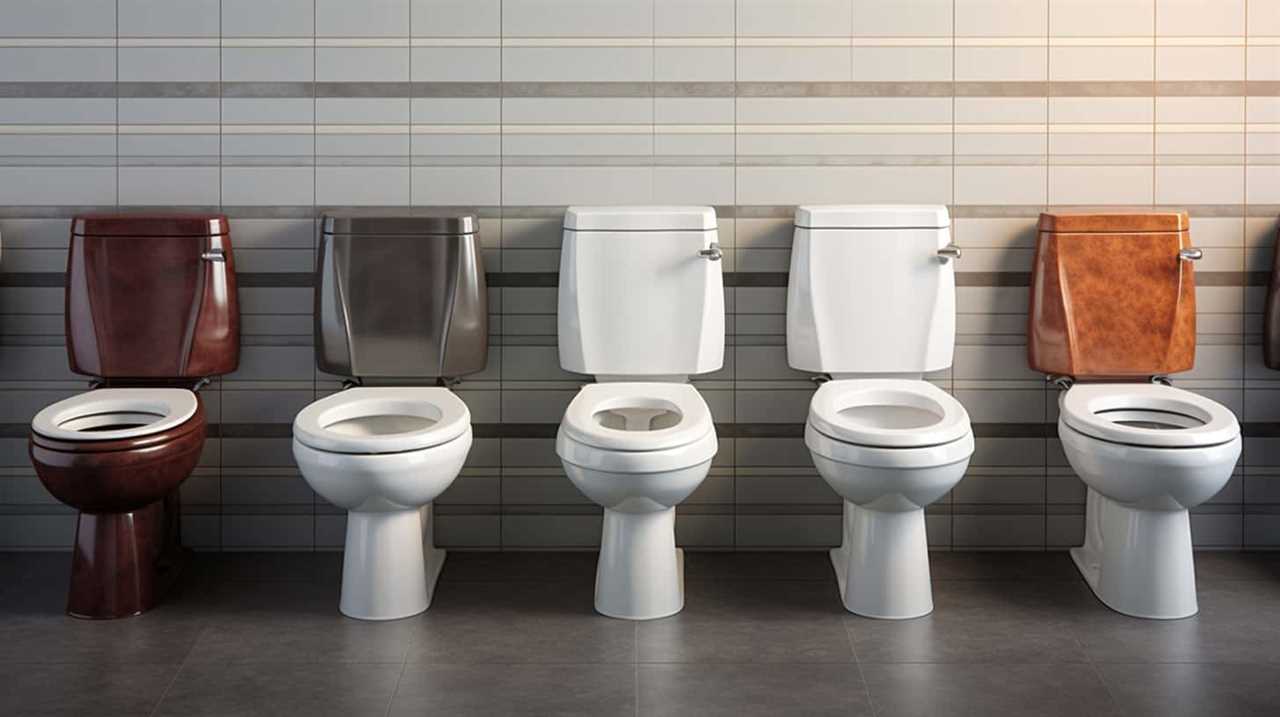
Understanding the Control Panel
To effectively operate a smart toilet, we need to become familiar with the various functions and settings available on the control panel.
The control panel is where we can customize our preferences and understand any error codes that may appear.
Let’s start by exploring the different buttons and icons on the control panel.
By pressing the ‘Settings’ button, we can access a menu that allows us to adjust the water temperature, spray pressure, and seat heating settings to our liking.

Additionally, the control panel may display error codes that indicate any issues with the toilet’s functionality.
Understanding these error codes will enable us to troubleshoot and resolve any problems efficiently.
Activating the Flushing Mechanism
Now let’s move on to activating the flushing mechanism on our smart toilet. To ensure a smooth and efficient flush, follow these steps:
- Locate the flush button or sensor on the control panel.
- Press the flush button firmly or wave your hand over the sensor to initiate the flushing process.
Some smart toilets offer different flushing options, such as a half flush or a full flush. Select the desired option by pressing the corresponding button or swiping on the control panel.
- Take advantage of the water saving features by using the half flush option for liquid waste and the full flush option for solid waste.
- Once you’ve made your selection, the smart toilet will automatically flush and dispose of the waste with precision and cleanliness.
Now that you know how to activate the flushing mechanism, let’s move on to adjusting the water pressure and temperature for an even more personalized experience.
Adjusting Water Pressure and Temperature
After activating the flushing mechanism, we can now proceed to adjust the water pressure and temperature for a more personalized experience.
To adjust the water pressure, locate the control panel on the side of the smart toilet. Look for the water pressure adjustment button or dial. Press or turn it to increase or decrease the water pressure according to your preference. Keep in mind that higher water pressure may provide a more forceful flush, but it may also use more water. For eco-friendly options, it’s recommended to keep the water pressure at a moderate level to save water.
To adjust the temperature, look for the temperature control button or dial on the control panel. Press or turn it to increase or decrease the water temperature. Adjust it to a comfortable level, taking care not to make it too hot or too cold.
Utilizing Additional Features and Settings
Moving on to utilizing additional features and settings, let’s explore the various options available on the smart toilet. These features go beyond basic flushing and provide enhanced functionality to optimize water usage and improve your overall bathroom experience. Here are five notable smart toilet features:
- Dual flush system: This feature allows you to choose between a full flush and a partial flush, depending on the waste volume, helping conserve water.
- Adjustable water pressure: With this setting, you can customize the water pressure for a comfortable and efficient cleansing experience.
- Heated seat: Enjoy the luxury of a warm seat during colder months, ensuring your comfort.
- Bidet function: This feature offers a gentle, hygienic cleansing option, reducing the need for excessive toilet paper usage.
- Air dryer: After using the bidet function, the built-in air dryer eliminates the need for traditional drying methods.
Now that we’ve explored the additional features and settings of a smart toilet, let’s move on to maintenance and troubleshooting tips to ensure its optimal performance.
Maintenance and Troubleshooting Tips
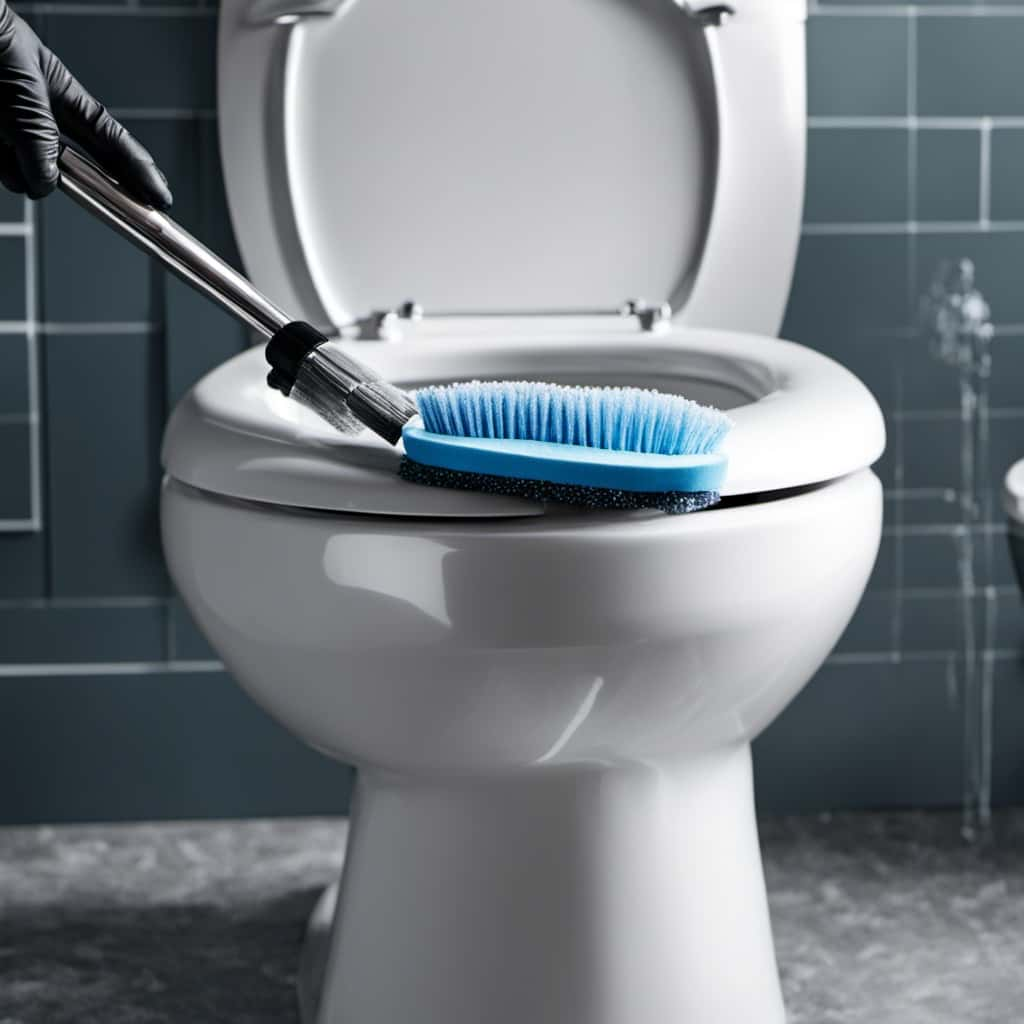
To ensure optimal performance and troubleshoot any issues, we recommend regularly maintaining your smart toilet. Here are some maintenance and troubleshooting tips to help you keep your smart toilet running smoothly:
| Maintenance Tips | Troubleshooting Tips |
|---|---|
| Regularly clean the toilet bowl and seat with a non-abrasive cleaner. | If the toilet is not flushing properly, check the water supply and ensure it is turned on. |
| Use a soft brush or sponge to scrub away any stains or residue. | If the toilet is constantly running, check the flapper valve and replace if necessary. |
| Check the water level in the tank and adjust if needed. | If the toilet is leaking, inspect the seals and gaskets for any signs of damage. |
| Periodically disinfect the toilet to eliminate bacteria and odors. | If the toilet is not responding to commands, check the connectivity of the control panel and ensure it is properly connected. |
Frequently Asked Questions
Can I Control the Smart Toilet Using My Smartphone or Voice Commands?
Yes, we can control the smart toilet using our smartphone or voice commands. This is one of the benefits of using a smart toilet, as it allows for convenient and hands-free operation.
Is It Possible to Program the Smart Toilet to Flush Automatically at Specific Times?
Yes, it is possible to program the smart toilet to flush automatically at specific times. However, it’s important to note that there may be programming limitations. The benefits of automatic flushing include convenience and maintaining cleanliness.
How Do I Clean the Sensors and Nozzles of the Smart Toilet?
To clean the sensors and nozzles of the smart toilet, we recommend following these steps: 1) Turn off the power. 2) Use a damp cloth to gently remove any dirt or debris. 3) If necessary, use a mild cleaning solution. 4) Dry thoroughly before turning the power back on.
Can the Smart Toilet Detect and Adjust the Water Pressure Based on the User’s Preference?
Yes, the smart toilet can detect and adjust the water pressure based on the user’s preference. It offers water pressure customization, allowing for a personalized flushing experience that remembers individual users’ preferences.
What Is the Estimated Lifespan of a Smart Toilet and How Often Should It Be Replaced?
The estimated lifespan of a smart toilet can vary depending on the model and usage. Generally, they can last anywhere from 10 to 15 years. However, it’s recommended to replace them every 10 years to ensure optimal performance and modern features.

Conclusion
In conclusion, flushing a smart toilet is a breeze once you understand the control panel and activate the flushing mechanism.
Don’t forget to adjust the water pressure and temperature to your liking, and explore the additional features and settings for a truly customized experience.
Remember to perform regular maintenance and follow troubleshooting tips to keep your smart toilet in top-notch condition.
So, go ahead and embrace the future of bathroom technology with confidence and ease. Happy flushing!