Is it possible for us, the homeowners, to become proficient at swapping out a toilet flush button? Definitely! This piece will walk you through each phase, from taking out the old button to putting in a new one.
Armed with the right tools and a little know-how, you’ll be able to tackle this DIY project with confidence. Say goodbye to that pesky broken button and hello to a smoothly functioning toilet.
Let’s get started!
Key Takeaways
- Tools needed for replacing a toilet flush button include a screwdriver, pliers, wrench, and penetrating oil.
- Before replacing the flush button, it is important to turn off the water supply by locating the shut-off valve and turning it clockwise. The water supply line should also be disconnected.
- The process of replacing a flush button involves lifting off the toilet tank lid, tightening or cleaning the handle if necessary, and replacing the handle or chain if broken or malfunctioning.
- When choosing a replacement flush button, it is important to inspect the old button for damage and consider factors such as style, compatibility, and durability. The new button can be installed by detaching the old one and screwing in the new button.
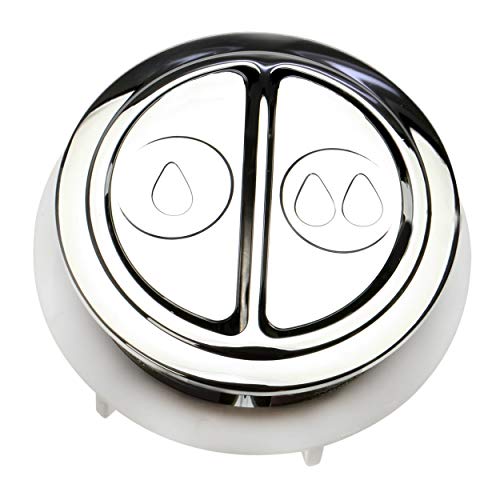
Dual Flush Valve Replacement Button
- Genuine replacement for Glacier Bay: Compatible with Glacier Bay and other toilets
- Easy to install: Simple installation process
- Universal fit for 3” dual flush valves: Fits 3-inch dual flush valves and 2-piece toilets
As an affiliate, we earn on qualifying purchases.
As an affiliate, we earn on qualifying purchases.
Tools You’ll Need
To replace a toilet flush button, we’ll need a few essential tools.
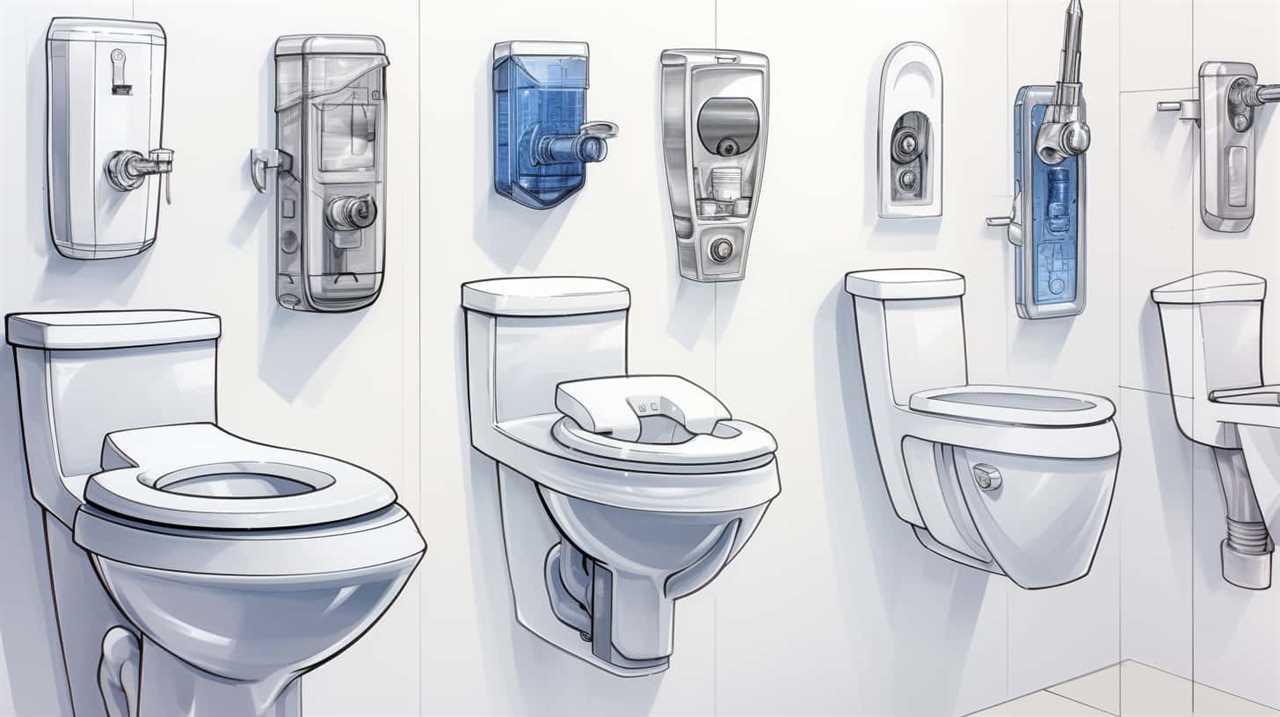
- First and foremost, a screwdriver is necessary to remove the old button and install the new one. It’s important to choose a screwdriver with the right size and shape to fit the screws on your specific toilet model.
- Additionally, a pair of pliers will come in handy for loosening and tightening any nuts or bolts during the replacement process.
- When locating replacement parts, make sure to check the model number of your toilet to ensure compatibility.
- If you encounter any installation issues, troubleshooting might be required. This could involve checking for loose connections, ensuring proper alignment, or adjusting the tension of the flush button mechanism.
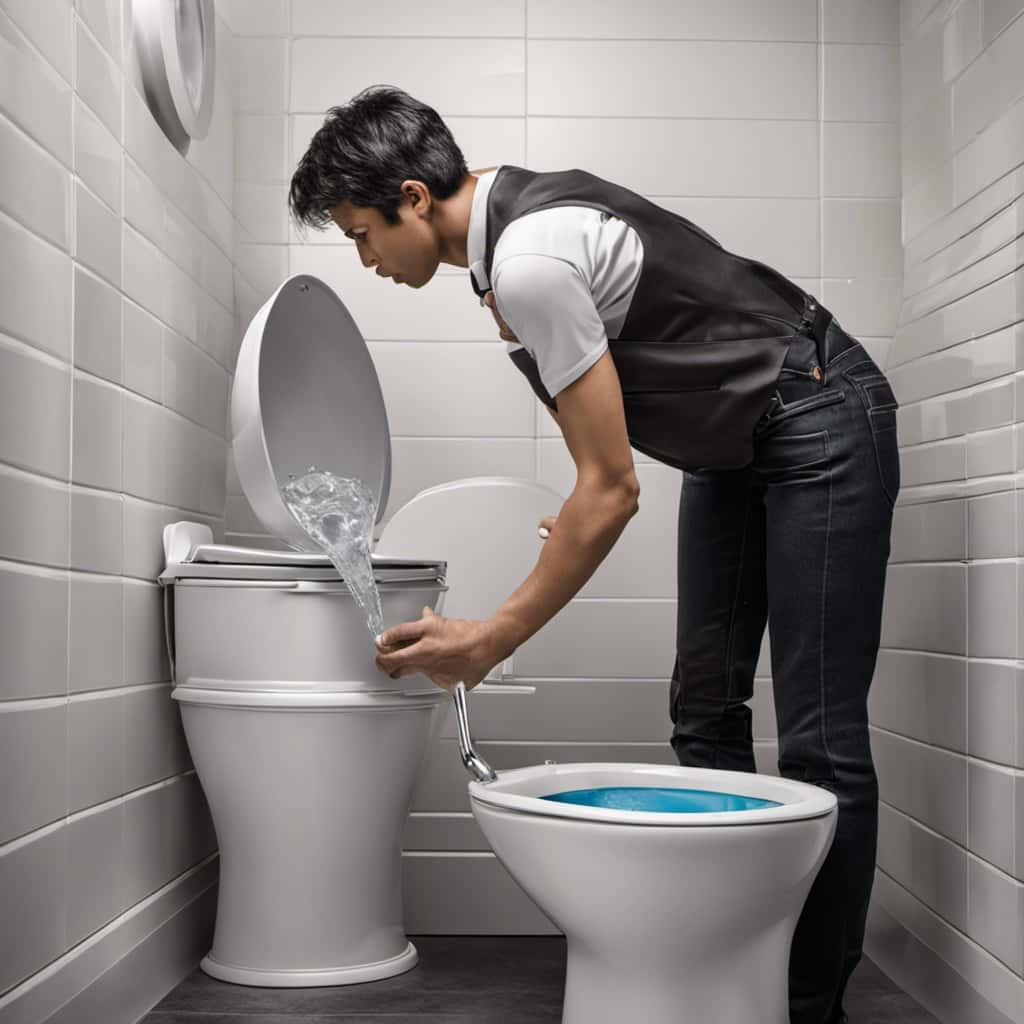
Turning off the Water Supply
We need to turn off the water supply before replacing the toilet flush button. This is an important step to prevent any water damage or leaks while working on the flushing mechanism.
Here are some steps to follow when turning off the water supply:
- Locate the water shut-off valve, typically located behind or near the toilet.
- Turn the valve clockwise to shut off the water supply.
- Flush the toilet to drain any remaining water in the tank.
- Disconnect the water supply line from the bottom of the toilet tank.
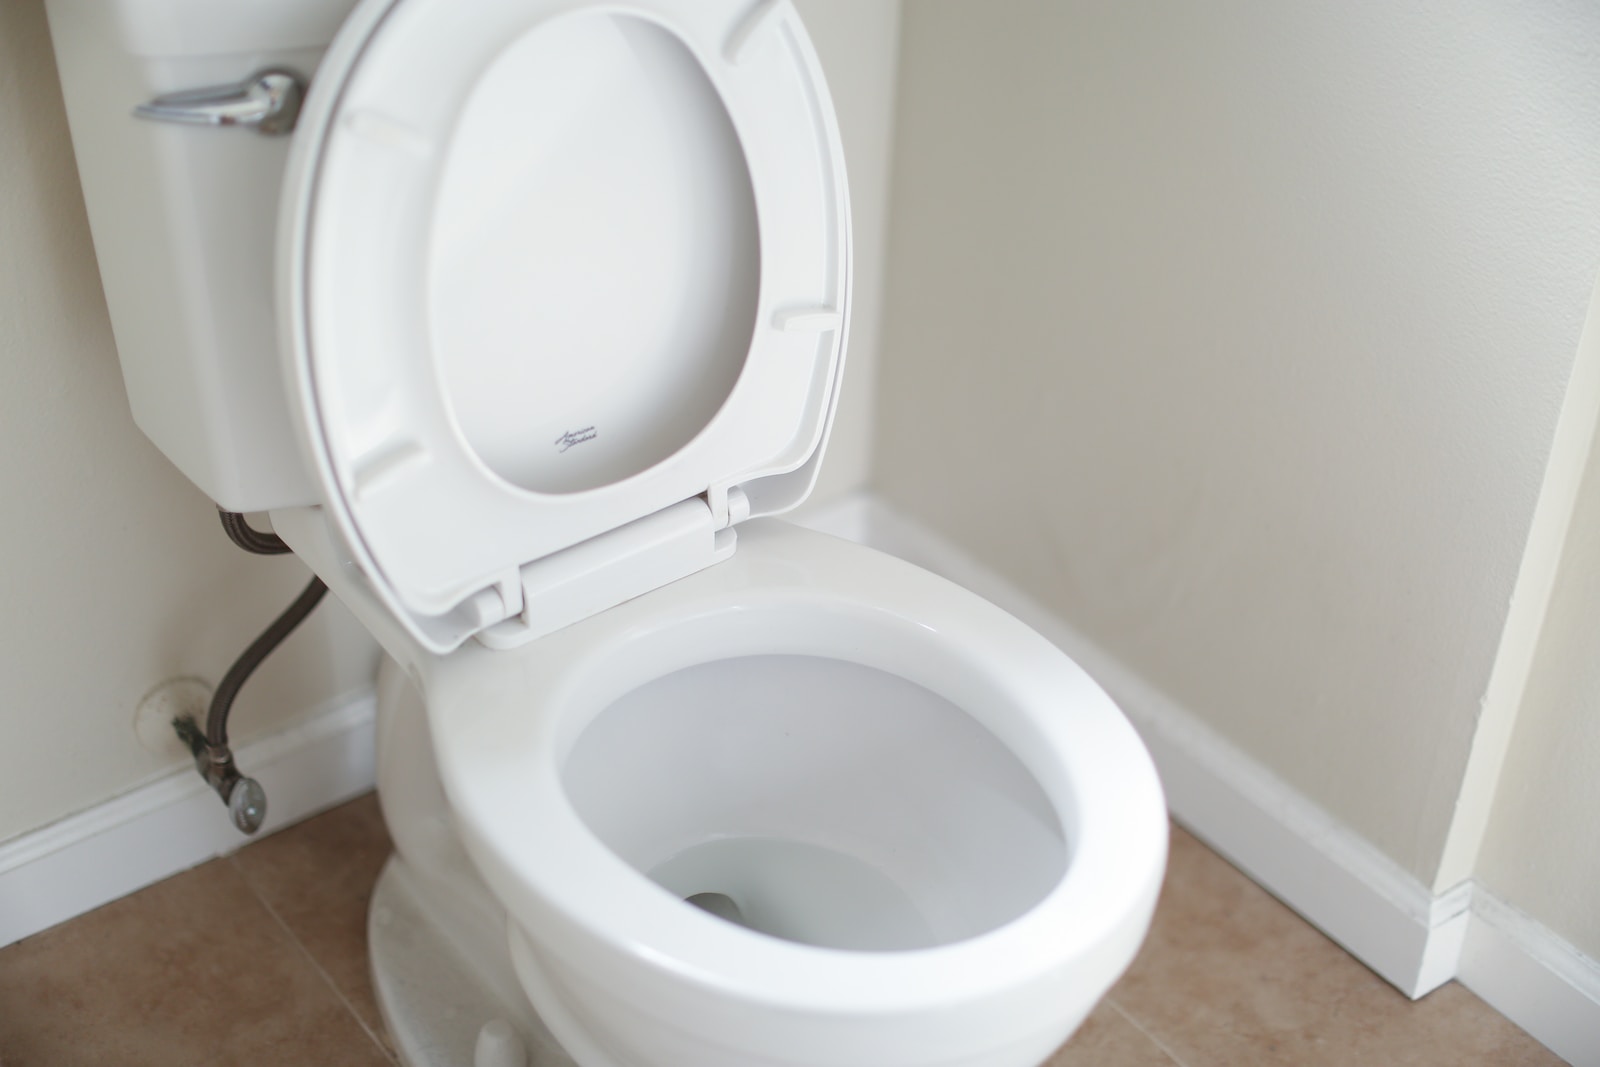
Removing the Toilet Tank Lid
Now let’s move on to the next step in the process – removing the toilet tank lid.
This is an important step to access the inside of the tank and replace the flush button.
To remove the lid, start by locating the two screws or bolts that secure it in place. Use a screwdriver or wrench to loosen and remove these fasteners, being careful not to damage the lid or tank.
Once the screws or bolts are removed, simply lift the lid off the tank and set it aside.
Proper Lid Removal
With both hands, carefully lift off the toilet tank lid by grasping it from the sides. Removing the toilet tank lid is an essential step in troubleshooting any issues with the toilet flush button. Here are some troubleshooting tips for lid removal:
- Ensure that the water supply to the toilet is turned off before attempting to remove the lid.
- If the lid feels stuck, try gently rocking it back and forth to loosen it.
- Be cautious of any fragile components attached to the lid, such as the fill valve or flush handle.
- If the lid is heavy, consider asking for assistance to prevent any accidents or damage.
Now that the lid has been successfully removed, let’s move on to the handle replacement process.

Handle Replacement Process
To begin the handle replacement process, start by carefully lifting off the toilet tank lid using both hands and grasping it from the sides. This step is crucial as it allows access to the inside of the tank where the handle replacement takes place. Once the lid is removed, place it in a safe and dry location to prevent any accidental damage. Now, let’s take a look at the troubleshooting issues that may arise during the handle replacement process:
| Issue | Possible Cause | Solution |
|---|---|---|
| Loose handle | Loose handle nut | Tighten the nut using pliers or an adjustable wrench |
| Stuck handle | Build-up of debris | Clean handle and surrounding area thoroughly |
| Malfunctioning | Broken handle or chain | Replace the handle or chain with a new one |
With the lid off and the troubleshooting issues in mind, we can now move on to the next step: locating the flush button assembly.
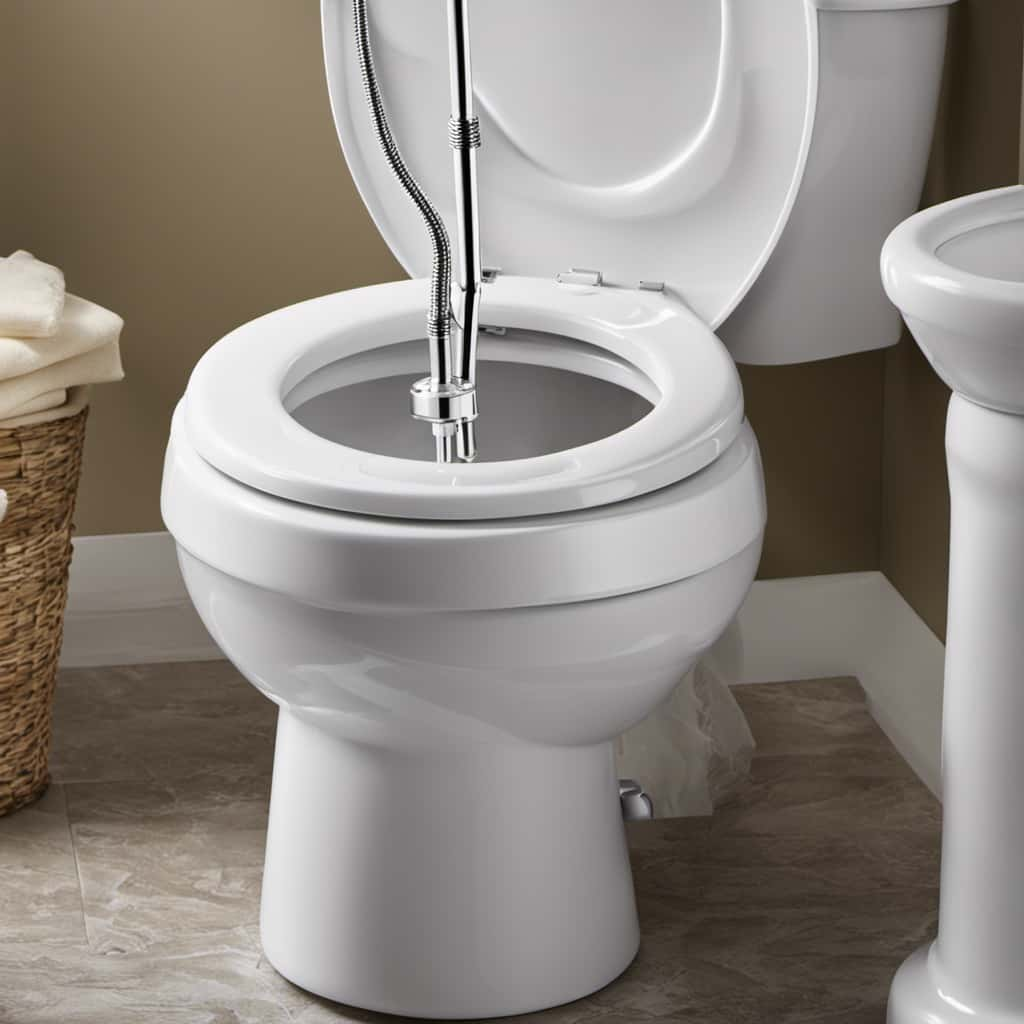
Locating the Flush Button Assembly
To locate the flush button assembly, we need to first identify the top of the toilet tank. Here are the steps to locate the flush button assembly:
- Remove the toilet tank lid by lifting it straight up and setting it aside.
- Look for the handle and follow it to the flush valve assembly.
- The flush valve assembly consists of the flush button, the rod, and the flapper.
- The flush button is usually located on top of the flush valve assembly, near the front or center of the tank.
When troubleshooting issues or considering handle replacement, it’s important to locate the flush button assembly accurately. By following these steps, you can easily identify the flush button assembly and proceed with the next steps, such as disconnecting the old flush button.

Disconnecting the Old Flush Button
To disconnect the old flush button, we’ll need to locate the retaining nut that secures it in place. This nut is usually located on the backside of the toilet tank, just behind the flush button.
To access it, we may need to remove the toilet tank lid and set it aside in a safe place. Once the lid is removed, we can use a wrench or pliers to loosen and remove the retaining nut. We should turn the nut counterclockwise until it’s loose enough to slide off the flush button assembly.
If the nut is stubborn, we can try using penetrating oil to help loosen it. Once the nut is removed, we can proceed to the next step of inspecting the flush button for damage.
Inspecting the Flush Button for Damage
After disconnecting the old flush button, we frequently inspect the flush button for any signs of damage. A thorough handle inspection is essential to ensure the proper functioning of the toilet flush system.

Here are some troubleshooting tips to help you effectively inspect the flush button:
- Check for cracks or chips on the surface of the button.
- Test the button’s responsiveness by pressing it multiple times.
- Examine the button’s connection to the toilet tank and make sure it’s secure.
- Verify that the button aligns properly with the flushing mechanism inside the tank.
By following these troubleshooting tips, you can identify any potential issues with the flush button and determine whether it needs to be replaced.
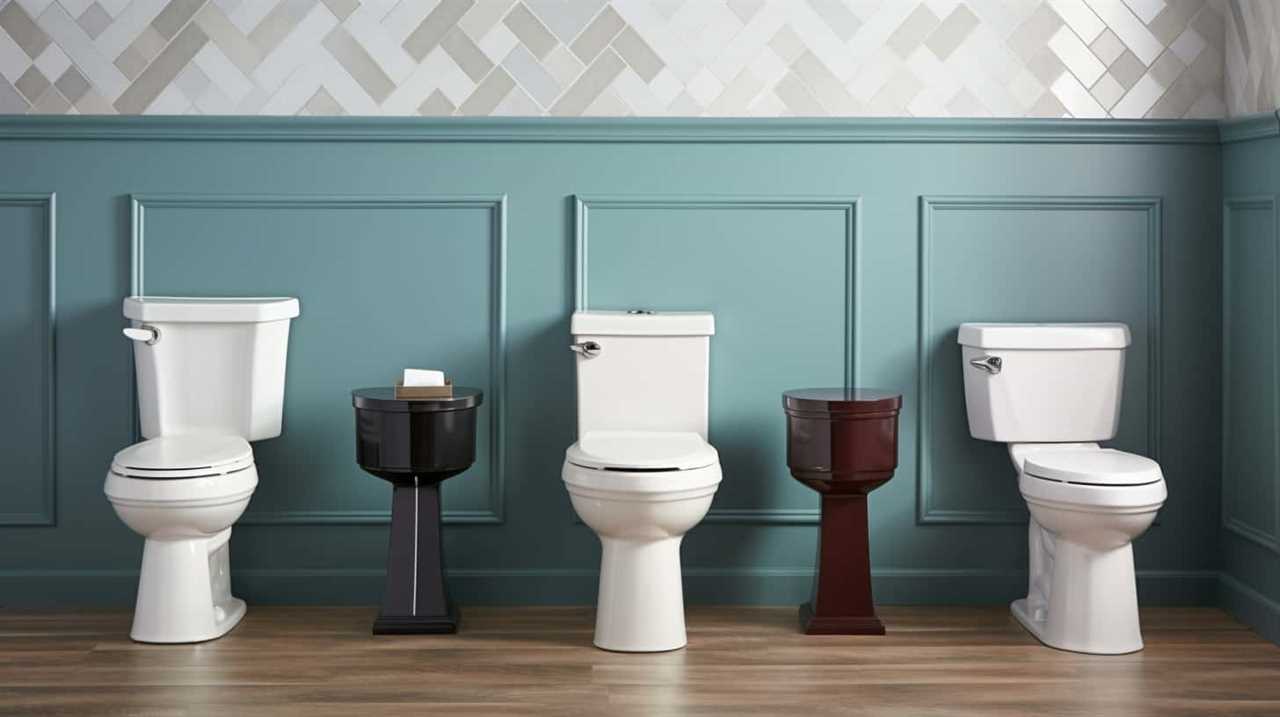
Choosing a Replacement Flush Button
We can choose a replacement flush button by considering the style, compatibility, and durability of the button.
When it comes to style, there are various button design options available on the market, including traditional round buttons, sleek rectangular buttons, and even touchless buttons. It’s important to choose a button that matches the aesthetic of your bathroom.

Additionally, compatibility is crucial in ensuring that the replacement button fits and functions properly with your toilet system. Reading the product specifications and consulting with a professional can help determine compatibility.
Lastly, durability is key for a long-lasting replacement. Look for buttons made from high-quality materials that can withstand frequent use.
By considering these factors, we can find the perfect replacement flush button for our toilet system.
Now, let’s explore how to install the new flush button.

Installing the New Flush Button
Now that we’ve chosen the right replacement flush button, let’s move on to installing it.
The button installation process is relatively straightforward and can be done with a few simple steps.
In this section, we’ll guide you through the installation process and provide troubleshooting tips for common issues that may arise.
Button Installation Process
To install the new flush button, simply remove the old button by unscrewing it counterclockwise. Here is a step-by-step guide to help you with the button installation process:

- Start by turning off the water supply to the toilet. This will prevent any water from flowing while you work on the flush button.
- Carefully detach the chain or rod that connects the old button to the flushing mechanism. This will free up the old button for removal.
- Unscrew the old button by turning it counterclockwise. Keep turning until the button comes off completely.
- Take the new flush button and screw it into place by turning it clockwise. Make sure it’s securely fastened.
With the new flush button installed, you can now move on to the next step of choosing the right button for your toilet.
Choosing the Right Button
To choose the right button for your toilet, consider the style and functionality that best suits your needs. There are several flush button styles available in the market, such as push buttons, dual flush buttons, and pneumatic buttons.
Push buttons are the most common type, with a simple design that allows for easy operation.
Dual flush buttons offer the option of a full flush or a half flush, making them more water-efficient.
Pneumatic buttons use air pressure to activate the flush, providing a quieter and smoother operation.
When choosing a flush button, ensure that it’s compatible with your toilet model and size. It’s also important to consider the durability and ease of maintenance.
Once you have selected the right button, you can proceed with the installation process.
Now, let’s move on to the next section where we’ll discuss troubleshooting common issues with flush buttons.

Troubleshooting Common Issues
After choosing the right button for your toilet, it’s time to troubleshoot common issues that may arise during the installation process. Here are some troubleshooting steps to help you if your flush button isn’t responding or if you encounter a stuck flush button:
- Check the connections: Ensure that the wires connecting the flush button to the toilet tank are securely attached. Loose connections can prevent the button from working properly.
- Inspect the button mechanism: Remove the toilet tank lid and examine the flush button mechanism. Look for any signs of damage or obstruction that may be preventing it from functioning correctly.
- Clean the button and surrounding area: Accumulated dirt, grime, or mineral deposits can interfere with the button’s movement. Clean the button and the area around it using a mild cleaning solution and a soft cloth.
- Consider replacing the button: If troubleshooting steps don’t resolve the issue, it may be necessary to replace the flush button altogether.
Reconnecting the Water Supply
Once the new toilet flush button has been installed, we can now proceed with reconnecting the water supply.
Reconnecting the water supply is an essential step in completing the flush button repair process. Before we begin, it’s important to check for any common water supply issues that may hinder the reconnection process.
Ensure that the water valve supplying the toilet is fully open. If there’s a leak or low water pressure, it may be necessary to replace the valve or contact a professional plumber.

Once the water supply is confirmed to be working properly, connect the water supply line to the fill valve on the toilet. Tighten the connection using an adjustable wrench, making sure it’s secure.
Turn on the water valve and check for any leaks. If everything looks good, flush the toilet to ensure proper functionality.
Testing the New Flush Button
Before we move on to testing the new flush button, it’s important to ensure that the water supply is functioning properly and there are no leaks. Once we’ve confirmed this, we can proceed with evaluating the durability and functionality of the flush button.
Here are some key considerations:
- Flush button durability:
- Plastic buttons: These are commonly used due to their affordability, but they may not withstand heavy usage over time.
- Stainless steel buttons: Known for their longevity and resistance to corrosion, these buttons are a reliable option.
- Chrome buttons: These provide a sleek and modern look, but they may show scratches more easily.
- Pros and cons of different flush button materials:
- Plastic: Pros – cost-effective, lightweight. Cons – less durable, may break or crack.
- Stainless steel: Pros – durable, resistant to corrosion. Cons – higher cost.
- Chrome: Pros – stylish, easy to clean. Cons – prone to scratches.
Troubleshooting Common Issues
Now let’s address some common issues you may encounter with your toilet flush button.
If you’re experiencing flushing problems, there are a few solutions you can try before replacing the button.
First, check if the button isn’t working at all. If that’s the case, it could be due to a faulty button mechanism or a loose connection, which can be easily fixed.
Flushing Problems: Solutions
To troubleshoot common flushing issues, we can address them by examining the toilet’s water supply, flapper valve, and fill valve. Here are some solutions to common flushing problems:

- Insufficient Water Supply: Check the water shut-off valve behind the toilet to ensure it’s fully open. If the valve is open but there’s still insufficient water, there may be a blockage in the supply line that needs to be cleared.
- Flapper Valve Leakage: If the toilet keeps running after flushing, the flapper valve may be leaking. Inspect the flapper for any cracks or damage and replace it if necessary. Ensure the flapper is properly seated on the flush valve to prevent water from continuously leaking into the bowl.
- Fill Valve Adjustment: If the water level in the tank is too high or too low, adjust the fill valve. Turn the adjustment screw on top of the fill valve clockwise to lower the water level and counterclockwise to raise it.
- Clogged Flush Holes: If the toilet has a weak flush or isn’t flushing properly, the flush holes under the rim may be clogged. Use a wire hanger or a small brush to remove any mineral deposits or debris that may be blocking the holes.
Button Not Working?
To troubleshoot the common issue of a button not working on a toilet flush, we can examine the mechanism of the flush button and determine if it requires replacement or repair.
When the toilet flush button fails to work, it could be due to several reasons. First, check if there’s any debris or buildup preventing the button from fully depressing. Clean the button and surrounding area thoroughly to remove any obstructions.
If cleaning doesn’t solve the issue, the problem may lie within the internal components of the flush button. In this case, it’s advisable to seek professional assistance for toilet flush button repair. A trained technician will be able to diagnose the problem accurately and replace any faulty parts if necessary.
Troubleshooting the toilet flush button will ensure its proper functioning and prevent any inconvenience in the future.

Tips for a Successful Replacement
When replacing a toilet flush button, it’s important to follow these tips for a successful replacement.
- Ensure proper button installation: Before beginning the replacement process, make sure to read the manufacturer’s instructions carefully. This will ensure that the button is installed correctly and functions properly.
- Troubleshooting tips: If the new button isn’t working after installation, there are a few things you can try. First, check if the button is aligned correctly with the flush valve. If it’s misaligned, adjust it accordingly. Second, check the chain length connecting the button to the flush valve. If it’s too long or too short, it can interfere with the button’s functionality. Lastly, make sure the water level in the toilet tank is set at the correct level, as an incorrect water level can affect the button’s operation.
Maintenance and Care for Your New Flush Button
How can we ensure the longevity and optimal performance of our newly replaced toilet flush button?
Proper maintenance is key to keeping your flush button in top shape. Regular cleaning is essential to prevent dirt and debris from affecting its functionality. Use a mild detergent or cleaning solution to wipe the button and surrounding area, taking care not to use abrasive materials that may scratch the surface.
If you encounter any issues with your flush button, troubleshooting can help identify the problem. Check for loose or damaged connections, and make sure the button is properly aligned with the flushing mechanism. If necessary, consult the manufacturer’s instructions or contact a professional for further assistance.

Frequently Asked Questions About Toilet Flush Button Replacement
Let’s address some common questions about replacing a toilet flush button.
First, it’s important to consider flush button compatibility to ensure a proper fit.
Next, we’ll explain the installation process step-by-step to guide you through the replacement.
Lastly, we’ll provide some troubleshooting tips to help you resolve any issues that may arise during or after the replacement.

Flush Button Compatibility
We often wonder if a toilet flush button can be replaced with another one. When it comes to flush button compatibility, there are a few things to consider. Here are some frequently asked questions about handle compatibility and troubleshooting issues:
- Are all toilet flush buttons universal?
- Can I replace a push-button flush with a lever flush?
- What should I do if the new flush button doesn’t fit my toilet?
- How can I troubleshoot issues with the flush button not working properly?
While some toilet flush buttons may be universal, it’s important to check the specific model and brand to ensure compatibility. If the new flush button doesn’t fit, you may need to consult the manufacturer or consider purchasing a different model. Troubleshooting issues with the flush button not working can involve checking for loose connections, adjusting the chain length, or replacing faulty components.
Now that we’ve covered flush button compatibility, let’s move on to the installation process explained.
Installation Process Explained
Once you have determined the compatibility of your new flush button, it’s important to understand the installation process. Here is a step-by-step guide to help you replace your toilet flush button:

- Turn off the water supply: Locate the shut-off valve behind the toilet and turn it clockwise to shut off the water supply.
- Remove the old flush button: Unscrew the mounting nut located on the back of the toilet tank and remove the old flush button.
- Install the new flush button: Insert the new flush button through the hole in the toilet tank and secure it with the mounting nut.
- Connect the chain: Attach the chain from the flush button to the flapper valve inside the toilet tank. Adjust the chain length if necessary.
- Turn on the water supply: Turn the shut-off valve counterclockwise to restore the water supply.
By following these steps, you can easily replace your toilet flush button. If you encounter any difficulties, refer to the troubleshooting tips below:
- Ensure the flush button is compatible with your toilet model.
- Check for any loose connections or damaged parts.
- Verify that the chain is properly connected and has the right tension.
Common Troubleshooting Tips?
To troubleshoot common issues with toilet flush button replacement, we recommend checking for loose connections or damaged parts. Here are some common troubleshooting tips to help you identify and fix problems:
- Check for leaks: Inspect the area around the flush button for any signs of water leakage. If you notice water pooling or dampness, there may be a leak that needs to be addressed.
- Inspect the button mechanism: Ensure that the button is securely attached and functioning properly. Press the button to see if it activates the flush mechanism smoothly and without any resistance.
- Examine the flapper valve: The flapper valve is responsible for controlling the water flow. If it’s worn out or damaged, it may cause leaks or incomplete flushes. Replace the flapper valve if necessary.
- Test the fill valve: The fill valve regulates the water level in the toilet tank. If it isn’t functioning correctly, it can lead to problems with flushing. Check for any obstructions or malfunctions and replace the fill valve if needed.
Conclusion
In conclusion, replacing a toilet flush button is a relatively simple task that can be done with a few basic tools and some careful attention to detail.
By following the steps outlined in this article, you can successfully replace your flush button and ensure the proper functioning of your toilet.
Remember to always turn off the water supply before starting any repairs and troubleshoot any common issues that may arise.
With proper maintenance and care, your new flush button should last for years to come.