In our quest for mastery of toilet maintenance, we embark on a journey to change our toilet flush system. With precise steps and the right tools, we can successfully upgrade our bathroom experience.
This article will guide us through the process, from assessing our current flush system to installing the new one.
Let us delve into the technical details and ensure our toilets are functioning flawlessly.
Key Takeaways
- Evaluate the functionality and efficiency of the current flush system
- Gather necessary tools and materials for replacement
- Remove the old flush system by disconnecting water supply and removing tank bolts
- Install the new flush system following manufacturer’s instructions and adjust water level and flushing mechanism
Assessing Your Current Flush System
To begin with, we need to assess the functionality and efficiency of our current flush system. Evaluating the effectiveness of our flush system is crucial in determining the necessary changes for an upgraded system.
We must troubleshoot common issues such as weak flushing, clogging, or continuous running water. Start by examining the water pressure and flow rate to ensure they meet the recommended standards. Check for any leaks or cracks in the tank, bowl, or flush valve.
If the flush system is outdated or incompatible with modern water-saving technologies, it may be time for an upgrade. By carefully evaluating the current flush system, we can identify its shortcomings and determine the necessary improvements.
This assessment will guide us in gathering the necessary tools and materials for a successful flush system replacement.
Gathering the Necessary Tools and Materials
Now that we’ve assessed our current flush system, how do we go about gathering the necessary tools and materials for the upgrade? It’s crucial to have all the right equipment to ensure a smooth transition. Here is a list of three essential items to help you get started:

- Adjustable wrench: This versatile tool will come in handy for loosening and tightening bolts during the installation process. It provides a secure grip and allows for easy adjustments, making it a must-have for any DIY project.
- Wax ring: A faulty wax ring can often cause common toilet flush problems like leaks and odors. Make sure to replace it with a high-quality wax ring that provides a watertight seal between the toilet and the floor. This will prevent any potential issues in the future.
- Flush valve and fill valve: These components are responsible for regulating the water flow and flushing mechanism. Upgrading to a modern and efficient flush valve and fill valve will improve the overall performance of your toilet, saving water and reducing the chances of clogs.
Removing the Old Flush System
We will begin by removing the old flush system. To upgrade water efficiency and troubleshoot common issues, it’s crucial to remove the existing flush system properly.
Start by turning off the water supply valve located behind the toilet.
Next, flush the toilet to drain any remaining water from the tank.
Disconnect the water supply line from the fill valve using an adjustable wrench.
Remove the tank bolts using a screwdriver or pliers.
Carefully lift the old flush system out of the tank and set it aside.
Inspect the tank for any cracks or damage.
This concludes the process of removing the old flush system, and now we can move on to installing the new flush system.
Installing the New Flush System
To begin installing the new flush system, we’ll first gather the necessary tools and materials.
Here are the steps to successfully install the new flush system:
- Troubleshooting common flush system issues: Before installing the new flush system, it’s important to address any existing problems with the old system. This could include issues such as weak flushing, water leaks, or inconsistent water flow. By troubleshooting these issues beforehand, you can ensure that the new flush system will function properly.
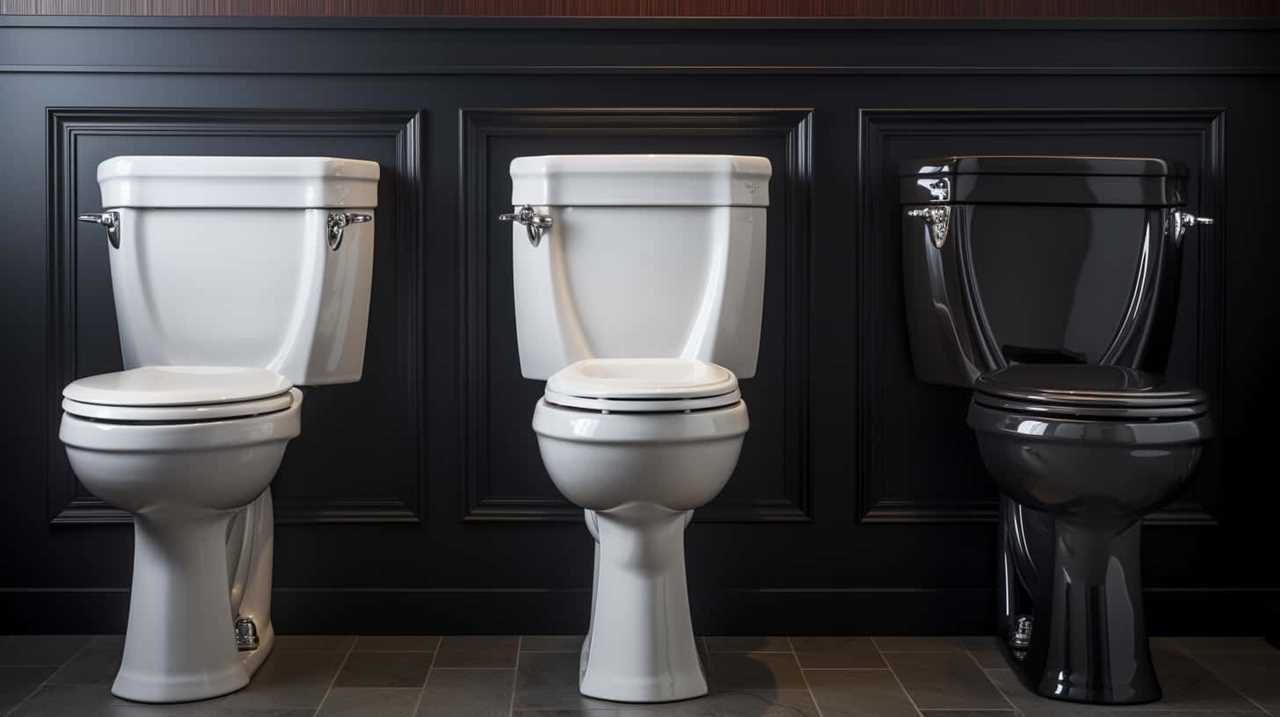
- Comparing different types of flush systems: There are various types of flush systems available, including gravity flush, pressure-assisted flush, and dual-flush systems. Each type has its own advantages and considerations. It’s crucial to compare and choose the flush system that best suits your needs and preferences.
- Installing the new flush system: Follow the manufacturer’s instructions carefully to install the new flush system. This may involve removing the old system, connecting the new components, and adjusting the water level and flushing mechanism. Ensure all connections are secure and test the system to verify its proper functioning.
Testing and Adjusting the New Flush System
After installing the new flush system, it’s important to test and make any necessary adjustments to ensure its proper functionality. Troubleshooting common issues with the new flush system is crucial to identify any problems that may arise.
One common issue could be a weak flush or partial flushing, which may require adjusting the water level or the flapper. Another issue could be a noisy flush, which may indicate a problem with the fill valve or the flush valve.

It’s also essential to compare the performance of different types of flush systems to determine which one is more efficient and effective.
Frequently Asked Questions
How Often Should I Change My Toilet Flush System?
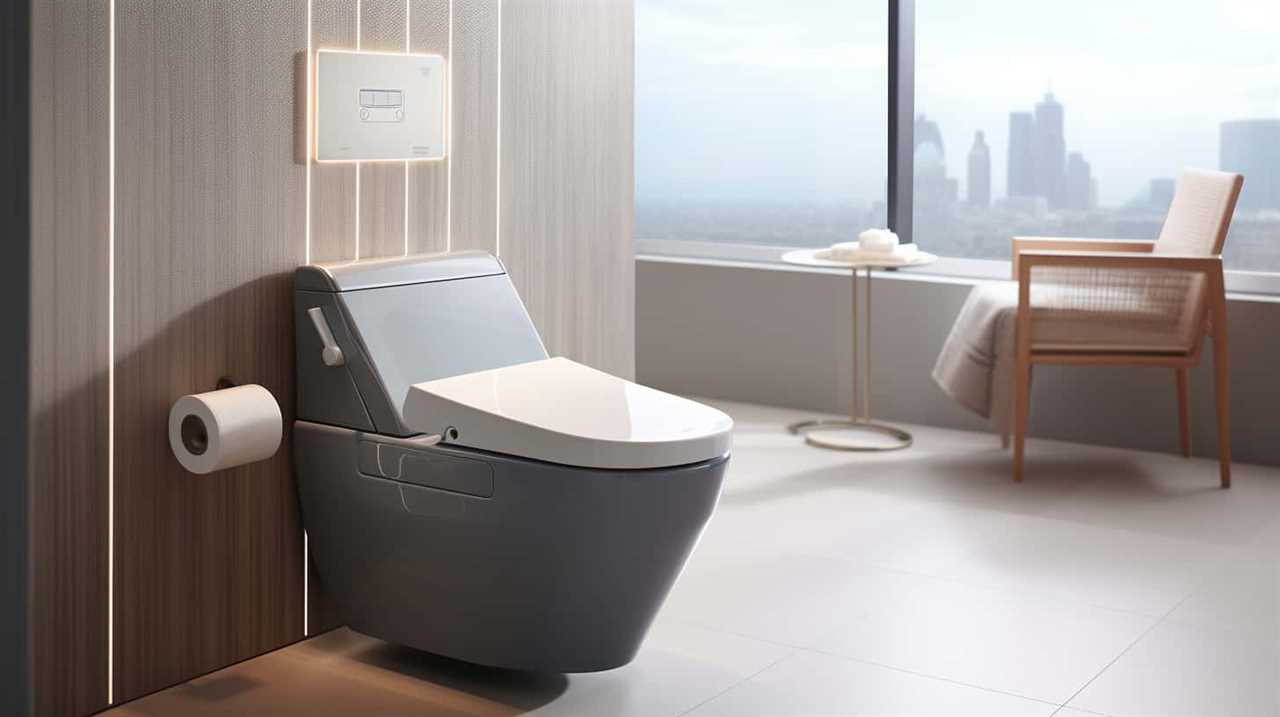
We should change our toilet flush system when signs of inefficiency or malfunction arise. Upgrading to a dual flush system offers benefits such as water conservation and cost savings. Keeping our toilet system up to date ensures optimal performance.
Can I Use the Same Tools and Materials for All Types of Flush Systems?
Can we use the same tools and materials for all types of flush systems? Understanding the pros and cons of different flush systems is crucial for toilet flush system maintenance. Let’s dive into the specifics.
Are There Any Safety Precautions I Need to Take While Removing the Old Flush System?
When removing the old flush system, there are several safety precautions to consider. Make sure to turn off the water supply and wear protective gloves. Use the appropriate tools and materials to avoid any accidents.

How Long Does It Usually Take to Install a New Flush System?
On average, installing a new flush system takes around 30 minutes. However, the duration can vary depending on factors such as the complexity of the system and any additional modifications required.
What Are Some Common Issues That May Arise After Installing a New Flush System?
After installing a new flush system, some common issues that may arise include leaks, weak flush, or continuous running water. To troubleshoot, check for proper installation, adjust water level, and ensure all components are functioning correctly. Avoid common mistakes like improper sealing or incorrect adjustments.
Conclusion
After assessing your current flush system and gathering the necessary tools and materials, removing the old flush system and installing the new one is a relatively straightforward process.
Make sure to test and adjust the new flush system to ensure proper functionality.
By following these steps, you can successfully change your toilet flush system and enjoy improved performance and efficiency.