Are you tired of your toilet constantly flushing and disturbing your peace? Don’t worry, we have the solution you’ve been looking for.
In this article, we will guide you through the steps to stop your toilet from flushing nonstop. From checking the flapper valve to replacing the flush valve, we will provide you with the technical know-how necessary to regain control over your unruly toilet.
Prepare to master the art of toilet repair!
Key Takeaways
- The flapper valve regulates water flow from the tank to the bowl and a worn-out or improperly sealing flapper valve can cause continuous flushing.
- The fill valve controls water pressure and tank filling. It can be adjusted to regulate water level and prevent overflow.
- Cleaning the fill valve is important as debris can clog it and affect its performance. The float mechanism should be inspected and cleaned or replaced if necessary.
- The chain and handle should be checked, with loose chains being reattached or tightened. The handle should move smoothly and can be lubricated or replaced if stiff. The float mechanism should not interfere with the chain or handle.
Check the Flapper Valve
First, we need to check the flapper valve to address the issue of a nonstop flushing toilet. The flapper valve is responsible for regulating the flow of water from the tank into the bowl. If it’s worn out or not sealing properly, it can cause water to continuously flow into the bowl, resulting in a never-ending flush.
To troubleshoot this problem, start by turning off the water supply to the toilet and draining the tank. Next, remove the old flapper valve and replace it with a new one. Make sure to choose a flapper valve that’s compatible with your toilet model.
Once the new flapper valve is installed, turn on the water supply and check if the nonstop flushing issue is resolved.
In the next section, we’ll discuss how to adjust the water level for optimal performance.
Adjust the Water Level
To adjust the water level in our toilet and prevent nonstop flushing, we can make a simple adjustment using the fill valve. The fill valve controls the water pressure in the tank and ensures that it fills to the appropriate level after each flush.

By adjusting the fill valve, we can regulate the water level and prevent overflow. To do so, locate the fill valve, usually found on the left side of the tank. Use a screwdriver to turn the adjustment screw clockwise to lower the water level or counterclockwise to raise it.
It’s important to find the right balance to avoid water waste while ensuring enough water for proper flushing. Regularly checking and adjusting the water level will help maintain an efficient and properly functioning toilet.
Clean the Fill Valve
Now let’s tackle the next step in resolving the nonstop flushing issue: cleaning the fill valve. The fill valve is responsible for refilling the tank after each flush. Over time, it can become clogged with debris, affecting its performance. To clean the fill valve, follow these steps:
- Turn off the water supply to the toilet.
- Remove the tank lid and locate the fill valve.
- Inspect the float mechanism for any damage or obstructions. If necessary, clean or replace it.
- Check for water leaks around the fill valve. If you notice any leaks, tighten the connections or replace the faulty parts.
- Use a gentle cleaner or vinegar solution to remove any mineral deposits or debris from the fill valve.
- Reassemble the fill valve and turn on the water supply.
With a clean fill valve, your toilet should stop flushing nonstop.

Now, let’s move on to the next step: inspecting the chain and handle.
Inspect the Chain and Handle
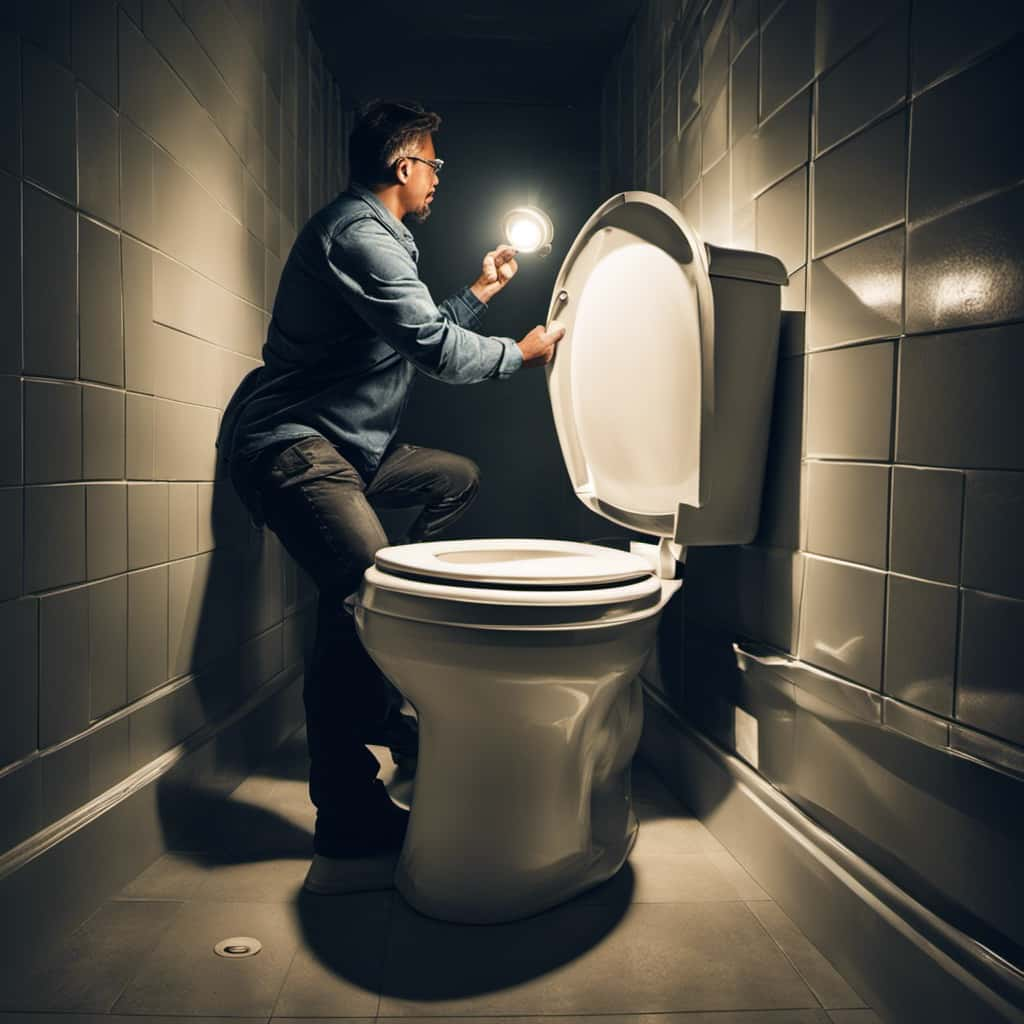
To inspect the chain and handle, we’ll start by examining their condition and functionality. First, check the chain to ensure it’s properly connected to the flapper valve. If it’s loose or disconnected, reattach or tighten it as necessary.
Next, test the handle to see if it moves smoothly and without resistance. If it feels stiff or doesn’t return to its original position, it may need lubrication or replacement.
Additionally, check the float mechanism to ensure it isn’t interfering with the chain or handle. If it is, adjust or replace the float mechanism as needed.

Finally, tighten the toilet tank bolts that secure the handle and chain to prevent any wobbling or looseness.
Replace the Flush Valve
After inspecting the chain and handle and ensuring they’re in good condition, we can now move on to replacing the flush valve.
The flush valve is responsible for controlling the flow of water from the tank into the bowl during the flushing process. If the flush valve is faulty or worn out, it can cause the toilet to flush nonstop.
To replace the flush valve, start by shutting off the water supply to the toilet and draining the tank. Next, remove the old flush valve by unscrewing it from the bottom of the tank. Install the new flush valve by screwing it securely into place.

Frequently Asked Questions
How Can I Fix a Toilet That Won’t Flush at All?
If your toilet won’t flush at all, check for a toilet clog first. If that’s not the issue, the problem may lie with the toilet handle. Ensure it is properly connected and functioning.
What Should I Do if My Toilet Is Leaking Water Onto the Floor?
If your toilet is leaking water onto the floor, it could be a problem with the water pressure in the toilet tank. We need to address this issue promptly to prevent further damage.
Why Does My Toilet Make a Loud Noise When I Flush It?
When we flush our toilet, a loud noise may be caused by a variety of reasons, such as a faulty fill valve or loose parts. Troubleshooting the noise and addressing the causes will help resolve the issue.
Is There a Way to Increase the Flushing Power of My Toilet?
To increase the flushing power of your toilet, there are alternative methods available. By increasing water pressure or using a different flushing mechanism, you can achieve a more efficient flush.
What Are Some Common Reasons for a Toilet to Continuously Run Even After Flushing?
Common causes of a toilet continuously running after flushing include a faulty flapper, a loose fill valve, or a damaged float. Troubleshooting steps involve checking and adjusting these components to ensure proper functioning.
Conclusion
In conclusion, by following these steps to check and adjust various components of your toilet, you can easily stop it from flushing nonstop.
Remember to inspect the flapper valve, adjust the water level, clean the fill valve, and inspect the chain and handle.
If necessary, replace the flush valve.

With a little troubleshooting and maintenance, you can ensure your toilet functions properly and avoid the inconvenience of a nonstop flushing toilet.


