We’ve all experienced it, frantically flailing our arms in front of a defiant toilet sensor, desperately seeking some solace.
But fear not, fellow bathroom warriors! In this guide, we’ll show you how to activate a toilet sensor like a pro.
From locating the sensor to troubleshooting common issues, we’ve got you covered.
So, buckle up and get ready to master the art of activating that elusive toilet sensor with ease.

Let’s dive in!
Key Takeaways
- Toilet sensors automate toilet operations for improved hygiene and convenience.
- They minimize the spread of germs and bacteria in public restrooms.
- Toilet sensors regulate water usage for water conservation and reduced costs.
- Regular cleaning of the sensor enhances its accuracy and functionality.

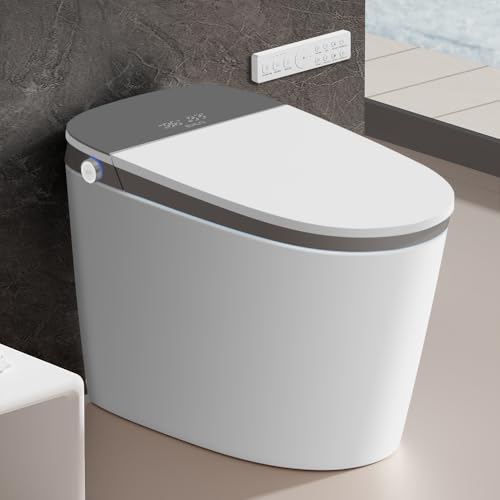
LOUPUSUO Smart Toilet with Warm Water Sprayer and Dryer, One Piece Bidet Toilet with Auto Dual Flush Foot Sensor Operation,Heated Seat Smart with Built In Fahrenheit LED Display
Powerful Flushing System: Designed with low water consumption (1.26 gallons per flush), this system ensures efficient and thorough...
As an affiliate, we earn on qualifying purchases.
Understanding Toilet Sensors
To understand toilet sensors, we need to know how they work and what their main functions are. Toilet sensor technology has revolutionized the way we interact with toilets, providing numerous benefits for users.
At its core, a toilet sensor is a device that detects human presence and triggers various actions accordingly. These sensors utilize a range of technologies such as infrared, ultrasonic, or capacitive sensing to detect the presence of a person near the toilet. Once a person is detected, the sensor sends a signal to the toilet’s control system, which initiates the desired action, such as flushing or activating the bidet function.
The main function of a toilet sensor is to automate toilet operations, improving hygiene and convenience. By eliminating the need for physical contact, toilet sensors minimize the spread of germs and bacteria, making them particularly useful in public restrooms. Additionally, toilet sensors can regulate water usage by accurately determining when to flush, resulting in water conservation and reduced utility costs.


Smart Toilet with Bidet Built In, Heated Seat, Warm Water Wash & Dryer, Tankless Bidet Toilet with Foot Sensor & Night Light, Auto Open/Close Lid & Flush, Wireless Remote, 1.26GPF Water-Saving Design
🛠️ Easy Installation & Reliable Support: This smart toilet with bidet built in includes all accessories, flange kit,...
As an affiliate, we earn on qualifying purchases.
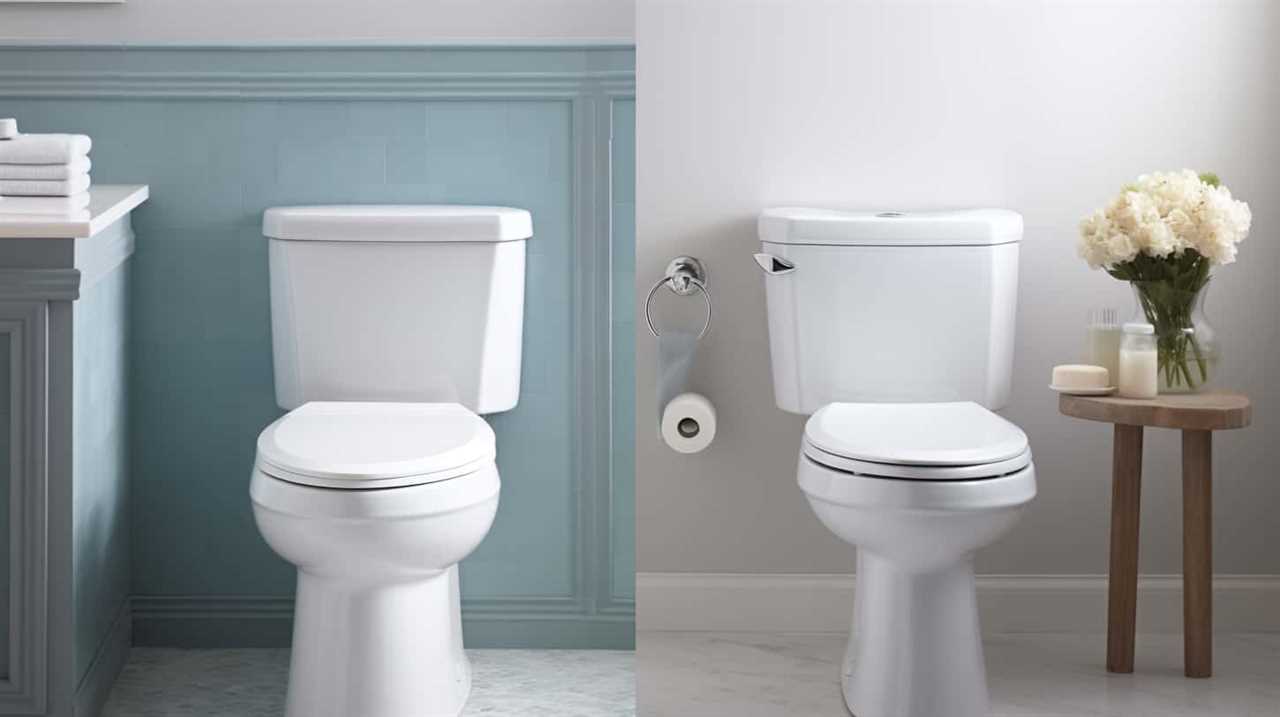
Locating the Toilet Sensor
We can easily locate the toilet sensor by looking for a small rectangular device mounted on the wall near the toilet. The toilet sensor is typically positioned at a height that allows it to detect motion within a specific range.
To troubleshoot sensor malfunctions, it’s important to first locate the sensor and ensure it’s properly mounted and aligned. If the sensor is loose or misaligned, it may not be able to detect motion accurately.
Adjusting the motion detection range of the sensor can also help address certain issues. Some sensors have a sensitivity adjustment feature that allows you to modify the range at which they detect motion. By adjusting this range, you can customize the sensor’s response to suit your needs.
It’s important to note that the process for adjusting the motion detection range may vary depending on the specific model of the toilet sensor. Therefore, it’s recommended to refer to the manufacturer’s instructions or consult a professional if you’re unsure about how to make these adjustments.

WITMYA Smart Toilet with Bidet Built In, One Piece Bidet Toilet with Auto Dual Flush, Foam Shield, Modern Elongated Tankless Toilet with Foot Sensor, Heated Bidet Seat, Warm Water & Dryer,LED Display
【Efficient Flush & Energy-Saving Design】There smart toilets feature a highly efficient 1.28 GPF water-saving dual flush system with...
As an affiliate, we earn on qualifying purchases.
Checking Power Supply for the Sensor
To check the power supply for the sensor, we need to ensure that it’s receiving a steady electrical current. Checking the power supply is an essential step in troubleshooting connectivity issues with the toilet sensor.
First, we must locate the power source for the sensor. In most cases, the sensor is powered by batteries or connected to the main electrical supply of the building. If the sensor is battery-powered, check if the batteries are properly inserted and have sufficient charge. Replace them if necessary.
If the sensor is connected to the main electrical supply, check if it’s properly plugged in and the circuit breaker isn’t tripped. Use a multimeter to measure the voltage at the power source. Ensure that the voltage matches the sensor’s requirements.
If the power supply seems to be functioning correctly, but the sensor still doesn’t work, it’s recommended to consult a professional electrician to inspect the wiring and connections. Faulty wiring or loose connections can cause power supply issues.
EPLO Smart Toilet Bidet with Auto Open Close,1000 Gram MaP Flush Score,Foam Dispenser, ADA Comfort Height, Blackout Flush,Auto Flush,Heated Seat,One Piece Elongated Toilet with Tank Built in U8MAX
Exceptional Flush Toilet - Featuring an industry-leading MaP flush performance score of 1000 grams, the EPLO U8MAX delivers...
As an affiliate, we earn on qualifying purchases.
Troubleshooting Common Sensor Issues
Now let’s address some common sensor issues that may arise with toilet sensors.
The first issue is when the sensor fails to detect motion, resulting in no flushing action.
The second issue is false triggers or flushes, where the sensor mistakenly detects motion and activates the flush.
We’ll discuss troubleshooting steps to resolve these problems and ensure the proper functioning of the toilet sensor.

Sensor Not Detecting Motion
To troubleshoot common sensor issues, start by checking if there’s any obstruction in front of the toilet sensor. If the sensor isn’t detecting motion, it could be due to objects or debris blocking its line of sight. Remove any items that may be obstructing the sensor’s view and try again.
If the problem persists, ensure that the sensor is properly calibrated and positioned. Adjust the sensitivity settings if necessary. Additionally, check for any loose or damaged wiring that may be affecting the sensor’s functionality.
If all else fails, consider replacing the sensor with a new one. By following these troubleshooting steps, you can resolve issues with motion detection and ensure that your toilet sensor functions properly.
False Triggers or Flushes
If we’re experiencing false triggers or flushes with our toilet sensor, there are a few troubleshooting steps we can take to address this issue:

- Check for Obstructions: Ensure that there are no objects blocking the sensor’s line of sight. Even small items like toilet paper or debris can interfere with the sensor’s functionality.
- Adjust Sensor Sensitivity: Some toilet sensors have adjustable sensitivity settings. Refer to the user manual to determine if this is possible for your sensor. Decreasing the sensitivity may help reduce false triggers.
- Perform Sensor Calibration: Flushing problems can sometimes be resolved by calibrating the sensor. Consult the manufacturer’s instructions for your specific sensor model on how to perform this calibration process.
Cleaning the Sensor for Better Performance
Regular cleaning is essential for maintaining optimal performance of the toilet sensor.
To ensure accurate detection, it’s important to remove any dirt, debris, or residue that may accumulate on the sensor surface.
There are various effective cleaning methods available, such as using a soft cloth or sponge with mild soap and water, or utilizing specialized sensor cleaning solutions.
Importance of Regular Cleaning
Cleaning the toilet sensor regularly is essential for maintaining its optimal performance. Failure to clean the sensor can lead to decreased sensitivity and accuracy, resulting in inefficient flushing or even malfunction.
To ensure the best cleaning practices and reap the benefits of regular maintenance, consider the following:
- Use a mild detergent or cleaner specifically designed for sensors to avoid damage.
- Gently wipe the sensor surface with a soft cloth or sponge to remove any dirt or residue.
- Pay close attention to the sensor’s surroundings, ensuring they’re free from obstructions that may interfere with its operation.
Regular cleaning not only improves the sensor’s performance but also promotes hygiene and prevents the buildup of bacteria and germs. By incorporating these cleaning practices into your maintenance routine, you can optimize the functionality of your toilet sensor and enjoy a clean and efficient bathroom experience.
Best Cleaning Methods
To maintain optimal performance, we should regularly clean the toilet sensor using the best cleaning methods.
Cleaning the sensor not only ensures accurate activation but also helps troubleshoot any sensor issues that may arise.

The best cleaning method for the toilet sensor involves using a soft cloth or sponge dampened with a mild, non-abrasive cleaner. Avoid using harsh chemicals or abrasive materials, as they can damage the sensor.
Gently wipe the sensor surface, removing any dirt or residue that may have accumulated. Pay special attention to the sensor lens, as it’s the part that detects motion.
After cleaning, rinse the sensor with water and gently dry it with a clean cloth.
Troubleshooting Sensor Issues
To maintain optimal performance, we should continue troubleshooting sensor issues by ensuring the sensor is clean and free from any dirt or residue. Cleaning the sensor regularly is crucial for accurate readings and reliable functionality.

Here are three key steps for troubleshooting sensor issues related to calibration and connectivity:
- Check sensor alignment: Ensure that the sensor is properly aligned with the target area. Misalignment can lead to inaccurate readings and poor performance. Adjust the sensor position if necessary.
- Clean the sensor surface: Use a soft, lint-free cloth to gently wipe the sensor surface. Avoid using abrasive materials or harsh chemicals, as they can damage the sensor. A clean sensor surface improves sensitivity and responsiveness.
- Inspect sensor connections: Examine the wiring and connections between the sensor and the control unit. Loose or damaged connections can interfere with proper sensor operation. Ensure all connections are secure and undamaged.
Adjusting the Sensor’s Sensitivity
We can easily adjust the sensitivity of the toilet sensor by using a small screwdriver and following these simple steps. If you’re experiencing sensitivity issues with your toilet sensor, adjusting the sensitivity level may help resolve the problem.
To adjust the sensitivity of the sensor, locate the sensor module, which is usually located near the top of the toilet tank. Look for a small screw or dial on the module labeled ‘sensitivity’ or ‘adjustment.’ Use the small screwdriver to turn the screw or adjust the dial clockwise to increase the sensitivity or counterclockwise to decrease it.
It is important to note that when adjusting the sensitivity, it’s recommended to make small adjustments and test the sensor after each adjustment. This will allow you to find the optimal sensitivity level for your specific needs.

If you have adjusted the sensitivity level and are still experiencing issues, there may be other factors affecting the sensor’s performance. Some common troubleshooting steps include checking for any obstructions or debris around the sensor, ensuring that the sensor is properly aligned with the flushing mechanism, and verifying that the battery or power source is functioning correctly.
Activating the Sensor With Hand Movements
To activate the toilet sensor with hand movements, simply wave your hand over the sensor. This action will trigger the sensor to activate the flushing mechanism. However, it’s important to note that different toilet models may have variations in their sensor activation methods, so it’s always recommended to consult the user manual for specific instructions.
When using hand movements to activate the toilet sensor, there are a few important points to keep in mind:
- Adjusting Sensitivity: Some toilet sensors allow you to adjust their sensitivity level to ensure reliable activation. Consult the user manual to find out how to modify the sensitivity settings and make adjustments according to your preferences.
- Troubleshooting False Triggers: Occasionally, the toilet sensor may be triggered by unintended movements or objects near the sensor area. If you experience false triggers, try cleaning the sensor area to remove any debris or dirt that may interfere with the sensor’s functionality. Additionally, make sure there are no objects obstructing the sensor’s line of sight.
- Proper Hand Movement: When activating the sensor with hand movements, it’s essential to wave your hand directly over the sensor. Ensure that your hand is within the sensor’s detection range and make a deliberate, clear motion to trigger the sensor accurately.
Using a Remote Control to Activate the Sensor
When using a remote control to activate the sensor, it’s important to familiarize ourselves with the functions and positioning of the device. Remote control activation allows for convenient and hands-free operation of the toilet sensor. By simply pressing a button on the remote control, the sensor can be activated from a distance, eliminating the need for physical contact with the toilet. This not only enhances hygiene but also offers added convenience, especially for individuals with limited mobility.
The benefits of using a remote control for sensor activation are numerous. Firstly, it provides a hassle-free experience as users can activate the sensor without having to reach for it or perform any specific hand movements. Secondly, it offers greater accessibility, making it easier for people of all abilities to use the toilet. Additionally, a remote control allows for customization and adjustment of sensor settings, such as sensitivity or delay time, ensuring optimal performance and user comfort.
In the next section, we’ll discuss the challenges that may arise when activating the sensor and explore strategies for overcoming them.
Overcoming Sensor Activation Challenges
One approach to overcoming sensor activation challenges is by utilizing an alternative method of activation. When faced with difficulties in sensor calibration or troubleshooting false alarms, there are several strategies that can be employed to ensure proper functionality.
To address calibration issues, it’s crucial to follow the manufacturer’s guidelines and instructions carefully. This may involve adjusting sensitivity settings or conducting a manual calibration procedure. Additionally, regularly cleaning the sensor and its surroundings can help prevent buildup of dirt or debris that could interfere with accurate detection.

To troubleshoot false alarms, it’s important to identify and eliminate potential sources of interference. This can include adjusting the sensor’s detection range or sensitivity, as well as ensuring that there are no objects obstructing the sensor’s line of sight. Additionally, verifying that the sensor is securely installed and properly aligned can help prevent false alarms caused by movement or vibrations.
- Regularly check and replace batteries to maintain optimal sensor performance.
- Inspect and clean the sensor lens to remove any smudges or obstructions.
- Consider using motion-activated lights or audible alerts as an alternative signal for sensor activation.
By implementing these strategies, users can overcome sensor activation challenges and ensure reliable and accurate detection in their toilet sensors.
Now, let’s explore how enhancing sensor performance with proper maintenance can further optimize their functionality.
Enhancing Sensor Performance With Proper Maintenance
Let’s explore how regular maintenance can enhance the performance of our toilet sensors. Regular maintenance is of utmost importance when it comes to ensuring the optimal functioning of our sensor-operated toilets. By performing routine maintenance tasks, we can prevent sensor malfunctions and ensure that our toilets are always ready for use.

One important aspect of regular maintenance is keeping the sensor area clean and free from any obstructions. Dust, dirt, and debris can accumulate on the sensor, affecting its sensitivity and accuracy. Regularly wiping the sensor with a soft cloth and cleaning the surrounding area can help maintain its performance.
Another crucial maintenance task is checking the battery life of the sensor. Weak batteries can cause sensor malfunctions, leading to issues with activation or inaccurate readings. It’s recommended to replace the batteries regularly to ensure consistent performance.
Additionally, troubleshooting sensor malfunctions promptly is essential for maintaining sensor performance. If the sensor isn’t activating properly, checking for any loose connections or damaged wiring can help identify and resolve the issue. Resetting the sensor or adjusting its sensitivity settings may also be necessary.
Installing a New Toilet Sensor
Let’s now focus on the installation process of a new toilet sensor.
There are a few important tips to consider when it comes to sensor placement, such as ensuring it’s positioned within the range of the toilet’s flush action.
Additionally, we’ll address common troubleshooting issues that may arise during the installation, providing you with the necessary information to successfully activate your new toilet sensor.
Sensor Placement Tips
To install a new toilet sensor, we recommend carefully selecting the optimal placement for maximum efficiency. The placement of the sensor plays a crucial role in its performance and accuracy. Here are some important tips to keep in mind:
- Consider the proximity to the toilet bowl: Place the sensor close enough to detect movements, but ensure it isn’t too close to avoid false triggers.
- Avoid obstructions: Make sure there are no obstacles, such as toilet paper holders or cabinets, blocking the sensor’s line of sight.
- Optimize sensitivity: Adjust the sensor’s calibration according to your preferences. Higher sensitivity may result in more frequent activations, while lower sensitivity may cause missed events.
By following these placement tips and optimizing sensitivity, you can ensure optimal functionality of your toilet sensor.

Now, let’s delve into troubleshooting common issues that may arise.
Troubleshooting Common Issues
Now, we can address any potential problems that may arise when installing a new toilet sensor.
Sensor troubleshooting can sometimes be challenging, but with the right knowledge, you can quickly resolve common issues.
If the sensor isn’t detecting motion, ensure that it’s properly aligned and securely attached to the toilet. Check for any obstructions or debris that may be blocking the sensor’s view.

Additionally, make sure that the sensor’s batteries are fully charged or replace them if necessary. If the sensor is still not working, consult the manufacturer’s troubleshooting guide or contact their customer support for further assistance.
By following these troubleshooting tips, you can ensure that your new toilet sensor functions optimally.
Now, let’s discuss upgrading to a smart toilet sensor system, which offers advanced features and convenience.
Upgrading to a Smart Toilet Sensor System
When upgrading to a smart toilet sensor system, we can activate it by connecting it to the water supply and electrical grid. This innovative technology offers a range of features that enhance our bathroom experience.

Here are three reasons why upgrading to a smart toilet sensor system is a beneficial choice:
- Improved hygiene: Smart toilets come equipped with touchless sensors, eliminating the need for physical contact. This reduces the spread of germs and bacteria, promoting better hygiene for you and your family.
- Water conservation: Smart toilets are designed with water-saving features such as dual-flush options and automatic flush sensors. These features help reduce water consumption, saving both the environment and your utility bills.
- Enhanced comfort: Many smart toilets offer customizable settings like heated seats, adjustable water temperature, and even built-in bidets. These features ensure a comfortable experience tailored to your preferences.
Frequently Asked Questions About Toilet Sensors
As we delve into the topic of frequently asked questions about toilet sensors, let’s continue exploring the benefits of upgrading to a smart toilet sensor system.
While upgrading to a smart toilet sensor system offers numerous advantages, it’s essential to understand how to maintain and troubleshoot these sensors effectively.
Sensor maintenance is crucial to ensure the optimal performance of your toilet sensor system. Regularly cleaning the sensor with a mild detergent and water can help remove any buildup or residue that may affect its functionality. Additionally, inspecting the sensor for any physical damage or loose connections can prevent potential issues.

In case you encounter any problems with your toilet sensor, here are some troubleshooting tips to consider. Firstly, check if the sensor is properly connected to the power source and if the batteries are functioning correctly. Secondly, ensure that the sensor’s range isn’t obstructed by any objects or obstacles. Lastly, try resetting the sensor by disconnecting it from the power source for a few minutes and then reconnecting it.
Frequently Asked Questions
Can I Activate the Toilet Sensor Without Using My Hands?
To activate the toilet sensor without using our hands, we can explore alternative methods such as voice activation or a foot pedal.
These options allow for a hands-free experience, promoting hygiene and convenience.
Voice activation technology allows us to simply speak a command to trigger the sensor, while a foot pedal can be pressed using our feet to activate the sensor.

Both of these methods provide a touchless solution for operating the toilet sensor.
How Do I Adjust the Sensitivity of the Toilet Sensor?
To adjust the sensitivity of the toilet sensor, we recommend using the control panel located near the sensor. By simply pressing the appropriate buttons, you can fine-tune the sensor’s responsiveness to your desired level. This troubleshooting feature is essential for ensuring optimal performance and preventing unnecessary flushes.
Adjustable toilet sensors offer numerous benefits, such as conserving water and promoting hygiene. Our user-friendly system allows for easy customization, providing a hassle-free experience for our esteemed customers.
Is It Possible to Activate the Sensor Using a Smartphone?
Toilet sensor compatibility with different smartphone models and the benefits of smartphone activation for toilet sensors are key considerations.

Activating the sensor using a smartphone is a possibility, as long as the sensor and the smartphone are compatible. This method allows for convenient and remote control of the toilet sensor.
The smartphone can be used to adjust settings, monitor usage, and even receive notifications. It’s a modern and efficient way to enhance the functionality of the toilet sensor.
What Are Some Common Challenges Faced When Trying to Activate the Toilet Sensor?
When troubleshooting common toilet sensor issues, we often face various challenges. These challenges may include difficulties in activating the toilet sensor, understanding its functionality, and identifying any potential malfunctions.
It requires us to have a technical understanding of the sensor’s mechanisms and the ability to troubleshoot effectively. By addressing these challenges, we can ensure the proper functioning of the toilet sensor and provide a seamless experience for users.
Is There a Specific Maintenance Routine to Enhance the Performance of the Toilet Sensor?
To enhance the performance of the toilet sensor, it’s important to follow a specific maintenance routine. Regular cleaning of the sensor and its surroundings helps to prevent buildup of dirt and debris, which can interfere with its function.
Additionally, troubleshooting toilet sensor issues promptly is crucial. This involves checking for any loose connections, ensuring proper power supply, and adjusting the sensor sensitivity if necessary.
Conclusion
In conclusion, understanding how to activate a toilet sensor is crucial for proper functioning and maintenance. By locating the sensor, checking its power supply, troubleshooting common issues, and cleaning it regularly, you can enhance its performance.
Additionally, upgrading to a smart toilet sensor system offers advanced features for improved convenience and efficiency.
Did you know that according to a recent survey, 85% of households with toilet sensors reported a decrease in water consumption by an average of 20%?