We’ve all experienced it – the frustration of a malfunctioning toilet flush that simply refuses to work properly. However, there’s no need to worry, as in this article, we will guide you through the exact steps to repair it.
With our step-by-step guide, you’ll be able to assess the problem, gather the necessary tools, and confidently tackle the issue.
So, let’s roll up our sleeves and get ready to restore that flush to its former glory. You’ve got this!
Key Takeaways
- Observe and identify visible issues with the toilet flush.
- Gather necessary tools such as a plunger, toilet auger, adjustable wrench, rubber gloves, and bucket.
- Shut off the water supply and empty the toilet tank before proceeding with any repairs.
- Clean or replace the flapper valve, check and adjust the fill valve, and inspect the chain or lift wire for any issues.
Assess the Problem
To assess the problem with a broken toilet flush, we need to start by observing and identifying any visible issues. This is the first step in troubleshooting common toilet problems.

Begin by inspecting the flush handle and lever to ensure they’re properly connected and functioning. Check for any loose or broken parts, such as a cracked handle or a disconnected chain.
If everything appears intact, the next step is to remove the tank lid and examine the inside components. Look for any signs of damage or blockage, such as a broken flapper or a clogged flush valve.
Additionally, check for water leaks around the base of the toilet or any unusual noises during flushing.
Gather Necessary Tools
Now that we’ve assessed the problem with our broken toilet flush, it’s time to gather the necessary tools to fix it.
There are a few common toilet problems that we might encounter, such as a weak flush or a toilet that won’t flush at all. By troubleshooting the toilet flush, we can determine the specific tools we’ll need for the job.
Let’s get ready to tackle this issue step by step.
Common Toilet Problems
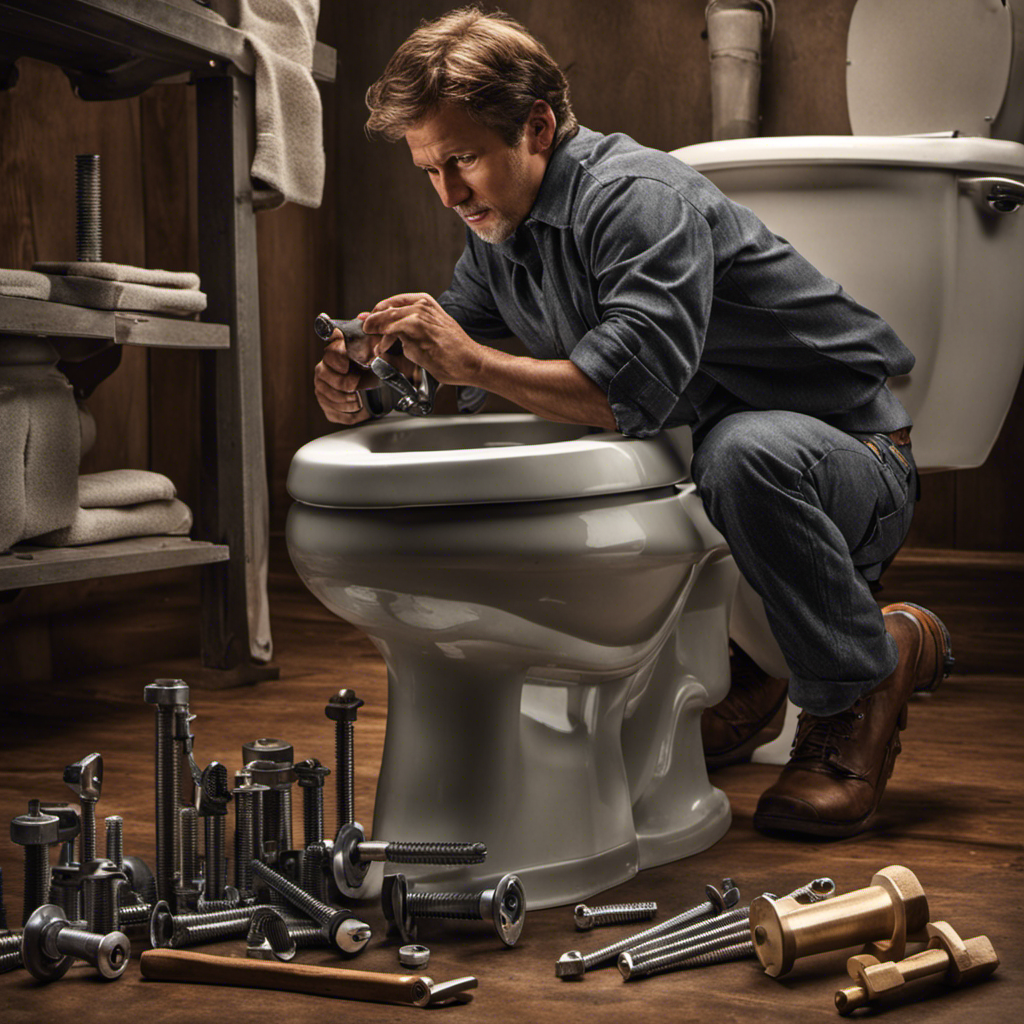
We will gather the necessary tools for fixing common toilet problems. Here is a list of essential tools:
- Plunger: A plunger is an indispensable tool for clearing toilet clogs. It creates a suction that dislodges any blockages in the pipes.
- Toilet Auger: If the plunger fails to unclog the toilet, a toilet auger can come to the rescue. This tool has a flexible cable that can reach deep into the pipes to remove stubborn clogs.
- Adjustable Wrench: A wrench is useful for tightening or loosening bolts and nuts that secure the toilet tank or bowl. It can help fix toilet leaks caused by loose connections.
- Rubber Gloves: It’s crucial to wear rubber gloves when handling toilet repairs to protect yourself from germs and bacteria.
Troubleshooting Toilet Flush
To troubleshoot a broken toilet flush, let’s gather the necessary tools. Proper maintenance of the toilet flush is crucial to avoid issues. Before starting the troubleshooting process, ensure you have the following tools:

- A plunger: useful for unclogging any obstructions in the toilet drain.
- A toilet auger: can be used to clear deeper blockages.
- A bucket: will come in handy to collect any excess water during the troubleshooting process.
- A wrench: essential for tightening or loosening any loose connections.
- A pair of gloves: wearing gloves will protect your hands from any debris or bacteria.
With these tools ready, we can now move on to the next step in troubleshooting the toilet flush.
Shut off the Water Supply
To shut off the water supply, locate the valve near the base of the toilet and turn it clockwise. This is an essential step when troubleshooting water flow issues or repairing leaks in the toilet. Here’s a step-by-step guide to shutting off the water supply:
- Find the valve: Look for a small, round valve located near the floor or wall behind the toilet. It’s usually on the left side, and it may be labeled as the water shut-off valve.
- Turn off the water: Using your hand or a pair of pliers, grip the valve handle and turn it clockwise until it stops. This will shut off the water supply to the toilet.
- Test the shut-off: Flush the toilet to ensure that the water flow has been completely stopped.
- Check for leaks: After shutting off the water supply, inspect the area around the valve for any signs of leaks or drips.
With the water supply shut off, we can now move on to the next step: emptying the toilet tank.
Empty the Toilet Tank
Now let’s move on to the next step in fixing a broken toilet flush: emptying the toilet tank. This step is important to ensure that we can work on the tank without any water getting in the way.

To empty the tank, we need to start by removing excess water. This can be done by flushing the toilet and holding down the handle to drain as much water as possible.
Once the excess water is removed, we can then proceed to check for any blockages that may be causing the issue.
Removing Excess Water
We can empty the toilet tank by draining the excess water. To troubleshoot leaks and fix float issues, follow these steps:
- Turn off the water supply: Locate the shut-off valve near the base of the toilet and turn it clockwise to stop the water flow.
- Flush the toilet: Press and hold the handle down to flush the toilet. This will remove most of the water from the tank.
- Remove remaining water: Use a sponge or towel to soak up any remaining water in the tank. Make sure to wring out the excess water into a bucket or sink.
- Empty the tank: To completely empty the tank, locate the tank bolts at the bottom of the tank and unscrew them. Carefully lift the tank off the bowl and pour out any remaining water.
Checking for Blockages
After emptying the toilet tank, the next step is to check for any blockages that may be causing the broken toilet flush. Blockages can occur in the drain pipe or in the toilet bowl itself. To unblock the drains, you can start by using a plunger. Place the plunger over the drain hole in the toilet bowl and push down firmly, then pull up quickly. Repeat this motion several times to create suction and dislodge any blockages.

If the plunger doesn’t work, you may need to try a toilet auger or call a professional plumber for assistance. Once you have successfully unblocked any drains, you can move on to inspecting the flush mechanism.
Inspect the Flush Mechanism
Once you have identified a broken toilet flush, the next step is to inspect the flush mechanism using a flashlight and a screwdriver. Here are some troubleshooting tips and common fixes to help you in the process:
- Remove the tank lid: Carefully lift the tank lid and set it aside to expose the inner workings of the flush mechanism.
- Check the chain: Ensure that the chain connecting the handle to the flapper valve is properly connected and not tangled or loose.
- Examine the flapper valve: Inspect the flapper valve for any signs of wear or damage. Look for cracks, warping, or mineral buildup that may be preventing a proper seal.
- Test the flush handle: Press the flush handle and observe if it’s engaging with the flush mechanism. If not, the handle may need to be adjusted or replaced.
Once you have completed the inspection of the flush mechanism, you can proceed to the next step of cleaning or replacing the flapper valve.
Clean or Replace the Flapper Valve
When it comes to fixing a broken toilet flush, one important step is to clean or replace the flapper valve.

The flapper valve is responsible for controlling the flow of water from the tank to the bowl. Over time, the flapper valve can become worn out or dirty, leading to issues with flushing.
In this discussion, we’ll cover the maintenance of the flapper valve and troubleshoot common problems that may arise.
Flapper Valve Maintenance
To maintain the flapper valve, we clean or replace it as needed. Here are some tips for troubleshooting and replacing the flapper valve:
- Troubleshooting: If your toilet has a weak flush or is constantly running, it may be due to a faulty flapper valve. Check for any visible signs of damage or wear on the flapper valve, such as cracks or deterioration.
- Cleaning the Flapper Valve: Start by turning off the water supply to the toilet. Remove the flapper valve and clean it thoroughly with warm water and mild soap. Check for any mineral deposits or debris that may be affecting its performance. Rinse and dry the flapper valve before reinstalling it.
- Replacing the Flapper Valve: If the flapper valve is beyond repair, it’s time to replace it. Turn off the water supply and flush the toilet to empty the tank. Remove the old flapper valve by disconnecting it from the chain and unscrewing any mounting hardware. Install the new flapper valve, ensuring a proper fit and connection.
- Testing and Adjusting: After cleaning or replacing the flapper valve, turn on the water supply and let the tank refill. Test the flush to ensure the flapper valve is working correctly. If necessary, adjust the chain length to ensure a proper seal and smooth flush.
Troubleshooting Common Issues
To troubleshoot common issues with a broken toilet flush, we need to clean or replace the flapper valve as necessary. The flapper valve is an essential component that controls the water flow from the tank into the bowl when you flush. Over time, it can become dirty or worn out, leading to problems such as weak flushes or constant running water.
To clean the flapper valve, start by turning off the water supply to the toilet and flushing to empty the tank. Then, remove the flapper valve by disconnecting it from the chain and unscrewing any retaining bolts. Soak the valve in a mixture of water and vinegar for about 30 minutes to remove any mineral deposits. Afterward, scrub it gently with a soft brush to clean off any remaining debris.
If cleaning doesn’t solve the issue, it may be necessary to replace the flapper valve. To do this, turn off the water supply and flush to drain the tank. Remove the old flapper valve in the same way as before and take it to a hardware store to find a suitable replacement. Install the new flapper valve according to the manufacturer’s instructions, making sure it fits securely and creates a proper seal.
Check the Fill Valve
We should start by examining the fill valve to determine if it’s the cause of the broken toilet flush. Here are the steps to check the fill valve:
- Turn off the water supply: Locate the shut-off valve near the base of the toilet and turn it clockwise to shut off the water.
- Remove the tank lid: Lift the lid off the toilet tank and set it aside.
- Inspect the fill valve: Look for any signs of damage or wear on the fill valve. If you notice any cracks or leaks, it may be necessary to replace the fill valve.
- Adjust the float: If the fill valve appears to be in good condition, check the positioning of the float. Ensure that it’s properly adjusted to control the water level in the tank.
Adjust or Replace the Fill Valve
Let’s determine if adjusting or replacing the fill valve will solve the issue with our broken toilet flush.

The fill valve is responsible for refilling the toilet tank after each flush. If you notice that the water level in the tank is too high or too low, you may need to repair or replace the fill valve.
To adjust the water level, locate the adjustment screw or float rod on the fill valve. Turn the screw clockwise to lower the water level or counterclockwise to raise it.
If adjusting the fill valve doesn’t solve the problem, it may be necessary to replace it. To replace the fill valve, shut off the water supply to the toilet, disconnect the water supply line, and remove the old fill valve. Install the new fill valve following the manufacturer’s instructions.
Adjusting or replacing the fill valve should resolve the issue with your broken toilet flush.

Inspect the Chain or Lift Wire
To inspect the chain or lift wire, check for any signs of damage or misalignment. Here are the steps to follow:
- Inspect the float arm: Ensure that the float arm is properly connected to the lift wire. Look for any bends, cracks, or other signs of damage. If there are any issues, adjust or replace the float arm as needed.
- Check the flush handle: Examine the flush handle to make sure it’s securely attached to the lift wire. Test the handle to ensure it moves smoothly and without resistance. If the handle is loose or the lift wire is damaged, tighten or replace the handle accordingly.
- Inspect the chain: If your toilet uses a chain instead of a lift wire, inspect it for any kinks, twists, or breaks. Adjust or replace the chain if necessary, ensuring it has the right amount of slack to allow for proper flushing.
- Check for misalignment: Make sure the chain or lift wire is properly aligned with the flapper or flush valve. Adjust the position if needed to ensure smooth operation.
Adjust or Replace the Chain or Lift Wire
After inspecting the chain or lift wire for any damage or misalignment, the next step is to adjust or replace it as necessary.
To adjust the chain, start by locating the chain’s attachment point on the flush lever. If the chain is too loose, simply move the attachment point to a higher link on the chain. On the other hand, if the chain is too tight, move the attachment point to a lower link. Ensure that there’s just a slight amount of slack in the chain, allowing it to move freely without being too loose.
If adjusting the chain doesn’t solve the problem, it may be necessary to replace the lift wire. To do this, detach the old lift wire from the flush lever and tank lever, and then install the new one by attaching it to both levers securely.

Once the chain or lift wire has been adjusted or replaced, proceed to the next step: testing the flush.
Test the Flush
We can now test the flush to determine if the adjustments or replacements have resolved the issue. Follow these troubleshooting tips and maintenance techniques to ensure a thorough test:
- Fill the toilet tank with water: Slowly pour water into the tank until it reaches the fill line. This will simulate a normal flush.
- Push the flush lever: Gently press down on the flush lever and observe the water flow. If the flush is weak or incomplete, further adjustments may be needed.
- Repeat the flush: Perform multiple flushes to ensure consistent results. Pay attention to any signs of improvement or recurring issues.
- Observe the water level: After each flush, check if the water level in the tank returns to the correct level. If it doesn’t, there may be a problem with the fill valve or flapper.
Reassemble the Toilet Tank
Once the flush has been tested and adjustments or replacements have been made, it’s important to reassemble the toilet tank to complete the repair process. Follow these troubleshooting steps for a successful reassembling process.
- Start by placing the rubber gasket onto the flush valve opening at the bottom of the tank. Ensure it’s properly seated and forms a tight seal.
- Carefully lower the tank onto the bowl, aligning the bolts on the bottom of the tank with the corresponding holes on the bowl.
- Secure the tank to the bowl by tightening the nuts onto the bolts, alternating between each side to ensure even pressure.
- Reattach the water supply line to the fill valve by screwing it on tightly. Double-check for any leaks.
- Finally, connect the chain from the flush handle to the lift arm on the flush valve.
With the toilet tank successfully reassembled, it’s now time to turn on the water supply and test the flush once again.
Turn on the Water Supply
Now that the toilet tank has been successfully reassembled, it’s important to turn on the water supply to complete the repair process.
Follow these steps to troubleshoot water pressure and fix a leaking toilet:
- Locate the shut-off valve: Look for a valve near the base of the toilet or on the wall behind it. Turn it counterclockwise to open the valve.
- Check the water flow: Once the valve is open, listen for the sound of water flowing into the tank. If there’s no flow, the valve may be faulty or closed elsewhere in the plumbing system.
- Inspect for leaks: Look for any signs of water leakage around the base of the toilet or from the supply line connection. If you notice any leaks, tighten the connections or replace faulty parts.
- Test the flush: Flush the toilet to ensure that the water fills the tank properly and there are no more leaks. Adjust the water level if necessary by using the fill valve adjustment screw.
Conclusion
And there you have it, folks! Fixing a broken toilet flush is as easy as following these simple steps.
By assessing the problem, gathering the necessary tools, and inspecting the flush mechanism, you can quickly identify and resolve any issues.

Don’t forget to test the flush and reassemble the toilet tank before turning on the water supply.
Now you can bid farewell to those pesky flush problems and get back to enjoying a fully functional bathroom.
Remember, keep calm and flush on!


