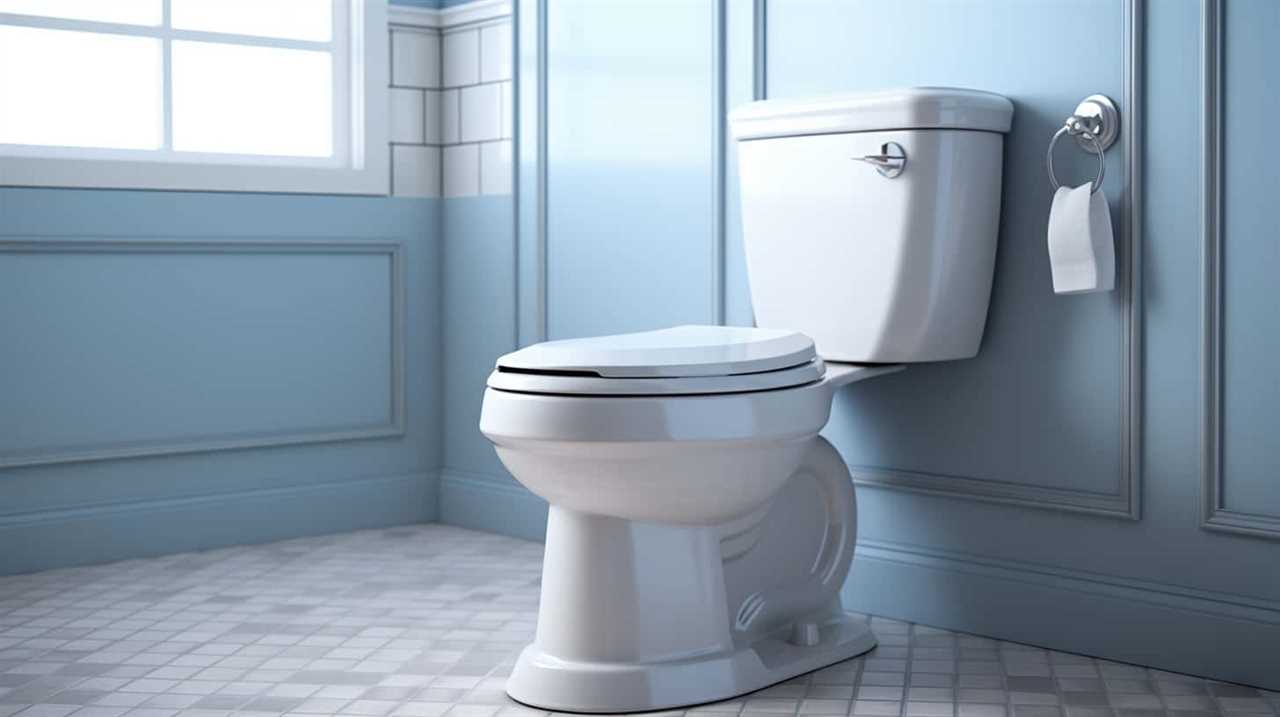
Fed up with battling a toilet that just won’t flush properly? Worry no more! We have the perfect solution you’ve been looking for.
In this step-by-step guide, we’ll show you how to fix that pesky problem once and for all. From checking the water level to cleaning out those stubborn clogs, we’ve got all the expert tips you need to achieve toilet flushing mastery.
Get ready to say goodbye to weak flushes and hello to a fully functional throne!
Key Takeaways
- Adjust the water level in the toilet tank to improve flushing efficiency.
- Regularly inspect and clean the flapper valve to ensure proper functioning.
- Perform regular maintenance on the toilet tank, including cleaning and inspecting components.
- Clear clogs using a plunger or toilet auger and consider replacing faulty valves to improve toilet performance.
Check the Water Level in the Toilet Tank
First, we need to use a ruler to measure the water level in our toilet tank. This step is crucial in troubleshooting weak toilet flushes and finding the root cause of the problem.

To begin, remove the toilet tank lid carefully. Take your ruler and place it vertically along the inner wall of the tank, ensuring it touches the water surface. Measure the distance from the top of the water level to the top of the overflow tube.
Ideally, the water level should be about one inch below the top of the overflow tube. If the water level is too low or too high, it can affect the flushing power. Adjust the water level accordingly by adjusting the float or fill valve.
Make sure to follow the manufacturer’s instructions for your specific toilet tank repair.
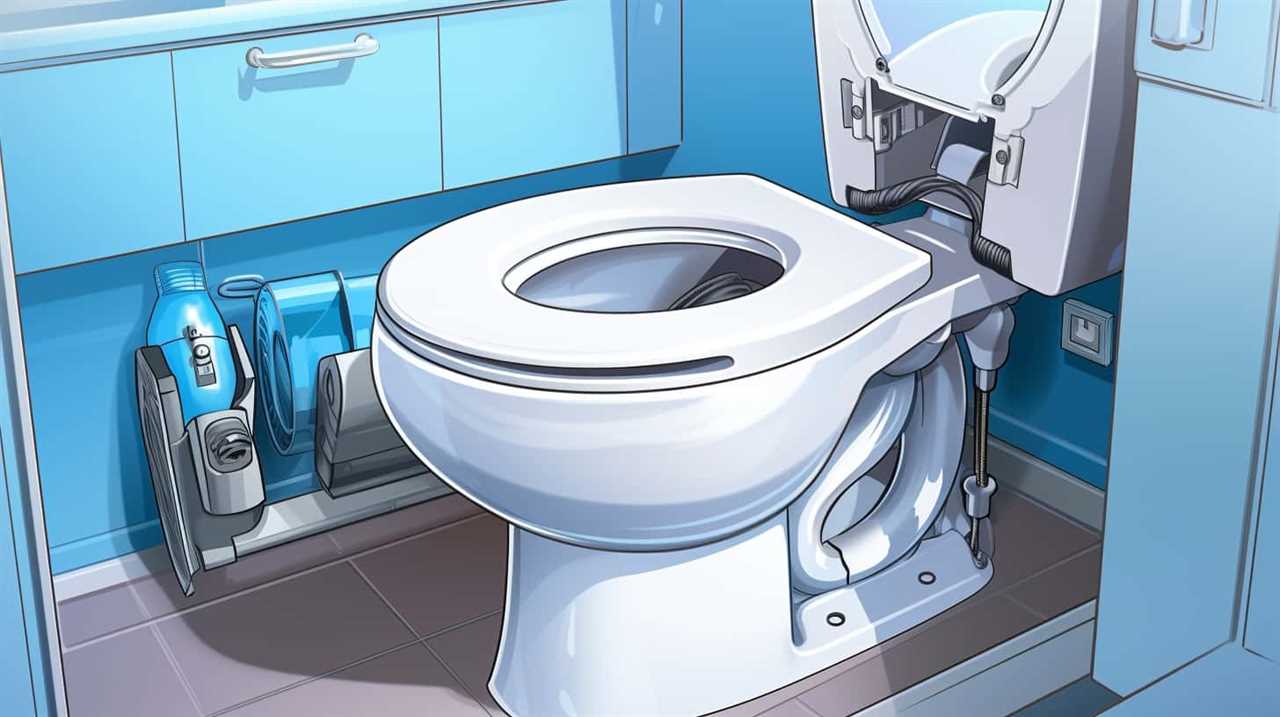
Inspect the Flapper Valve for Any Damage or Debris
Let’s now turn our attention to inspecting the flapper valve for any damage or debris.
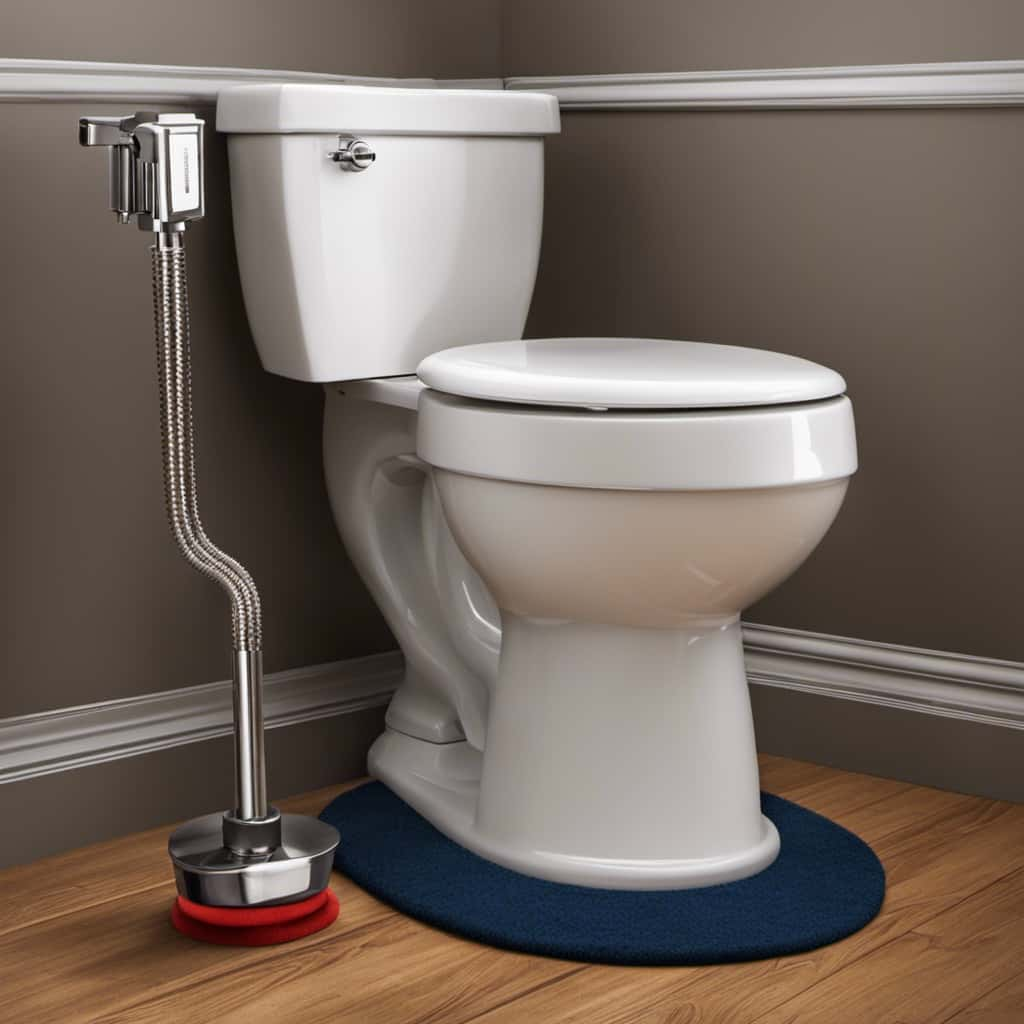
The flapper valve is a crucial component of the toilet’s flushing mechanism, responsible for controlling the flow of water from the tank into the bowl.
Over time, the flapper valve can become worn out or accumulate debris, leading to a weak or incomplete flush.
To ensure optimal performance, it’s important to regularly maintain and clean the flapper valve.
Flapper Valve Maintenance Tips
To properly maintain the flapper valve, we should regularly check for any damage or debris. Here are some essential maintenance tips for the flapper valve:
- Inspect the flapper valve: Check for any signs of damage, such as cracks or warping. If you notice any issues, it may be time for a flapper valve replacement.
- Clean the flapper valve: Remove any debris or mineral deposits that may be causing the flapper valve to malfunction. Use a soft brush or cloth to gently clean the valve.
- Check the chain length: Ensure that the chain connecting the flapper valve to the flush handle is properly adjusted. If it’s too long or too short, it can affect the flush performance.
By regularly inspecting and maintaining your flapper valve, you can troubleshoot weak flushes and keep your toilet functioning optimally.
Now let’s move on to the next section about cleaning the flapper valve.
Cleaning the Flapper Valve
To properly clean the flapper valve, we should check for any damage or debris. Start by shutting off the water supply to the toilet.
Locate the flapper valve, which is usually located at the bottom of the toilet tank. Inspect the flapper valve for any visible signs of damage, such as cracks or tears. If you notice any damage, replace the flapper valve with a new one.
If the flapper valve appears to be in good condition, remove it from the tank and clean it thoroughly using mild cleaning products. Be sure to remove any debris or mineral deposits that may be affecting its performance.
Once cleaned, reinstall the flapper valve and turn the water supply back on. This troubleshooting tip should help improve the flushing power of your toilet.
Now, let’s move on to the next step: adjusting the water level in the toilet tank.
Adjust the Water Level in the Toilet Tank
Let’s now tackle the important task of adjusting the water level in the toilet tank to improve flushing efficiency.

By properly adjusting the water level, we can ensure that the toilet has enough water to create a strong flush without wasting excessive amounts.
This step is crucial for maintaining the overall performance and functionality of the toilet, as well as preventing any potential issues that may arise from inadequate water levels.
Water Level Adjustment
We can adjust the water level in the toilet tank to ensure optimal flushing performance. Here’s how:
- Identify toilet tank problems:
- Inspect the water level: If it’s too low, the flush may be weak. If it’s too high, water may overflow into the toilet bowl.
- Check the fill valve: A faulty fill valve can cause inconsistent water levels, leading to weak flushes.
- Measure water pressure: Low water pressure can affect flushing power.
- Adjust the water level:
- Locate the fill valve adjustment screw or rod on the fill valve.
- Turn the adjustment screw or adjust the rod to raise or lower the water level in the tank.
- Test the flush after each adjustment until you find the optimal water level.
- Consider water pressure adjustment:
- If low water pressure is the issue, adjust the water pressure regulator near the main water supply line.
By adjusting the water level and considering water pressure adjustments, you can improve the flushing performance of your toilet.

Now, let’s move on to the next section: toilet tank maintenance.
Toilet Tank Maintenance
Now that we have discussed how to adjust the water level in the toilet tank, let’s move on to the maintenance of the toilet tank. Proper maintenance of the toilet tank is essential to ensure its optimal performance and prevent any issues. Here are some steps for toilet tank cleaning and repair:
| Step | Action |
|---|---|
| 1 | Start by turning off the water supply to the toilet tank. |
| 2 | Flush the toilet to drain the water from the tank. |
| 3 | Use a sponge or cloth to clean the inside walls of the tank. Remove any mineral deposits or buildup. |
| 4 | Inspect the components inside the tank for any signs of wear or damage. Replace any faulty parts, such as the flapper or fill valve. |
| 5 | Turn on the water supply and fill the tank. Check for any leaks and adjust the water level if necessary. |
Regular cleaning and occasional repairs will help maintain the functionality of your toilet tank, ensuring a strong and efficient flush.
Flushing Efficiency Improvement
To improve the flushing efficiency of a weak toilet, adjust the water level in the tank. Here’s how:

- Locate the water level adjustment screw or valve on the toilet fill valve.
- Turn the adjustment screw or valve counterclockwise to lower the water level in the tank.
Flush the toilet and observe the water level in the bowl. It should be approximately 1 inch below the rim.
If the water level is too low, turn the adjustment screw or valve clockwise to raise it slightly.
Test the flushing efficiency by flushing toilet paper or simulated waste down the toilet.
If the toilet bowl stains persist, increase the water level slightly and retest.

Remember to strike a balance between flushing efficiency and water consumption. Higher water levels may improve flushing but can waste water.
Clean Out the Toilet Bowl Jets
To improve the flushing power of a weak toilet, start by cleaning out the jets in the toilet bowl. Over time, mineral deposits and debris can accumulate in the jets, leading to reduced water flow and weak flushing. Cleaning the toilet bowl jets is a simple process that can help restore the toilet’s efficiency. Here’s how to do it:
- Turn off the water supply to the toilet.
- Remove the tank lid and flush the toilet to drain as much water as possible.
- Locate the jets, which are small holes around the inside rim of the toilet bowl.
- Use a toilet brush to scrub the jets and remove any toilet bowl stains or buildup.
- For stubborn deposits, use a wire hanger or a thin, flexible brush to reach into the jets and dislodge the debris.
- Once the jets are clean, turn the water supply back on and flush the toilet to ensure proper water flow.
- Repeat this cleaning process periodically to maintain the toilet’s flushing power and prevent future clogs.
Cleaning out the toilet bowl jets is an essential step in maintaining a properly functioning toilet. It not only improves flushing efficiency but also contributes to toilet bowl disinfection by removing any bacteria or germs that may be present. By following these steps, you can ensure a powerful and hygienic flushing experience.
Remove Any Clogs or Obstructions in the Toilet Trap
After cleaning out the toilet bowl jets, we can address the next step to fix a weak flushing toilet by removing any clogs or obstructions in the toilet trap. The toilet trap is a curved section of the pipe located at the base of the toilet bowl. It’s designed to hold water and prevent sewer gases from entering the bathroom. However, over time, debris such as toilet paper, hair, or foreign objects can accumulate in the trap and obstruct the flow of water.
To remove these clogs or obstructions, follow these steps:
- Turn off the water supply to the toilet.
- Use a plunger to create suction and dislodge the clog.
- Place the plunger over the drain opening and firmly push and pull.
- Repeat this motion several times until the clog is cleared.
- If the plunger doesn’t work, use a toilet auger to break up the obstruction.
- Insert the auger into the toilet trap and rotate the handle clockwise.
- Continue pushing and rotating until the clog is removed.
- Once the clog is cleared, turn on the water supply and flush the toilet to ensure proper flow.
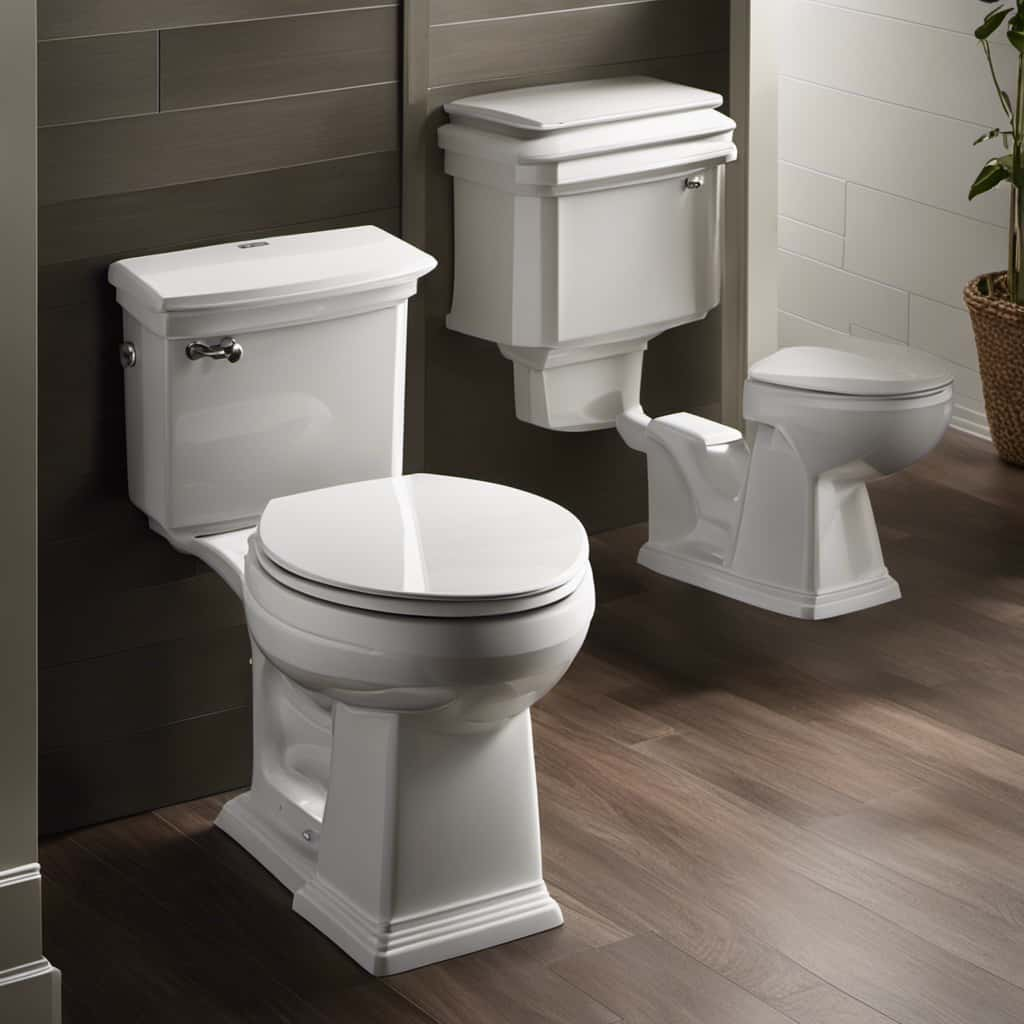
Consider Replacing the Toilet Fill Valve or Flush Valve
We recommend considering replacing the toilet fill valve or flush valve to address a weak flushing toilet. When these components become faulty or worn out, they can restrict water flow and lead to a weak flush. Replacing them is a relatively simple and cost-effective solution for improving toilet performance.
To help you understand the importance of replacing these valves and guide you through the process, we have created a table that outlines the troubleshooting tips, symptoms, and recommended actions for each component:
| Component | Troubleshooting Tips | Symptoms | Recommended Action |
|---|---|---|---|
| Fill Valve | – Check water supply | – Insufficient water in tank | – Replace the fill valve |
| – Clean or replace fill valve | – Slow or noisy filling | – Adjust or replace the fill valve | |
| – Ensure proper water level | – Constantly running or overflowing tank | – Adjust or replace the fill valve | |
| Flush Valve | – Clean or replace flush valve | – Weak or incomplete flush | – Replace the flush valve |
| – Check chain length and tension | – Water continuously running into the bowl | – Adjust or replace the flush valve | |
| – Ensure flapper is sealing properly | – Phantom flushes or intermittent water running | – Adjust or replace the flush valve |
Conclusion
In conclusion, by following these simple steps, you can easily fix a weak flushing toilet.
- Checking the water level
- Inspecting the flapper valve
- Adjusting the water level
- Cleaning the bowl jets
- Removing any clogs or obstructions
These steps will greatly improve the flushing power. If all else fails, consider replacing the fill valve or flush valve.
Just like a well-oiled machine, your toilet will soon be flushing with the force of a mighty river.