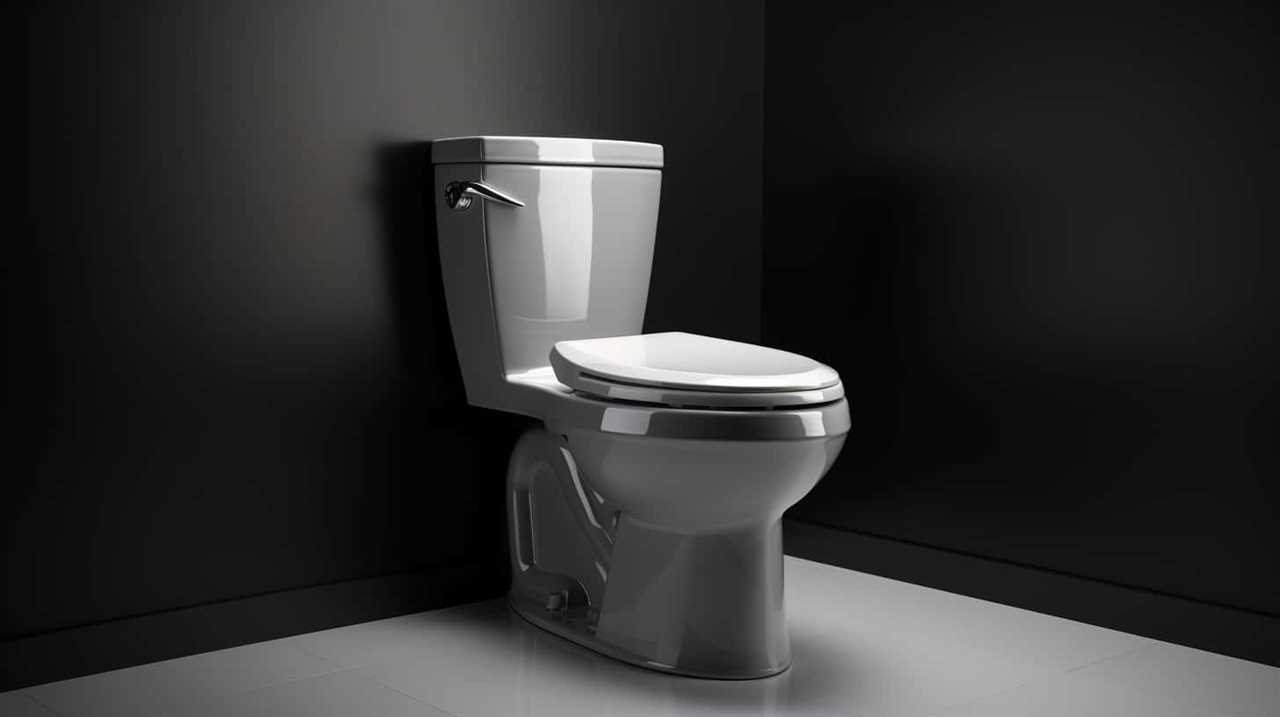
Have you ever faced the annoyance of a feeble toilet flush? It feels akin to attempting to sprint in a marathon while burdened with lead weights around your ankles. However, worry not, fellow homeowners, because we possess the expertise to rejuvenate the vigor of your ceramic throne.
In this article, we will guide you through the steps to fix a weak toilet flush. From checking the water level to adjusting the water supply valve, we will equip you with the tools to conquer this common household challenge.
Key Takeaways
- Assess the water level in the toilet tank and adjust it if necessary.
- Regularly inspect and clean the flapper to ensure a strong and efficient flush.
- Clean the rim jets to improve water flow and troubleshoot for any leaks or clogs.
- Consider upgrading to a dual-flush system for greater efficiency and water savings.
Check the Water Level
To address a weak toilet flush, we need to assess the water level. This is an important step in troubleshooting the issue.
Start by inspecting the water level in the toilet tank. If it’s too low, it can result in a weak flush. To check the water level, simply remove the tank lid and observe the water level. It should be approximately one inch below the top of the overflow tube. If it’s lower than that, adjust the water level by adjusting the fill valve. This can usually be done by turning the adjustment screw or knob on the fill valve.
If the water level is already at the correct height, move on to inspect the flapper, which we’ll discuss in the next section.
Inspect the Flapper
Now let’s take a look at the flapper, which is an essential component of the toilet flush mechanism.
There are a few options for replacing a faulty flapper, including purchasing a universal flapper or one specifically designed for your toilet model.
Common issues with flappers include deterioration, warping, or misalignment, which can lead to a weak or incomplete flush.
Flapper Replacement Options
How can we assess and choose the best replacement options for the flapper when fixing a weak toilet flush? When it comes to flapper replacement, there are several options available to ensure the proper functioning of your toilet. To help you make an informed decision, consider the following factors: material durability, compatibility with your toilet model, and ease of installation. Here is a table summarizing some popular flapper replacement options:
| Flapper Type | Material | Durability | Compatibility | Installation |
|---|---|---|---|---|
| Rubber Flapper | Rubber | Good | Universal | Easy |
| Silicone Flapper | Silicone | Excellent | Universal | Moderate |
| Adjustable Flapper | Plastic or Rubber | Varies | Universal | Moderate |
| Dual Flush Flapper | Plastic or Rubber | Good | Specific models | Moderate |
| Specialty Flapper | Varies | Varies | Specific models | Varies |
Common Flapper Issues
As we continue our discussion on fixing a weak toilet flush, let’s now address common flapper issues by inspecting the flapper regularly. The flapper is a crucial component of the toilet flush system, and if it isn’t functioning properly, it can lead to weak flushes.
Here are some cleaning techniques and troubleshooting tips to help you maintain a well-working flapper:
- Check for debris: Inspect the flapper for any debris or sediment buildup that may be interfering with its proper sealing. Clean the flapper using a mild detergent and a soft brush, ensuring that it’s free from any obstructions.
- Test the flapper chain: Ensure that the flapper chain is properly connected and has the right amount of slack. If the chain is too loose or too tight, it can affect the flapper’s ability to seal and result in a weak flush.
- Replace worn-out flappers: Over time, flappers can wear out and lose their sealing ability. If you notice any cracks, tears, or signs of deterioration on the flapper, it’s advisable to replace it with a new one.
By regularly inspecting and maintaining your flapper using these cleaning techniques and troubleshooting tips, you can ensure a strong and efficient toilet flush.
Now, let’s move on to the next section about cleaning the rim jets.
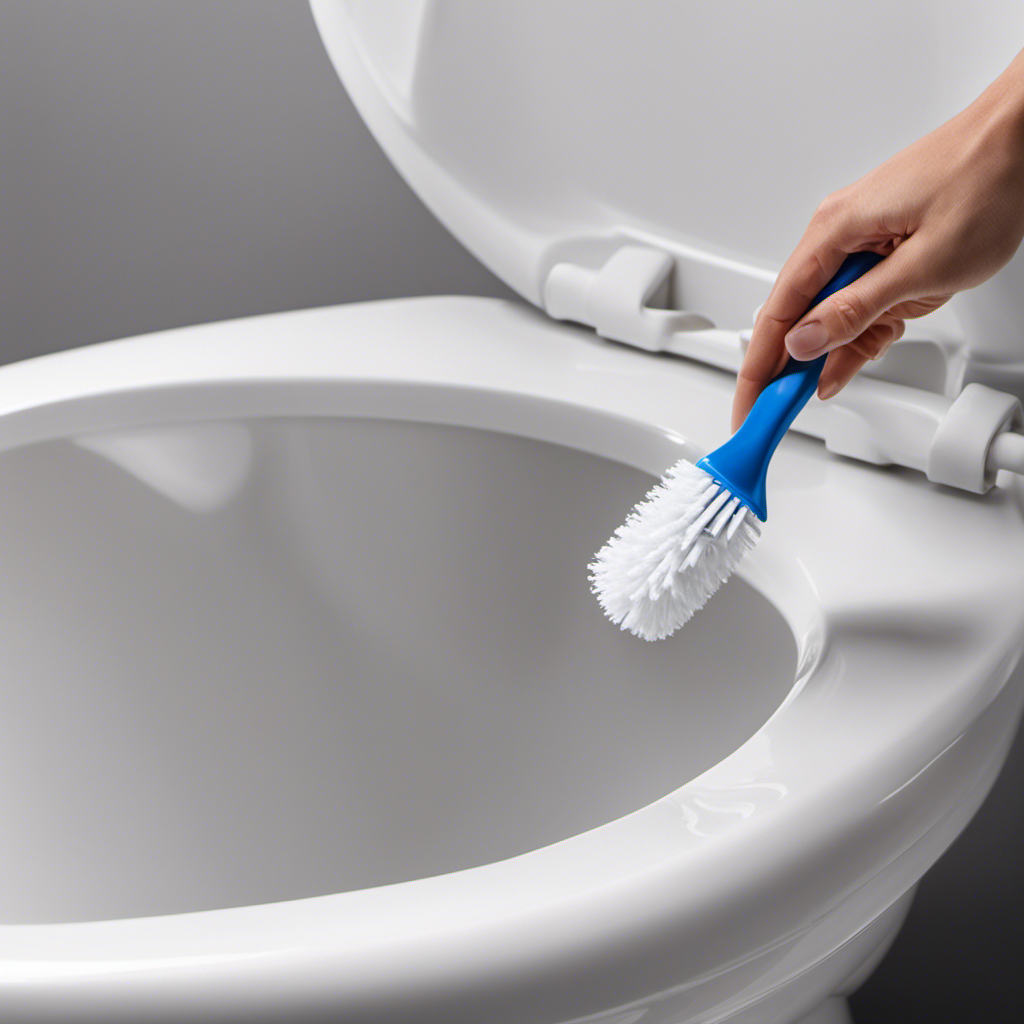
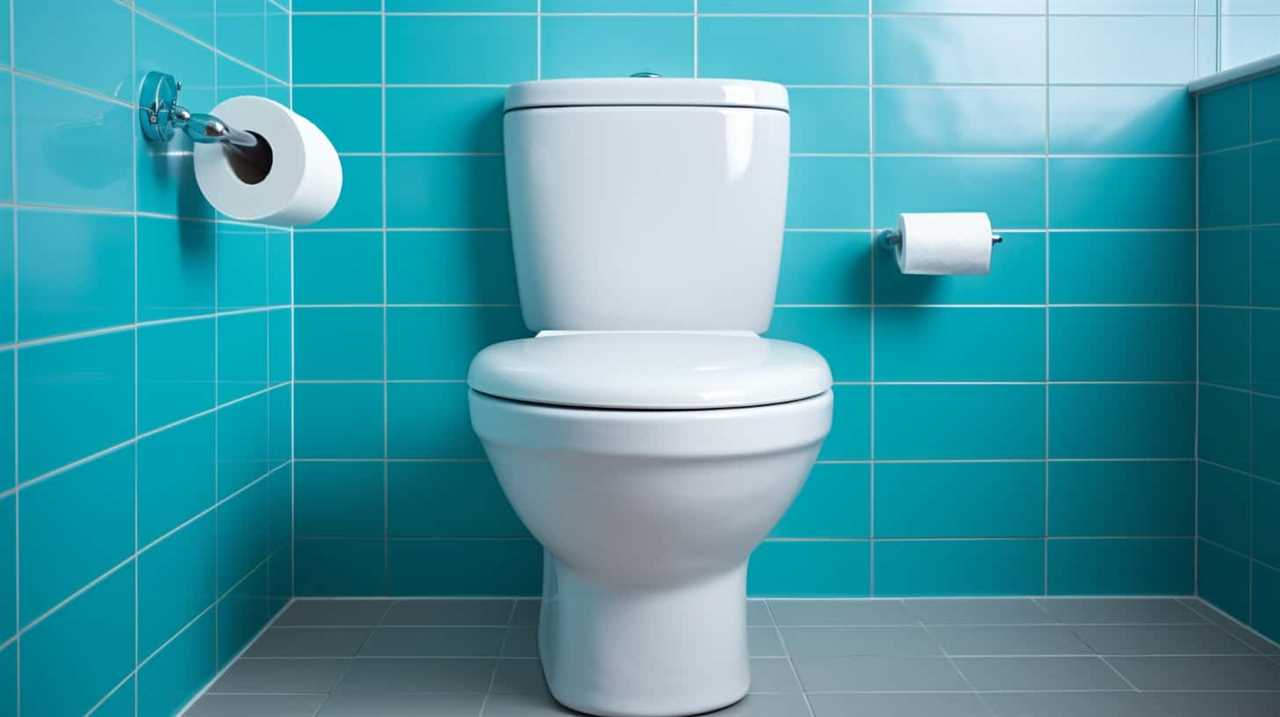
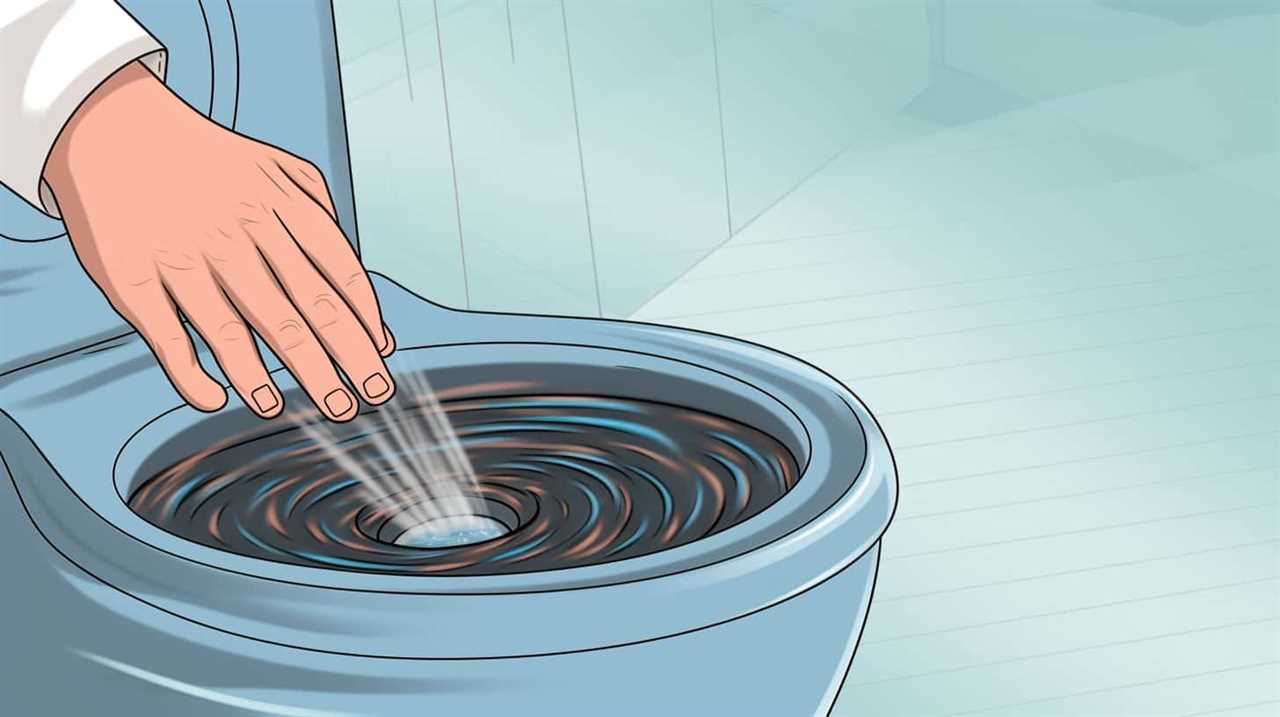
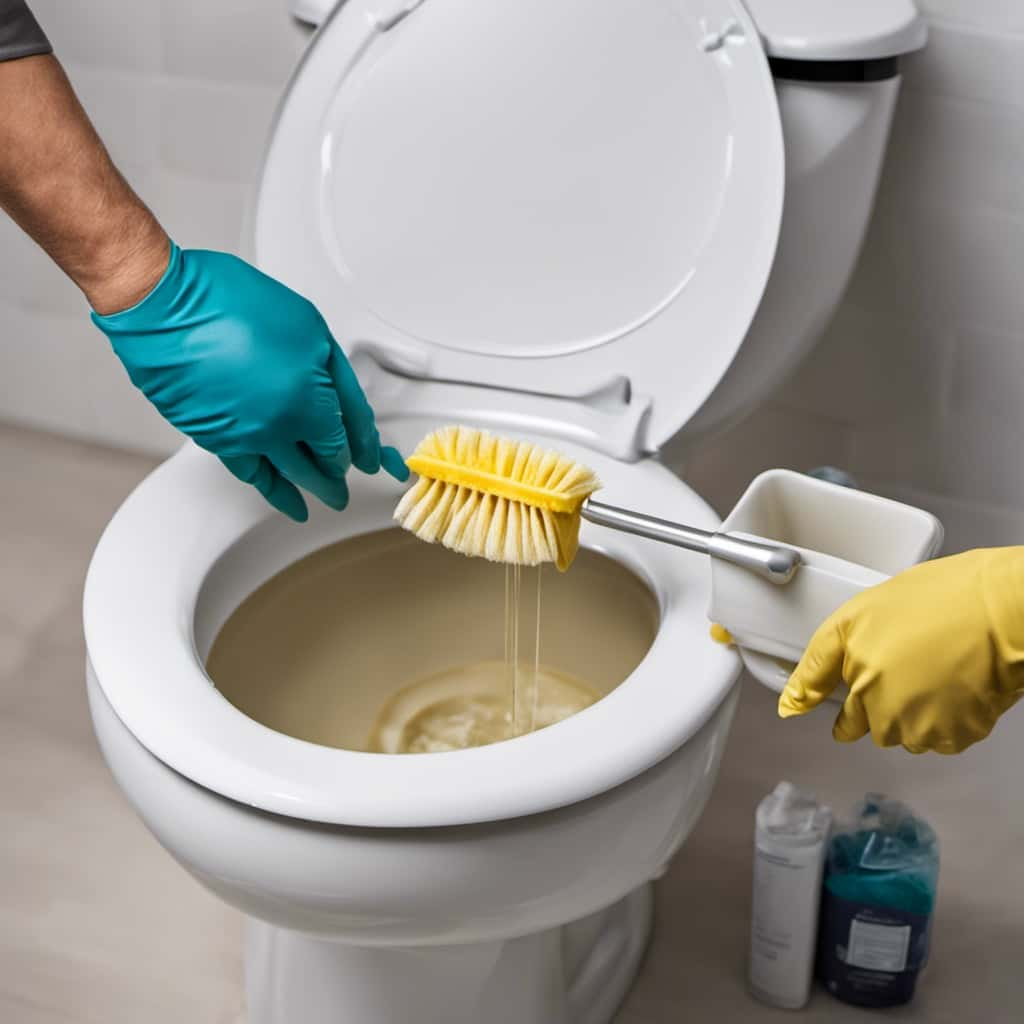
Clean the Rim Jets
To improve water flow and unclog the rim jets, it’s important to clean them regularly.
The rim jets are small openings around the rim of the toilet bowl that direct water into the bowl during a flush. Over time, these jets can become clogged with mineral deposits, mold, or other debris, causing a weak toilet flush.
Unclog Rim Jets
We can unclog the rim jets of a weak toilet flush by cleaning them thoroughly. Here are the steps to follow:
- Prepare a cleaning solution: Mix equal parts of white vinegar and water in a spray bottle.
- Turn off the water supply to the toilet and flush it to drain the tank.
- Spray the cleaning solution directly onto the rim jets, ensuring complete coverage.
- Let the solution sit for at least 30 minutes to break down any mineral deposits or debris.
- Use a soft brush or toothbrush to scrub the rim jets, removing any remaining buildup.
- Turn on the water supply and flush the toilet multiple times to clear out any loosened debris.
- Repeat the process if necessary until the rim jets are completely unclogged.
Improve Water Flow
To improve water flow in a weak toilet flush, let’s start by cleaning the rim jets. The rim jets are small holes located underneath the toilet bowl rim that play a crucial role in directing water into the bowl during a flush. Over time, these jets can become clogged with mineral deposits or debris, causing a decrease in water flow.
To clean the rim jets, first, turn off the water supply to the toilet and flush it to empty the tank. Then, use a small brush or toothbrush to scrub the jets, removing any built-up residue.
After cleaning, turn the water supply back on and adjust the pressure if necessary. If cleaning the rim jets doesn’t improve the water flow, it may be necessary to troubleshoot for leaks or remove any clogs in the trap.
Remove Any Clogs in the Trap
To remove any clogs in the trap, we’ll need to use a plunger or a toilet auger. Here are the steps to clear the clog:
- Prepare the plunger: Ensure the plunger cup is completely submerged in water to create a seal. Position it over the drain opening and push down firmly.
- Plunge the toilet: Push and pull the plunger vigorously, maintaining a tight seal with the drain opening. This action will create a suction force that dislodges the clog.
- Use a toilet auger: If the plunger doesn’t work, try a toilet auger. Insert the auger into the drain opening and rotate the handle clockwise to break up the clog.
Remember to wear gloves and protect your clothing during this process. If the clog persists, it may require professional assistance.
Following these troubleshooting steps will help you resolve the issue and restore proper flushing to your toilet.
Adjust the Water Supply Valve
To properly fix a weak toilet flush, we need to make adjustments to the water supply valve. The water supply valve controls the flow of water into the toilet tank, which in turn affects the strength of the flush. By adjusting the valve, we can increase or decrease the amount of water entering the tank, thus improving the flush. Here’s how you can do it:
- Locate the water supply valve usually located on the wall behind the toilet.
- Turn the valve clockwise to decrease the water flow or counterclockwise to increase it.
- Flush the toilet and observe the strength of the flush.
- Continue adjusting the valve until the desired flush strength is achieved.
In some cases, a weak flush may be caused by other factors such as a faulty float valve or a worn-out toilet handle. If adjusting the water supply valve doesn’t solve the issue, consider replacing these components as well.
Replace the Fill Valve
Let’s talk about replacing the fill valve as a solution to fix a weak toilet flush.
Upgrading the toilet fill valve can greatly improve the water flow, ensuring a more efficient and powerful flush.
Upgrading Toilet Fill Valve
We can improve the strength of our toilet flush by replacing the fill valve. Upgrading the toilet fill valve is a simple and effective solution to fix a weak toilet flush.
Here are three steps to upgrade the fill valve and enhance the flushing power of your toilet:
- Turn off the water supply: Before starting the replacement process, locate the shut-off valve behind the toilet and turn it clockwise to stop the water supply.
- Remove the old fill valve: Disconnect the water supply line from the fill valve and unscrew the nut that holds the valve in place. Lift the old fill valve out of the toilet tank.
- Install the new fill valve: Place the new fill valve into the tank and secure it with the nut. Reconnect the water supply line and turn on the water. Adjust the fill valve to the desired water level.
Improving Water Flow
To improve water flow and address a weak toilet flush, we can replace the fill valve. The fill valve controls the water level in the toilet tank and plays a crucial role in maintaining proper flushing efficiency. Over time, fill valves can become worn or clogged, leading to reduced water pressure and weak flushes. By replacing the fill valve, we can increase water pressure and ensure a more efficient flush.
When choosing a new fill valve, it’s important to consider factors such as compatibility with your toilet model and the desired water flow rate. Upgrading to a high-performance fill valve can significantly improve flushing efficiency and provide a stronger, more effective flush.
With the fill valve replaced, the next step is to install a new flush valve for optimal toilet performance.
Install a New Flush Valve
To improve a weak toilet flush, start by replacing the current flush valve with a new one. This simple upgrade can significantly enhance the flushing power of your toilet. Here’s a step-by-step guide to help you install a new flush valve:

- Turn off the water supply: Locate the shut-off valve behind the toilet and turn it clockwise to stop the water flow.
- Remove the old flush valve: Disconnect the water supply line and unscrew the flush valve from the tank. Make sure to properly dispose of the old valve.
- Install the new flush valve: Follow the manufacturer’s instructions to install the new flush valve. Ensure a tight seal and reattach the water supply line.
By replacing the flush valve, you can optimize the water flow and improve the flush performance of your toilet.
Now, let’s explore how to upgrade to a dual-flush system for even greater efficiency.
Upgrade to a Dual-Flush System
To achieve even greater efficiency and water savings, let’s explore upgrading our toilet to a dual-flush system. Upgrading to a dual-flush system offers two different flush options: a partial flush for liquid waste and a full flush for solid waste. This upgrade option allows us to choose the appropriate amount of water needed for each flush, resulting in significant water conservation.
When considering this upgrade, it’s important to choose the right dual-flush system for our toilet. There are various upgrade options available, including retrofit kits that can be easily installed without replacing the entire toilet. Before making a purchase, we should ensure compatibility with our existing toilet and check for any additional installation requirements.

If we encounter any issues after the upgrade, there are troubleshooting tips that can help. Common problems include water leaking from the tank or inconsistent flushing. Checking the flush valve and adjusting the water level can often resolve these issues.
Upgrading to a dual-flush system not only improves the performance of our toilet but also helps us contribute to water conservation efforts.
Check the Flush Handle
Let’s start by checking the flush handle to determine if it’s the cause of our weak toilet flush. If the flush handle is loose or broken, it may not be able to properly engage the toilet’s flushing mechanism, resulting in a weak flush.
Here’s what you should do to troubleshoot the flush handle:
- Inspect the flush handle: Ensure that it’s securely attached to the toilet tank. If it’s loose, tighten the mounting nut or screws that hold it in place.
- Test the handle’s functionality: Press down on the flush handle and observe if it’s working smoothly. If it feels stiff or doesn’t return to its original position, it may need to be replaced.
- Replace the flush handle if necessary: If the handle is broken or malfunctioning, it’s time to install a new one. Purchase a compatible flush handle from a hardware store and follow the manufacturer’s instructions to replace it.
Replace the Toilet Bowl
We can swap out the toilet bowl to address a weak flush. If all other troubleshooting steps have been exhausted and the weak flush issue persists, it may be necessary to replace the toilet bowl. This task requires careful attention to detail and some basic plumbing knowledge.
Before starting, ensure you have the necessary tools and a replacement toilet bowl. Begin by shutting off the water supply to the toilet and emptying the tank. Remove the bolts securing the bowl to the floor and disconnect any remaining water connections.
Lift the old toilet bowl off the floor and place the new one in its position. Reattach the bolts and reconnect the water supply. Finally, test the flush to ensure it’s working properly.
If you’re unsure about the process, it’s recommended to consult a professional for toilet bowl replacement or repair.

Insulate the Water Supply Line
To insulate the water supply line, gather the necessary materials and follow these simple steps:
- Identify the water supply line: Locate the pipe that connects the toilet tank to the water source. It’s usually located behind or underneath the toilet.
- Replace the waterline: If the existing water supply line is old or damaged, consider replacing it with a new, flexible line. This will ensure optimal performance and prevent leaks.
- Insulate the pipes: Use foam pipe insulation to cover the water supply line. Cut the insulation to the appropriate length and wrap it around the pipe, ensuring a snug fit. Secure it with tape or zip ties.
Insulating the water supply line helps prevent heat loss and condensation, ensuring efficient water flow and reducing the risk of freezing during colder months. It also minimizes the chances of water damage and extends the lifespan of the pipes.
Check the Vent Pipe for Blockages
Checking the vent pipe for blockages is essential to ensure proper airflow and prevent a weak toilet flush. The vent pipe plays a crucial role in maintaining the balance of air pressure within the plumbing system.
When the vent pipe becomes obstructed, it restricts the flow of air, which can lead to a weak toilet flush. To check for obstructions, start by inspecting the vent pipe for any visible debris or build-up. If you notice any obstructions, it’s important to remove them promptly.
In some cases, a ventilation pipe cleaning may be required to eliminate stubborn blockages. This involves using specialized tools or techniques to clear the vent pipe and restore proper airflow.
Regular maintenance and cleaning of the vent pipe can help prevent future blockages and ensure optimal toilet flushing performance.
Call a Professional Plumber if All Else Fails
If all else fails, we can still rely on the expertise of a professional plumber to address the issue of a weak toilet flush. Sometimes, the problem goes beyond simple fixes and requires the knowledge and skills of a trained plumber.
Here are three reasons why calling a professional plumber is the best course of action:

- Expertise in identifying the root cause: A professional plumber has the experience to accurately diagnose the underlying issues causing the weak toilet flush. They can pinpoint problems such as clogged pipes, faulty valves, or inadequate water flow.
- Advanced tools and techniques: Plumbers have access to specialized tools and equipment that are essential for resolving complex toilet flushing problems. They can use high-pressure water jets or snake cameras to locate and clear blockages effectively.
- Recommendations for upgrades: A professional plumber can assess the overall condition of your toilet system and provide expert recommendations for upgrading your toilet or checking the water pressure. They can suggest more efficient models or adjustments to improve the flush performance and prevent future issues.
When all else fails, don’t hesitate to call a professional plumber who can provide the expertise and solutions needed to fix a weak toilet flush.
Frequently Asked Questions
How Do I Know if the Water Level in My Toilet Is Too Low or Too High?
To know if the water level in your toilet is too low or high, observe the water line in the bowl. If it’s below the manufacturer’s mark, it’s low. Adjust the fill valve to increase the water level.
What Are Some Common Signs That the Flapper in My Toilet Is Not Functioning Properly?
Common signs of a malfunctioning flapper include water leaks, inconsistent flushing, and a weak toilet flush. To troubleshoot and fix this issue, check for flapper wear, misalignment, or dirt buildup and make the necessary adjustments or replacements.
How Often Should I Clean the Rim Jets in My Toilet to Maintain a Strong Flush?
To ensure a strong flush, we clean the rim jets in our toilet regularly. By doing this, we prevent weak toilet flushes and maintain optimal performance. It’s important to know how to clean the rim jets properly for effective maintenance.
What Are Some Effective Methods to Remove Clogs in the Trap of a Toilet?
Toilet clog removal can be accomplished through various effective methods. We’ve found that using a plunger, a toilet auger, or a mixture of baking soda and vinegar can effectively unclog the trap of a toilet.
How Can I Adjust the Water Supply Valve in My Toilet to Improve the Flush?
To improve the flush of a weak toilet, we can adjust the water supply valve. This will regulate the amount of water flowing into the toilet, allowing for a stronger and more efficient flush.
Conclusion
In conclusion, fixing a weak toilet flush is a relatively straightforward process that can be done by following a few simple steps. By checking the water level, inspecting the flapper, cleaning the rim jets, removing any clogs, adjusting the water supply valve, and even replacing the toilet bowl if necessary, you can ensure a strong and efficient flush.
Remember, if all else fails, don’t hesitate to call a professional plumber for assistance. Fixing a weak toilet flush is as easy as pie!