
Have you ever felt completely lost when dealing with a disconnected toilet? Don’t worry, we’re here to help you navigate through the process of flushing a disconnected toilet smoothly and accurately.
In this article, we will share the necessary supplies, step-by-step directions, and helpful tips to ensure a successful flush. Prepare to master the art of flushing a disconnected toilet like a pro.
Let’s dive in!
Key Takeaways
- Gathering necessary supplies and filling a container with water is the first step in flushing a disconnected toilet.
- Pouring water into the toilet bowl is an effective method for creating enough force to remove waste and debris.
- Using a plunger to create pressure is another option for flushing a disconnected toilet.
- Regular maintenance is crucial to prevent disconnection issues and ensure a fully functional toilet.

POPULO Electric Toilet Plunger, Air Power High Pressure Drain Clog Remover – Heavy Duty Toilet Unclogger Tool for Bathroom, Floors, Shower
- Electric Air Pump: Inflates to 5 Bar in 20-30 seconds
- Effortless Unclogging: Upgraded flexible toilet head
- Splash-Free Operation: Reduces sewage splatter during use
As an affiliate, we earn on qualifying purchases.
As an affiliate, we earn on qualifying purchases.
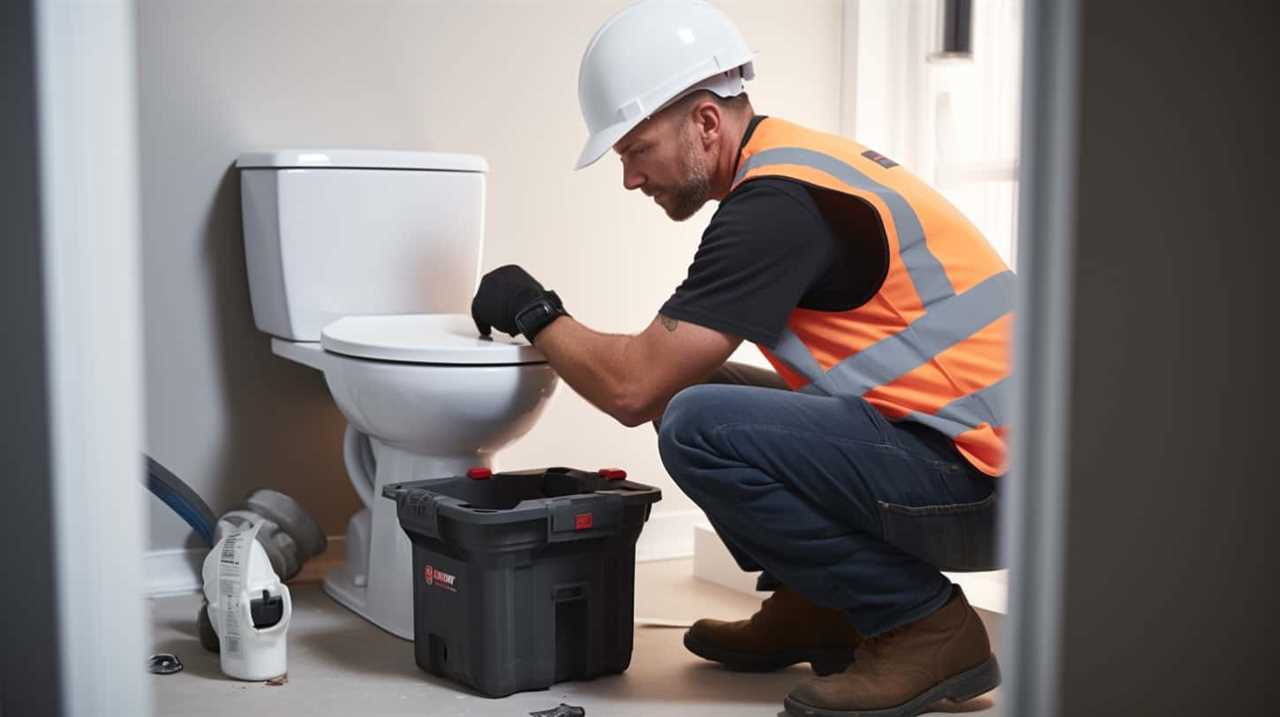
Gather Necessary Supplies
To flush a disconnected toilet, we’ll need to gather the necessary supplies. When it comes to toilet flushing alternatives and DIY toilet repair tips, having the right tools is crucial.

First, you’ll need a bucket or a large container to hold water. This will serve as a temporary reservoir for flushing.
Next, grab a pair of gloves to protect your hands from any potential mess.
You may also need a plunger to clear any clogs in the toilet drain.
Additionally, keep a wrench handy in case you need to disconnect or reconnect any parts of the toilet.

Finally, make sure you have a reliable source of water nearby to fill the container.
With these supplies assembled, we can now move on to the next step of the process. Let’s learn how to fill a container with water.
Fill a Container With Water
To begin filling a container with water for flushing a disconnected toilet, we’ll need to locate a reliable source of water nearby. Maintaining the toilet bowl water level is crucial for proper functioning. When the water is disconnected, alternative methods are necessary.
One option is to use a bucket or a large container to collect water from a nearby source, such as a sink or a bathtub. Make sure the container is clean and free of any contaminants. Fill it with enough water to cover the bottom of the toilet bowl.
Gently pour the water into the bowl, aiming for the center, to create enough force to flush down the waste. Repeat the process as needed until the toilet is properly flushed.
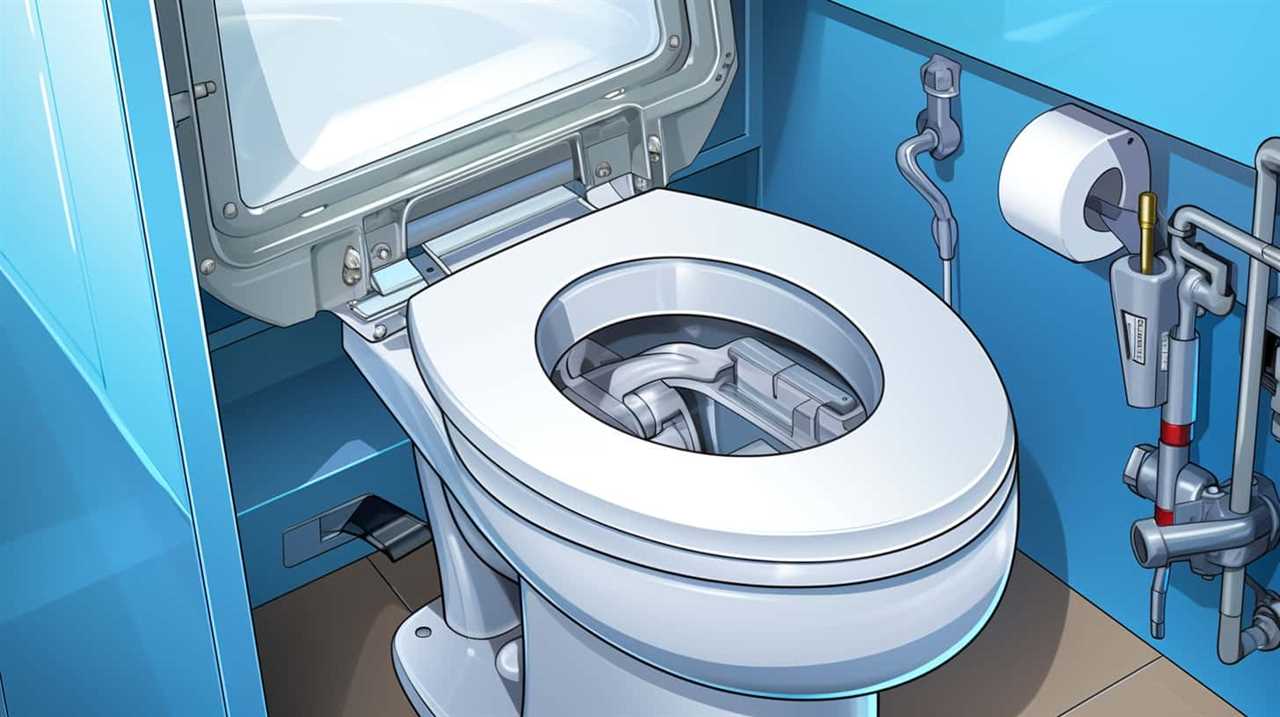
Pour Water Into the Toilet Bowl
After filling a container with water, we can pour it into the toilet bowl using a subordinating conjunction like ‘once’ to ensure proper flushing. This method is a simple yet effective way to manually flush a disconnected toilet. If you don’t have a container, using a bucket can serve the same purpose. Pouring water into the toilet bowl helps recreate the normal flushing process by creating the necessary force to remove waste and debris.
To make it easier for you to understand, here is a table summarizing the steps involved in pouring water into the toilet bowl:
| Step | Instructions |
|---|---|
| 1 | Fill a container or bucket with water. |
| 2 | Position yourself near the toilet bowl. |
| 3 | Slowly pour the water into the bowl. |
| 4 | Continue pouring until the water level rises. |
| 5 | Once the water level is high enough, the flushing action will occur. |
Using a bucket or container to pour water into the toilet bowl is one of the alternative methods you can employ when dealing with a disconnected toilet. It is a practical solution that allows you to manually flush the toilet and maintain cleanliness even in challenging situations.
Use a Plunger to Create Pressure
Let’s use a plunger to generate pressure. When it comes to flushing a disconnected toilet, a plunger can be a powerful tool. Here are three steps to using a plunger effectively:
- Position the plunger: Place the rubber cup of the plunger over the drain hole in the toilet bowl, ensuring a tight seal.
- Create pressure: Push the plunger up and down vigorously, using your body weight to generate pressure. This action will help dislodge any clogs in the pipes.
- Repeat as necessary: If the water level in the bowl starts to drain, continue plunging until the clog is completely cleared. However, if the water remains stagnant, you may need to try alternative methods for unclogging the toilet without using a plunger.
It’s important to avoid common mistakes when using a plunger, such as not creating a proper seal or using excessive force, as these can cause damage to the toilet or make the situation worse.
Now, let’s move on to the next section about repeating this process as necessary for a complete flush.
Repeat as Necessary for a Complete Flush
We can continue the process of using a plunger effectively by repeating it as necessary for a complete flush. Sometimes, a single plunge may not be enough to clear the blockage or fully reconnect the toilet. By repeating the plunging motion, we apply continuous pressure to dislodge any remaining debris or buildup in the pipes. This ensures a thorough flush and prevents future clogs. Regular toilet maintenance is crucial to prevent a disconnected toilet. Neglecting maintenance can lead to various issues, such as loose fittings or worn-out parts, which can cause the toilet to disconnect from the plumbing system. By regularly inspecting and maintaining the toilet, we can avoid these problems and enjoy a fully functional toilet.
| Benefits of Regular Toilet Maintenance | Common Causes of a Disconnected Toilet | Importance of Repeating the Plunging Process |
|---|---|---|
| Prevents future clogs and blockages | Loose fittings or worn-out parts | Ensures a thorough flush |
| Saves money on costly repairs | Aging plumbing system | Maintains a fully functional toilet |
| Reduces the risk of water damage | Improper installation | Prevents future disconnection issues |
Frequently Asked Questions
How Do I Know if My Toilet Is Disconnected?
To troubleshoot toilet flushing problems, we need to determine if the toilet is disconnected. Look for signs like no water filling the bowl or a loose connection at the base.
Can I Use Any Container to Fill With Water?
Using a bucket to fill with water is effective for flushing a disconnected toilet. However, using a jug instead may not provide enough water pressure. It’s important to ensure an adequate amount of water is used for proper flushing.
Is It Necessary to Pour the Water Slowly Into the Toilet Bowl?
There is no specific technique for pouring water into a disconnected toilet, but the speed at which you pour it can affect the flush. Slow pouring allows the water to flow evenly and create a stronger flush.
What if Using a Plunger Doesn’t Create Enough Pressure?
If the plunger doesn’t generate enough pressure, an alternative method for flushing a disconnected toilet is using a bucket. Fill the bucket with water and pour it forcefully into the bowl to create enough force for a flush.
How Many Times Should I Repeat the Process for a Complete Flush?
To achieve a complete flush, we recommend repeating the process until the water runs clear. It is crucial to wait at least 30 seconds between each flush. Use cold water for optimal results.
Conclusion
In conclusion, by following these simple steps, you can quickly and effectively flush a disconnected toilet.
With a container filled with water and a trusty plunger, you can easily restore the toilet’s functionality.
Remember, patience is key, so repeat the process if necessary for a thorough flush.

Just like a well-oiled machine, your toilet will be up and running smoothly again in no time.