Ever been caught in a predicament with a toilet that won’t flush? Don’t worry, because we’ve got the ultimate manual to teach you how to handle a faulty toilet like a pro.
In this step-by-step article, we will walk you through the process of troubleshooting and fixing your toilet. From checking the water supply to inspecting the flapper valve and clearing any clogs, we’ve got you covered.
So grab your tools and let’s get flushing!
Key Takeaways
- Checking the shut-off valve and water flow is important when dealing with a non-working toilet.
- Inspecting and replacing the flapper valve can help resolve issues with flushing.
- Clearing clogs can be done using a plunger, snake tool, toilet auger, or hot water.
- Testing the flush handle, cleaning the siphon jet, and troubleshooting are essential steps in fixing a non-working toilet.

LUXE Bidet NEO 120 - Single Nozzle, Self-Cleaning, Non-Electric Bidet Attachment for Toilet Seat, Adjustable Water Pressure, Rear Wash (White)
THE ULTIMATE VALUE – With a sleek design and high-quality parts, Our Bidet Attachment will give your bathroom...
As an affiliate, we earn on qualifying purchases.
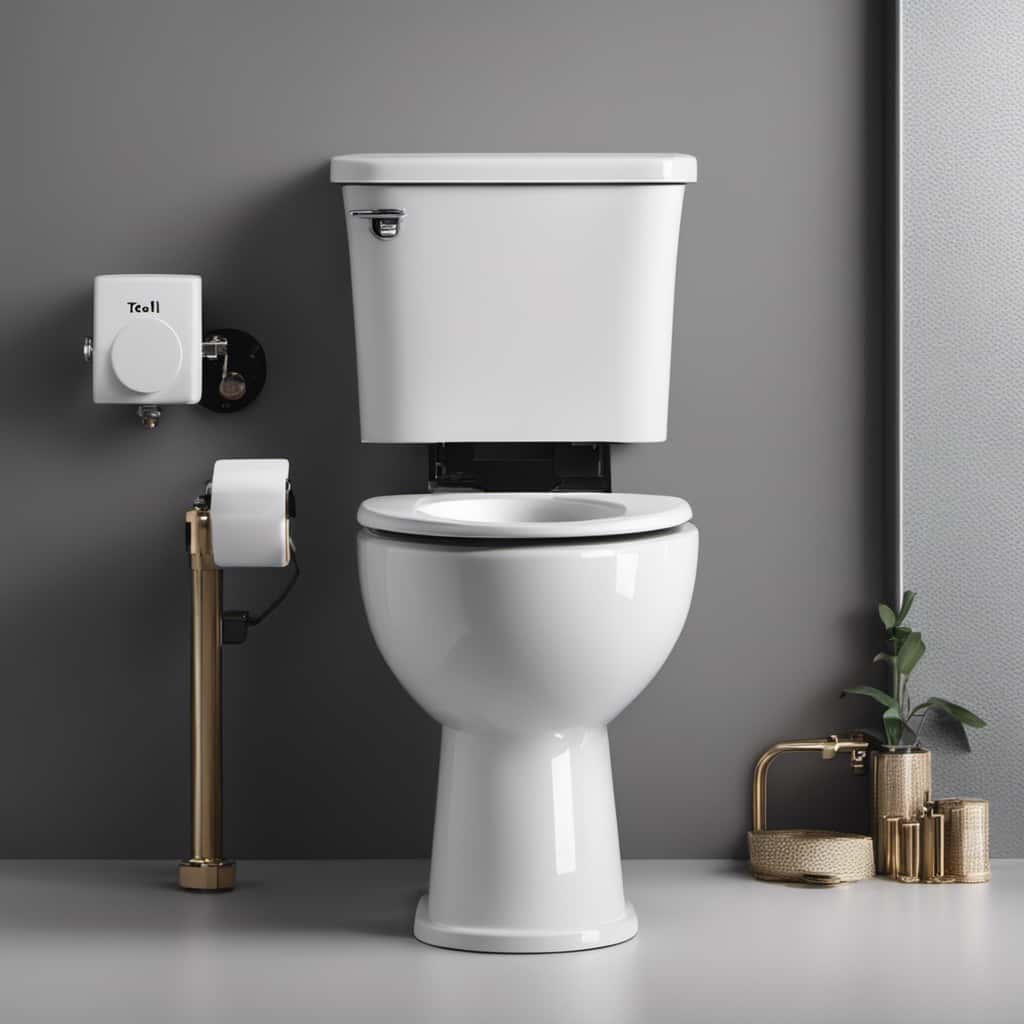
Check the Water Supply
To check the water supply, we recommend inspecting the shut-off valve and ensuring it’s fully open. Water supply issues can often be the cause of a non-working toilet, so it’s important to troubleshoot this step first.
Here are the troubleshooting steps to follow:
- Locate the shut-off valve: The shut-off valve is usually located near the base of the toilet, close to the floor. It can be a lever or a knob.
- Inspect the shut-off valve: Check if the valve is fully open. Turn it clockwise to open it fully.
- Check the water flow: Once the valve is fully open, check if water is flowing into the toilet tank. If there’s no water flow, there may be an issue with the water supply line.
- Test the water pressure: If there’s water flow, but it’s weak or inconsistent, the water pressure may be low. In this case, you may need to contact a professional plumber to address the water pressure issue.

Brondell Bidet Toilet Seat Non-Electric Swash Ecoseat, Fits Elongated Toilets, White - Dual Nozzle System, Ambient Water Temperature - Bidet with Easy Installation
CLEAN AND REFRESHING: With Brondell’s Ecoseat 101 Bidet, you’ll experience a soothing, freshwater wash that leaves you feeling...
As an affiliate, we earn on qualifying purchases.
Inspect the Flapper Valve
After checking the water supply, we can now move on to inspecting the flapper valve.
The flapper valve is a rubber seal located at the bottom of the toilet tank. Its role is to hold water in the tank until you flush, and then release the water into the bowl.
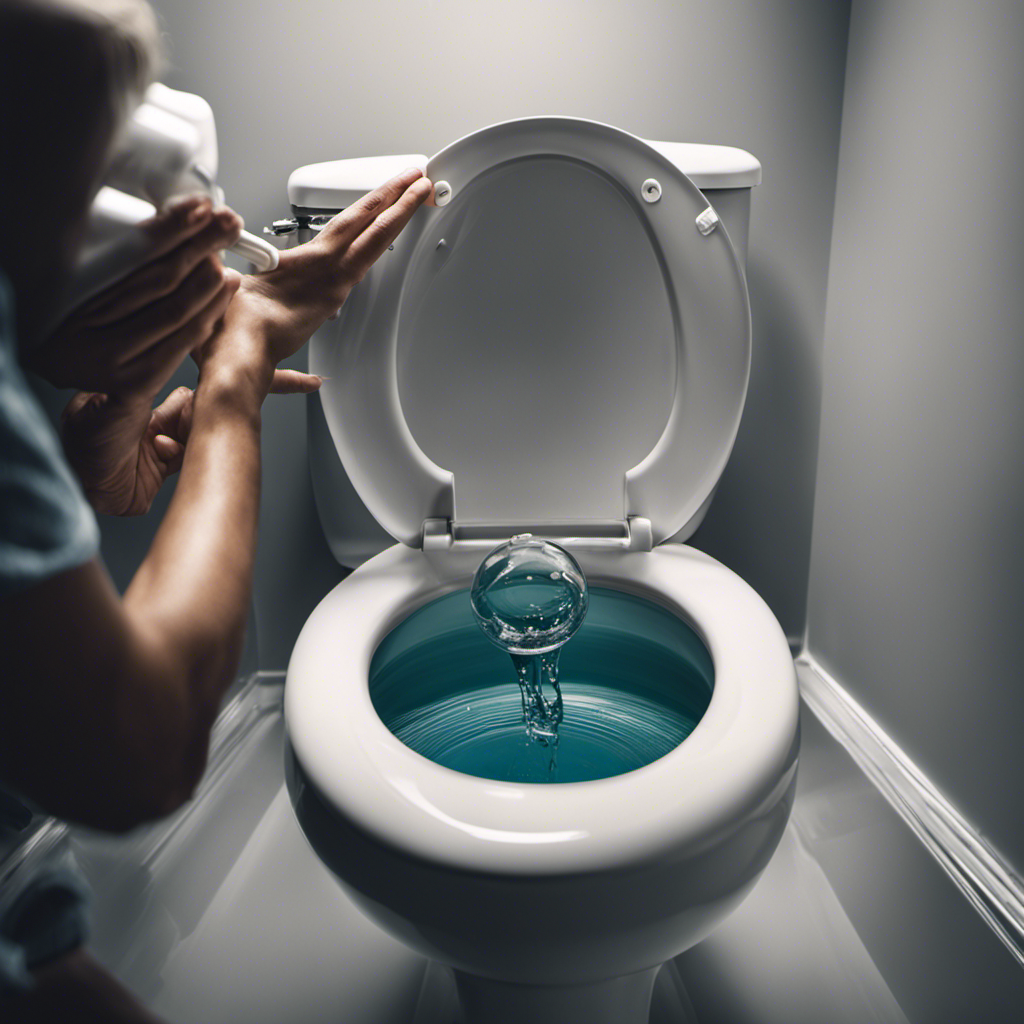
To inspect the flapper valve, start by lifting the toilet tank lid. Look for any signs of damage or deterioration, such as cracks or tears in the rubber.
Next, check the chain length that connects the flapper valve to the flush handle. Ensure that it has enough slack to allow the flapper valve to fully close and seal properly.
Amazon Product B0GMY4B6YR
As an affiliate, we earn on qualifying purchases.
Clear Any Clogs
To clear any clogs in a non-working toilet, we’ve two options: a plunger or a snake.
First, using a plunger, we can create suction by placing it over the drain hole and pushing down firmly, then pulling up quickly. This should help dislodge any blockage.
If the plunger doesn’t work, we can try using a snake, which is a long, flexible tool that can be inserted into the toilet drain to break up and remove the clog.

Plunger or Snake
We can effectively clear any clogs in a non working toilet by using either a plunger or a snake. When it comes to toilet repair and DIY plumbing, knowing how to use these tools correctly can save you time and money.
Here’s a step-by-step guide on how to clear clogs using a plunger:
- Start by filling the toilet bowl with enough water to cover the plunger’s rubber cup.
- Place the plunger directly over the drain hole, ensuring a tight seal.
- Push down firmly and then pull up quickly to create suction. Repeat this motion several times.
- If the clog doesn’t clear after a few attempts, it’s time to try using a snake.
To clear clogs using a snake:
- Insert the snake into the drain hole, pushing it in as far as possible.
- Rotate the snake handle clockwise to break up the clog.
- Slowly pull the snake out, removing any debris that comes with it.
Water Pressure Options
For clearing any clogs in a non-working toilet, our best option is to utilize water pressure. Water pressure troubleshooting can effectively clear the blockage without the need for a plunger or snake. Here are some alternative flushing methods using water pressure:
- Fill a bucket with hot water from another source, such as a bathtub or sink. Carefully pour the water into the toilet bowl, aiming for the center of the drain. The force of the water should help dislodge the clog.
- If hot water isn’t available, try using a toilet auger. Insert the auger into the drain opening and rotate it clockwise. This will help break up the obstruction and restore water flow.
- Another option is to use a wet/dry vacuum. Set the vacuum to the wet setting and place the nozzle over the drain. Turn it on and let the suction help remove the clog.

BIGCOW Ultra-Slim Bidet Attachment for Toilet - Dual Nozzle (Frontal & Rear Wash) with Adjustable Cold Water Pressure and Stainless Steel Inlet - Hygienic Solution for Fresh Cleanliness, Silver 1 Pcs
【Dual Spraying Modes】- This toilet bidet offers both rear wash for thorough cleaning and a specially designed frontal...
As an affiliate, we earn on qualifying purchases.
Adjust the Water Level
Let’s now talk about how to adjust the water level in a non-working toilet.
It’s important to ensure that the water level is set correctly for the toilet to flush properly.
To do this, we need to adjust the flushing mechanism, which controls the amount of water that fills the tank.
Proper Water Level
To adjust the water level in a non working toilet, start by using a wrench to loosen the lock nut located on the fill valve. Once the lock nut is loosened, you can adjust the water level by either lowering or raising the float.
Here are some troubleshooting tips for maintaining the proper water level in your toilet:
- Check for any leaks in the fill valve or the flapper valve.
- Ensure that the float isn’t obstructed and moves freely.
- Clean the fill valve and the float to remove any debris or sediment.
- If necessary, replace any worn-out parts, such as the fill valve or the flapper valve.
Flushing Mechanism Adjustment
Adjusting the water level in a non-working toilet can be done by loosening the lock nut on the fill valve and raising or lowering the float. This adjustment is important as it ensures that the toilet flushes properly and prevents any overflow or insufficient flushing.
To adjust the water level, follow these step-by-step instructions:
- Locate the fill valve, which is usually on the left side of the toilet tank.
- Use a wrench to loosen the lock nut on the fill valve.
- Raise the float to increase the water level or lower it to decrease the water level.
- Tighten the lock nut once you have achieved the desired water level.
- Test the flush by flushing the toilet and observe if the water level is now adjusted correctly.
Test the Flush Handle
We can start by checking the functionality of the flush handle. To test the flush lever, follow these steps:

- Ensure the flush handle is properly connected to the flushing mechanism.
- Gently lift the flush handle to see if it moves smoothly.
- If the handle is loose or wobbly, tighten the mounting nut or screw that secures it to the toilet tank.
- Troubleshoot the chain connection by inspecting whether the chain is properly attached to the flush lever and the flapper valve. Adjust the chain if necessary.
Testing the flush handle helps determine if it’s the source of the non-working toilet. By following these steps, you can identify any issues with the flush lever or the chain connection, allowing you to further troubleshoot the problem and restore your toilet’s functionality.
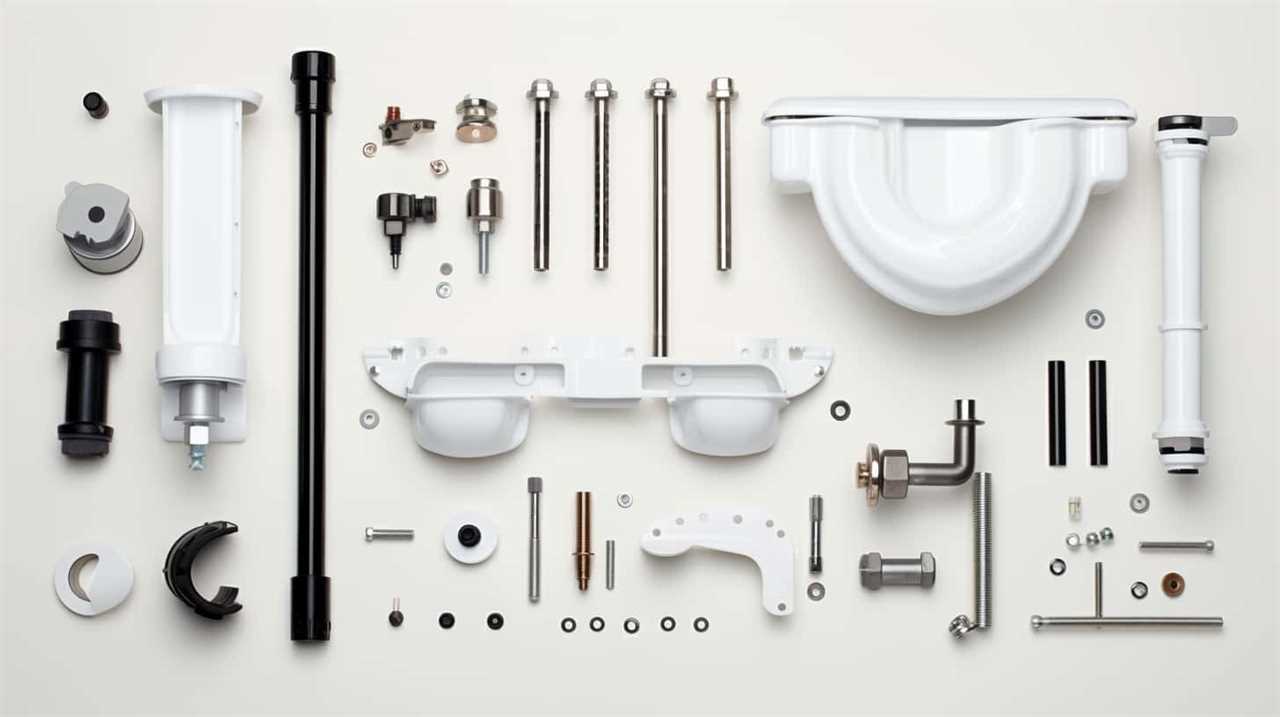
Replace the Flush Mechanism
After testing the flush handle, we can now proceed to replace the flush mechanism. This is an important step in toilet repair and troubleshooting tips. The flush mechanism is responsible for the proper functioning of the toilet, so it’s crucial to ensure it is in good working condition.
To help you understand the process better, let’s break it down into steps using the following table:
| Step | Description |
|---|---|
| 1 | Shut off the water supply to the toilet by turning the valve clockwise. |
| 2 | Empty the tank by flushing the toilet and holding down the handle to drain all the water. |
| 3 | Remove the old flush mechanism by unscrewing the nut that holds it in place. |
| 4 | Install the new flush mechanism by following the manufacturer’s instructions and attaching it securely. |
Clean the Siphon Jet
To properly address the issue of a non-working toilet, it’s necessary to clean the siphon jet. The siphon jet is a small hole located at the bottom of the toilet bowl that helps create a powerful flush. Over time, it can become clogged with mineral deposits and debris, leading to poor flushing performance.
Here are the steps to clean the siphon jet:
- Turn off the water supply to the toilet.
- Use a toilet brush to scrub the inside of the bowl, including the siphon jet.
- Pour a mixture of vinegar and water into the overflow tube to dissolve any remaining deposits.
- Turn the water supply back on and flush the toilet to check if the siphon jet is now clear.
Cleaning the siphon jet is an important part of toilet troubleshooting and fixing a clogged toilet. By following these steps, you can ensure that your toilet flushes properly and efficiently.
Call a Professional Plumber if Needed
If the steps mentioned above don’t resolve the issue, it may be necessary to contact a professional plumber. DIY toilet troubleshooting can be effective for common toilet problems, but there are situations where professional help is warranted.
A professional plumber has the knowledge and experience to diagnose and fix more complex issues that may be causing your non-working toilet. They’ve access to specialized tools and equipment which can help identify the root cause of the problem. Additionally, a plumber can provide expert advice on how to prevent future toilet issues.
When contacting a professional plumber, make sure to provide them with a detailed description of the problem and any steps you have already taken to troubleshoot the toilet.
Conclusion
In conclusion, by following these step-by-step instructions, you can easily troubleshoot and fix a non-working toilet.
From checking the water supply to clearing any clogs and adjusting the water level, these simple actions can restore your toilet’s functionality.
Remember, if all else fails, don’t hesitate to call a professional plumber for assistance.

With a little effort and the right knowledge, you can quickly resolve any toilet flushing issues and get back to a smoothly running bathroom.