We have the inside information on transforming your toilet into a champion of water conservation. With a handful of easy steps, we will guide you on how to minimize water consumption while maintaining effective flush strength.
Gather your materials, remove the tank lid, and identify the water fill valve.
Then, it’s all about adjusting the water level, installing a float cup or ball, and adding a toilet fill cycle diverter.
Don’t forget the toilet flush handle adapter and a water-saving flapper.
Test it out and make those water savings soar!
Key Takeaways
- Adjusting the water level in the toilet tank can help conserve water and prevent excessive flushing.
- Installing a float cup or float ball can effectively control the water level in the tank for water-saving benefits.
- Installing a toilet flush handle adapter and a water-saving flapper can further contribute to water conservation.
- Regularly testing, adjusting, and troubleshooting the toilet water saver components is important to ensure optimal water usage and efficiency.

Niagara Conservation Water Saving Toilet Tank Bank
Easy to use – simply fill to the top, snap to close and hang in the toilet
As an affiliate, we earn on qualifying purchases.
As an affiliate, we earn on qualifying purchases.
Gather Necessary Materials
To start making a toilet water saver, we’ll need to gather up all of the necessary materials.
The goal of this project is to create a device that can help conserve water and provide eco-friendly alternatives to traditional toilet flushing methods.
The first material we’ll need is a plastic bottle, preferably one with a capacity of 1-2 liters. This will act as the reservoir for the water.
Next, we’ll require a rubber band or a piece of string to secure the bottle to the toilet’s flush lever.
Additionally, we’ll need a pair of scissors to cut the necessary holes in the bottle.
Finally, we’ll need a marker or a pen to mark the areas where we need to make the cuts.
Gathering these materials is the first step towards creating an effective toilet water saver that promotes water conservation and environmental sustainability.

Korky Ultra Standard 2-Inch Universal Toilet Flapper – Long Lasting Rubber – Easy to Install – Made in USA, 100BP
TOILET FLAPPER VALVE FITS MOST POPULAR 2 inch toilet brands including, but not limited to: American Standard, Kohler,…
As an affiliate, we earn on qualifying purchases.
As an affiliate, we earn on qualifying purchases.
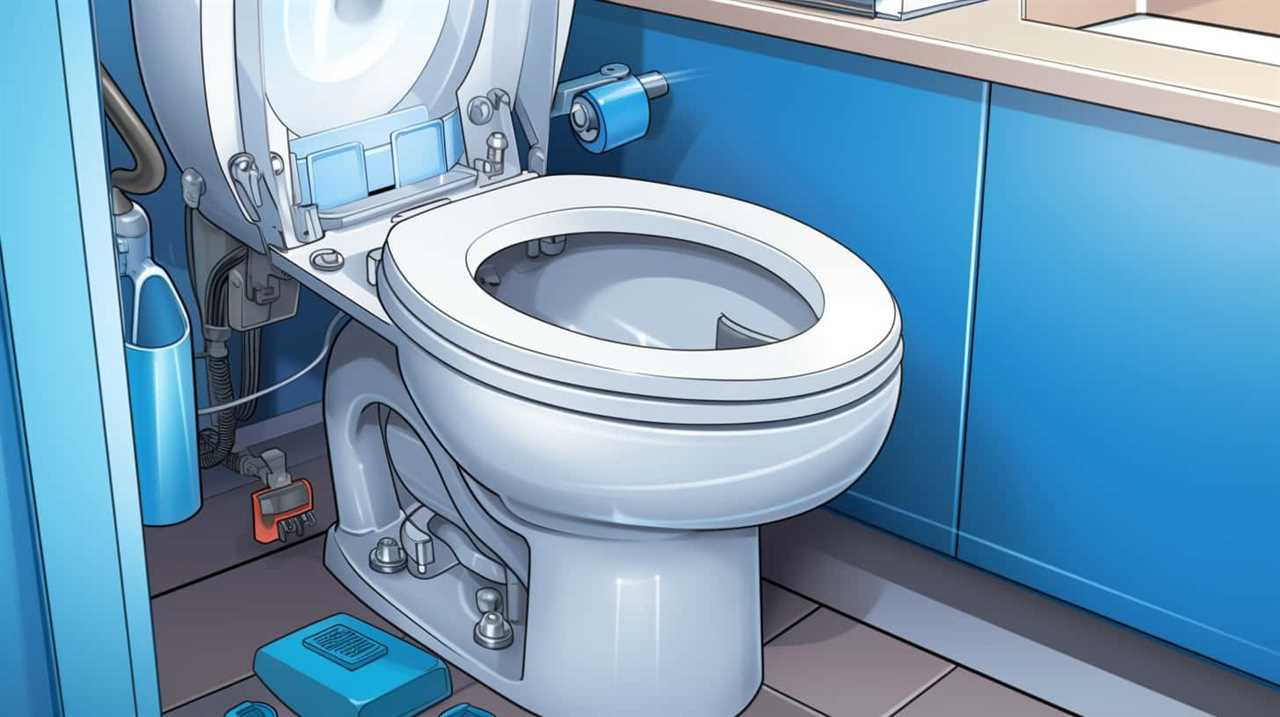
Remove the Toilet Tank Lid
We can begin by removing the toilet tank lid. To make the process easier, follow these steps:
- Locate the toilet tank lid, which is usually made of porcelain or plastic and sits on top of the toilet bowl.
- Gently lift the lid straight up, being cautious not to drop or damage it.
- Set the lid aside in a safe place where it won’t get in the way.
Removing the toilet tank lid allows us to access the inner mechanisms of the toilet. This is necessary to identify the water supply, which is usually a valve located on the wall behind the toilet. Additionally, we can adjust the float arm, which controls the water level inside the tank. By making the necessary adjustments, we can ensure that our toilet functions efficiently and conserves water.
Now, let’s move on to the next step and identify the water fill valve.

PF WaterWorks FillMAGIC Water Saving Toilet Tank Overflow Fill Cycle Diverter – 2 Pack; PF0554
Saves 0.5 – 1.5 gallons of water per flush
As an affiliate, we earn on qualifying purchases.
As an affiliate, we earn on qualifying purchases.
Identify the Water Fill Valve
To identify the water fill valve, start by locating the valve on the wall behind the toilet. The water fill valve is responsible for regulating the water flow into the toilet tank. By understanding how to identify the water fill valve, you can effectively manage and adjust the water pressure in your toilet.
It’s crucial to identify the water fill valve accurately to make any necessary adjustments for water conservation purposes. To identify the water fill valve, look for a small, cylindrical device connected to a water supply line. This valve is typically made of plastic or metal and has a lever or knob that can be turned to adjust the water flow.
Once you have located the water fill valve, you can proceed with making the necessary modifications to conserve water.

Danco 40121 Plastic Toilet Float, Black
For use with all toilets
As an affiliate, we earn on qualifying purchases.
As an affiliate, we earn on qualifying purchases.
Adjust the Water Level in the Tank
Let’s talk about how to adjust the water level in the tank of your toilet to optimize water usage and reduce waste.
By ensuring the water level is set at the optimal height, you can prevent excessive water from being flushed down the drain with each use.
This simple adjustment can make a significant difference in conserving water and promoting sustainability.
Optimal Water Level
To adjust the water level in the tank and maximize water efficiency, we can easily lower or raise it using the float valve. By setting the optimal water level, we can ensure that our toilet operates at the correct pressure, minimizing water waste.
Here are three key points to consider when adjusting the water level:
- Optimal Water Pressure:
- Adjusting the water level ensures that the pressure in the tank is neither too high nor too low.
- Correct water pressure prevents excessive flushing and reduces the risk of leaks or damage.
- Water Saving Techniques:
- Lowering the water level reduces the amount of water used during each flush.
- This simple adjustment can significantly contribute to water conservation efforts.
- Maintaining Efficiency:
- Regularly monitoring and adjusting the water level in the tank helps maintain the toilet’s efficiency and effectiveness.
- It ensures that the toilet only uses the necessary amount of water for each flush.
Reducing Water Waste
Adjusting the water level in the tank is an effective way to reduce water waste and promote sustainable practices. By lowering the water level, you can minimize unnecessary water usage without compromising the toilet’s functionality.
To adjust the water level, locate the fill valve and turn the adjustment screw or rod counterclockwise to decrease the water level. It’s important to find the optimal balance between conserving water and ensuring a proper flush.
Keep in mind that an excessively low water level may result in incomplete flushing, leading to multiple flushes and ultimately defeating the purpose of water conservation.
Install a Float Cup or Float Ball
When it comes to installing a float cup or float ball in your toilet, there are a few important points to consider.
Firstly, you need to understand the difference between a float cup and a float ball. While a float cup is a newer design that’s more compact and efficient, a float ball is the traditional choice.

Additionally, both options offer water-saving benefits by effectively controlling the water level in the tank, ensuring that it doesn’t exceed the necessary amount for each flush.
Float Cup Vs. Float Ball
We installed a float cup in our toilet as a water-saving measure. Here are some benefits of using a float cup instead of a float ball:
- Improved water efficiency: Float cups are designed to be more sensitive to water levels than float balls, allowing for more precise control of water flow and reducing the risk of overfilling the tank.
- Reduced water waste: Float cups are less prone to leaks and water loss compared to float balls, ensuring that water isn’t wasted unnecessarily.
- Less maintenance: Float cups require less maintenance than float balls as they’re less likely to get stuck or become misaligned, resulting in fewer repairs and replacements.
By choosing a float cup over a float ball, you can enjoy the benefits of improved water efficiency, reduced water waste, and lower maintenance requirements.
This makes a float cup an excellent choice for those seeking to maximize their water-saving efforts.
Water-Saving Benefits
To maximize water-saving efforts, installing either a float cup or a float ball offers significant benefits. These water-saving products work by controlling the water level in the toilet tank, preventing excessive water usage during each flush. By adjusting the float cup or float ball, you can ensure that the tank only fills to the required level for effective flushing, reducing water wastage. These techniques are essential for conserving water, especially in regions facing water scarcity or high water bills.
Both the float cup and float ball are simple yet effective solutions that can be easily installed in most toilet tanks. They’re designed to activate the fill valve when the water level drops, ensuring a consistent water level without any overflow. This not only saves water but also helps in reducing water bills and conserving resources.
Install a Dual Flush Converter
To install a dual flush converter, gather the necessary tools and materials. You’ll need a dual flush converter kit, which typically includes a dual flush valve, a dual flush button or handle, and a flush valve seal. Additionally, you’ll need a wrench, pliers, and a bucket.
Follow these steps to install the dual flush converter:
- Turn off the water supply to the toilet and flush to empty the tank.
- Remove the toilet tank lid and disconnect the flush valve chain from the handle or lever.
- Remove the existing flush valve by unscrewing it from the bottom of the tank.
- Install the new dual flush valve, making sure it’s securely tightened.
- Attach the dual flush button or handle to the tank lid.
- Adjust the water levels by following the instructions provided with the dual flush converter kit.
- Turn on the water supply and test the dual flush system.
Install a Toilet Dam or Displacement Bag
After installing a dual flush converter, an alternative option to further save water in your toilet is by installing a toilet dam or displacement bag.
These devices work by reducing the amount of water used for each flush. A toilet dam is a flexible rubber device that’s placed inside the toilet tank. It creates a barrier that reduces the volume of water that fills the tank, thus lowering the amount of water used per flush.
On the other hand, a displacement bag is a bag filled with water or another heavy material that’s placed inside the toilet tank. It takes up space, displacing water and reducing the amount of water needed for each flush.
Both options can help save water and reduce toilet water pressure, preventing toilet water overflow.
Install a Toilet Flapper With Adjustable Settings
We can install a toilet flapper with adjustable settings to further optimize water usage in our toilets. Here are three key benefits of using a toilet flapper with adjustable settings:
- Water Conservation: With adjustable flapper settings, we can control the amount of water released during each flush, reducing water wastage. By setting the flapper to a lower flow rate, we can conserve water without compromising on the toilet’s performance.
- Customization: Adjustable flapper settings allow us to fine-tune the flush to suit our specific needs. We can adjust the flapper to provide a more powerful flush when needed or a gentler flush for liquid waste, ensuring efficient water usage.
- Easy Installation: Installing a toilet flapper with adjustable settings is a straightforward process. With a few simple steps, we can replace the existing flapper and start benefiting from its adjustable features.
Install a Toilet Fill Cycle Diverter
Let’s talk about the benefits of installing a toilet fill cycle diverter and the easy steps to do it.
A toilet fill cycle diverter helps save water by redirecting the refill water that would normally go to the toilet tank into a different use, such as filling a bucket for cleaning or watering plants.
Installing a toilet fill cycle diverter is a simple process that can be done by following a few straightforward steps.
Benefits of Water-Saving
One of the key benefits of water-saving is that it reduces our environmental impact. By implementing water-saving practices, we can conserve this precious resource and contribute to a more sustainable future.
Here are three important reasons why water-saving is beneficial:
- Conservation of water resources: Water is a finite resource, and by reducing our water consumption, we can help ensure its availability for future generations.
- Lower utility bills: Using less water means lower water bills. By implementing water-saving techniques, such as installing a toilet fill cycle diverter, you can save money on your monthly water expenses.
- Environmental protection: Water-saving practices help protect ecosystems by minimizing the extraction of water from rivers, lakes, and underground sources. This, in turn, supports the health and biodiversity of aquatic habitats.
Easy Installation Steps
To continue conserving water and reducing our environmental impact, let’s now explore the easy installation steps for a toilet fill cycle diverter.
Installing a toilet fill cycle diverter is a simple and effective way to optimize water pressure and reduce water usage.
First, shut off the water supply to the toilet by turning the valve clockwise.
Next, flush the toilet to drain the water from the tank.
Disconnect the water supply line from the bottom of the tank and attach the fill cycle diverter in its place.
Ensure a tight connection to prevent any leaks.
Once installed, turn on the water supply and check for any leaks.
Troubleshooting common issues may involve adjusting the diverter’s position or tightening connections.
With the toilet fill cycle diverter successfully installed, we can now move on to the next step: installing a toilet flush handle adapter.
Install a Toilet Flush Handle Adapter
To install a toilet flush handle adapter, we’ll need to gather the necessary tools and follow a few simple steps. Here’s how to do it:
- Start by turning off the water supply to the toilet. This can usually be done by turning the valve located behind the toilet clockwise.
- Next, remove the lid of the toilet tank and locate the flush handle. Inspect the handle for any signs of wear or damage. If you notice any issues with the handle, such as sticking, loose connections, or a broken lever, it may be time for some toilet flush handle maintenance.
- Troubleshooting common toilet handle issues can involve tightening loose connections, lubricating moving parts, or replacing worn-out components.
- Once you have addressed any maintenance needs, it’s time to install the flush handle adapter. This adapter will allow you to connect a new handle to the existing flushing mechanism.
- Follow the manufacturer’s instructions to attach the adapter securely. Make sure all connections are tight and secure.
- Finally, turn the water supply back on and test the flush handle. It should now operate smoothly and effectively.
Install a Toilet Flapper With a Water-Saving Design
To save water in your toilet, we can install a toilet flapper with a water-saving design. This is one of the most effective water-saving techniques for toilets. The flapper is the component that controls the flow of water from the tank to the bowl during a flush. By installing a flapper with a water-saving design, you can reduce the amount of water used per flush. These flappers are designed to allow less water to pass through, resulting in water savings without compromising the flushing performance.
To adjust the flapper, simply follow the manufacturer’s instructions. This may involve adjusting the chain length or the float level. It’s important to find the right balance between water conservation and effective flushing. Once the flapper is installed and adjusted, you can move on to testing and adjusting the toilet water saver to ensure optimal water usage.
Test and Adjust the Toilet Water Saver
How do we ensure optimal water usage after installing and adjusting the toilet water saver?
Testing the effectiveness and adjusting the settings of the toilet water saver are crucial steps in achieving water savings. Here are three important considerations for this process:

- Conduct a water level test:
- Fill the toilet tank to its normal level and mark the water line.
- Flush the toilet and observe if the water level drops below the marked line.
- If it does, adjust the water saver settings accordingly.
- Check for leaks:
- After adjusting the water saver, inspect the toilet for any leaks.
- A simple way to do this is by adding a few drops of food coloring to the tank and waiting for a few minutes.
- If the color appears in the bowl without flushing, there may be a leak that needs to be addressed.
- Fine-tune the settings:
- Depending on the results of the water level test and leak check, you may need to further adjust the water saver settings.
- This could involve increasing or decreasing the amount of water saved with each flush until optimal water usage is achieved.
Conclusion
By implementing a toilet water saver, we not only conserve water, but also symbolize our commitment to preserving our planet.
With just a few simple adjustments and installations, we can significantly reduce our water usage without sacrificing performance.
Let our toilets become a symbol of our dedication to environmental stewardship, as we take small yet impactful steps towards a sustainable future.