Have you ever been in a dire situation in the restroom, facing a toilet that just won’t flush? It’s a scenario we’ve all faced, frantically looking for a fix. But worry no more, because we’ve got the solution for you.
In this article, we will guide you through the step-by-step process of manually flushing a toilet. From locating the water shut-off valve to pouring water into the bowl, we’ll equip you with the knowledge and tools to conquer any flushing challenge.
Get ready to become a master of the toilet flush!
Key Takeaways
- Understanding the flush mechanism is essential for maintaining a functioning toilet.
- The necessary tools for manually flushing a toilet include a plunger, bucket, and gloves.
- The steps to manually flush a toilet involve locating the water shut-off valve, removing the tank lid, and lifting the flapper or flush valve.
- Troubleshooting and adjustments may be necessary, such as replacing a worn-out flapper, adjusting the chain length, or pouring water into the bowl.
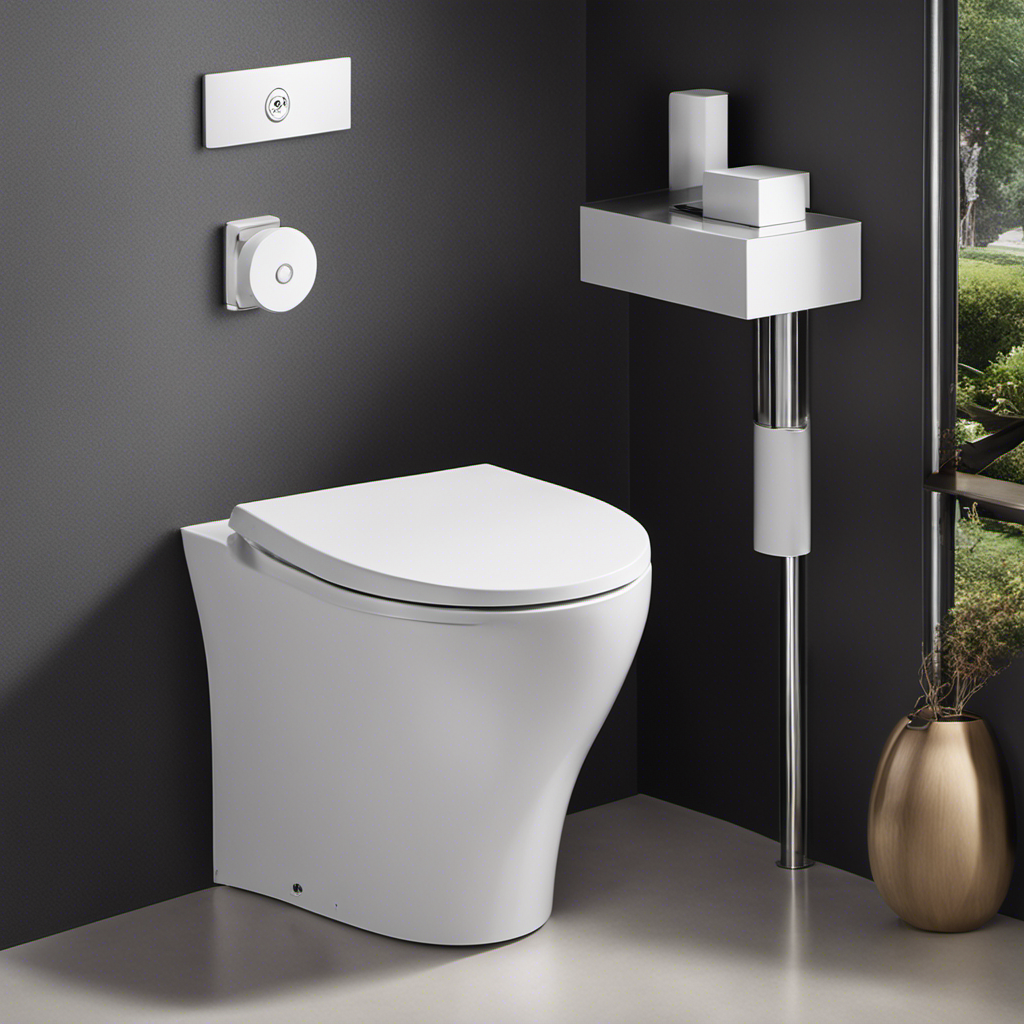
Understanding the Flush Mechanism
To understand the flush mechanism of a toilet, we need to know how the water is released and the components involved in the process. The flushing mechanism of a typical toilet consists of several key components:
- the flush valve
- the fill valve
- the trip lever
When the trip lever is pressed, it lifts the flush valve, allowing water to flow from the tank into the bowl. The fill valve then refills the tank with water, ready for the next flush.
However, there are common toilet flushing problems that can occur. Some troubleshooting tips include:
- adjusting the water level in the tank
- checking for leaks
- ensuring that the trip lever is properly aligned
Understanding the flushing mechanism and troubleshooting common problems is essential for maintaining a properly functioning toilet.
Now, let’s move on to the next section and discuss gathering the necessary tools.

Gathering the Necessary Tools
To gather the necessary tools for manually flushing a toilet, we’ll need a plunger, a bucket, and gloves. These tools are essential for troubleshooting toilet flush issues and implementing effective toilet flushing techniques.
Firstly, a plunger is crucial for creating the necessary suction to dislodge any blockages in the toilet pipe. It consists of a rubber cup attached to a handle, allowing for easy maneuverability. When using a plunger, make sure to create a tight seal around the drain hole to maximize suction.
Secondly, a bucket is useful for manually filling the toilet tank with water. This can be done by filling the bucket with water from a nearby source and pouring it gently into the toilet tank. This will enable a manual flush and help clear any clogs.
Lastly, gloves are necessary to protect your hands from potential contaminants while handling the toilet and its components. It’s important to prioritize hygiene and safety during the manual flushing process.

Step 1: Locate the Water Shut-Off Valve
Now that we’ve gathered the necessary tools, let’s move on to the first step in manually flushing a toilet, which is locating the water shut-off valve. This valve allows you to control the water flow to the toilet and is essential for performing any maintenance tasks.
To locate the shut-off valve, follow these steps:
- Start by checking the area around the base of the toilet. Look for a small metal or plastic handle protruding from the wall or floor.
- If you don’t find it there, check in the basement or crawl space directly beneath the bathroom. The shut-off valve is often located near the water meter.
- Once you locate the valve, turn it clockwise to shut off the water supply to the toilet. This will help prevent any leaks or accidents while working on the toilet.
Now that you have successfully located and shut off the water supply, you can proceed to the next step: removing the tank lid.
Step 2: Remove the Tank Lid
Now that we’ve located the water shut-off valve, we can move on to the next step: removing the tank lid.
This step requires some technique and safety precautions to ensure a smooth and accident-free process.
In this discussion, we’ll explore different techniques for removing the tank lid and highlight important safety measures to keep in mind.
Tank Lid Removal Techniques
Let’s go ahead and take off the tank lid using a screwdriver. This step is crucial for tank lid maintenance and troubleshooting common flushing issues. Here are two techniques you can use to remove the tank lid:
- Traditional Screwdriver Technique:
- Locate the screws: Look for two screws on the top of the tank lid, usually positioned towards the back.
- Loosen the screws: Gently insert the screwdriver into the screw heads and turn counterclockwise to loosen them.
- Lift the tank lid: Once the screws are loose, carefully lift the tank lid straight up and set it aside.
- Snap-on Lid Technique:
- Identify the snaps: Look for snap-on lids, which don’t have screws. These lids typically have plastic snaps on the sides or corners.
- Release the snaps: Use your fingers or a flathead screwdriver to apply gentle pressure on the snaps, releasing them one by one.
- Lift the tank lid: Once all the snaps are released, lift the tank lid straight up and set it aside.
Remember to handle the tank lid with care to avoid any damage during removal.
Safety Precautions for Removal
To ensure a safe removal of the tank lid, it’s important to take certain precautions.
Before attempting to remove the lid, make sure you have the necessary safety gear. This includes wearing protective gloves and safety goggles to protect your hands and eyes from any potential hazards.
Additionally, ensure that you’re handling any chemicals with care. Some toilet cleaners may contain harsh chemicals that can be harmful if they come into contact with your skin or eyes. It’s important to read and follow the instructions on the product label.
When removing the tank lid, be sure to lift it slowly and steadily, avoiding any sudden movements that could cause it to slip or fall.
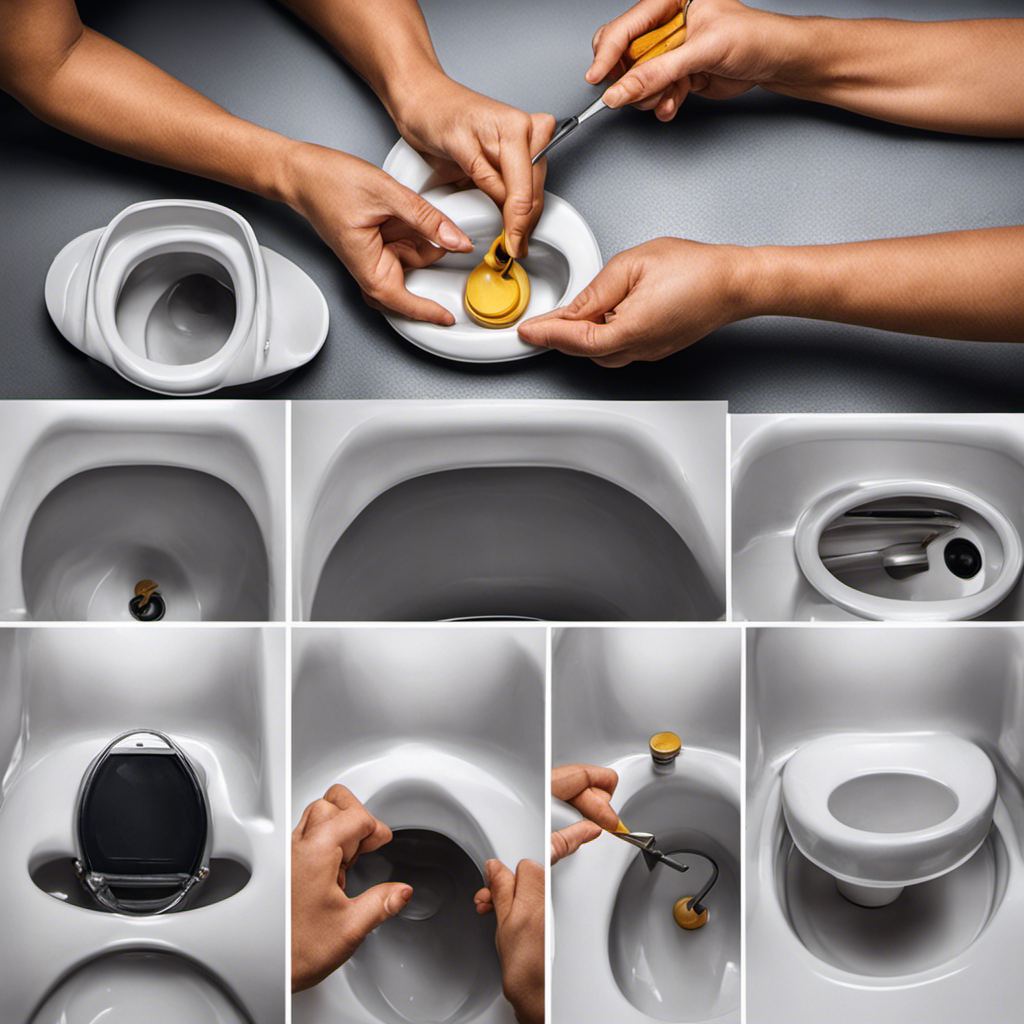
Step 3: Lift the Flapper or Flush Valve
Lifting the flapper or flush valve is the next crucial step in manually flushing a toilet. This step is essential for proper water flow and to ensure a complete flush.
Here’s how you can lift the flapper or flush valve:
- Locate the flapper or flush valve: The flapper or flush valve is usually located at the bottom of the toilet tank, connected to the flush handle by a chain or rod.
- Lift the flapper or flush valve: Gently lift the flapper or flush valve using your fingers or a toilet handle. Make sure to lift it high enough to allow water to flow freely into the toilet bowl.
- If you’re experiencing issues with the flapper, consider replacing it with a new one. A worn-out or damaged flapper can cause water leaks and inefficient flushing.
- If the flapper doesn’t lift properly, troubleshoot the chain or rod connecting it to the flush handle. Adjust the chain length or tighten the connections if necessary.
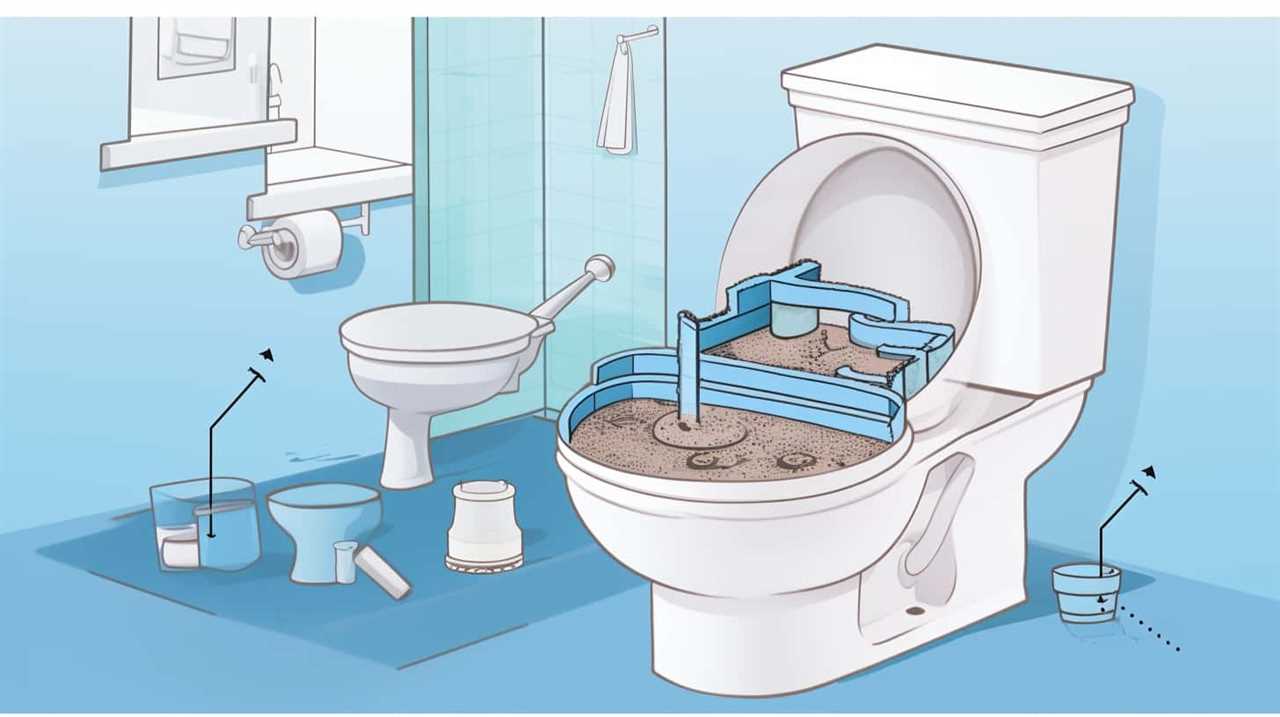
Step 4: Pour Water Into the Bowl
Now, let’s talk about the important points to consider when pouring water into the toilet bowl.
Firstly, the volume of water you pour is crucial for an effective flush. It should be around 1.6 gallons or 6 liters, which is the standard amount used in most toilets.

Additionally, there are alternative methods you can try if pouring water alone doesn’t produce the desired flushing action, such as using a bucket or a plunger.
Water Volume for Flushing
We pour a sufficient amount of water into the bowl to ensure a proper flush. The water volume for flushing is crucial as it affects the effectiveness of the flush.
Here are two important considerations for determining the right water volume:
- Water Pressure:
- Check the water pressure in your plumbing system. Higher water pressure can help create a stronger flush.
- If the water pressure is low, you may need to pour a larger volume of water to compensate for the reduced force.
- Toilet Bowl Cleanliness:
- If the toilet bowl is relatively clean and not heavily soiled, a smaller amount of water may be sufficient for a flush.
- However, if the bowl has significant residue or waste, a larger volume of water will be necessary to ensure a thorough flush and prevent clogging.
Alternative Flushing Methods
To begin the alternative flushing method, we pour water into the bowl. This technique is a great way to conserve water while still effectively flushing the toilet. By manually pouring water into the bowl, we can avoid using the usual amount of water that a traditional flush requires. Here’s how it works:

| Step | Instructions |
|---|---|
| 1 | Fill a bucket or container with water. |
| 2 | Slowly pour the water into the bowl, aiming for the center. |
| 3 | Continue pouring until the water level rises, simulating a flush. |
| 4 | Repeat the process if necessary to fully clear the bowl. |
Step 5: Repeat if Necessary
If the toilet doesn’t flush properly after the first attempt, it may be necessary to repeat the process. Here are some steps to follow:
- Check the water level in the tank. If it’s too low, adjust the float valve to increase the water level.
- Ensure that the flapper valve is sealing properly. If it’s worn out or misaligned, it may need to be replaced.
- Examine the flush handle and chain. If the chain is too loose or tangled, it can prevent proper flushing. Adjust or replace it if necessary.
- Inspect the drain line for any clogs. Use a plunger or a toilet auger to clear any blockages.
If the toilet still doesn’t flush properly after repeating these steps, it may be necessary to move on to the next step: replacing the tank lid.
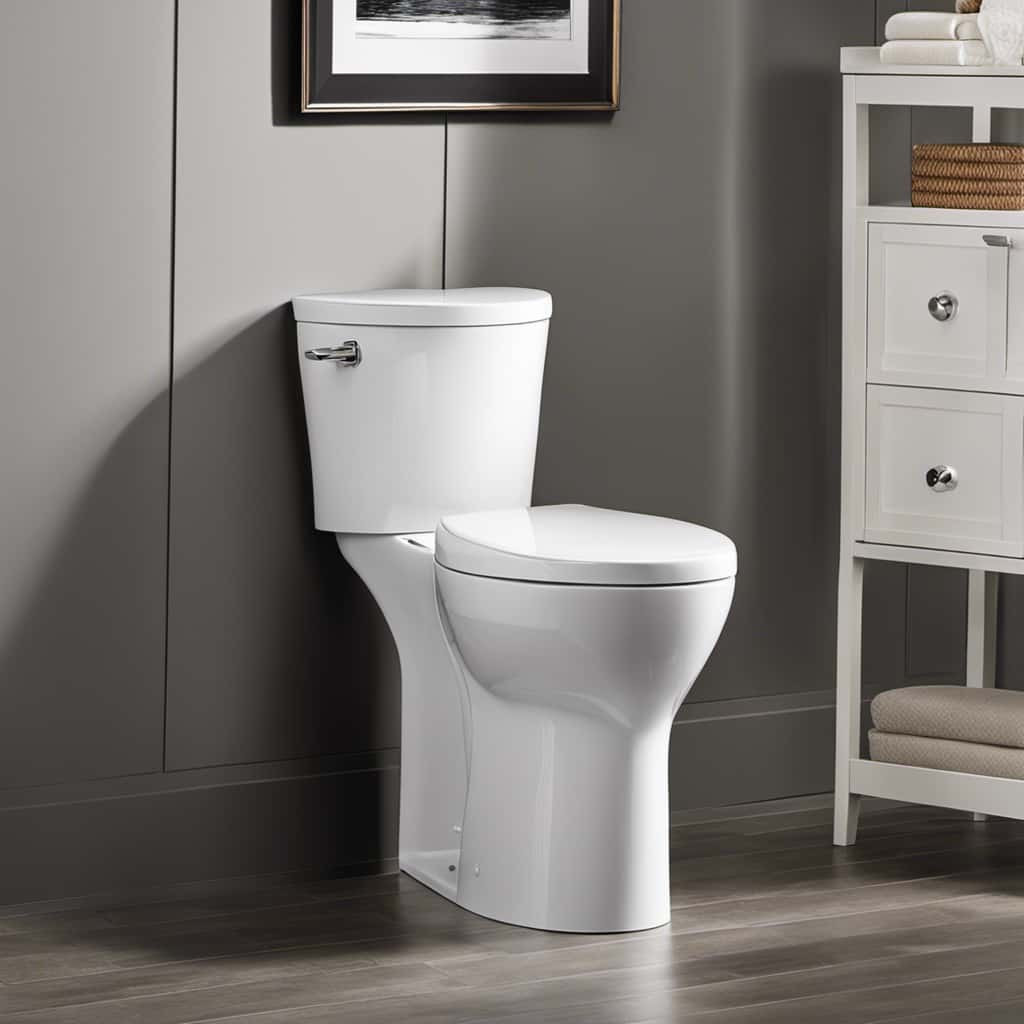
Step 6: Replace the Tank Lid
To replace the tank lid, carefully lift it off and set it aside.
The tank lid is an essential component of the toilet as it covers the tank and helps to maintain the proper functioning of the flush mechanism.

When the tank lid isn’t in place, it can lead to various issues such as water leakage, loss of pressure, and potential damage to the flushing system.
Therefore, it’s crucial to ensure that the tank lid is securely fitted back onto the tank after manually flushing the toilet.
Be cautious while handling the tank lid to avoid any accidental breakage.
Once the tank lid is back in place, it will provide the necessary protection and maintain the optimal performance of your toilet.

Tips and Precautions for Manual Flushing
Now that we’ve replaced the tank lid, let’s go over some tips and precautions for manually flushing a toilet.
Proper toilet maintenance is essential to avoid common issues and ensure the smooth operation of your toilet. Here are some tips to keep in mind:
- Regular cleaning: Clean the toilet bowl and tank regularly to prevent the buildup of mineral deposits and bacteria. Use a non-abrasive cleaner and a toilet brush to remove any stains or residue.
- Check the water level: Ensure that the water level in the tank is adequate. If it’s too low, adjust the float valve to raise the water level. If it’s too high, adjust the float valve to lower the water level.
- Troubleshooting toilet issues: If your toilet isn’t flushing properly, check the flapper valve for any damage or obstructions. If necessary, replace the flapper valve to restore proper flushing.
Frequently Asked Questions
How Do I Know if My Toilet Needs to Be Manually Flushed?
To know if a toilet needs manual flushing, check if it’s clogged or doesn’t flush properly. Signs include water rising to the brim, slow draining, or complete blockage. Learn how to fix a clogged toilet or unclog it without a plunger.
Can I Manually Flush a Toilet Without Turning off the Water Supply?
Yes, there are alternative methods to manually flush a toilet without turning off the water supply. Troubleshooting tips include using a bucket of water or a plunger to create enough pressure for a manual flush.

What Should I Do if the Flapper or Flush Valve Is Not Easily Accessible?
If the flapper or flush valve is not easily accessible, there are alternative methods to manually flush a toilet. One option is to use a plunger, which can create enough pressure to force water through the system and flush the toilet.
Can I Use Any Type of Water to Pour Into the Bowl During Manual Flushing?
Yes, you can use different types of water to manually flush a toilet. However, it is important to consider that using non-potable water may affect the toilet’s performance and lead to potential issues.
Are There Any Risks or Potential Damage to the Toilet When Manually Flushing?
When manually flushing a toilet, there are potential risks and potential damage to the toilet. It is important to be cautious and follow proper procedures to avoid any harm or costly repairs.
Conclusion
In conclusion, manually flushing a toilet is a simple process that can be done with a few basic steps. By understanding the flush mechanism and gathering the necessary tools, you can easily locate the water shut-off valve, remove the tank lid, lift the flapper or flush valve, and pour water into the bowl.
Repeat if necessary and then replace the tank lid. Following these steps will ensure a successful manual flush. Remember to always exercise caution and follow safety guidelines when working with plumbing fixtures.