I know what you’re thinking: installing a toilet must be a time-consuming and complex task. But let me assure you, it doesn’t have to be.
In this article, I will walk you through the step-by-step process of installing a toilet, while providing time-saving tips and tricks along the way. With the right tools and materials, you’ll be surprised at how quickly and easily you can have a new toilet up and running in no time.
So, let’s dive in and discover just how long it really takes to install a toilet.
Key Takeaways
- The condition of the bathroom floor and potential complications during installation can affect the time it takes to install a toilet.
- Hiring a professional can save time and prevent issues, but DIY installation can be cost-effective.
- The tools and materials needed for toilet installation include a wax ring, adjustable wrench, screwdriver, and level.
- The step-by-step installation process includes shutting off the water supply, removing the old toilet, placing the wax ring, attaching the new toilet bowl and tank, and checking for leaks.
Factors Affecting Installation Time
Factors like the condition of your bathroom floor and the type of toilet you purchased can affect how long it’ll take you to install a toilet. Potential complications can arise during the installation process, which may further delay the completion time.
When considering professional versus DIY installation, it is important to recognize that hiring a professional may save you time and potential headaches. Professionals have the necessary expertise and experience to handle any unexpected issues that may arise during the installation. Additionally, they can complete the job efficiently and effectively, ensuring proper installation and minimizing the risk of future problems.
On the other hand, DIY installation can be a cost-effective option for those with basic plumbing knowledge and skills. However, it’s crucial to weigh the potential complications and time investment that may arise from tackling the installation yourself.
Tools and Materials Needed
To complete the installation, you’ll need a few tools and materials. Here are the four essential items you’ll need to install a toilet:
-
Toilet bowl wax ring: This creates a watertight seal between the toilet and the floor flange, preventing leaks.
-
Adjustable wrench: Used to tighten and secure the bolts that hold the toilet to the floor.
-
Screwdriver: Needed to remove the old toilet seat and lid, as well as to install the new one.
-
Level: Ensures that the toilet is properly aligned and balanced to avoid any rocking or instability.
When it comes to choosing the right toilet, there are several factors to consider. These include the type of toilet (such as gravity-feed or pressure-assisted), the flush mechanism (single or dual flush), the bowl shape (round or elongated), and the overall design and style.
Additionally, you should also take into account the toilet installation cost, which can vary depending on the brand, features, and installation requirements.
Step-by-Step Installation Process
First, you’ll want to gather all the necessary tools and materials for the installation process. Here is a step-by-step guide on how to install a toilet:
| Tools | Materials |
|---|---|
| Wrench | Toilet bowl |
| Screwdriver | Toilet tank |
| Plunger | Wax ring |
| Level | Bolts and nuts |
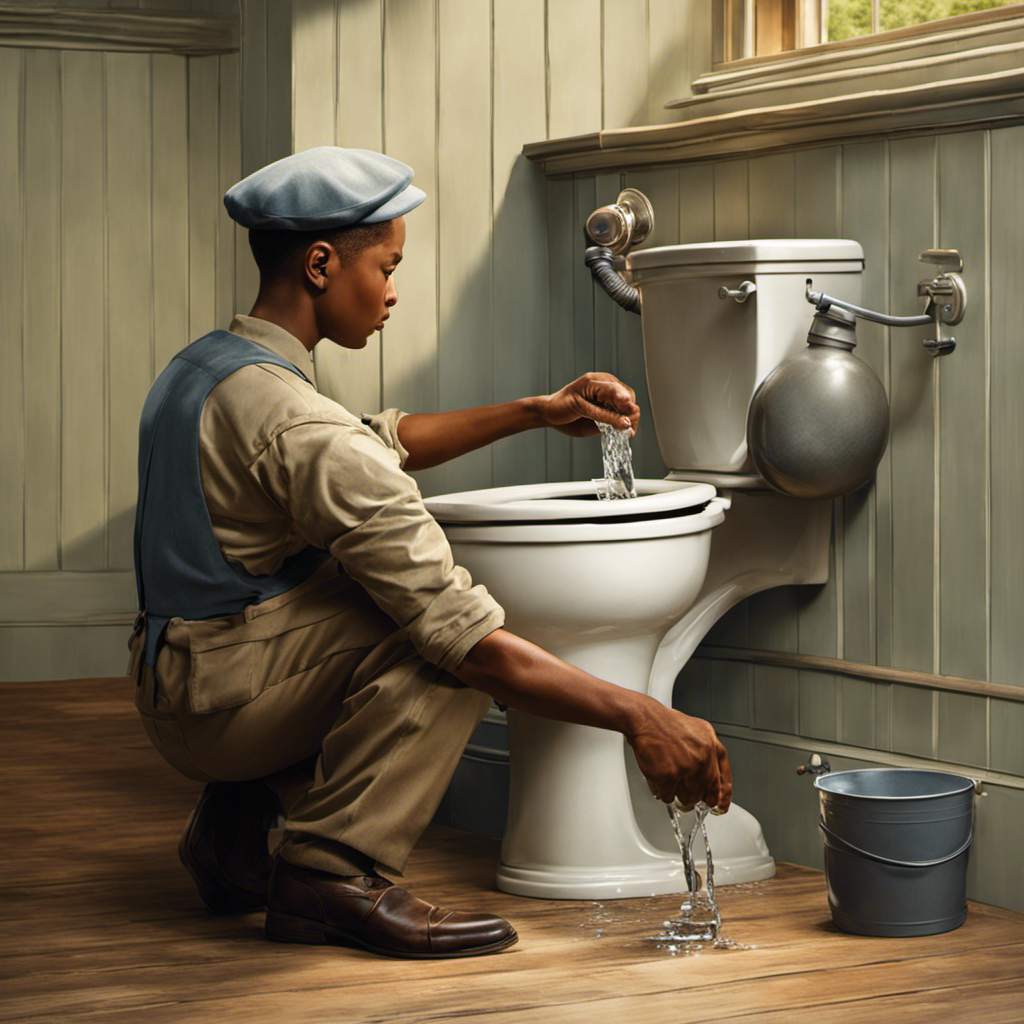
- Shut off the water supply and drain the toilet tank and bowl.
- Remove the old toilet by disconnecting the water supply and unscrewing the bolts.
- Place a new wax ring on the flange and position the toilet bowl over it.
- Secure the bowl to the floor using bolts and nuts.
- Attach the tank to the bowl and connect the water supply.
- Turn on the water and check for leaks.
- Troubleshooting problems: If there are leaks, check the wax ring or tighten the connections.
- Alternative installation methods: Some toilets have different installation instructions, so refer to the manufacturer’s manual.
Common Challenges and Solutions
One challenge that may arise during the installation process is if there are leaks, you can check the wax ring or tighten the connections to troubleshoot the issue. To ensure a successful toilet installation, it is important to understand and address common issues that may occur.
Here are four troubleshooting tips to help you with common toilet installation problems:
-
Check the wax ring: Inspect the wax ring for any signs of damage or misalignment. A faulty wax ring can lead to leaks and improper sealing.
-
Proper seal installation: Ensure that the toilet seal is installed correctly. A proper seal is crucial for preventing leaks and maintaining a watertight connection.
-
Tighten connections: Make sure all connections, such as the bolts and water supply line, are securely tightened. Loose connections can result in leaks or unstable toilet installation.
-
Level the toilet: Use a level to ensure the toilet is properly aligned and balanced. A tilted or uneven toilet can cause leaks and discomfort.
Time-saving Tips and Tricks
A helpful trick is to use a level to ensure the toilet is properly aligned and balanced. This ensures efficient installation techniques and quick toilet installation methods. Here are three time-saving tips and tricks to make the installation process more efficient:
| Tip | Description |
|---|---|
| Gather all tools | Before starting the installation, gather all the necessary tools such as a wrench, screwdriver, and wax ring. This will save time searching for tools during the installation. |
| Follow the instructions | Read the manufacturer’s instructions carefully and follow the step-by-step guide. This will prevent any mistakes or delays during the installation process. |
| Work systematically | Start by removing the old toilet and cleaning the area. Then, install the wax ring and place the new toilet bowl on top. Finally, attach the tank and secure all the connections. Working systematically will streamline the process and save time. |
Conclusion
Well, who would have thought that installing a toilet could be such an exhilarating experience?
From gathering the necessary tools and materials to tackling any unexpected challenges, the process is a true test of patience and skill.
But fear not, for with the right techniques and a little time-saving magic, this seemingly mundane task can be completed in no time.
So, next time you find yourself in need of a new throne, remember that installing a toilet is not just a practical endeavor, but a journey of self-discovery.


