I’ll show you exactly how long it takes to replace a toilet.
First, let’s assess the condition of the existing toilet and gather the necessary tools and materials.
Then, we’ll shut off the water supply and remove the old toilet.
After disposing of it, we’ll prepare the floor and install a new wax ring.
Next, we’ll mount and secure the new toilet before testing it for proper functioning.
Follow my step-by-step guide to get your new toilet up and running in no time.
Key Takeaways
- Assess the condition and age of the toilet to determine if replacement is necessary.
- Gather all necessary tools and materials before starting the replacement process.
- Properly prepare the bathroom space by clearing out items near the toilet and wearing protective gear.
- Use time-saving techniques such as shutting off the water supply, draining the toilet, and disconnecting the water supply line to expedite the replacement process.
toilet replacement kit
As an affiliate, we earn on qualifying purchases.
As an affiliate, we earn on qualifying purchases.
Assessing the Condition of the Existing Toilet
You’ll want to start by checking the condition of your existing toilet to determine if it needs to be replaced. Here is a step-by-step guide to assessing the toilet condition and deciding if a replacement is necessary.
First, check for any visible cracks or leaks in the porcelain or tank.
Next, test the flush mechanism to ensure it is working properly. If the toilet constantly runs or doesn’t flush properly, it may be time for a replacement.
Additionally, consider the age of the toilet. Most toilets have a lifespan of about 25 years, so if yours is nearing or exceeding that age, it might be a good idea to replace it.
Lastly, assess the overall appearance and functionality of the toilet. If it is outdated, damaged, or causing frequent plumbing issues, it’s probably time for a new one.
Assessing the condition of your existing toilet is an important first step in the toilet replacement process.

Korky 6000BP Universal Toilet WaxFree Seal with Hardware – Toilet Installation Made Easy – Made in USA , Red
NO WAX, NO MESS – The easiest way to install a toilet seal ring & fix leaks
As an affiliate, we earn on qualifying purchases.
As an affiliate, we earn on qualifying purchases.
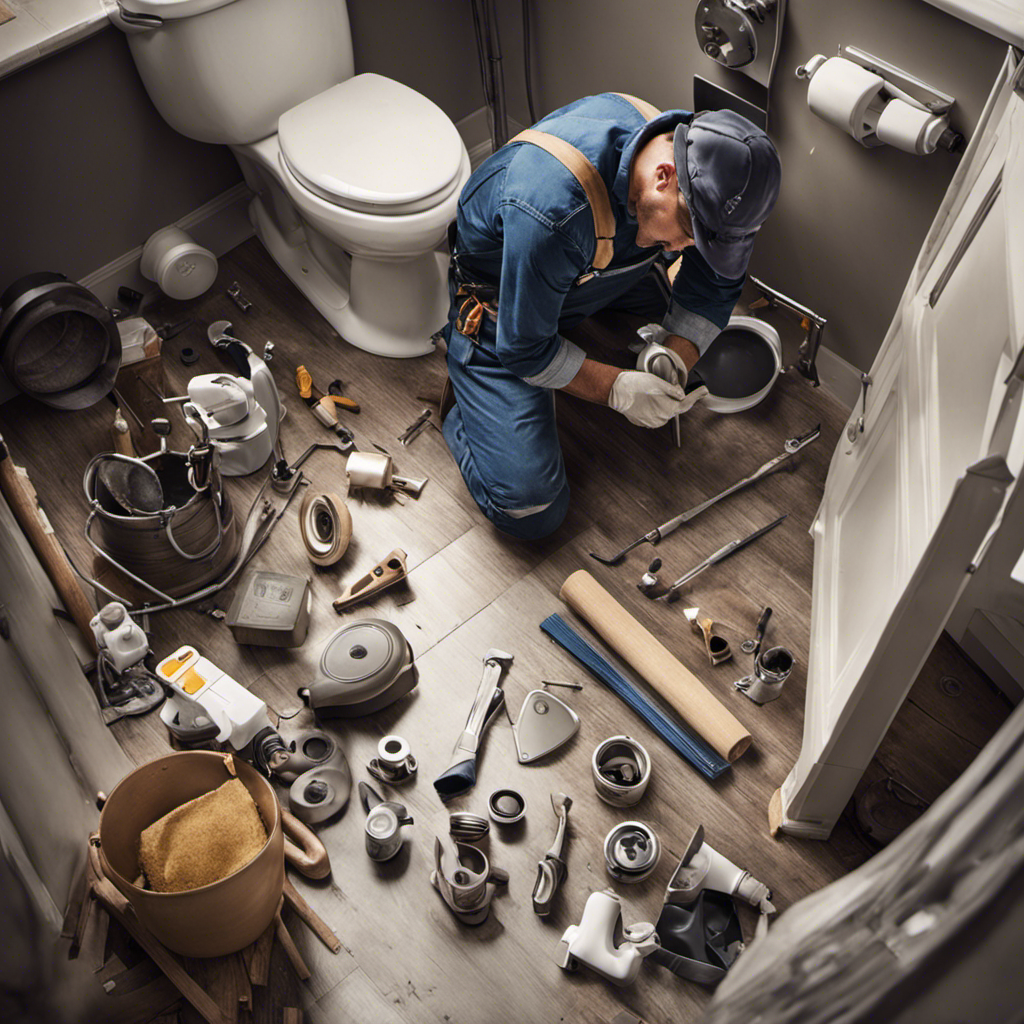
Gathering the Necessary Tools and Materials
When it comes to replacing a toilet, having the right tools and materials is crucial. Proper preparation is also key.
In order to ensure a smooth and successful installation, it is important to gather all the essential tools such as a wrench, plunger, and a screwdriver, as well as the necessary materials like a new wax ring, bolts, and a new toilet seat.
Proper preparation involves turning off the water supply, draining the tank and bowl, and removing any excess water.
Essential Tools and Materials
To replace a toilet, you’ll need a few essential tools and materials. Here are the items you’ll need for a successful toilet installation.
First, you’ll need a new toilet, preferably one that is the same size as your old one to ensure a proper fit.
You’ll also need a wax ring to create a watertight seal between the toilet and the floor.
Additionally, you’ll need a wrench to remove the nuts and bolts that hold the old toilet in place.
A putty knife will come in handy for scraping away any old wax or caulk.
Finally, you’ll need a level to make sure the toilet is installed correctly and doesn’t wobble.
Now that you have all the necessary tools and materials, let’s move on to the proper preparation process.
Proper Preparation Process
Before starting the toilet replacement process, gather all the necessary tools and materials. This ensures a smooth and efficient process.
To prepare the bathroom space, clear out any items near the toilet to create a safe and clutter-free work area.
Next, turn off the water supply to the toilet by shutting off the water valve located near the base. Flush the toilet to drain any remaining water in the tank and bowl.
For safety precautions during toilet replacement, wear protective gloves and eyewear to prevent any injuries. Additionally, use caution when handling heavy parts or tools to avoid strains or accidents.
Following these steps will help ensure a successful and safe toilet replacement process.
Time-Saving Techniques
By utilizing time-saving techniques, you can complete the toilet replacement process more efficiently. Here are some efficient techniques for better time management:
- Gather all necessary tools and materials before starting the process.
- Shut off the water supply and drain the toilet tank and bowl to prevent any leaks or spills.
- Disconnect the water supply line and remove the old toilet by unscrewing the bolts.
Install a new wax ring by placing it on the flange and carefully align the toilet bowl on top.
- Secure the toilet in place by tightening the bolts and reconnect the water supply line.
By following these steps and employing these time-saving techniques, you can replace a toilet more quickly and effectively, saving you valuable time and effort.
Remember to always prioritize safety and ensure that all connections are properly sealed to avoid any future issues.

Plumber's Toilet Lift & Carry Tool | Easily Line up T-Bolts | USA & Patented | Pick Up Stix®
Adds lifting handle to toilet, Move Toilets with 1 Hand
As an affiliate, we earn on qualifying purchases.
As an affiliate, we earn on qualifying purchases.
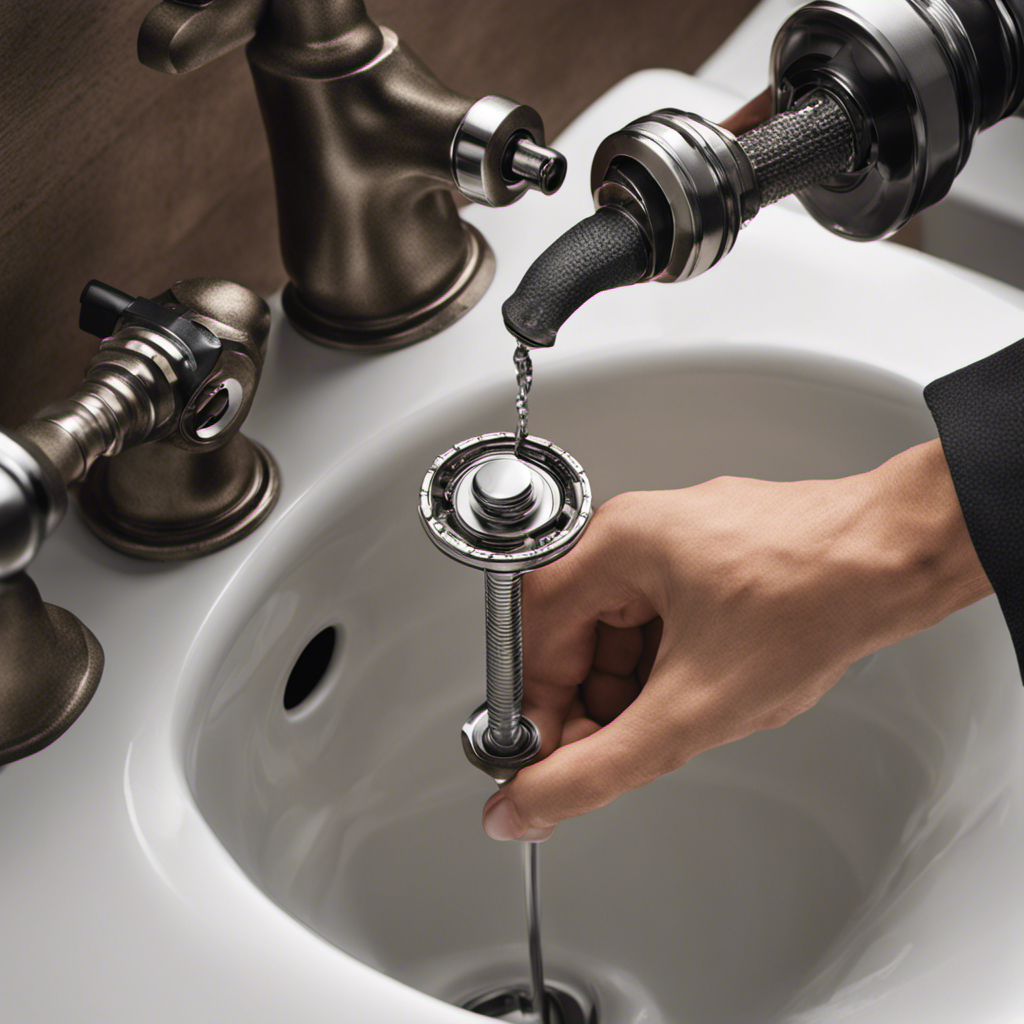
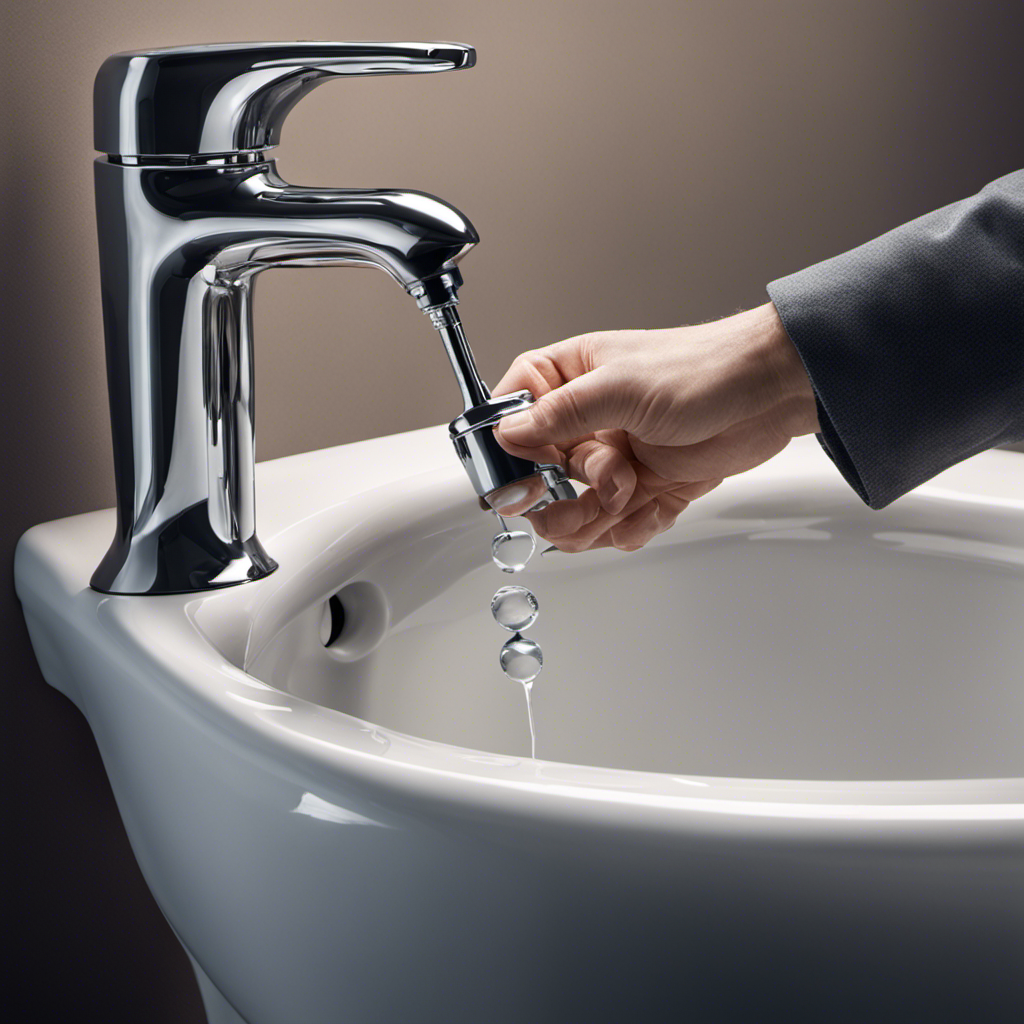
Shutting Off the Water Supply
Make sure you’ve shut off the water supply before attempting to replace the toilet. This is an important step to prevent any water damage or flooding while you work on the toilet.
To shut off the water supply, locate the shut-off valve behind the toilet. It is usually a small knob or lever. Turn it clockwise to close the valve and stop the water flow.
Once the water supply is shut off, flush the toilet to drain any remaining water in the tank and bowl. This will make the removal process easier and cleaner. Remember to have a bucket or towels handy to catch any residual water.
Now you are ready to proceed with replacing the toilet.
toilet repair and replacement
As an affiliate, we earn on qualifying purchases.
As an affiliate, we earn on qualifying purchases.
Removing the Old Toilet and Disposing of It
Now that the water supply is shut off, it’s time to remove the old toilet and dispose of it properly. Here’s how to do it:
- Put on gloves and protective eyewear for safety.
- Disconnect the water supply line from the bottom of the tank.
- Remove the bolts or nuts securing the toilet to the floor.
- Lift the toilet straight up and place it on a tarp or old towels to catch any remaining water.
- Dispose of the old toilet according to local regulations, which may include taking it to a recycling center or contacting a waste management company.
It’s important to consider the environmental impact when disposing of the old toilet. Some disposal methods, such as recycling or donating it for reuse, can help reduce waste.
Now that the old toilet is out of the way, let’s move on to preparing the floor and installing a new wax ring.
Preparing the Floor and Installing a New Wax Ring
To prepare the floor for the new wax ring, you’ll need to clean any residue or debris left behind by the old toilet. Start by removing the old wax ring and scraping off any remaining wax or caulk. Then, thoroughly clean the area with a mild detergent and warm water, making sure to remove any stains or grime. Once the floor is clean, check for any unevenness or dips. If you notice any, you may need to level the floor using a self-leveling compound. Apply the compound according to the manufacturer’s instructions, and allow it to dry completely before moving on to the next step. By ensuring a clean and level floor, you’ll create a solid foundation for the new wax ring and prevent any future leaks.
| Step | Instructions |
|---|---|
| 1 | Remove old wax ring and clean residue |
| 2 | Scrub the floor with mild detergent and warm water |
| 3 | Check for unevenness or dips |
| 4 | Level the floor with self-leveling compound |
| 5 | Allow the compound to dry completely |
Mounting and Securing the New Toilet
Now that the floor is prepared and the new wax ring is in place, it’s time to move on to the next step: mounting and securing the new toilet.
Proper toilet installation is crucial to ensure a leak-free and stable fixture. Start by aligning the bolts and nuts with the holes in the toilet base, then tighten them securely using a wrench.
Proper Toilet Installation
Make sure you’re using the proper tools and following the instructions carefully when installing your new toilet. Here are some important steps to ensure a successful installation:
-
Check for leaks: Before installing the new toilet, inspect the wax ring and water supply line for any signs of damage or leaks.
-
Level the toilet: Use a level to ensure the toilet is perfectly level before securing it to the floor. This will prevent rocking or future leaks.
-
Tighten the bolts: Secure the toilet to the floor by tightening the bolts evenly. Over-tightening can crack the toilet, while under-tightening can cause leaks.
-
Test for leaks: Once the toilet is installed, turn on the water supply and check for any leaks around the base and connections.
-
Adjust the flushing mechanism: If the toilet isn’t flushing properly, adjust the flushing mechanism by following the manufacturer’s instructions.
Securing Bolts and Nuts
Before securing the toilet to the floor, it’s important to evenly tighten the bolts to prevent cracking or leaks.
To secure the bolts, start by placing a washer on each bolt and then insert them into the flange on the floor.
Next, slide a nut onto each bolt and begin tightening them by hand. Once the nuts are snug, use a wrench to further tighten them.
It’s crucial to tighten the nuts evenly to create a secure and stable connection. Alternate between tightening each nut a little at a time until they are both firmly in place.
Be careful not to overtighten, as this can lead to damage or breakage.
Once the bolts are securely tightened, you can proceed with the installation of the toilet.
Mounting on Wax Ring
To ensure a proper seal, gently press the toilet onto the wax ring. This step is crucial in preventing any leaks or wobbling of the toilet.
Here are some time-saving techniques and proper floor preparation tips to help you with this process:
- Clean the floor thoroughly, removing any dirt or debris.
- Place the wax ring onto the flange, making sure it is centered.
- Carefully lower the toilet onto the wax ring, aligning the bolts with the holes in the base.
- Apply even pressure to the toilet, pressing it firmly onto the wax ring.
- Tighten the nuts on the bolts, alternating sides to ensure an even and secure fit.
Testing the New Toilet for Proper Functioning
After installing the new toilet, you’ll want to check if it flushes properly and doesn’t leak. The testing process is crucial to ensure that the installation was successful. Here are the troubleshooting steps to follow:
-
Fill the tank: Turn on the water supply and allow the tank to fill completely. Check for any leaks around the connections.
-
Flush the toilet: Press the handle and observe if the flush is strong and efficient. Make sure the water level in the bowl rises and then drains completely.
-
Check for leaks: Inspect the base of the toilet and the wax ring seal for any signs of water leakage. A damp floor or discoloration indicates a potential issue.
-
Test the refill: Once flushed, the tank should refill smoothly. Listen for any unusual sounds or vibrations during this process.
Conclusion
In conclusion, replacing a toilet can be a relatively quick and straightforward process, taking about 2-3 hours from start to finish.
First, assess the condition of the existing toilet. Determine if it is beyond repair or if replacing it is the best option.
Next, gather the necessary tools and materials. This may include a wrench, screwdriver, new wax ring, and a new toilet.
Before starting the replacement process, shut off the water supply to the toilet. This will prevent any leaks or water damage during the removal and installation.
Remove the old toilet by disconnecting the water supply line and unscrewing the bolts that secure it to the floor. Be sure to have a bucket or towels nearby to catch any remaining water in the tank and bowl.
Prepare the floor by cleaning up any debris or residue left behind by the old toilet. This will ensure a clean and level surface for the new toilet.
Install a new wax ring on the flange, which is the round opening in the floor where the toilet sits. This will create a watertight seal between the toilet and the sewer pipe.
Next, mount and secure the new toilet on top of the wax ring. Use the bolts provided to attach the toilet to the flange, making sure it is centered and level.
Once the toilet is securely in place, reconnect the water supply line and turn on the water. Check for any leaks and make sure the toilet is flushing properly.
Remember, as the old saying goes, "A stitch in time saves nine," so addressing any toilet issues promptly can save you from bigger problems down the line.