Did you know that a leaking toilet can waste up to 200 gallons of water per day? That’s not only bad for the environment, but it can also lead to costly water bills.
Thankfully, caulk is here to save the day. In this article, I’m going to show you how to caulk a toilet like a pro. With a few simple steps and the right materials, you’ll be able to seal any gaps and prevent leaks in no time.
Let’s get started!
Key Takeaways
- Gather all necessary materials for caulking a toilet: caulk gun, silicone caulk, utility knife, scraper or putty knife, rag or sponge for cleaning.
- Thoroughly clean and dry the area around the toilet before applying caulk.
- Apply a continuous bead of caulk along the joint between the toilet base and the floor using a caulk gun for precise application.
- Smooth the caulk with a caulk smoothing tool or finger and regularly inspect and maintain the caulk to prevent leaks and improve appearance.
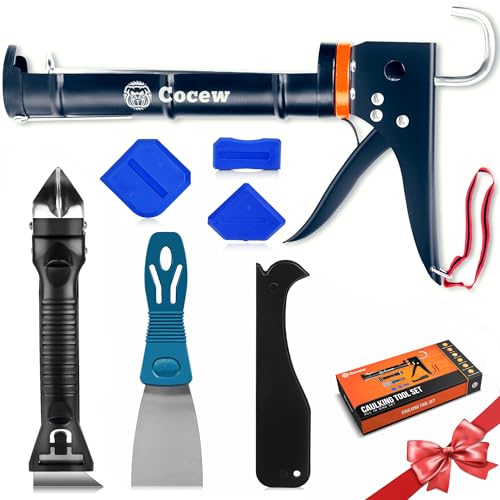
Caulk Gun Kit, Smooth Silicone Caulking Gun and Caulk Remover Tool, Sealant Finishing Tool Grout Scraper for Kitchen Bathroom Window Sink Joint, All in One with Gift Box
【Easy to operate】Cocew Caulking Gun is lightweight, the Smooth Pressure Rod is available with a high thrust ratio….
As an affiliate, we earn on qualifying purchases.
As an affiliate, we earn on qualifying purchases.
Required Materials for Caulking a Toilet
You’ll need a few materials for caulking a toilet. The tools needed are a caulk gun, silicone caulk, a utility knife, a scraper or putty knife, and a rag or sponge for cleaning.
Step by step instructions for caulking a toilet are as follows:
1) Start by cleaning the area around the base of the toilet to remove any dirt or old caulk.
2) Cut the tip of the caulk tube at a 45-degree angle and load it into the caulk gun.
3) Apply a thin bead of caulk along the gap between the toilet base and the floor, making sure to cover any visible gaps.
4) Smooth the caulk with your finger or a caulk finishing tool.
5) Wipe away any excess caulk with a damp rag or sponge.
6) Allow the caulk to dry completely before using the toilet.

GE Advanced Silicone Caulk for Kitchen & Bathroom, White, 2.8 fl oz Tube, 1 Pack – 100% Waterproof Silicone Sealant, 5X Stronger Adhesion, Shrink & Crack Proof
100% Silicone Caulk Protection: This silicone caulk white provides ultimate waterproof protection, ensuring a reliable seal against water…
As an affiliate, we earn on qualifying purchases.
As an affiliate, we earn on qualifying purchases.
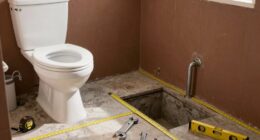
Preparing the Toilet for Caulking
First, make sure the area around the base is clean and dry before starting. This is crucial for achieving a proper seal and ensuring the longevity of the caulk.
To effectively prepare the toilet for caulking, follow these steps:
- Remove any old caulk using a putty knife or caulk remover tool.
- Thoroughly clean the area with a mild detergent and water solution.
- Dry the surface completely using a clean cloth or paper towels.
- Inspect the base of the toilet for any cracks or damage that may need to be repaired before caulking.
- Finally, gather all the necessary materials, including the best caulk for toilets, to proceed with the toilet caulking technique.
Now that the area is clean and ready, let’s move on to applying caulk to the base of the toilet.

Saker Silicone Caulking Tools-3 in 1 Sealant Finishing Tool Grout Remove Scraper (Stainless Steelhead),Caulk Remover Glass Glue Angle Scraper for Bathroom,Kitchen,Floor,Window,Sink Joint,Frames Seal
【Tips】Here's a quick tip for achieving that smooth, one-handed gliding sensation with your grout tool: consider loosening the…
As an affiliate, we earn on qualifying purchases.
As an affiliate, we earn on qualifying purchases.
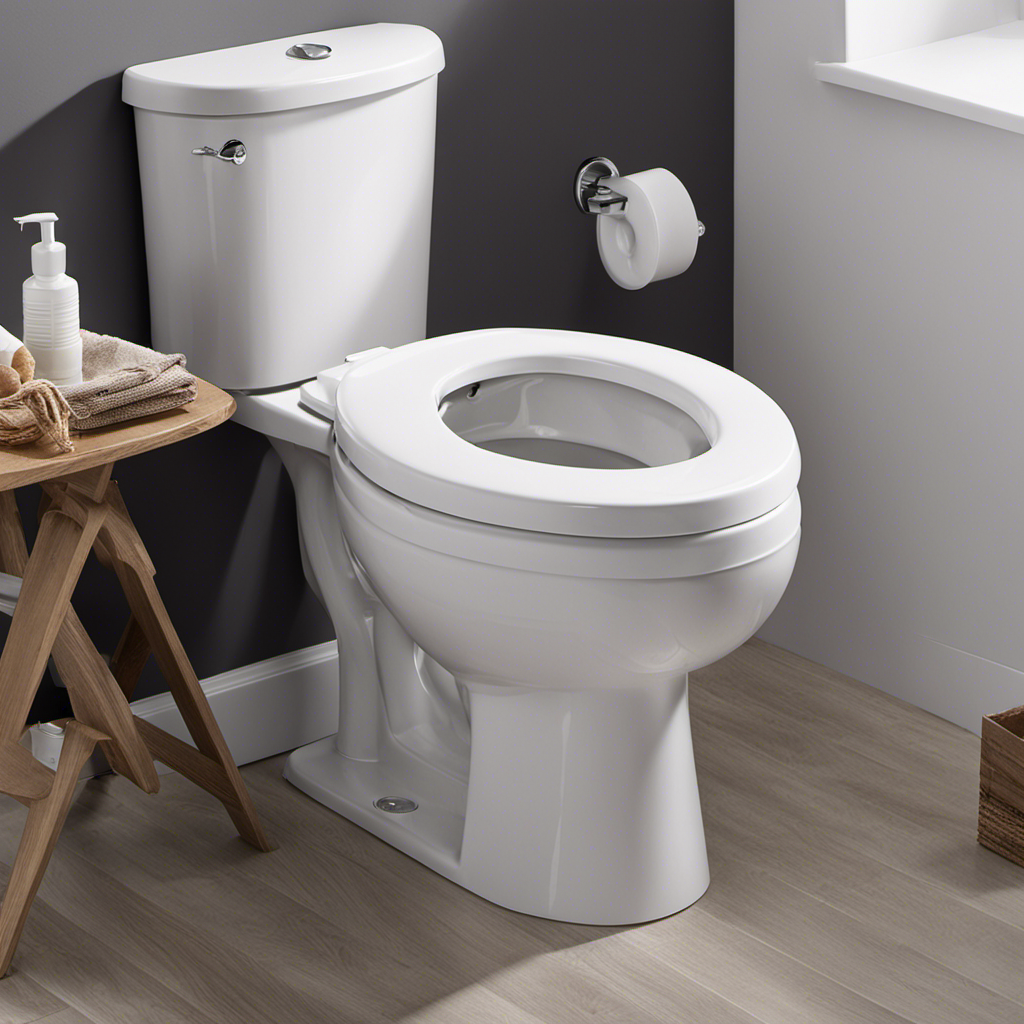
Applying Caulk to the Base of the Toilet
To ensure a proper seal, it’s important to apply the caulk evenly around the base of the toilet. Caulking the toilet provides several benefits, such as preventing water damage and mold growth.
However, if not done correctly, it can lead to toilet caulk problems. One common issue is when the caulk starts to crack or peel over time. This can happen due to improper application or using low-quality caulk.
To avoid these problems, start by thoroughly cleaning and drying the area around the toilet. Then, apply a continuous bead of caulk along the joint between the toilet base and the floor. Use a caulk gun for precise application and smooth the caulk with a caulk smoothing tool or your finger.
Remember to check the caulk periodically for any signs of wear or damage and reapply if necessary. By following these steps, you can ensure a long-lasting and effective seal for your toilet.

MENNTY Toilet Flange Repair Kit with Flange & Elastic Wax Ring for Toilet Install, Toilet Ring Seal, Rubber Toilet Gasket Seal Replacement Kit Include Hardware Nuts, Washer, Bolts and Bolt Caps
Say Goodbye to The Hassle of Toilet Install: Toilet Flange Repair Kits include 1pc blue seal, 2pcs raise…
As an affiliate, we earn on qualifying purchases.
As an affiliate, we earn on qualifying purchases.
Smoothing and Finishing the Caulk
After applying the caulk, I use a smoothing tool or my finger to create a seamless finish around the base of the toilet. This step is crucial to ensure a professional-looking result and to prevent any water leakage.
To achieve a smooth application, I start by dipping the tool or my finger in a small amount of water, which helps to prevent the caulk from sticking. Then, I gently glide the smoothing tool or my finger along the caulk line, applying even pressure. I make sure to smooth out any bumps or ridges, creating a clean and neat finish.
Once the caulk is smoothed, I let it dry completely before using the toilet or cleaning the area. These finishing touches for caulk guarantee a long-lasting and visually appealing seal around the toilet base.
Cleaning Up After Caulking
Don’t forget to wipe away any excess caulk and clean up the area around the base of the toilet after you finish caulking.
To ensure a clean and professional-looking finish, it’s essential to remove any old caulk from the toilet before applying new caulk. Use a putty knife or a caulk removal tool to carefully scrape away the old caulk.
Make sure to clean the surface thoroughly with a mild detergent and water to remove any dirt or debris.
When choosing the right caulk for your toilet, opt for a waterproof and mold-resistant caulk specifically designed for bathroom use. Look for a caulk that is flexible and can withstand frequent use and cleaning.
With the right caulk and proper maintenance, you can ensure a long-lasting seal around your toilet.
Moving on to maintaining the caulk on your toilet…
Maintaining the Caulk on Your Toilet
Make sure you regularly inspect the seal around your toilet and reapply caulk as needed to prevent any water damage or leaks.
Toilet caulk discoloration is a common problem that occurs over time due to the accumulation of dirt, grime, and mold.
To prevent caulk mold, it is important to keep the area clean and dry. Mold thrives in damp environments, so wiping down the caulk regularly with a mild bleach solution can help prevent its growth.
Additionally, ensuring proper ventilation in the bathroom can help reduce moisture levels and inhibit mold growth.
If you notice any signs of caulk discoloration or mold, it is crucial to remove and replace the caulk promptly to prevent further damage and maintain a watertight seal around your toilet.
Conclusion
In conclusion, caulking a toilet is a simple but important task that can help prevent leaks and keep your bathroom clean and dry. By following the steps outlined in this article and using the necessary materials, you can easily caulk your toilet and ensure a tight seal.
Remember, ‘measure twice, cut once’ – taking the time to properly prepare and apply the caulk will result in a professional-looking finish that will last for years to come.
So don’t hesitate, grab your caulk gun and get to work!