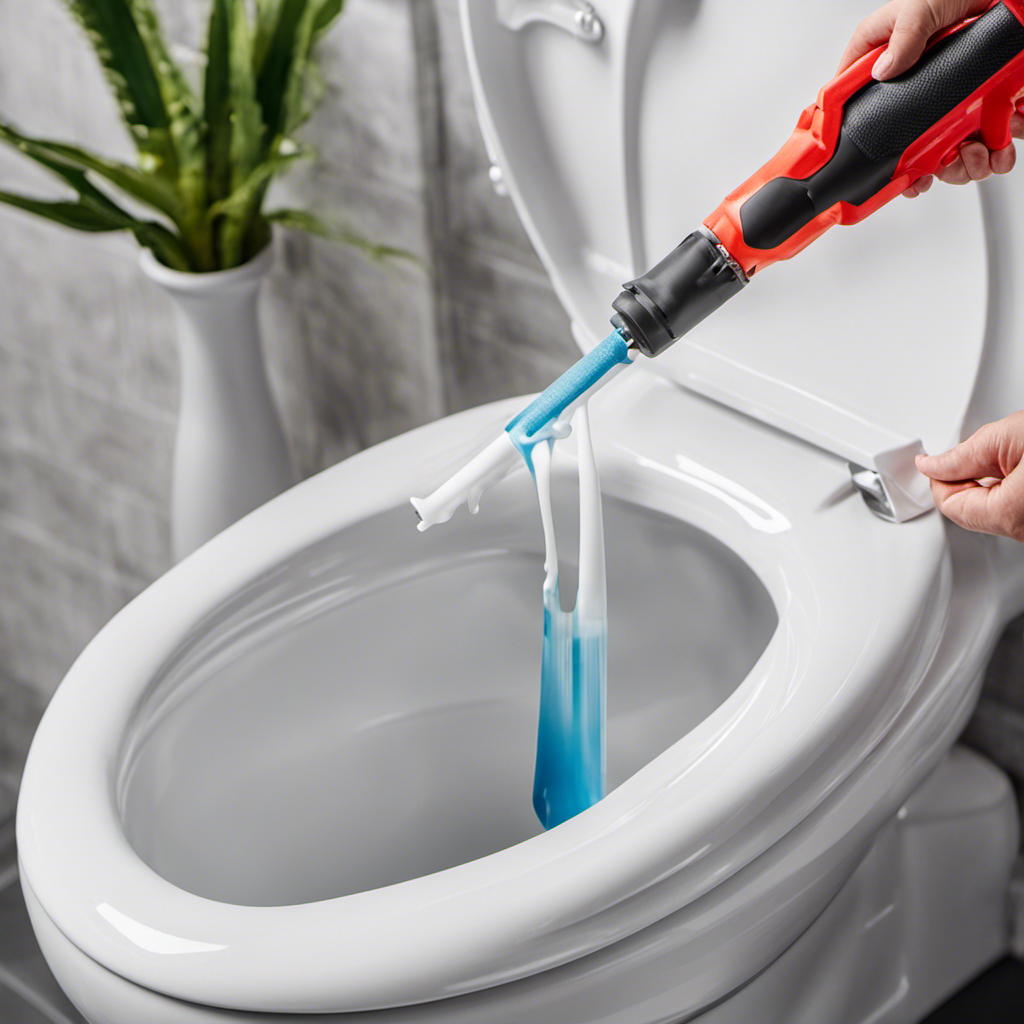
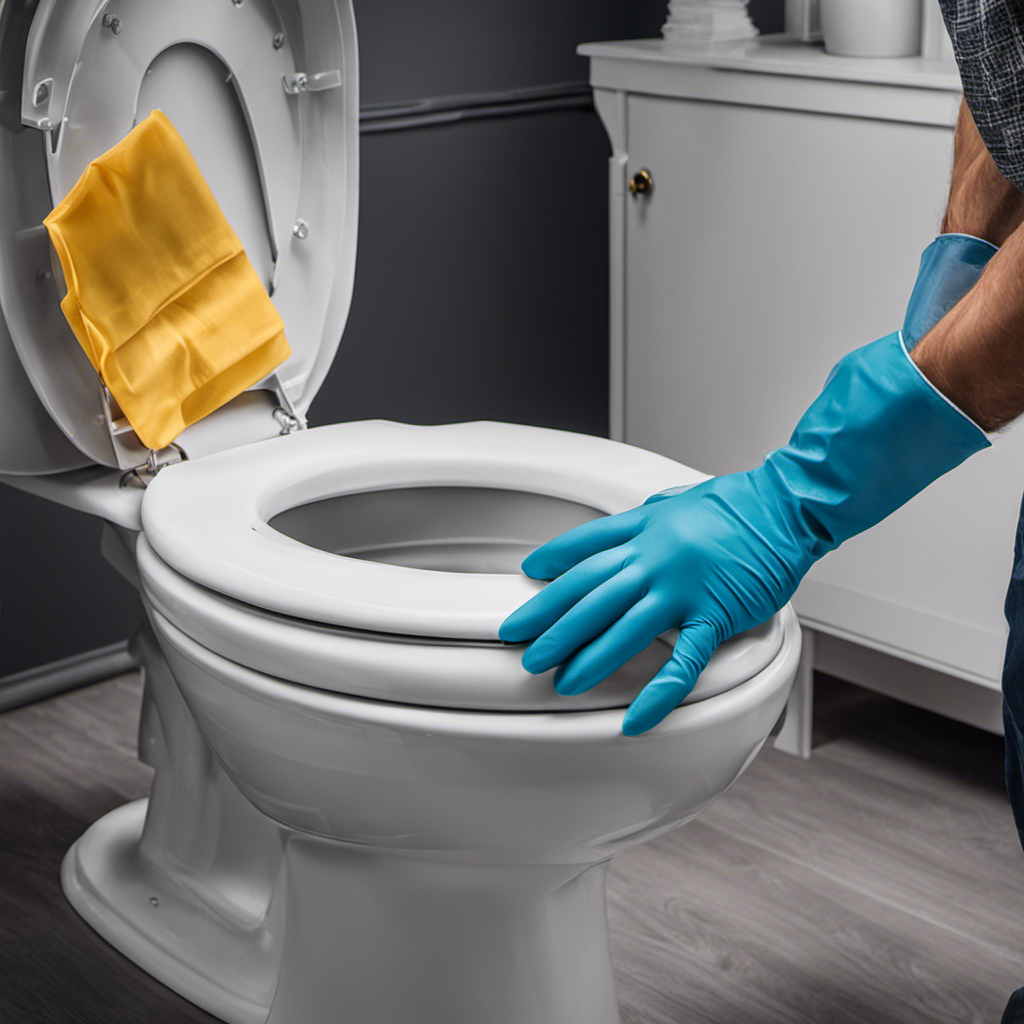
So, you’ve noticed a leaky toilet and you’re tired of the water pooling around the base. Well, fear not! I’m here to guide you through the process of caulking around your toilet like a pro.
With just a few simple tools and materials, you’ll be able to seal off that pesky leak and prevent any further damage.
So, grab your caulk gun and let’s get started on this quick and easy DIY fix.
Key Takeaways
- Choose caulk designed for bathroom use and waterproofing that is mildew-resistant and can withstand constant exposure to water.
- Thoroughly clean and dry the toilet base before applying new caulk to ensure proper adhesion and a tight seal.
- Use silicone caulk for waterproofing and flexibility, and cut the tip of the caulk tube at a 45-degree angle for smooth application.
- Smooth and shape the caulk using a caulk removal tool or putty knife, and wet your finger or a caulk smoothing tool to create a professional finish.
Gathering the Necessary Tools and Materials
Before starting, make sure you’ve gathered all the necessary tools and materials.
When it comes to choosing the right caulk for caulking around the toilet, it’s important to select a caulk that is specifically designed for bathroom use and is waterproof. Look for a caulk that is mildew-resistant and can withstand constant exposure to water.
Once you have the right caulk, the first step is to clean the toilet base thoroughly. Use a toilet cleaner and a scrub brush to remove any dirt, grime, or old caulk from the surface. Make sure to dry it completely before applying the new caulk. Cleaning the toilet base thoroughly ensures that the caulk adheres properly and provides a tight seal.
Now that the toilet base is clean, it’s time to move on to preparing the toilet and surrounding area.
Preparing the Toilet and Surrounding Area
First, make sure you have thoroughly cleaned and dried the area near the base of your toilet. This is a crucial step in preparing the toilet for caulking. Cleaning the toilet area ensures that the new caulk adheres properly and provides a tight seal. To remove old caulk, you can use a caulk removal tool or a putty knife. Carefully scrape off the old caulk, making sure not to damage the toilet or surrounding tiles. Once the old caulk is removed, wipe the area clean with a damp cloth to remove any residue. Ensure that the area is completely dry before proceeding with the caulking process.
Here is a table to show the step-by-step process of cleaning and removing old caulk:
| Step | Action | Emotional Response |
|---|---|---|
| 1 | Thoroughly clean area | Satisfaction |
| 2 | Remove old caulk | Accomplishment |
| 3 | Scrape off caulk | Determination |
| 4 | Wipe area clean | Cleanliness |
| 5 | Ensure area is dry | Readiness |
Applying Caulk Around the Toilet Base
Once you have cleaned and dried the area near the base of your toilet, it’s time to apply the caulk for a tight seal.
Before you begin, make sure you have the right type of caulk for the job. Silicone caulk is the most common choice for sealing around toilets because it is waterproof and flexible.
To start, cut the tip of the caulk tube at a 45-degree angle. This will allow for a smooth and controlled application. Apply a thin bead of caulk along the joint between the toilet base and the floor, making sure to fill any gaps or cracks. Use a caulk gun for precision and control.
If you encounter any issues like air bubbles or uneven application, you can smooth them out with a caulk smoothing tool or your finger. This will ensure a professional finish and a watertight seal.
Transitioning into the next section, let’s now discuss how to smooth and shape the caulk for a flawless result.
Smoothing and Shaping the Caulk for a Professional Finish
To achieve a professional finish, you’ll need to smooth and shape the caulk using a caulk smoothing tool or your finger. Here are four steps to help you achieve a smooth and polished caulk line:
-
Remove any excess caulk: After applying the caulk, use a caulk removal tool or a putty knife to scrape away any excess caulk. This will create a clean surface for smoothing.
-
Wet your finger or caulk smoothing tool: Wetting your finger or caulk smoothing tool with a small amount of water will help prevent the caulk from sticking and allow for smoother shaping.
-
Smooth the caulk: Gently run your finger or caulk smoothing tool along the caulk line, applying even pressure. This will help create a smooth and even finish.
-
Troubleshoot any issues: If you encounter any gaps or uneven areas, use your finger or tool to fill in or smooth out the caulk as needed.
Once you have smoothed and shaped the caulk, it is important to allow it to dry completely before completing the process.
Allowing the Caulk to Dry and Completing the Process
After smoothing and shaping the caulk, you should wait patiently for it to dry completely before moving on to the next step. This is an important part of the process, as proper drying ensures a durable and long-lasting seal around your toilet. It is crucial to provide proper ventilation during the caulk drying process to ensure that the fumes are safely dispersed and not trapped in the bathroom. This can be achieved by opening windows or using a fan to circulate the air. Avoiding common mistakes is also crucial. One common mistake is not allowing enough time for the caulk to dry, which can result in a messy and uneven finish. Another mistake is touching or disturbing the caulk before it is fully dry, which can ruin the seal and require reapplication. By following these tips and allowing the caulk to dry completely, you can achieve a professional and long-lasting finish around your toilet.
| Importance of Proper Ventilation | Common Mistakes to Avoid |
|---|---|
| Ensures safe dispersion of fumes | Not allowing enough drying time |
| Prevents fumes from being trapped | Touching or disturbing caulk prematurely |
| Creates a healthier environment | Inconsistent and messy finish |
Conclusion
In conclusion, caulking around the toilet is a simple yet essential task to ensure a leak-free and clean bathroom. By following the steps outlined in this article, you can easily achieve a professional-looking finish.
Did you know that a small leak from a toilet can waste up to 200 gallons of water per day? This staggering statistic highlights the importance of properly sealing the toilet base to prevent any potential water damage.
So don’t delay, grab your caulk and get to work sealing your toilet today!


