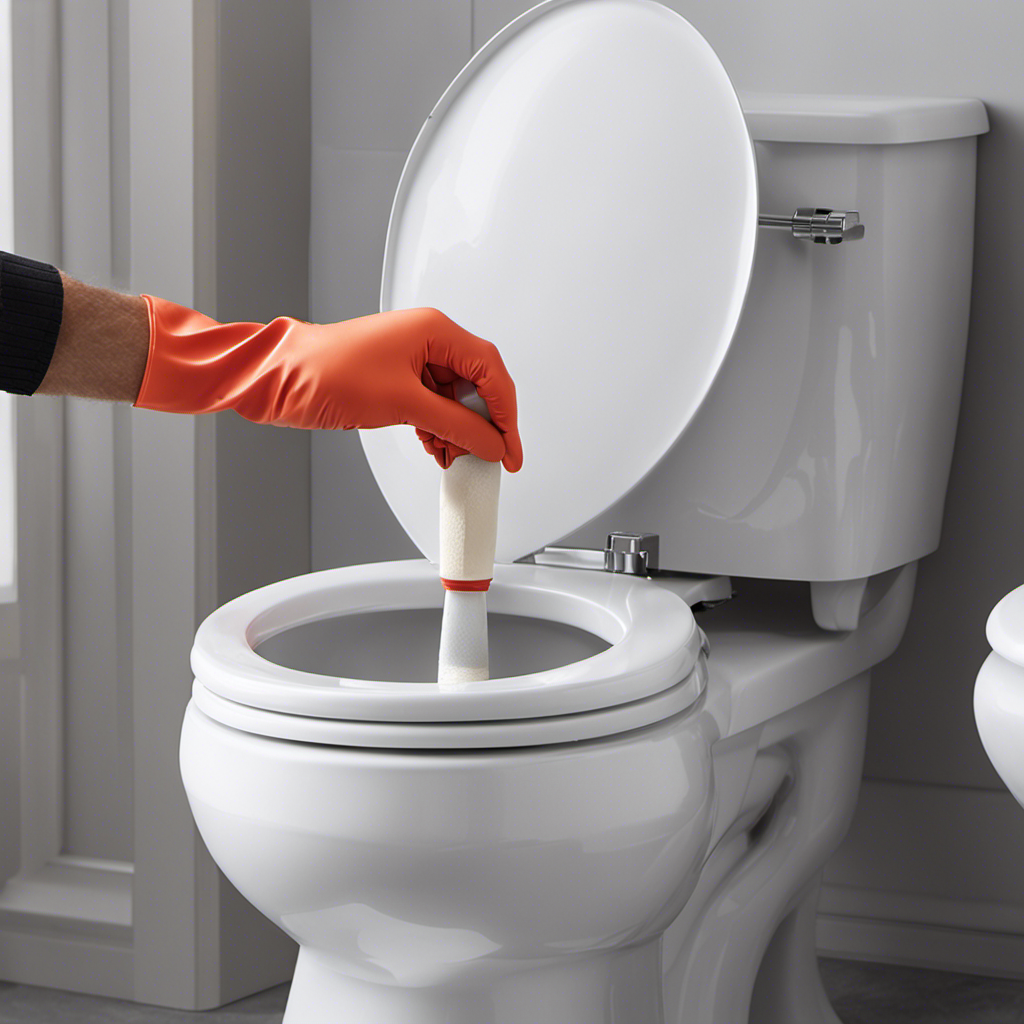
I’ve been in countless situations where I desperately needed to change a toilet, but had no idea where to start. Well, fear no more!
In this step-by-step guide, I’ll walk you through the process of changing a toilet like a pro. From gathering the necessary tools and materials to testing for leaks, I’ll cover every detail to ensure a smooth and successful toilet replacement.
So grab your wrench and let’s get started!
Key Takeaways
- Disconnect the water supply and remove the old toilet by unscrewing bolts and nuts.
- Install the new toilet by placing a wax ring on the flange and aligning the bowl over it.
- Connect the water supply using appropriate techniques and tools.
- Troubleshoot and test for leaks by checking the flange, using plumber’s putty, and performing a dye tablet test.
Tools and Materials Needed
To change a toilet, you’ll need a few tools and materials. Here are the necessary items for a successful toilet replacement process:
-
Adjustable wrench: This tool will help you disconnect the water supply line and remove the nuts securing the toilet to the floor.
-
Screwdriver: You’ll need this to remove the screws or bolts that hold the toilet seat in place.
-
Putty knife: Use the putty knife to scrape away any old wax or caulk around the base of the toilet.
-
Wax ring: This is a crucial component that creates a watertight seal between the toilet and the floor.
-
New toilet: Select a toilet that fits your needs and preferences. Make sure it comes with all the necessary parts for installation.
Preparing for the Project
Make sure you have all the necessary tools and materials ready before starting.
First, you’ll need a measuring tape to accurately measure the dimensions of your new toilet. This will ensure a proper fit and prevent any future issues.
Next, gather a utility knife to remove any existing caulk around the base of the old toilet. Caulk can be stubborn, so having a sharp blade will make the process easier.
Additionally, you’ll need a scraper or putty knife to fully remove the caulk residue. This step is important to ensure a clean surface for the new toilet installation.
Finally, have a bucket or towel nearby to catch any water that may spill during the process.
Following these steps and having the right tools will make your toilet change project go smoothly.
Removing the Old Toilet
Before starting, ensure you have the necessary tools and materials ready to remove the old toilet. To safely remove a toilet, there are several techniques and safety precautions you should follow. Here is a step-by-step guide on how to remove an old toilet:
-
Turn off the water supply: Locate the shut-off valve behind the toilet and turn it clockwise to shut off the water flow.
-
Empty the tank: Flush the toilet to remove as much water as possible from the tank.
-
Disconnect the water supply: Use an adjustable wrench to loosen the coupling nut connecting the water supply line to the toilet tank.
-
Remove the tank: Unscrew the bolts securing the tank to the bowl and carefully lift the tank off the bowl.
-
Disconnect the bowl: Remove the caps covering the bolts on the base of the toilet and unscrew the nuts.
-
Lift and remove the toilet: Carefully lift the bowl straight up and away from the floor, making sure to support the weight.
Remember to wear gloves and protective eyewear when handling the toilet to prevent any injuries.
Installing the New Toilet
When installing a new toilet, it is crucial to ensure proper alignment and stability to prevent any leaks or wobbling.
To achieve this, start by placing the wax ring on the flange and carefully aligning the toilet bowl over it.
Once the toilet is in position, secure it firmly by tightening the toilet bolts evenly on each side using a wrench, making sure not to overtighten to avoid damaging the toilet or the flange.
Proper Alignment and Stability
To ensure proper alignment and stability, you’ll want to start by checking the levelness of the toilet bowl. Here are some toilet installation tips and troubleshooting common issues:
- First, place a level across the bowl from front to back and side to side.
- If the bowl is not level, adjust the toilet by tightening or loosening the bolts at the base.
- Use shims if necessary to level the bowl.
Next, check the stability of the toilet by gently rocking it back and forth.
- If the toilet wobbles, it may not have been installed properly.
- Tighten the bolts at the base to secure the toilet to the floor.
Finally, test the flush by filling the tank and flushing several times.
- If the water continues to run or the flush is weak, check the flapper and adjust the chain if necessary.
Securing the Toilet Bolts
Make sure you tighten the bolts at the base of the toilet to secure it in place. Proper toilet bolt tightening is crucial for the stability and functionality of your toilet. Follow these steps to ensure a secure and stable installation.
- Start by positioning the toilet bowl over the flange, making sure it aligns properly.
- Insert the closet bolts through the holes in the flange, ensuring they are centered and perpendicular to the floor.
- Place the washers and nuts onto the bolts and hand tighten them.
- Use a wrench to tighten the nuts evenly, alternating between them to ensure balanced pressure.
- Be careful not to overtighten, as this can crack the toilet or damage the flange.
Once the toilet feels secure, check for any wobbling or movement. If necessary, adjust the nuts accordingly until the toilet is stable.
Connecting the Water Supply
When connecting the water supply for a new toilet, there are several key tips to keep in mind to ensure a successful installation.
First, make sure to turn off the water supply before starting any work.
Next, choose the appropriate type of water supply line, such as a flexible braided stainless steel line, to connect the toilet to the water source.
Water Supply Connection Tips
If you’re unsure about how to connect the water supply to the toilet, it’s best to consult a professional plumber. However, if you’re feeling confident and want to give it a try yourself, here are a few tips to help you out:
-
Turn off the water supply: Locate the water shut-off valve near the toilet and turn it clockwise to shut off the water flow. This will prevent any leaks or water damage during the installation process.
-
Prepare the toilet flange: The toilet flange is the piece that connects the toilet to the floor. Make sure it is securely in place and properly aligned before connecting the water supply.
-
Connect the water supply line: Use a flexible water supply line to connect the shut-off valve to the toilet’s fill valve. Hand tighten the connections and then give them an extra quarter-turn with a wrench to ensure a snug fit.
Avoiding Leaks and Spills
To prevent leaks and spills, always ensure that the water shut-off valve near the toilet is turned off before starting any installation process. This is a crucial step to avoiding water damage and potential messes.
Additionally, it is important to troubleshoot common issues that may arise during the installation process. Here is a step-by-step guide to preventing water damage and troubleshooting common issues when changing a toilet:
- Turn off the water shut-off valve.
- Disconnect the water supply line from the tank.
- Remove the old toilet by unscrewing the bolts at the base.
- Inspect the wax ring and replace if necessary.
- Position the new toilet bowl over the wax ring and align with the bolts.
- Secure the toilet bowl by tightening the bolts.
- Connect the water supply line to the tank.
- Turn on the water shut-off valve and check for any leaks.
- Flush the toilet to ensure proper functioning.
Testing for Leaks
Check for leaks by placing a few drops of food coloring in the toilet tank. If the color appears in the bowl within 15 minutes, it indicates a leak.
To troubleshoot and fix the issue, follow these steps:
-
Identify the source of the leak
-
Check the flapper valve for cracks or deterioration
-
Inspect the fill valve for leaks or loose connections
-
Examine the tank bolts for any signs of water seepage
-
Repair the leak
-
Replace the flapper valve if damaged or worn out
-
Tighten the fill valve or replace it if necessary
-
Tighten or replace the tank bolts if they are causing the leak
-
Test for leaks again
-
Repeat the food coloring test to ensure the issue has been resolved
-
If the leak persists, consider seeking professional help for further troubleshooting techniques.
Finishing Touches and Clean-Up
After completing the repairs, don’t forget to clean up any tools or materials used during the process.
Start by gathering all the tools and placing them back in your toolbox. Dispose of any waste materials properly, such as old wax rings or damaged parts.
Next, wipe down the area around the toilet with a damp cloth to remove any dirt or debris. Use a mild cleaning product to sanitize the toilet bowl, seat, and surrounding areas. Pay special attention to the base of the toilet, ensuring it is free from any residue or stains.
Frequently Asked Questions
How Do I Know if My Toilet Needs to Be Replaced?
If my toilet constantly clogs, leaks, or has cracks, it might need to be replaced. Signs of a faulty toilet include poor flushing, frequent repairs, and water pooling around the base.
Can I Install a New Toilet Without Professional Help?
Sure, I can install a new toilet without professional help. Following a toilet installation guide and using DIY toilet replacement techniques, I can confidently tackle the task step-by-step.
What Are Some Common Mistakes to Avoid When Changing a Toilet?
Toilet installation tips are important to avoid common toilet replacement problems. It’s crucial to follow proper steps and avoid mistakes. Taking the time to research and plan ahead can save you from future headaches.
Are There Any Specific Safety Precautions I Should Take When Removing an Old Toilet?
When removing an old toilet, it’s important to take proper safety precautions. Wear gloves and eye protection, and make sure to turn off the water supply. Dispose of the old toilet following local regulations.
How Long Does It Typically Take to Complete a Toilet Replacement Project?
Changing a toilet can be a time-consuming task, but the end result is worth it. The timeline for a toilet replacement project depends on various factors, such as experience and the complexity of the installation.
Conclusion
Well, congratulations! You’ve successfully completed the formidable task of changing a toilet. It may have seemed daunting, but with the right tools and materials, a little preparation, and following the step-by-step process, you’ve emerged victorious.
Your newfound expertise in toilet installation is sure to impress your friends and family. So go ahead, bask in the glory of your accomplishment, and enjoy your beautifully functioning toilet.
You are now a toilet-changing master!


