Like a well-oiled machine, your toilet handle is an essential component of your bathroom’s functionality. But what happens when it starts to malfunction? Fear not, for I am here to guide you through the process of changing a toilet handle.
In this step-by-step article, I will show you how to:
- Gather the necessary tools
- Turn off the water supply
- Remove the old handle
- Install the new one
- Test its functionality
Let’s dive in and get your toilet back in working order!
Key Takeaways
- Gather the necessary tools such as a screwdriver, pliers, adjustable wrench, bucket or towel, and a replacement handle.
- Turn off the water supply to the toilet by locating the shut-off valve near the base of the toilet and turning it clockwise.
- Remove the old handle by troubleshooting common issues, tightening the mounting nut for a loose handle, or lubricating/replacing a stuck handle.
- Install the new handle by selecting the right replacement, attaching it to the toilet, and ensuring it is securely tightened to prevent wobbling.

Smart Toilet with Bidet Built In, Heated Seat, Warm Water Wash & Dryer, Tankless Bidet Toilet with Foot Sensor & Night Light, Auto Open/Close Lid & Flush, Wireless Remote, 1.26GPF Water-Saving Design
🛠️ Easy Installation & Reliable Support: This smart toilet with bidet built in includes all accessories, flange kit,...
As an affiliate, we earn on qualifying purchases.
Gather the Necessary Tools
First, gather all the necessary tools for changing a toilet handle. To successfully replace a toilet handle, you will need a few essential tools.
The first tool you will need is a screwdriver; make sure to have both a flathead and a Phillips head screwdriver on hand. This will allow you to easily remove any screws holding the old handle in place.
Additionally, you will need a pair of pliers to disconnect the chain from the handle and adjust it if necessary. It is also a good idea to have a bucket or towel nearby to catch any water that may spill during the process.

WITMYA Smart Toilet with Bidet Built In, One Piece Bidet Toilet with Auto Dual Flush, Foam Shield, Modern Elongated Tankless Toilet with Foot Sensor, Heated Bidet Seat, Warm Water & Dryer,LED Display
【Efficient Flush & Energy-Saving Design】There smart toilets feature a highly efficient 1.28 GPF water-saving dual flush system with...
As an affiliate, we earn on qualifying purchases.
Turn off the Water Supply
Before starting, make sure to shut off the water supply to the toilet. This is crucial to prevent any water leakage during the process.
Now, let’s dive into the common problems you may encounter with toilet handles and how to troubleshoot them.
One common issue is a loose handle, which can be fixed by tightening the mounting nut located inside the tank.
Another problem is a stuck handle, which can be solved by lubricating the mechanism or replacing the entire handle.
Now, let’s discuss the different types of toilet handles and their pros and cons. There are two main types: the traditional lever handle and the push-button handle.
The lever handle is more common and easier to operate, while the push-button handle offers a modern and sleek look.
Consider your preferences and the style of your bathroom when choosing the right handle for your toilet.

LOUPUSUO Smart Toilet with Warm Water Sprayer and Dryer, One Piece Bidet Toilet with Auto Dual Flush Foot Sensor Operation,Heated Seat Smart with Built In Fahrenheit LED Display
Powerful Flushing System: Designed with low water consumption (1.26 gallons per flush), this system ensures efficient and thorough...
As an affiliate, we earn on qualifying purchases.
Remove the Old Toilet Handle
To remove the old toilet handle, start by turning off the water supply.
Troubleshooting common toilet handle problems include a loose handle, a handle not flushing properly, or a handle that won’t return to its original position.
When choosing the right replacement toilet handle, consider the style, material, and compatibility with your toilet model. Here are some options to consider:
-
Traditional lever handle: This is the most common type of toilet handle and is easy to install.
-
Dual-flush handle: This handle allows you to choose between a full flush and a half flush, saving water.
-
Push-button handle: This modern style handle provides a sleek look and is easy to operate.
-
Trip lever handle: This handle is suitable for toilets with a side-mounted flush lever.
Now that you know how to troubleshoot and choose the right replacement handle, it’s time to move on to the next step: installing the new toilet handle.

Smart Toilet with Bidet Built in, Bidet Toilet with Heated Seat and Night Light, One Piece Toilet for Bathroom, UV-C light, Foam Shield, Dual Flush - Manual Lid/Seat
Manual Lid/Seat UV-C light / Foam Shield / Dual Flush
As an affiliate, we earn on qualifying purchases.
Install the New Toilet Handle
Once you have selected the right replacement handle, it’s simply a matter of attaching it to the toilet. Proper maintenance of toilet handles is essential to avoid any issues in the future. Here are some troubleshooting tips for common toilet handle issues:
| Common Issues | Possible Causes | Solutions |
|---|---|---|
| Loose handle | Loose mounting | Tighten screws |
| Stuck handle | Build up of debris | Clean handle |
| Handle not flush | Misaligned parts | Adjust alignment |
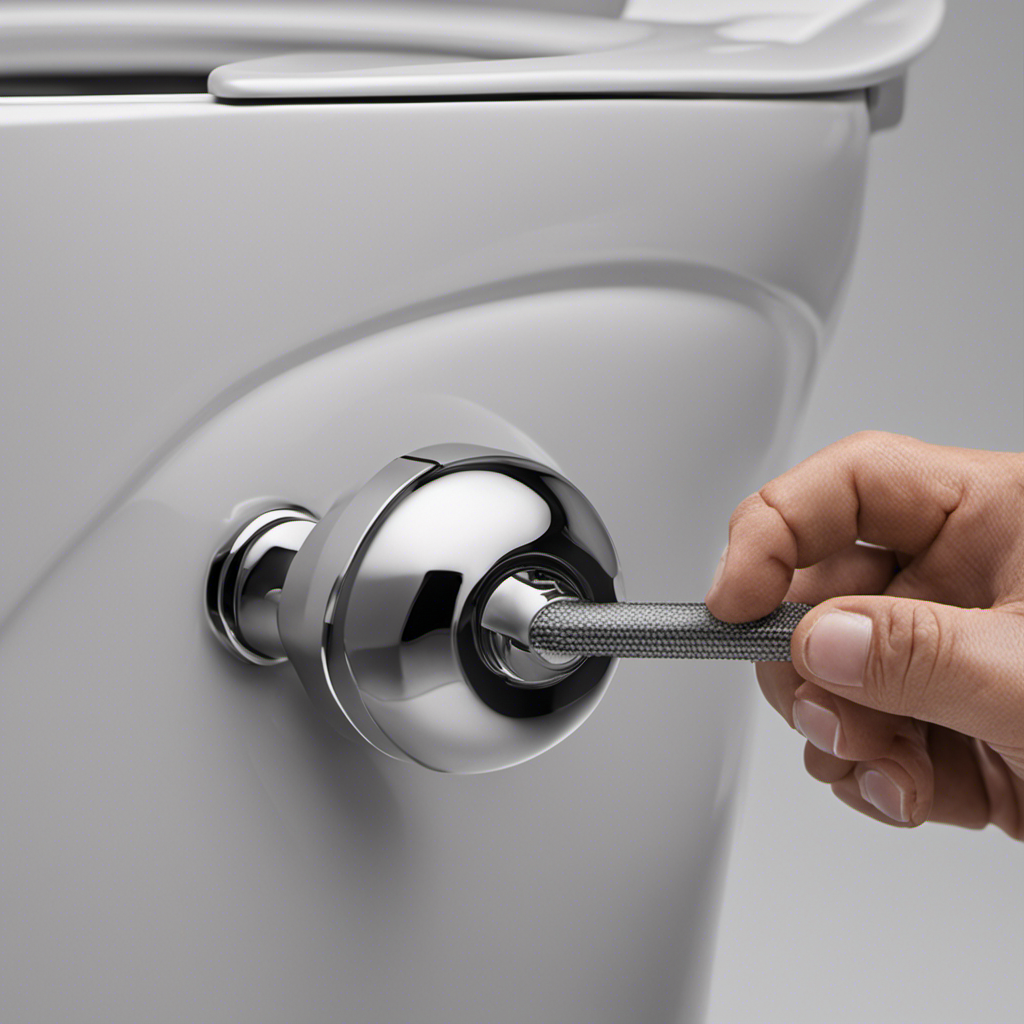
To install the new handle, start by removing the tank cover and locating the handle mounting nut on the inside of the tank. Loosen the nut and remove the old handle. Insert the new handle through the hole in the tank and secure it with the mounting nut. Make sure it is tight enough to prevent any wobbling. Finally, replace the tank cover and test the handle to ensure it is working properly. With proper maintenance and timely troubleshooting, your toilet handle should function smoothly for years to come.
Test the Functionality
Make sure you give the newly installed toilet handle a test to ensure that it is functioning properly. Here are some troubleshooting tips for common toilet handle issues:
- The handle is loose: Tighten the mounting nut located inside the tank to secure the handle.
- The handle is stuck: Check for any debris or mineral buildup around the handle mechanism. Clean or replace as necessary.
- The handle is difficult to push or pull: Lubricate the moving parts of the handle mechanism with silicone-based lubricant.
- The handle does not flush the toilet: Adjust the chain or lift wire so that it properly connects to the flapper or flush valve.
When choosing a toilet handle, consider the following types and their pros and cons:
- Traditional handles: These are the most common type, easy to install and replace, but may require more force to operate.
- Dual-flush handles: They offer water-saving options by allowing different flush volumes, but can be more expensive.
- Touchless handles: Provide a hygienic option by using infrared sensors, but can be costly and require batteries or electricity.
- Lever-style handles: These are ergonomic and require less force to operate, but may not fit all toilet models.
Remember to test the functionality of your newly installed toilet handle to ensure it is working properly.
Conclusion
In conclusion, changing a toilet handle is a simple task that can be easily accomplished by following these steps.
By gathering the necessary tools and turning off the water supply, one can efficiently remove the old toilet handle and install a new one.
Testing the functionality ensures that the new handle is working properly.
Remember, practice makes perfect, so don’t be afraid to give it a try. With a little elbow grease, you’ll have your toilet handle changed in no time, and you’ll be as happy as a clam!