Did you know that a faulty wax ring can cause water leakage from your toilet?
Don’t worry, changing a toilet wax ring is a simple DIY task that you can easily tackle.
In this informative guide, we’ll show you step-by-step how to remove the old wax ring, install a new one, and reattach your toilet securely.
With just a few tools and materials, you’ll be able to fix that leak and ensure a watertight seal in no time.
Let’s get started!
Key Takeaways
- Rubber gloves and a putty knife or scraper are necessary tools for removing the old wax ring.
- Disconnecting the water supply line and removing the toilet bowl are the initial steps in the process.
- Inspecting the toilet flange for damage and replacing it if necessary is important before installing the new wax ring.
- Positioning the new wax ring, aligning bolts, and applying downward pressure to create a tight seal are crucial steps in installing the new wax ring.
Tools and Materials Needed
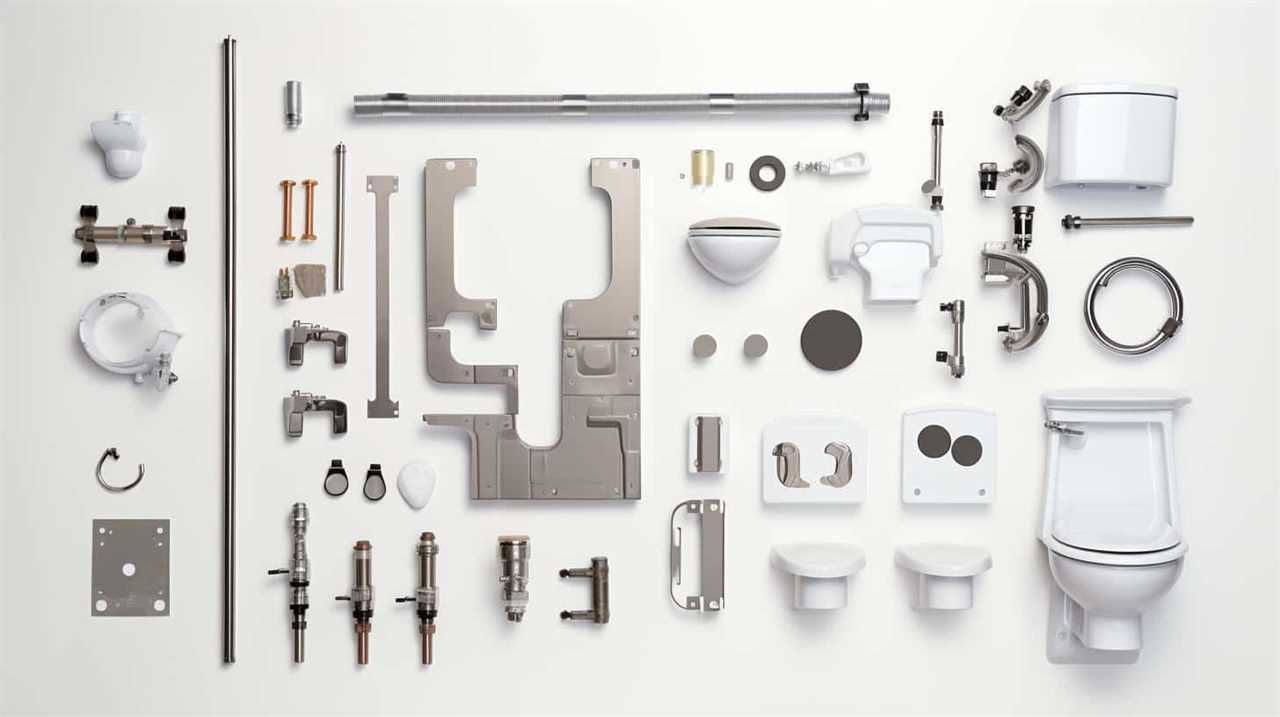
To change a toilet wax ring, you’ll need a few tools and materials.
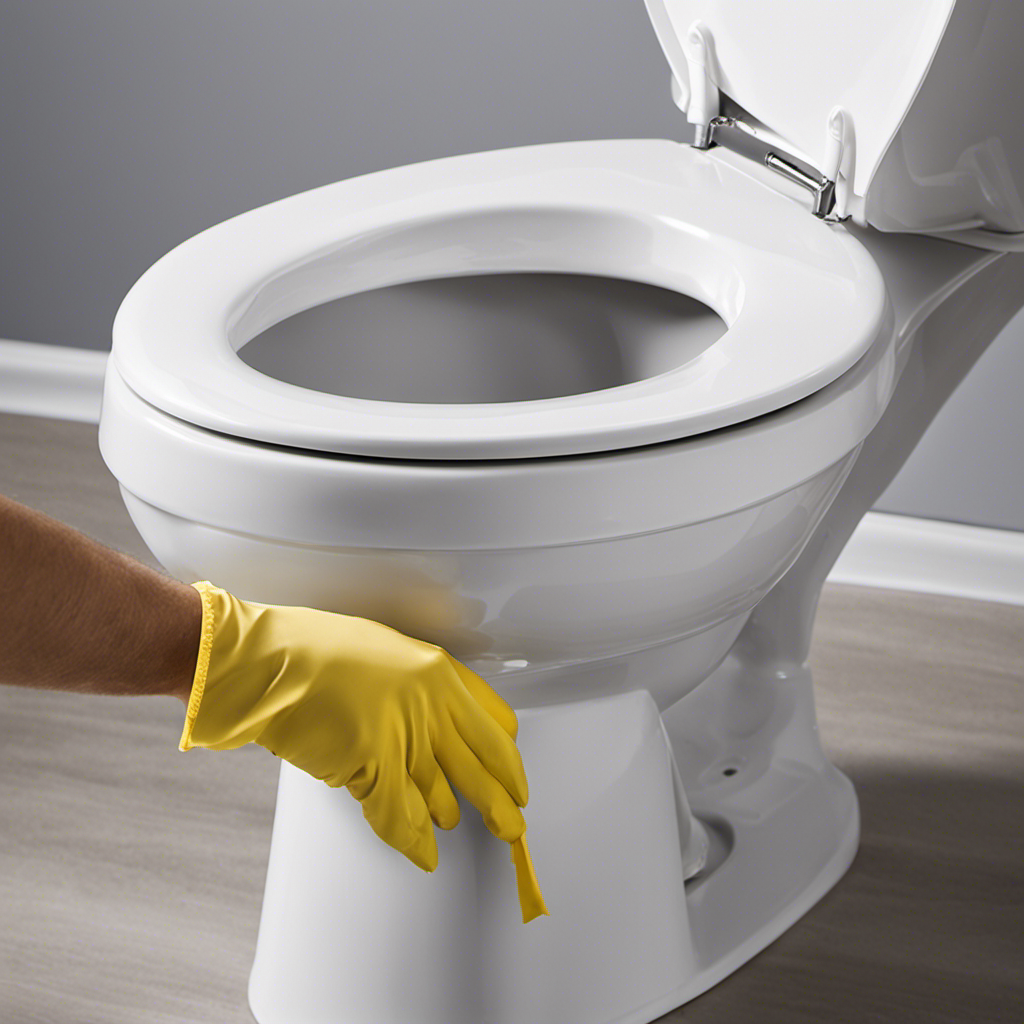
The first thing you’ll need is a pair of rubber gloves to protect your hands from any germs or bacteria.
You’ll also need a putty knife or scraper to remove the old wax ring. If you don’t have a putty knife, you can use a flathead screwdriver as an alternative.
Additionally, you’ll need a new wax ring and a wax ring mounting kit, which includes plastic sleeves and brass bolts. These are essential for a proper installation.
It’s important to note that one common mistake when installing a wax ring is not properly aligning the toilet on the flange. This can cause leaks and other issues.
Another mistake to avoid is using toilet wax ring alternatives, as they may not provide a secure and watertight seal like a traditional wax ring.
Removing the Toilet
First, you’ll need to disconnect the water supply line before proceeding with the removal process.
To remove the toilet bowl, start by shutting off the water valve located behind the toilet. Flush the toilet to drain the water from the tank and then use a wrench to loosen the nut connecting the water supply line to the bottom of the tank.
Once the water supply line is disconnected, remove the caps covering the bolts at the base of the toilet. Use a wrench to unscrew the nuts from the bolts and carefully lift the toilet bowl off the floor. Be cautious as the toilet bowl can be heavy.
With the toilet bowl removed, you can now access the toilet flange, which is the pipe fitting that connects the toilet to the waste pipe.
Removing the Old Wax Ring
When it comes to removing the old wax ring from your toilet, it’s important to follow the proper steps for a successful removal.
Using the right tools for the job is key to ensure a smooth and efficient process.
In this discussion, we will explore the proper wax ring removal techniques and the essential tools you will need to get the job done effectively.
Proper Wax Ring Removal
You’ll need a putty knife to carefully scrape off the old wax ring from the bottom of the toilet. This step is crucial in preparing the toilet for a new wax ring installation.
Here are three things to keep in mind during the proper wax ring removal:
-
Start by turning off the water supply to the toilet. This will prevent any leaks or water damage during the process.
-
Use the putty knife to gently scrape off the old wax ring. Make sure to remove any residue or remaining wax from both the toilet flange and the bottom of the toilet.
-
Inspect the toilet flange for any damage or cracks. If you notice any issues, it’s recommended to replace the flange before installing the new wax ring.
Tools for Removing Wax
One essential tool for removing the old wax is a putty knife. Before you begin, it is important to understand the different types of toilet wax available.
Traditional toilet wax rings are made from a mixture of beeswax and petroleum, while alternative wax ring materials include rubber, foam, and wax-free options.
To remove the old wax ring, start by turning off the water supply and flushing the toilet to empty the tank and bowl. Then, use the putty knife to carefully scrape away the wax residue from the flange and toilet base. Be thorough in removing all traces of the old wax to ensure a proper seal with the new wax ring.
With the old wax removed, you are ready to move on to installing the new wax ring.
Installing the New Wax Ring
After removing the old wax ring, it’s time to install the new one. Follow these steps to ensure a successful installation process:
-
Position the new wax ring: Place the new wax ring on the flange, ensuring it is centered and aligned properly. This will create a secure seal between the toilet and the sewer pipe.
-
Lower the toilet: Carefully lower the toilet onto the wax ring, making sure the bolts align with the holes on the toilet base. Apply downward pressure to compress the wax ring and create a tight seal.
-
Secure the toilet: Tighten the nuts onto the bolts, alternating between sides to ensure even pressure. Do not overtighten, as this may crack the toilet. Attach the tank to the bowl and connect the water supply.
Troubleshooting tips:
-
If the toilet wobbles, use shims to stabilize it.
-
If there is a leak, check if the wax ring is properly positioned and sealed.
-
If the bolts are too short, replace them with longer ones for a secure fit.
Reattaching the Toilet
To ensure proper alignment and stability when reattaching the toilet, it is essential to follow a few key points.
First, make sure that the toilet is aligned with the floor drain and sits evenly on the floor.
Next, tighten the bolts and nuts that secure the toilet to the floor, ensuring that they are snug but not over-tightened. This will help prevent any wobbling or shifting of the toilet and ensure a stable and secure installation.
Proper Alignment and Stability
For proper alignment and stability, it’s important to ensure that the toilet is level before installing the new wax ring. This step is crucial to prevent leaks and ensure the proper functioning of the toilet.
Here are some toilet installation tips to help you troubleshoot common issues:
-
Use a level: Place a level on top of the toilet tank and adjust the toilet until it is perfectly level. This will prevent rocking and ensure a proper seal with the wax ring.
-
Shim if necessary: If the floor is uneven, you may need to use shims to level the toilet. Insert shims under the base of the toilet until it is stable and level.
-
Tighten the bolts evenly: When securing the toilet to the floor, make sure to tighten the bolts evenly. Start by hand tightening, then use a wrench to snugly secure the bolts without over-tightening.
Securing Bolts and Nuts
When securing the toilet, make sure to evenly tighten the bolts using a wrench. This step is crucial for ensuring the stability and proper alignment of your toilet. Securing hardware, such as bolts and nuts, plays a significant role in maintaining the integrity of your toilet’s installation. By tightening the connections evenly, you prevent any unnecessary movement or wobbling of the toilet, which can lead to leaks or damage over time. To help you understand the importance of securing bolts and nuts, here’s a table showcasing the recommended torque specifications for toilet bolt tightening:
| Toilet Bolt | Torque Specification |
|---|---|
| Closet Bolt | 35-40 ft-lbs |
| Tank Bolt | 15-20 ft-lbs |
| Flange Bolt | 10-12 ft-lbs |
| Seat Bolt | 8-10 ft-lbs |
| Base Bolt | 25-30 ft-lbs |
Following these specifications will ensure that your toilet is securely fastened and will provide a stable and leak-free installation.
Testing for Leaks
Check the toilet bowl and floor around the base for any signs of water or moisture. This is an important step in troubleshooting toilet leaks and ensuring that your toilet wax ring is functioning properly. Here are some things to look out for:
-
Water pooling around the base of the toilet: If you notice water collecting around the base of the toilet, it could be a sign that the wax ring is not sealing properly. This can lead to leaks and water damage if not addressed.
-
Dampness or discoloration on the floor: Moisture can seep through cracks or gaps in the wax ring and cause the floor to become damp or discolored. This is another indication that there may be a leak.
-
Musty or unpleasant odors: A faulty wax ring can allow sewer gases to escape, resulting in unpleasant odors in your bathroom. If you notice any unusual smells, it’s worth checking for leaks.
Conclusion
Congratulations! You’ve successfully learned how to change a toilet wax ring. By following these simple steps and using the right tools, you’ve taken a giant leap towards a leak-free bathroom.
Now, you can confidently tackle this task with ease, saving yourself from potential plumbing disasters.
So go ahead, be the hero of your household, and bid farewell to those pesky toilet leaks once and for all. Trust me, your bathroom will thank you a million times over!


