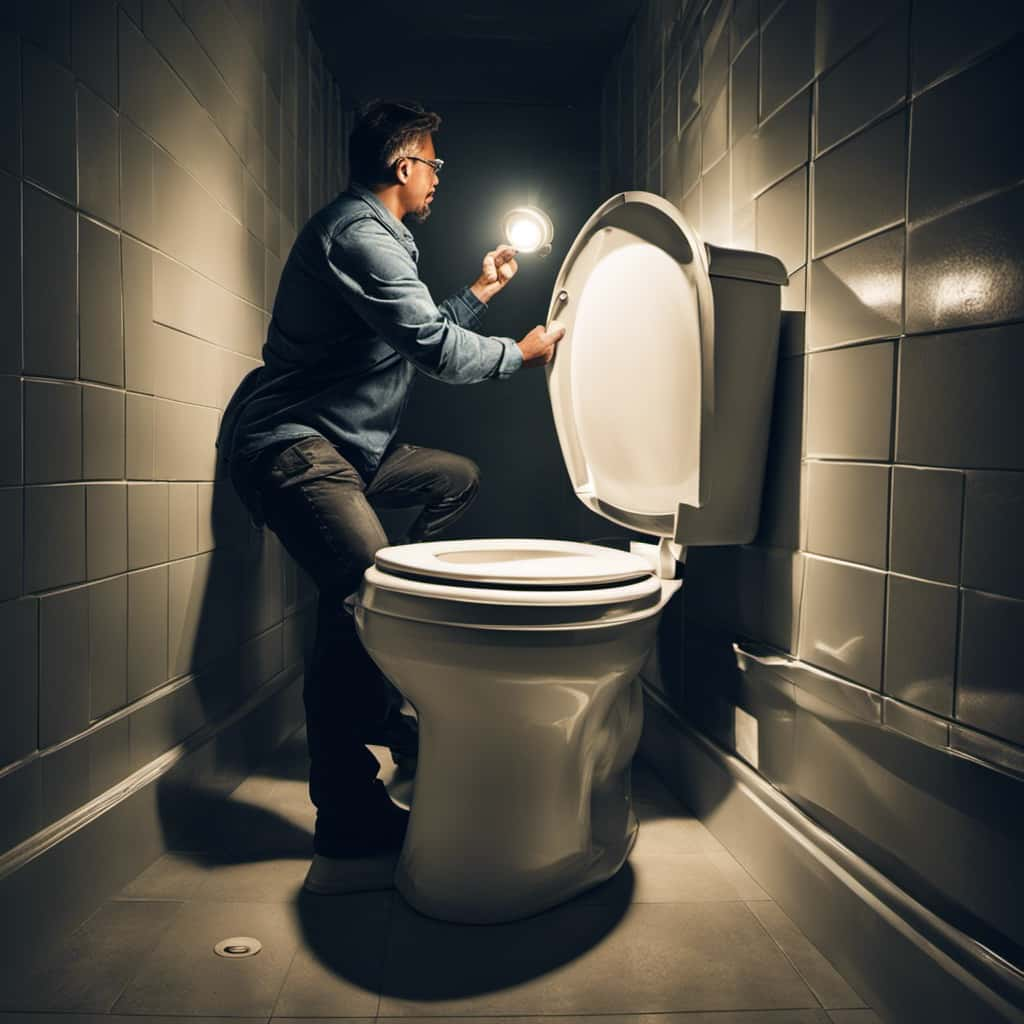
Hey there! Ever had a leaky toilet that just won’t quit? Well, I’ve got the solution for you.
In this step-by-step guide, I’m going to show you exactly how to change a wax ring on a toilet. Trust me, it’s easier than you think.
With just a few basic tools and a little bit of know-how, you’ll have that toilet fixed up in no time.
So, let’s roll up our sleeves and get started!
Key Takeaways
- Troubleshoot common issues such as loose or wobbly toilets by using penetrating oil and checking the flange for damage or misalignment.
- Follow safety precautions during toilet removal, such as wearing gloves and eye protection, using proper lifting technique, and having a second person assist if needed.
- When installing a new wax ring, ensure the flange is clean and smooth, position the wax ring correctly over the drain hole, and consider double stacking rings for a better seal.
- When reattaching the toilet, align the bolts on the flange with the holes on the toilet base, apply even pressure to compress the wax ring, and check for leaks by inspecting the area where the toilet meets the floor and the water supply line connects to the tank.
Required Tools and Materials
You’ll need a few tools and materials to change the wax ring on a toilet. Before starting, make sure to prepare your workspace by clearing the area around the toilet and laying down some old towels or a plastic sheet to catch any water or debris. This will make the process cleaner and easier.
Now, let’s troubleshoot some common issues that may arise during this task. If you encounter a stubborn toilet bolt that won’t budge, try using a penetrating oil to loosen it.
In case the toilet wobbles after reinstalling it, check if the flange is damaged or if the toilet is not properly aligned. Adjusting the flange or using shims can help resolve this problem.
Removing the Toilet
When it comes to removing a toilet, there are a few key points to keep in mind.
First, it’s important to know the proper way to remove a toilet to avoid any damage or accidents.
Second, having the right tools for the job is crucial in order to make the process easier and more efficient.
Lastly, safety precautions should be taken during the removal process to minimize the risk of injury or damage.
Proper Toilet Removal
First, carefully disconnect the water supply line from the back of the toilet. This step is crucial in order to avoid any water leakage during the removal process. Once the water supply line is disconnected, it’s time to remove the nuts and bolts that secure the toilet to the floor. I recommend using a wrench or pliers to loosen and remove these nuts. After that, gently lift the toilet bowl straight up and off the floor, being cautious not to damage the wax ring. Now, let’s take a look at the table below for a visual representation of the steps involved in properly removing a toilet:
| Step | Description |
|---|---|
| 1 | Disconnect water supply line |
| 2 | Remove nuts and bolts securing toilet |
| 3 | Lift toilet bowl off the floor |
| 4 | Take care not to damage the wax ring |
Tools Needed for Removal
To remove the toilet, you’ll need a wrench or pliers to loosen and remove the nuts and bolts securing it to the floor.
Before starting, make sure to turn off the water supply by closing the shut-off valve located behind the toilet.
Next, flush the toilet to empty the tank and remove any remaining water using a sponge or towel.
Now, locate the nuts and bolts at the base of the toilet and use the wrench or pliers to loosen them.
Once they are loose, carefully lift the toilet straight up and away from the floor. Be sure to steady the toilet and avoid any sudden movements to prevent damage or injury.
With the toilet removed, you can now move on to safely installing the new wax ring.
Safety Precautions During Removal
Make sure you’re wearing gloves and eye protection while removing the toilet to protect yourself from any potential hazards. Safety measures and protective gear are essential when handling any plumbing task. Here are three important precautions to follow:
-
Wear gloves: Protect your hands from bacteria, sharp edges, and chemical cleaners. Disposable gloves are recommended for easy disposal after use.
-
Use eye protection: Safety goggles or glasses shield your eyes from splashing water, debris, and cleaning chemicals that can cause irritation or injury.
-
Be cautious of lifting: To avoid straining your back or causing damage, lift the toilet carefully, using your legs and not your back. It’s recommended to have a second person assist you.
Removing the Old Wax Ring
When it comes to removing the old wax ring from a toilet, it is important to follow proper procedures to prevent water leaks and ensure a successful replacement.
To begin, turn off the water supply to the toilet and flush it to drain the remaining water from the tank and bowl.
Next, use a putty knife or scraper to carefully remove any excess wax and debris from the flange and toilet base, ensuring a clean and smooth surface for the new wax ring to adhere to.
Proper Wax Ring Removal
First, you’ll want to turn off the water supply to the toilet before attempting to remove the wax ring. This will prevent any water from leaking out during the removal process.
Here is a step-by-step removal process for changing the wax ring on a toilet:
-
Gather the required equipment: a wrench, a putty knife, rubber gloves, and a new wax ring.
-
Remove the toilet tank lid and set it aside.
-
Use the wrench to disconnect the water supply line from the bottom of the toilet tank.
-
Flush the toilet to remove as much water as possible from the bowl.
-
Use the putty knife to carefully scrape away any remaining wax from the flange and the toilet base.
-
Once the wax ring is completely removed, clean the area thoroughly.
-
Dispose of the old wax ring and put on the rubber gloves.
-
Congratulations! You have successfully removed the old wax ring in preparation for installing a new one.
Preventing Water Leaks
To prevent any water leaks, you should ensure that the water supply to the toilet is turned off before proceeding with any maintenance. This step is crucial in avoiding any potential damage or flooding. Once the water supply is turned off, you can begin troubleshooting common toilet issues and detecting leaks. One common issue is a leak between the tank and the bowl, which can be identified by adding food coloring to the tank and checking if it seeps into the bowl. Another common issue is a leak at the base of the toilet, which can be detected by looking for water pooling around the bottom. By carefully examining these areas and addressing any leaks, you can prevent water damage and maintain the functionality of your toilet.
| Common Toilet Issues | Troubleshooting Steps |
|---|---|
| Leak between tank and bowl | Add food coloring to the tank and check if it seeps into the bowl |
| Leak at the base of the toilet | Look for water pooling around the bottom |
Installing the New Wax Ring
Now that you’ve removed the old wax ring, it’s time to install the new one. Follow these steps to ensure a successful installation process:
-
Clean the flange: Use a scraper or putty knife to remove any remaining wax or debris from the flange. Make sure it is clean and smooth before proceeding.
-
Position the new wax ring: Place the new wax ring on the flange, making sure it is centered over the drain hole. Gently press it down to create a seal.
-
Align the toilet: Carefully lower the toilet bowl onto the wax ring, ensuring that the bolts on the flange align with the holes on the toilet base. Apply even pressure to compress the wax ring.
Troubleshooting tips:
- If the toilet wobbles, tighten the bolts evenly until it is stable.
- If the wax ring is too thick or thin, it may not create a proper seal. Consider using a different size or double stacking rings if necessary.
- If you notice any leaks, tighten the bolts or replace the wax ring.
Reattaching the Toilet
Once you have completed the installation of the new wax ring, it’s time to reattach the toilet. Start by lining up the toilet bowl with the holes on the floor. Carefully lower the toilet onto the wax ring, making sure the bolts protrude through the holes in the base of the toilet.
Place washers and nuts onto the bolts, and hand tighten them. Use a wrench to firmly tighten the nuts, but be careful not to overtighten and crack the toilet. Alternate between tightening the nuts to ensure even pressure.
Once the nuts are secure, check that the toilet is level by placing a level across the bowl. If needed, adjust the toilet by tightening or loosening the nuts.
With the toilet securely in place, we can now move on to testing for leaks in the next section.
Testing for Leaks
After reattaching the toilet, it’s important to test for leaks. Here’s how to do it:
-
Turn on the water supply: Locate the shut-off valve near the base of the toilet and turn it counterclockwise to open the valve. This will allow water to flow into the tank.
-
Check the connections: Inspect the area where the toilet meets the floor and the water supply line connects to the tank. Look for any signs of water leakage or dripping.
-
Flush and observe: Flush the toilet and watch closely for any water seeping out from the base or around the tank. If you notice any leaks, immediately turn off the water supply to prevent further water damage.
Troubleshooting leaks is crucial to prevent costly water damage. By following these steps, you can ensure that your toilet is securely reattached and free from any leaks.
Frequently Asked Questions
Can I Use Any Type of Wax Ring for This Task or Do I Need a Specific One?
Yes, you need to use a specific wax ring for this task. Using a different type of sealant instead may cause leaks. To choose the right wax ring for your toilet, consider the size and shape of your toilet and the flange.
Is It Necessary to Replace the Wax Ring Every Time the Toilet Is Removed, or Can It Be Reused?
Yes, it is necessary to replace the wax ring every time the toilet is removed. Reusing it can lead to leaks and potential damage. The best type of wax ring to use for replacing a toilet is a standard wax ring.
What Should I Do if the Toilet Flange Is Damaged or Broken During the Removal Process?
If the toilet flange is damaged or broken during the removal process, it is essential to repair it before installing a new wax ring. This will prevent future toilet leaks and ensure a proper seal.
What Are Some Common Signs of a Faulty Wax Ring That May Require Replacement?
In my experience, signs of water damage and leaks are common indicators of a faulty wax ring. To prevent these issues, it’s important to know how to change a wax ring on a toilet correctly.
Are There Any Alternative Methods or Products Available to Replace the Traditional Wax Ring for Sealing the Toilet?
There are alternative methods for sealing a toilet, but they have pros and cons. One method is using a wax-free seal. It is easy to install, but may not provide a tight seal. Another option is using a rubber gasket, which offers a better seal but can be more difficult to install.
Conclusion
In conclusion, changing a wax ring on a toilet is a simple and necessary maintenance task that can be done by anyone with basic DIY skills. By following the step-by-step instructions and using the right tools and materials, you can ensure that your toilet is properly sealed and free from leaks.
Imagine a scenario where a homeowner notices a foul odor coming from their bathroom and discovers that the wax ring is worn out. By replacing the wax ring, they eliminate the odor and prevent any water damage to their floor.
