
I’ve been there – the frustration of a leaking toilet tank that just won’t stop. But fear not! I’m here to guide you through the steps of fixing it yourself.
In this article, we’ll delve into the nitty-gritty details of identifying the source of the leak, shutting off the water supply, and replacing the faulty flapper.
We’ll also cover fixing a leaky fill valve and checking and tightening those pesky tank bolts.
Get ready to become a toilet tank repair expert!
Key Takeaways
- Identify the source of the leak by checking for visible cracks or gaps around the base of the toilet and using food coloring to detect leaks.
- Shut off the water supply before attempting any repairs to prevent further water damage and ensure safety.
- Replace a faulty flapper by disconnecting the chain, installing a new flapper securely, and adjusting the water level if necessary.
- Fix a leaky fill valve by ensuring it is securely attached to the tank, adjusting the water pressure, cleaning any debris or mineral buildup, and checking for leaks after turning on the water supply.

Smart Toilet with Bidet Built In, Heated Seat, Warm Water Wash & Dryer, Tankless Bidet Toilet with Foot Sensor & Night Light, Auto Open/Close Lid & Flush, Wireless Remote, 1.26GPF Water-Saving Design
🛠️ Easy Installation & Reliable Support: This smart toilet with bidet built in includes all accessories, flange kit,...
As an affiliate, we earn on qualifying purchases.
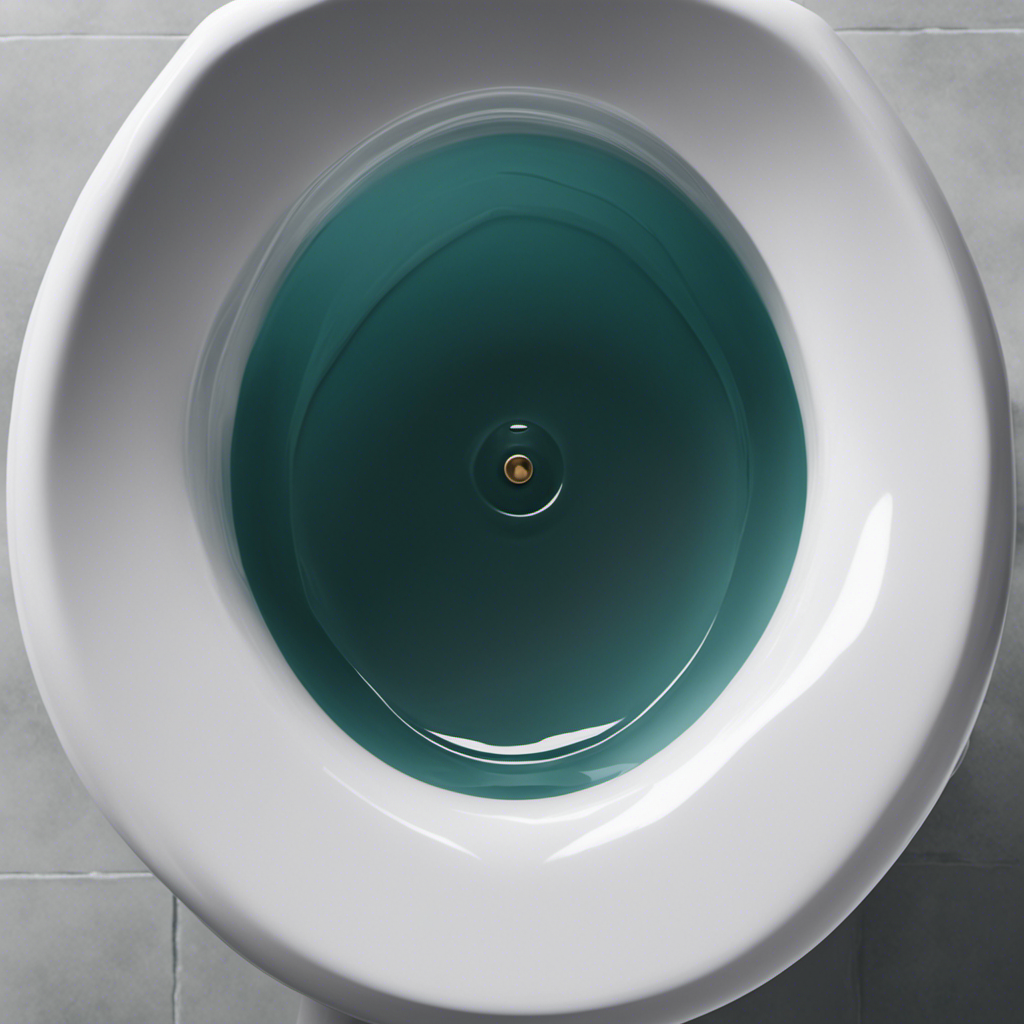
Identifying the Source of the Leak
You should start by checking if the leak is coming from the base of the toilet. This is one of the most common signs of a leaking toilet tank. If you notice water pooling around the base or if you see any visible cracks or gaps, it is likely that the leak is originating from there.
There are several causes of toilet tank leaks, including worn-out seals, loose connections, or cracked tanks. It is important to identify the source accurately to determine the appropriate fix.
To check for leaks, you can add a few drops of food coloring to the tank and wait for a few minutes. If the color seeps into the bowl without flushing, it indicates a leak.

LOUPUSUO Smart Toilet with Warm Water Sprayer and Dryer, One Piece Bidet Toilet with Auto Dual Flush Foot Sensor Operation,Heated Seat Smart with Built In Fahrenheit LED Display
Powerful Flushing System: Designed with low water consumption (1.26 gallons per flush), this system ensures efficient and thorough...
As an affiliate, we earn on qualifying purchases.
Shutting off the Water Supply
To stop the water flow, simply turn off the valve located behind the toilet. This valve is usually located on the wall or floor near the base of the toilet. Shutting off the water supply is crucial before attempting any repairs on a leaking toilet tank. It prevents further water damage and allows for a safer working environment.
Additionally, it allows you to check the water pressure, which can be a useful diagnostic tool in identifying the cause of the leak. To do so, you can use a water pressure gauge to measure the pressure coming into the toilet tank. This information can help you determine if the water pressure is too high or too low, which may be contributing to the leak.
Next, we will move on to the next step: replacing the faulty flapper.

WITMYA Smart Toilet with Bidet Built In, One Piece Bidet Toilet with Auto Dual Flush, Foam Shield, Modern Elongated Tankless Toilet with Foot Sensor, Heated Bidet Seat, Warm Water & Dryer,LED Display
【Efficient Flush & Energy-Saving Design】There smart toilets feature a highly efficient 1.28 GPF water-saving dual flush system with...
As an affiliate, we earn on qualifying purchases.
Replacing the Faulty Flapper
When replacing the faulty flapper, it’s important to first ensure that the water supply valve is shut off. This will prevent any water from flowing into the tank while you work on it.
To replace the flapper, start by removing the old one from the flush valve. This can usually be done by disconnecting the chain that connects the flapper to the flush handle.
Once the old flapper is removed, you can install the new one by attaching it to the flush valve. Make sure it is securely in place.
After that, you may need to adjust the water level in the tank. This can be done by adjusting the float or the fill valve, depending on your toilet model.
Once everything is in place, turn on the water supply valve and check for any leaks.

Smart Toilet with Bidet Built in, Elongated Bidet Toilet with Auto Soft Open/Close, Auto Flush, One Piece Toilet with Warm Wash & Dryer, Heated Seat, LED & Night Light, Self-Cleaning, Full/Half Flush
🔥 𝘼𝙡𝙡-𝙞𝙣-𝙊𝙣𝙚 𝙎𝙢𝙖𝙧𝙩 𝙏𝙤𝙞𝙡𝙚𝙩 𝙬𝙞𝙩𝙝 𝘽𝙞𝙙𝙚𝙩: This elongated electric toilet combines a tankless design and one-piece build for...
As an affiliate, we earn on qualifying purchases.
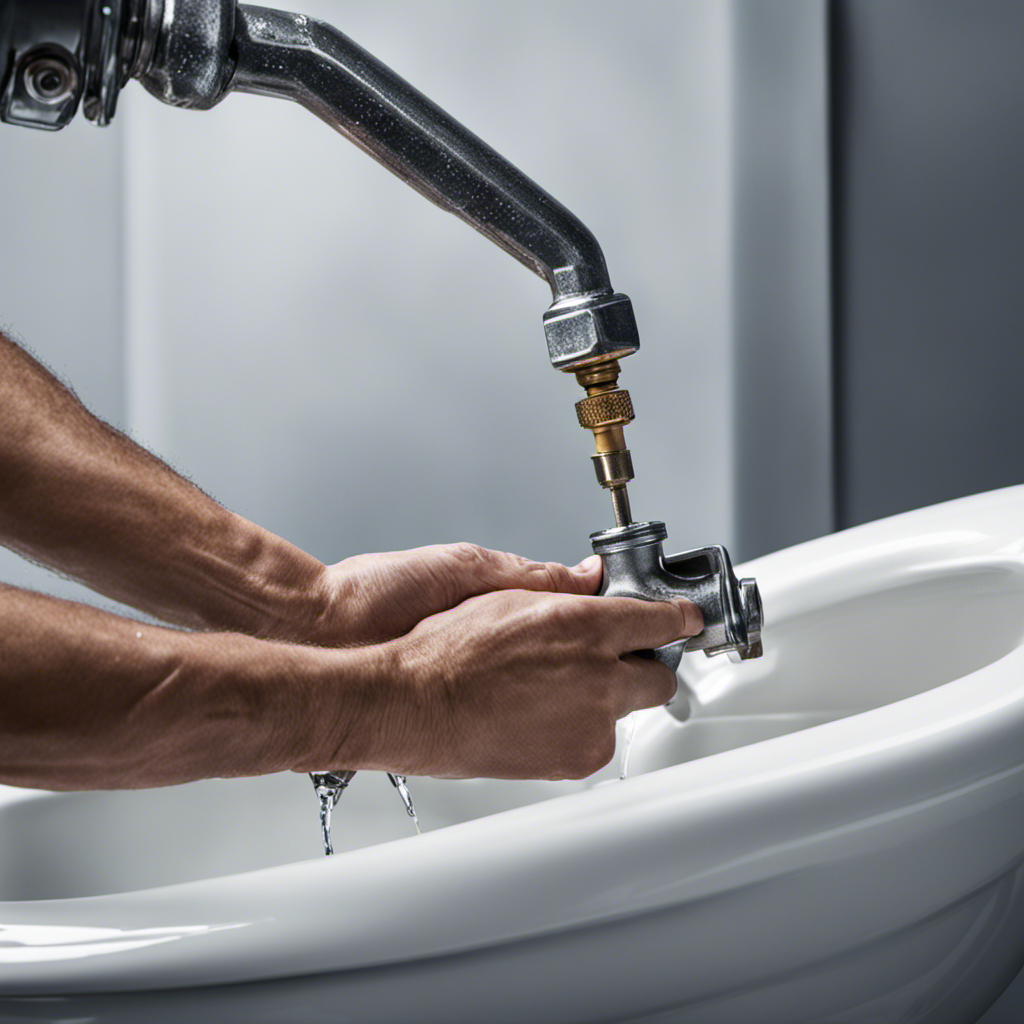
Fixing a Leaky Fill Valve
After shutting off the water supply valve, make sure the fill valve is securely attached to the tank to fix a leak.
Here’s how to do it:
-
Adjusting water pressure: Use a screwdriver to turn the adjustment screw on the fill valve clockwise to decrease the water pressure. This will prevent excess water from overflowing and causing leaks.
-
Cleaning the flush valve: Remove the tank lid and locate the flush valve at the bottom of the tank. Use a sponge or cloth to clean any debris or mineral buildup around the valve. This will ensure a proper seal and prevent leaks.
-
Check for leaks: Turn on the water supply valve and let the tank fill. Observe the fill valve for any leaks. If you notice any water dripping or spraying from the valve, tighten the connections or replace the fill valve if necessary.
Checking and Tightening the Tank Bolts
Make sure that you tighten the tank bolts securely to prevent any potential leaks or damage. The tank bolts play a crucial role in maintaining the integrity of your toilet tank. Over time, these bolts can become loose due to regular usage or even rusted washers.
To ensure a tight seal and prevent any leakage, it is important to regularly check and tighten these bolts. Here is a step-by-step guide on how to check and tighten the tank bolts:
- Turn off the water supply to the toilet.
- Remove the tank lid and set it aside.
- Locate the tank bolts on the underside of the tank.
- Use a wrench to tighten the nuts on the tank bolts, making sure not to overtighten.
- Check for any signs of rusted washers and replace them if necessary.
Frequently Asked Questions
What Are Some Common Signs and Symptoms of a Leaking Toilet Tank?
Some common signs and symptoms of a leaking toilet tank include water pooling around the base of the toilet, a noticeable increase in water bills, and continuous running water. Troubleshooting tips can help identify the cause of the leak.
How Long Does It Typically Take to Fix a Leaking Toilet Tank?
To quickly fix a leaking toilet tank, first identify the source of the leak. Replace faulty parts such as the flapper or fill valve. To prevent future leaks, regularly inspect and maintain the toilet tank components.
Can a Leaking Toilet Tank Cause Any Damage to the Bathroom Floor or Surrounding Areas?
Yes, a leaking toilet tank can cause potential water damage to the bathroom floor and surrounding areas. Preventing toilet tank leaks is crucial to avoid costly repairs and maintain the integrity of your bathroom.
Are There Any Temporary Fixes for a Leaking Toilet Tank Until It Can Be Repaired?
There are temporary fixes and quick repair methods available for a leaking toilet tank. These solutions can provide a temporary solution until a proper fix can be done.
Is It Necessary to Hire a Professional Plumber to Fix a Leaking Toilet Tank, or Can It Be Done as a DIY Project?
Is it necessary to hire a professional plumber or can I fix a leaking toilet tank myself? DIY can be a cost-effective option, but consider the complexity of the issue and your own skills before tackling the project.
Conclusion
In conclusion, fixing a leaking toilet tank may seem daunting, but it can be easily resolved with the right knowledge and tools. By identifying the source of the leak, shutting off the water supply, and replacing faulty parts such as the flapper or fill valve, you can save water and money.
Did you know that a leaking toilet can waste up to 200 gallons of water per day? This staggering statistic should evoke a sense of urgency in us to address and fix any leaks promptly.
Remember, a little effort goes a long way in conserving our precious resources.