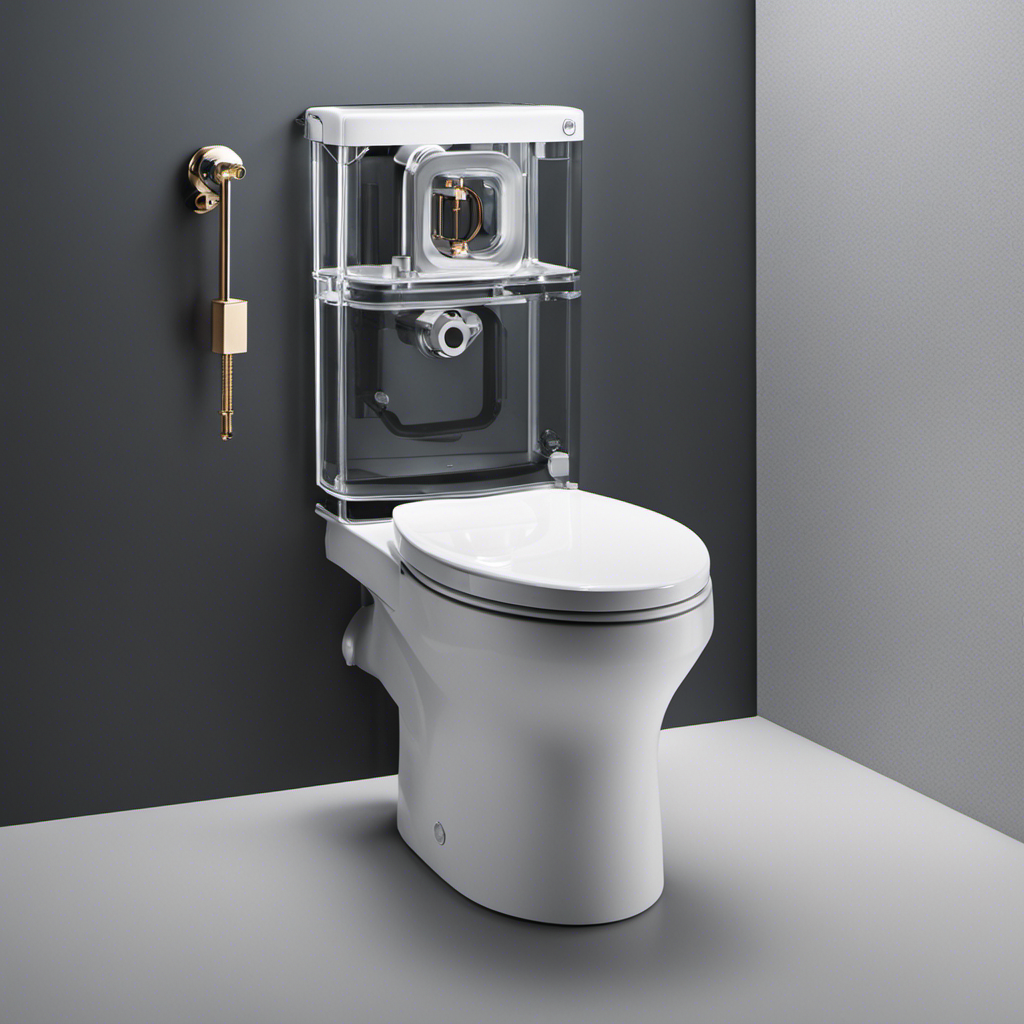
I’ve had my fair share of frustrations with a running toilet, and it always seems to happen at the most inconvenient times. But fear not, because I’ve discovered a simple solution that will save you from any future bathroom disasters.
In this step-by-step guide, I’ll show you how to fix a running toilet with a button flush. By following these easy instructions, you’ll be able to put an end to that annoying water wastage and enjoy a fully functioning bathroom once again.
Let’s dive right in and get this problem solved!
Key Takeaways
- Properly seating the flapper on the flush valve and adjusting it for a tight fit can help fix a running toilet with a button flush.
- Shutting off the water supply by turning the valve clockwise near the base of the toilet can be done to check if the water flow stops.
- Inspecting and cleaning the flush button, as well as lubricating it with silicone spray if needed, can help ensure it moves freely.
- Adjusting or replacing the flush button, checking for debris or obstructions, and ensuring proper connection of the connecting rod and chain can be done to fix issues with the flush button mechanism.
Identifying the Problem
First, you need to figure out what’s causing the toilet to keep running after you flush it. To begin troubleshooting, start by removing the lid of the toilet tank.
The most common issue is a faulty flapper valve. Check if the flapper is properly seated on the flush valve. If it’s not, adjust it to ensure a tight fit.
Another possible cause is a water level that’s too high. Adjust the water level by turning the adjustment screw on the fill valve.
Additionally, inspect the fill valve and float assembly for any signs of damage or wear. If you notice any issues, replace the faulty parts.
Shutting Off the Water Supply
To stop the water flow, you’ll need to turn off the water supply valve. Before you can fix a running toilet with a button flush, it’s important to shut off the water supply to prevent any further damage or flooding.
Start by locating the water supply valve, usually located near the base of the toilet. Turn the valve clockwise to shut off the water flow.
To ensure that the water supply is completely shut off, flush the toilet and check if the water stops flowing. If the water supply is still not fully shut off, you may need to use pliers to tighten the valve.
Once the water flow is stopped, you can proceed with inspecting the water supply and addressing common toilet flushing issues.
Checking the Flush Button Mechanism
After shutting off the water supply, you should check the flush button mechanism. The flush button is responsible for initiating the flush cycle in a toilet. Common issues with toilet flush buttons include sticking, not springing back up after being pressed, or not flushing the toilet at all.
To troubleshoot a faulty flush button mechanism, follow these steps:
- Remove the toilet tank lid and locate the flush button mechanism.
- Inspect the button for any signs of damage or debris.
- Clean the button and the surrounding area using a damp cloth.
- Press the button several times to see if it moves freely.
- If the button is still sticking, try lubricating it with silicone spray.
- Check the connecting rod and chain to ensure they are properly attached and not tangled.
- If necessary, adjust the chain length to ensure proper operation.
- Replace the flush button if it is damaged or cannot be fixed.
Adjusting or Replacing the Flush Button
When adjusting or replacing the flush button, you should ensure that it moves freely and is properly attached to the connecting rod and chain. To troubleshoot common issues with the flush button, follow these steps:
- Check for any debris or obstructions around the button that may be hindering its movement.
- Inspect the connecting rod and chain to ensure they are properly connected and not damaged.
- If the flush button is loose or wobbly, tighten the screws or bolts that secure it to the toilet tank.
If you’re looking to upgrade to a dual flush system, follow these additional steps:
- Purchase a dual flush conversion kit that is compatible with your toilet model.
- Turn off the water supply to the toilet and drain the tank.
- Remove the existing flush button and install the dual flush button according to the manufacturer’s instructions.
Testing and Verifying the Fix
Once you have completed the adjustments or replacements, make sure to test and verify that the issue has been resolved.
Troubleshooting common toilet flush issues is important to ensure that the button flush mechanism is functioning properly.
To begin, press the flush button and observe if the water flows smoothly into the toilet bowl. If the water doesn’t flow or if it continues to run, there might be a problem with the seal or the valve.
Next, check the water level in the tank and ensure it reaches the fill line. If it doesn’t, adjust the float or refill valve accordingly.
Finally, flush the toilet multiple times to confirm that the issue has been fully resolved.
Understanding the inner workings of a button flush mechanism is crucial in effectively testing and verifying its functionality.
Frequently Asked Questions
How Does a Button Flush Mechanism Work?
The button flush mechanism works by activating a valve that releases water from the tank into the bowl. Troubleshooting common issues involves checking for leaks, adjusting the chain or button, and cleaning or replacing the valve. Upgrading to a more efficient system can save water and money.
What Are the Common Reasons for a Button Flush Not Working?
When a button flush stops working, troubleshooting is key. Start by checking for water supply issues, a faulty button or valve, and clogs. Common DIY solutions include adjusting the button mechanism or replacing parts as needed.
Can I Fix a Button Flush Without Shutting off the Water Supply?
Yes, you can fix a button flush without shutting off the water supply. There are alternative repair methods that involve troubleshooting the button flush and addressing any issues with the mechanism.
How Do I Adjust the Water Level in a Toilet With a Button Flush?
To troubleshoot a button flush mechanism and adjust the water level in a button flush toilet, follow these steps. First, locate the water level adjustment screw. Then, turn it clockwise to lower the water level or counterclockwise to raise it.
What Are Some Tips for Maintaining a Button Flush Mechanism to Prevent Future Issues?
Maintaining button flush mechanisms is crucial. Regular cleaning prevents future issues. Troubleshoot common problems by checking the water level, adjusting the chain tension, or replacing worn-out parts. Follow these steps to ensure optimal performance and avoid costly repairs.
Conclusion
In conclusion, fixing a running toilet with a button flush is a straightforward process that anyone can tackle.
By identifying the problem, shutting off the water supply, checking the flush button mechanism, and adjusting or replacing it if necessary, you can restore your toilet to its proper functioning.
Just like a skilled mechanic fine-tuning a race car engine, this simple fix will bring harmony back to your bathroom and ensure a smooth and efficient flushing experience.
So don’t let a running toilet hold you back, take charge and fix it today!
