
I’ve got a problem that needs fixing – my toilet seat is loose and wobbly. But fear not, because I’m here to show you step-by-step how to fix it.
With just a few tools and a little bit of know-how, you’ll have that toilet seat securely in place in no time.
So, let’s grab our tools and get started on this simple yet essential repair. Don’t worry, I’ve got you covered every step of the way.
Key Takeaways
- Inspect the hinges, screws, and seat for looseness, damage, and cracks
- Use the appropriate tools like a screwdriver, adjustable wrench, Allen wrench, and pliers for removal and installation
- Choose the right seat based on size, shape, material, and additional features
- Secure the seat tightly using screws, bolts, rubber washers, or adhesive pads to prevent wobbling or detachment

Smart Toilet with Bidet Built In, Heated Seat & Dual Auto Flush, Foot Sensor, Tankless Modern Elongated Electric Toilet with Warm Water Wash, Air Dryer, LED Display & 1000g MaP Flush, 1.28 GPF
- Water-Saving Dual Flush System: 0.92 GPF light and 1.28 GPF full flush
- Touchless, Hands-Free Operation: Sensor-activated lid, seat, and flush
- Heated Seat and Warm Water Bidet: Adjustable seat temperature and instant warm water
As an affiliate, we earn on qualifying purchases.
Assessing the Problem
First, you’ll need to take a closer look at the toilet seat to figure out what’s wrong. Start by inspecting the hinges and screws to see if they’re loose or damaged. If the seat wobbles or moves when you sit on it, tightening the screws might solve the problem.
Another common issue is a cracked or broken seat. Carefully examine the seat for any visible cracks or damage. If you find any, it’s best to replace the seat entirely.
Additionally, check if the seat is properly aligned with the bowl. If it’s misaligned, it can cause discomfort or difficulty in closing the seat.
Once you’ve assessed the problem, you can move on to gathering the necessary tools for the repair.
Gathering the Necessary Tools
Next, you’ll need to grab the tools you’ll need for the task at hand. Maintaining and troubleshooting toilet seat issues requires a few essential tools. Here’s what you’ll need:
- Screwdriver: This will be used to tighten or remove screws that hold the seat in place.
- Adjustable wrench: Useful for loosening and tightening nuts and bolts.
- Allen wrench: Sometimes, toilet seats are secured with Allen screws, so having this tool on hand is essential.
- Pliers: These come in handy when dealing with stubborn bolts or nuts that are difficult to remove.
With these tools at your disposal, you’ll be well-equipped to tackle any toilet seat maintenance or troubleshooting task. Remember to use caution when working with tools and follow proper safety measures to avoid any accidents.
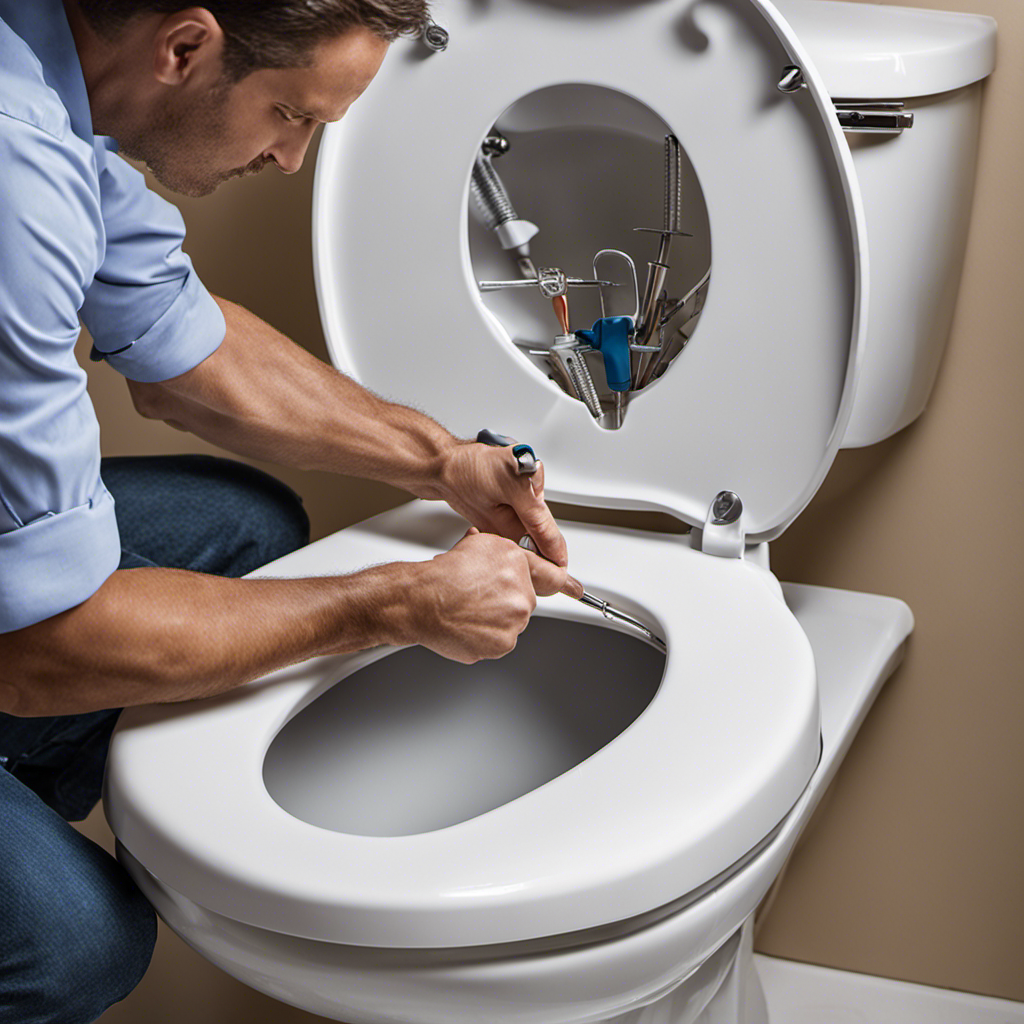
Removing the Old Toilet Seat
To start, locate the screws holding the old seat in place. These screws are usually located at the back of the toilet bowl, near the hinges. Use a screwdriver to loosen and remove them.
Once the screws are removed, lift the old seat off the toilet bowl and set it aside.
Next, take a moment to clean the toilet bowl and the area where the seat was attached. Use a mild cleaner and a soft cloth to remove any dirt or residue. This will ensure a clean surface for installing the new toilet seat.
With the old seat removed and the toilet bowl clean, you are now ready to move on to installing the new toilet seat.
Installing the New Toilet Seat
When it comes to installing a new toilet seat, there are a few key points to keep in mind.
First, it’s important to choose the right seat for your toilet. This means considering factors like size, shape, and material.
Once you have the right seat, proper seat alignment is crucial for a comfortable and functional installation.
Lastly, securing the seat tightly ensures that it stays in place and doesn’t wobble or move when in use.
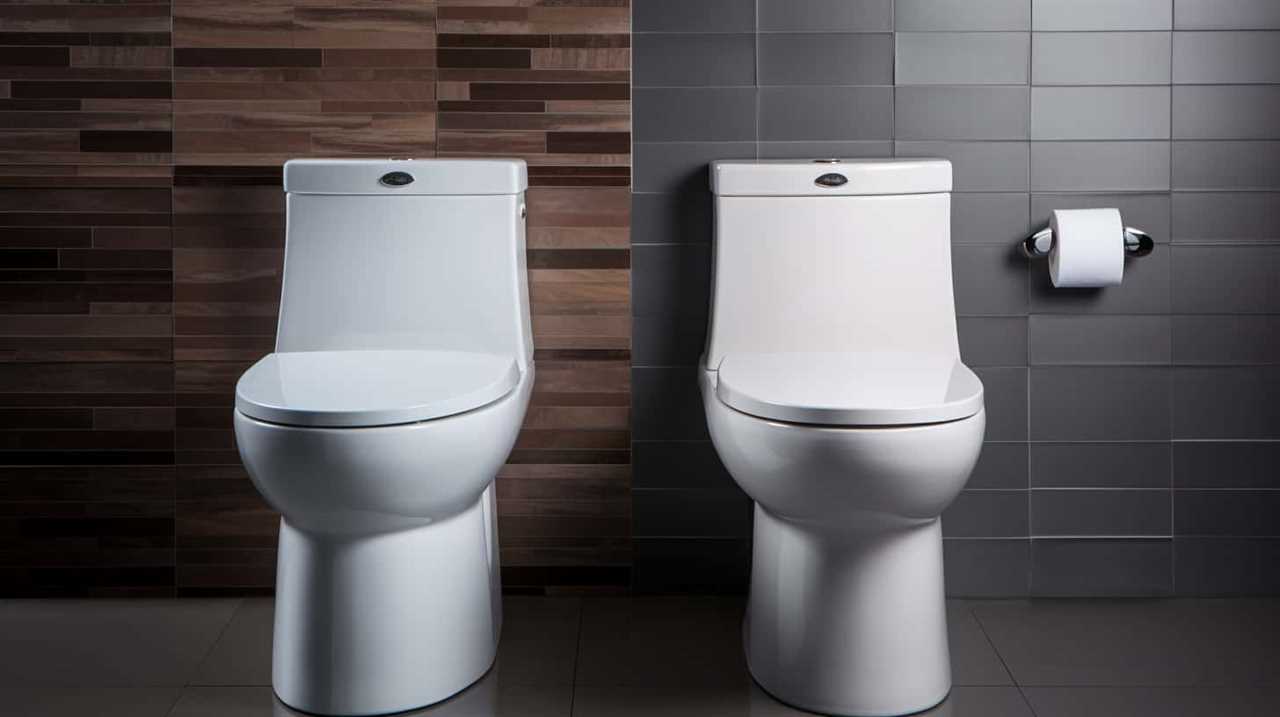
Choosing the Right Seat
Before you start shopping, make sure you know the measurements of your toilet bowl. This is crucial to ensure that the new toilet seat fits perfectly and functions properly.
When choosing the right seat, there are a few factors to consider. Firstly, consider the material of the toilet seat. Common options include plastic, wood, and cushioned seats. Secondly, think about the color options available. Match the seat color to your bathroom decor or personal preference. Additionally, consider the durability and ease of cleaning of the seat material. Lastly, check if the seat comes with any additional features such as a slow-close mechanism or antimicrobial coating.
Once you have selected the perfect toilet seat, you can move on to the next step of proper seat alignment.
Transition: Now that you have chosen the right toilet seat, let’s move on to properly aligning it on your toilet bowl.
Proper Seat Alignment
Now that you have the perfect toilet seat, aligning it properly on your toilet bowl is essential for comfort and stability. Improper alignment can lead to common toilet seat problems such as wobbling, shifting, or even breakage.
To ensure a properly aligned seat, follow these step-by-step instructions:
-
Start by cleaning the toilet bowl and seat thoroughly.
-
Place the seat on top of the bowl, ensuring that the hinges align with the fixing points on the bowl.
-
Gently lower the seat onto the fixing points, making sure it sits evenly on all sides.
-
Tighten the screws or bolts on the hinges using a screwdriver or wrench, depending on the type of seat.
-
Check for any movement or wobbling. If necessary, adjust the alignment by loosening the screws and repositioning the seat.
-
Once properly aligned, tighten the screws firmly, but be careful not to overtighten and damage the seat or bowl.
Properly aligning your toilet seat offers several benefits, including enhanced comfort, stability, and longevity. It prevents unnecessary movement or shifting, providing a secure and pleasant seating experience. Additionally, a well-aligned seat reduces the risk of breakage or damage, ensuring long-term durability.
Securing the Seat Tightly
To ensure a secure fit, make sure you tighten the screws firmly but be careful not to overtighten and cause damage.
Here are some tips for preventing a loose toilet seat:
- Use a screwdriver or wrench to tighten the nuts or bolts that secure the seat to the toilet bowl.
- Check if the toilet seat hinges are loose and tighten them if necessary.
- Consider replacing the screws or bolts with longer ones for a more secure fit.
- Use rubber washers or adhesive pads between the seat and the toilet bowl to prevent shifting.
Common toilet seat issues include wobbling, sliding, or completely detaching from the bowl. By following these tips, you can prevent these problems and ensure a stable and secure toilet seat.
Now, let’s move on to adjusting the seat for comfort.
Adjusting the Seat for Comfort
Make sure you’re adjusting the toilet seat for maximum comfort by finding the ideal position for your needs.
The first step is to consider the seat material. Most toilet seats are made of either plastic or wood. Plastic seats are easy to clean and maintain, requiring just a wipe with a damp cloth. Wood seats, on the other hand, have a natural look but require more care. They should be cleaned with mild soap and water, avoiding harsh chemicals that can damage the finish.
Once you’ve chosen the right seat material, it’s time to adjust it for comfort. Start by loosening the seat bolts underneath the toilet bowl. Then, adjust the seat position to your liking. Finally, tighten the bolts securely.
With the seat adjusted, you can now move on to securing it in place.
Securing the Seat in Place
Once you’ve adjusted the seat to your liking, you’ll want to make sure it’s securely fastened in place. To do this, follow these steps:
-
Start by checking the size of the seat. If the seat is too small for the toilet bowl, it may not fit properly and could easily become loose over time.
-
Next, inspect the mounting hardware. Look for any signs of damage, such as loose screws or broken bolts. If the hardware is in poor condition, it will need to be replaced.
-
If the seat size and mounting hardware are both in good condition, begin by aligning the seat with the mounting holes on the toilet bowl.
-
Finally, tighten the screws or bolts using a screwdriver or wrench, ensuring that the seat is securely fastened.
Testing and Finalizing the Repair
After securing the seat in place, it’s important to test the repair to ensure it’s properly fixed.
To begin, gently sit on the toilet seat and check for any wobbling or movement. Apply pressure on different areas to test its durability. If there are no issues, proceed to the next step.
Next, flush the toilet multiple times to ensure that the seat remains stable and doesn’t shift. Listen for any unusual noises or vibrations during the flushing process. If everything appears to be working smoothly, it’s time to troubleshoot any potential issues.
Check the hinges and screws for tightness, making sure none are loose. If any issues are detected, tighten the screws or replace any damaged parts. Finally, repeat the testing process to verify that the repair is successful and the toilet seat is secure.
Conclusion
In conclusion, fixing a toilet seat is a straightforward task that can be easily accomplished by following a few simple steps.
First, assess the problem and determine what needs to be fixed.
Next, gather the necessary tools, such as a screwdriver and pliers, to help with the repair.
Then, remove the old seat by unscrewing the bolts that hold it in place.
After that, install the new seat by aligning it with the holes on the toilet bowl and securing it with the bolts.
Once the seat is in place, adjust it for comfort by tightening or loosening the bolts as needed.
Finally, make sure the seat is securely in place by giving it a gentle tug and testing its stability.
By following these steps, you can have your toilet seat back to its original functionality in no time.
Just like a skilled craftsman restoring a masterpiece, you too can restore the comfort and convenience of your bathroom with ease.