So, you’ve got a whistling toilet, huh? Don’t worry, I’ve got you covered. In this article, I’m going to show you step-by-step how to fix that annoying noise and restore peace to your bathroom.
We’ll dive into the causes of the whistling, check the water supply and pressure, and even tackle any issues with the toilet tank components.
Get ready to become a toilet whistling expert – let’s get started!
Key Takeaways
- Troubleshoot common problems causing the whistling noise, such as faulty fill valve or loose flapper valve.
- Inspect the water supply lines for leaks, blockages, or other issues.
- Conduct a water pressure test to ensure it is within the recommended range.
- Adjust the pressure regulator to maintain optimal water pressure.
Identifying the Cause of the Whistling Noise
Now, you’ll need to figure out what’s causing that annoying whistling noise in your toilet. Troubleshooting techniques can help you identify common problems that may be the source of this irritating sound.
One possible cause could be a faulty fill valve. This valve controls the water level in the tank and if it is not functioning properly, it can create a whistling noise.
Another common issue is a loose or worn-out flapper valve. This valve is responsible for sealing the tank and preventing water from continuously flowing into the bowl. If it is not sealing properly, it can cause a whistling noise.
By inspecting these components and checking for any signs of damage or malfunction, you can pinpoint the cause of the whistling noise in your toilet and proceed with the necessary repairs.
Now let’s move on to checking the water supply and pressure.
Checking the Water Supply and Pressure
When it comes to ensuring a properly functioning plumbing system, two key areas to focus on are water supply inspection and pressure regulator adjustment.
Water supply inspection involves thoroughly examining the incoming water lines to identify any leaks, blockages, or other issues that may affect the flow and quality of water.
On the other hand, pressure regulator adjustment is the process of modifying the pressure settings on the regulator to maintain optimal water pressure throughout the system.
These two tasks are crucial for maintaining a reliable water supply and preventing potential plumbing problems in the future.
Water Supply Inspection
You’ll want to make sure the water supply valve is fully open before inspecting the water supply for any issues. Proper water supply maintenance is crucial for the efficient functioning of your plumbing system.
Start by checking for any leaks or drips in the water supply lines. Look for any visible signs of damage or corrosion.
Next, conduct a water pressure test to ensure that the water pressure is within the recommended range. Attach a pressure gauge to a water outlet and turn on the water supply. The gauge will indicate the pressure level. If the pressure is too high or too low, it may cause problems such as leaks or reduced water flow.
Once you have inspected the water supply, you can move on to adjusting the pressure regulator if needed.
Pressure Regulator Adjustment
To properly adjust the pressure regulator, locate the adjustment screw and use a flathead screwdriver to turn it clockwise to increase pressure or counterclockwise to decrease pressure.
A pressure regulator is an essential component in maintaining proper water pressure in a plumbing system. However, like any other mechanical device, it requires regular maintenance to ensure its optimal performance.
Here are some key steps to consider when maintaining your pressure regulator:
- Inspect the pressure regulator for any signs of wear or damage.
- Clean the screen filter to remove any debris or sediment that may be affecting its operation.
- Check the pressure gauge to ensure it is reading accurately.
- Test the pressure relief valve to ensure it is functioning properly.
- If you are experiencing a whistling noise, it may indicate a problem with the pressure regulator. Troubleshooting steps may involve adjusting the pressure settings, replacing worn-out parts, or seeking professional help if the issue persists.
Regular maintenance of your pressure regulator can help prevent potential problems and ensure a smooth and efficient plumbing system.
Adjusting and Cleaning the Toilet Fill Valve
When it comes to maintaining a properly functioning toilet fill valve, there are a few key points to consider.
First, understanding the valve adjustment steps is crucial in order to ensure the correct water level and prevent any potential issues.
Additionally, knowing the proper cleaning techniques will help keep the fill valve free from debris and prolong its lifespan.
Valve Adjustment Steps
Before attempting any valve adjustment steps, it’s important to ensure that you have the necessary tools and materials. Here are a few things you’ll need to get started:
- Adjustable pliers: These will help you loosen and tighten the nuts on the toilet valve.
- Screwdriver: You’ll need this to remove any screws holding the valve in place.
- Replacement valve: If your valve is beyond repair, you may need to replace it altogether.
Now that you have the necessary tools, let’s dive into the valve adjustment steps. First, shut off the water supply to the toilet and flush to drain the tank. Next, remove the valve cover and locate the adjustment screw. Use your screwdriver to turn the screw clockwise to decrease the water level and counterclockwise to increase it.
Once you’ve completed the valve adjustment steps, it’s time to move on to the next section: cleaning techniques.
Cleaning Techniques
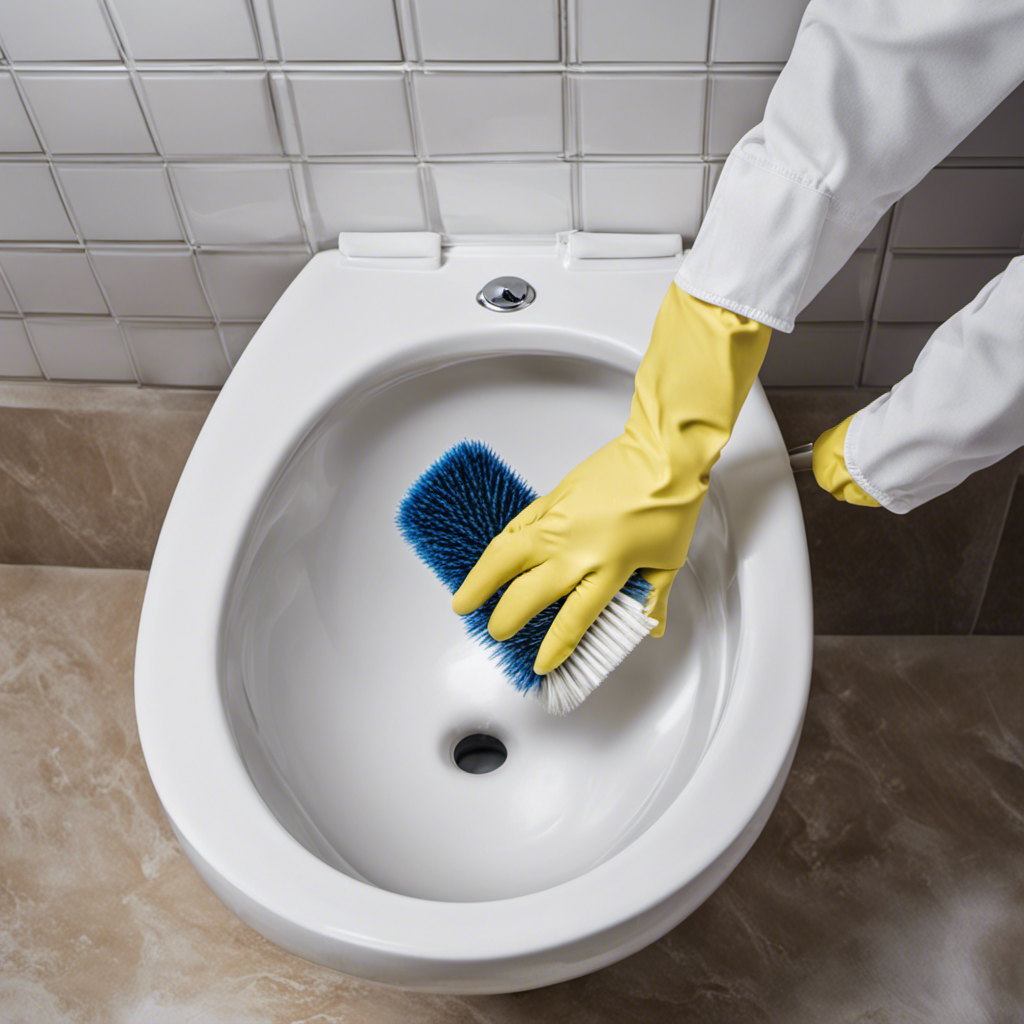
Now that you have completed the valve adjustment steps, let’s move on to cleaning techniques. Proper cleaning of both the toilet bowl and toilet tank is essential to prevent any buildup or clogs that may contribute to a whistling toilet. Here are some effective cleaning techniques to keep your toilet functioning properly:
| Cleaning Technique | Description |
|---|---|
| 1. Scrub the Bowl | Use a toilet bowl cleaner and a toilet brush to scrub the inside of the bowl, paying special attention to areas with stains or buildup. Rinse thoroughly with water. |
| 2. Clean the Tank | Remove the lid of the toilet tank and use a toilet tank cleaner to remove any deposits or buildup on the walls and components inside. Scrub gently with a brush and rinse thoroughly. |
| 3. Regular Maintenance | Regularly clean the toilet bowl and tank to prevent any future issues. Use a mild cleaner and avoid using abrasive tools that may damage the surfaces. |
Common Fill Valve Issues
One common issue with the fill valve is a slow or incomplete refill of the toilet tank. This can be caused by a variety of factors, such as a faulty fill valve or a clogged water supply line.
To troubleshoot this problem, here are a couple of things you can try:
- Check the water supply line for any blockages or kinks that may be restricting water flow.
- Inspect the fill valve for any signs of damage or wear. If necessary, replace the fill valve with a new one.
If these steps don’t solve the problem, it may be time to consider replacing the toilet flapper. A worn or malfunctioning flapper can prevent the tank from refilling properly, leading to slow or incomplete filling.
With these troubleshooting steps in mind, let’s move on to inspecting and repairing the toilet flush valve to further address any issues with the toilet’s flush system.
Inspecting and Repairing the Toilet Flush Valve
To fix a whistling toilet, start by inspecting and repairing the flush valve. The flush valve is responsible for controlling the water flow during flushing. If it’s not functioning properly, it can cause a whistling sound.
Here’s a step-by-step guide on how to inspect and repair the toilet flush valve.
-
First, turn off the water supply to the toilet by shutting off the valve located behind the toilet.
-
Remove the tank lid and flush the toilet to drain the water from the tank.
-
Inspect the flush valve for any signs of damage or wear. Look for cracks, leaks, or debris that may be blocking the valve.
-
If you notice any issues, it may be necessary to replace the flush valve. Refer to the manufacturer’s instructions for toilet valve replacement.
-
Install the new flush valve following the manufacturer’s guidelines.
-
Finally, turn on the water supply and test the toilet to ensure that the whistling sound is no longer present.
Addressing Issues With the Toilet Tank Components
Addressing issues with the toilet tank components can help resolve common flushing problems. When it comes to maintaining a properly functioning toilet, two key components to check are the toilet flapper and the toilet tank insulation. Here’s why these components are important:
-
Toilet flapper replacement:
-
A worn-out or faulty flapper can cause water leakage, leading to a constant running toilet.
-
Replacing the flapper is a simple fix that can save water and prevent unnecessary water bills.
-
It ensures a tight seal between the tank and the bowl, allowing for efficient flushing.
-
Toilet tank insulation:
-
Insulating the toilet tank prevents condensation, reducing the risk of water damage and mold growth.
-
It helps maintain the water temperature in the tank, preventing freezing during colder months.
-
Insulation also reduces noise caused by water movement, providing a quieter flushing experience.
Fixing Leaks and Seal Problems
If you notice leaks or seal problems, you can easily resolve them by checking the water supply line and tightening any loose connections. It’s important to address these issues promptly to prevent further damage and water wastage. Here are some steps to help you fix leaks and seal problems in your toilet:
| Step | Action |
|---|---|
| 1 | Turn off the water supply to the toilet by closing the shut-off valve. |
| 2 | Inspect the water supply line for any visible leaks or cracks. |
| 3 | If there are any loose connections, use a wrench to tighten them. |
| 4 | Check the tank-to-bowl gasket and the wax seal at the base of the toilet for any wear or damage. |
| 5 | If necessary, replace the gasket or wax seal to ensure a proper seal. |
Additional Troubleshooting and Maintenance Tips
Here are some additional troubleshooting and maintenance tips to help you keep your toilet in optimal condition:
-
Troubleshooting Techniques:
-
Check the water level: If your toilet is not flushing properly, the water level might be too low. Adjust the float valve to ensure the water level is at the recommended height.
-
Inspect the flapper valve: A worn-out or improperly sealed flapper valve can cause water leaks and inefficient flushing. Replace the flapper valve if necessary.
-
Maintenance Best Practices:
-
Clean the rim holes: Over time, mineral deposits can clog the rim holes, affecting the water flow and flushing performance. Use a wire hanger or a small brush to remove the deposits regularly.
-
Prevent clogs: Avoid flushing excessive toilet paper or foreign objects down the toilet. Consider using a toilet auger to clear stubborn clogs.
Conclusion
In conclusion, fixing a whistling toilet can be a simple task if you follow the steps outlined in this article.
By identifying the cause of the noise, checking the water supply and pressure, adjusting and cleaning the fill valve, inspecting and repairing the flush valve, addressing issues with the tank components, and fixing any leaks or seal problems, you can ensure a quiet and efficient toilet.
Remember to regularly troubleshoot and maintain your toilet to prevent future issues.
Happy fixing!

Liam’s journey with us started as a consumer. Having faced challenges while setting up his own modern bathroom, he delved deep into research.
Recognizing his knack for simplifying complex information and his authentic writing style, we were thrilled to welcome him aboard. Liam’s articles often merge practicality with style, ensuring readers find the perfect fit for their homes. Liam is an avid hiker off-duty and often jokes about finding the best “natural toilets” Mother Earth has to offer.