Are you tired of your toilet making an annoying whistling sound every time you flush? It’s time to put an end to that high-pitched symphony.
In this article, we will show you how to fix a whistling toilet flush. It’s as easy as tightening a screw or adjusting the water level.
With a little know-how and a few simple steps, you’ll be able to silence that whistling toilet and restore peace to your bathroom.
Key Takeaways
- Whistling noises in toilets are often caused by faulty valves.
- Adjusting the water level in the toilet tank can help to eliminate the whistling sound.
- Cleaning and inspecting the fill valve can also resolve the issue.
- If the whistling sound persists, check the water pressure in your home and resolve any leaks in the flush valve or flapper.
Identifying the Cause of the Whistling Sound
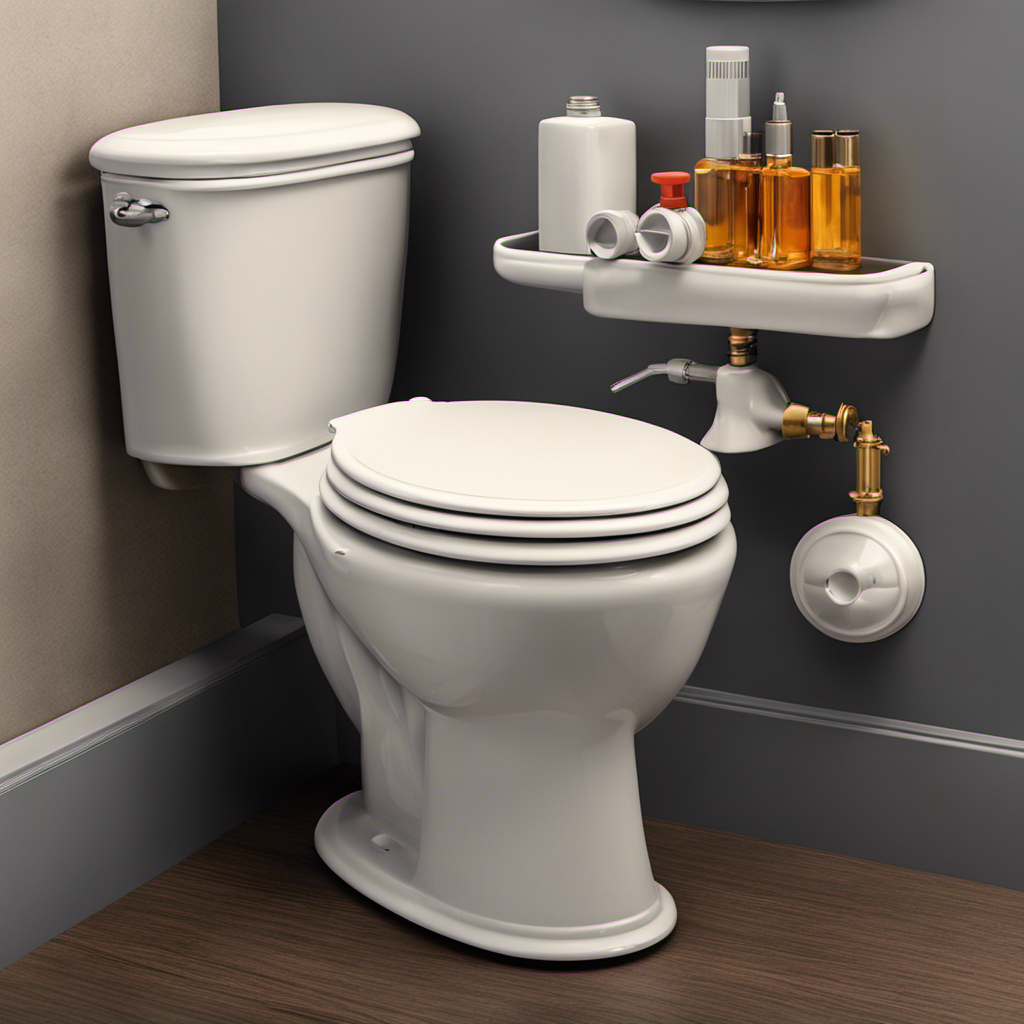
You’ll want to start by checking the fill valve and the flush valve to determine if they are causing the whistling sound. Whistling noises in toilets are a common problem that can be easily fixed.
The fill valve controls the water level in the tank and the flush valve allows the water to flow into the bowl when you flush. If either of these valves is faulty or not working properly, it can create a whistling sound.
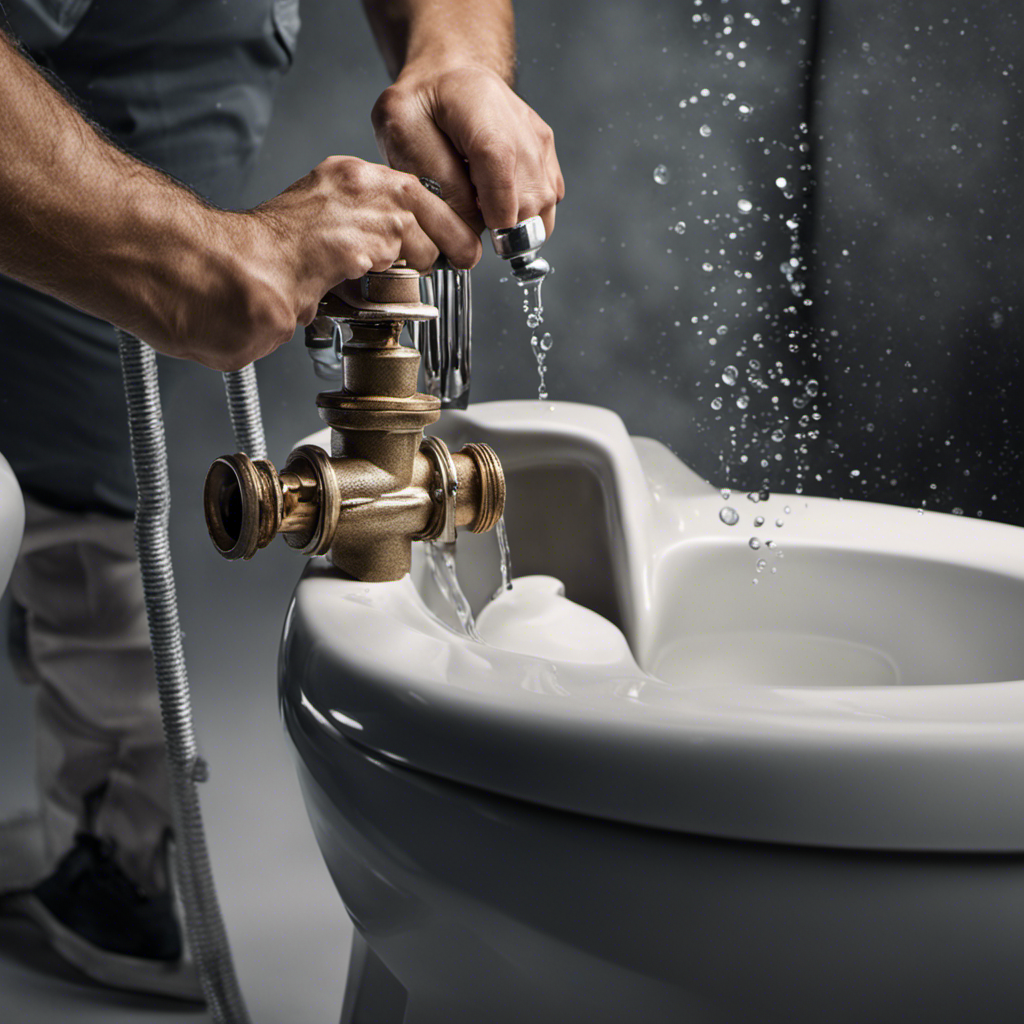
To fix the issue, first, turn off the water supply to the toilet. Then, inspect the valves for any signs of damage or debris. Clean or replace any faulty parts as needed.
Once everything is in order, turn the water supply back on and test the toilet. This should eliminate the whistling noise and restore your toilet to its normal functioning state.
Checking and Adjusting the Water Level in the Toilet Tank
The first step in addressing the issue is to ensure the water level in the tank is adjusted correctly.
To do this, start by removing the toilet tank lid. Look inside and locate the float, which is usually a ball or a cup connected to an arm. The float is responsible for controlling the water level in the tank.
Adjust the float by bending the arm or adjusting the screw on top of the float. Make sure the water level is about an inch below the top of the overflow tube.
While adjusting the float, take the opportunity to check for any leaks in the tank or around the fill valve. If you notice any leaks, tighten the connections or replace any faulty parts.
Once the water level is adjusted and any leaks are fixed, you can move on to inspecting and cleaning the toilet fill valve.
Inspecting and Cleaning the Toilet Fill Valve
After adjusting the water level in the toilet tank, it’s important to inspect and clean the fill valve. The fill valve is responsible for regulating the water flow into the tank, and any blockages or debris can affect its performance.
To begin, turn off the water supply to the toilet by closing the shut-off valve. Next, flush the toilet to empty the tank. Locate the fill valve, which is usually located on the left side of the tank. Remove the cap on top of the valve and inspect for any dirt or debris. If you notice any build-up, use a soft brush or a cloth to gently clean the valve.
Once clean, replace the cap and turn the water supply back on. This simple maintenance step will ensure a smooth and efficient filling process, preventing any potential issues with water pressure or the toilet bowl.
Replacing the Toilet Fill Valve
To replace the toilet fill valve, start by turning off the water supply and emptying the tank. First, locate the water shut-off valve, typically located behind the toilet near the floor. Turn it clockwise to shut off the water flow.
Next, flush the toilet to drain any remaining water from the tank. You can use a sponge or towel to soak up any excess water.
Now, remove the old fill valve by unscrewing it from the bottom of the tank. Take note of the position of the float and adjustable water pressure regulator.
Install the new fill valve by following the manufacturer’s instructions. Once installed, adjust the water pressure to an appropriate level using the manufacturer’s guidelines.
If the new fill valve whistles, consider using noise cancelling devices such as foam insulation or rubber washers to reduce the noise.
Troubleshooting Other Possible Causes of the Whistling Toilet Flush
If you have already replaced the fill valve and are still experiencing a whistling sound when you flush, you might want to check the water pressure in your home. High water pressure can cause a whistling noise as it rushes through the pipes and valves.
To troubleshoot this issue, start by purchasing a water pressure gauge from your local hardware store. Attach the gauge to an outdoor spigot and turn on the water. The gauge will display the water pressure in pounds per square inch (PSI). If the pressure is above 80 PSI, you may need to install a pressure reducing valve to regulate the water flow.
Additionally, understanding the different components of the toilet flush mechanism, such as the flush valve and flapper, can help identify and resolve any leaks that may be contributing to the whistling sound.
Conclusion
In conclusion, fixing a whistling toilet flush is a simple task that can be done by following a few easy steps.
By identifying the cause of the whistling sound and checking and adjusting the water level in the toilet tank, you can quickly solve the issue.
Additionally, inspecting and cleaning the toilet fill valve or replacing it if necessary can also resolve the problem.
Remember, troubleshooting other possible causes can also help eliminate the annoyance of a whistling toilet flush, just like a skilled pianist effortlessly gliding their fingers across the keys.


